Visit Library for MBP Pro eBooks |
My apologies for going completely down-periscope for the last month. As I was wrapping up the previous podcast episode, I found out that Adobe had transitioned to a new API to build plugins for Photoshop, and I decided to look into creating a full-blown plugin to replace my Fine Art Border Scripts, which I literally knocked together on a Sunday after in 2013 as I needed something to automatically add the above center offset Fine Art Border that I use when printing, and it was relatively easy to do. The Fine Art Border scripts have sold pretty well over the years, but they were somewhat inflexible and required the user to edit the text file script if they needed to change the ratio of the vertical offset, or change the width of the border, etc.
A relatively tertiary look at the new API told me two things. The first was that I figured I would probably be able to write the code for the plugin that required the original script files to be manually edited, which would make the plugin much more intuitive, and the second thing I noticed was how incomplete the new API currently is. Mostly due to this second point, to complete the plugin to its current feature level, I literally had to spend every waking minute for the last month, and once again, drove my wife crazy as I got up early each day, and kept my laptop open until moments before we went to bed each night. Of course, you haven’t seen a podcast or blog post for the last month either, for which. once again, I apologize.
But, I am very happy with the results. There are a few things that I want to add in a near-future update, but I’ve ended up with a much more feature-rich replacement for my 2013 scripts, which I’ve called the MBP Fine Art Border Tools plugin for Adobe Photoshop, affectionately known in short form as FAB Tools. As I completed my preparation for this post, I received word from Adobe that the plugin has passed their review, so I am really excited about this. Over time, this post will become dated, so if you check this out much after June 2021, please check the Product Page here for the most up-to-date information. You can also subscribe to the Plugin Notifications list of my newsletter, and I’ll keep you updated when any new features of note are released.
Get FAB Tools!
You can check out the plugin on the Adobe Marketplace already, so click the logo below to check that out, but we’ll also continue on to take a look at the details of what FAB Tools does and show some usage scenarios. I’ll also create a video to walk you through this over the next few weeks, so please keep an eye out for that too.
An Overview
The new plugin has three main modules. One for framing and resizing for the Web, and the second for print, both with the same visually pleasing vertical offset, but with the ability to change it to any value, moving the image both up or down in the frame. The third module is completely new, to enable the addition of a watermark or logo. Currently, this only accepts images, but I intend to add the ability to add a text-based watermark soon. There is a fourth Tools panel, but that’s to provide links to a few global features, like showing or hiding Tool Tips, or showing the custom formats before the mostly uneditable presets in the Print Frame module. There may be a few more panels in the coming months, but at the time of release, I’m very happy with the specific feature set that I’ve built, and I do hope you find it useful.

Web Frame and Resize
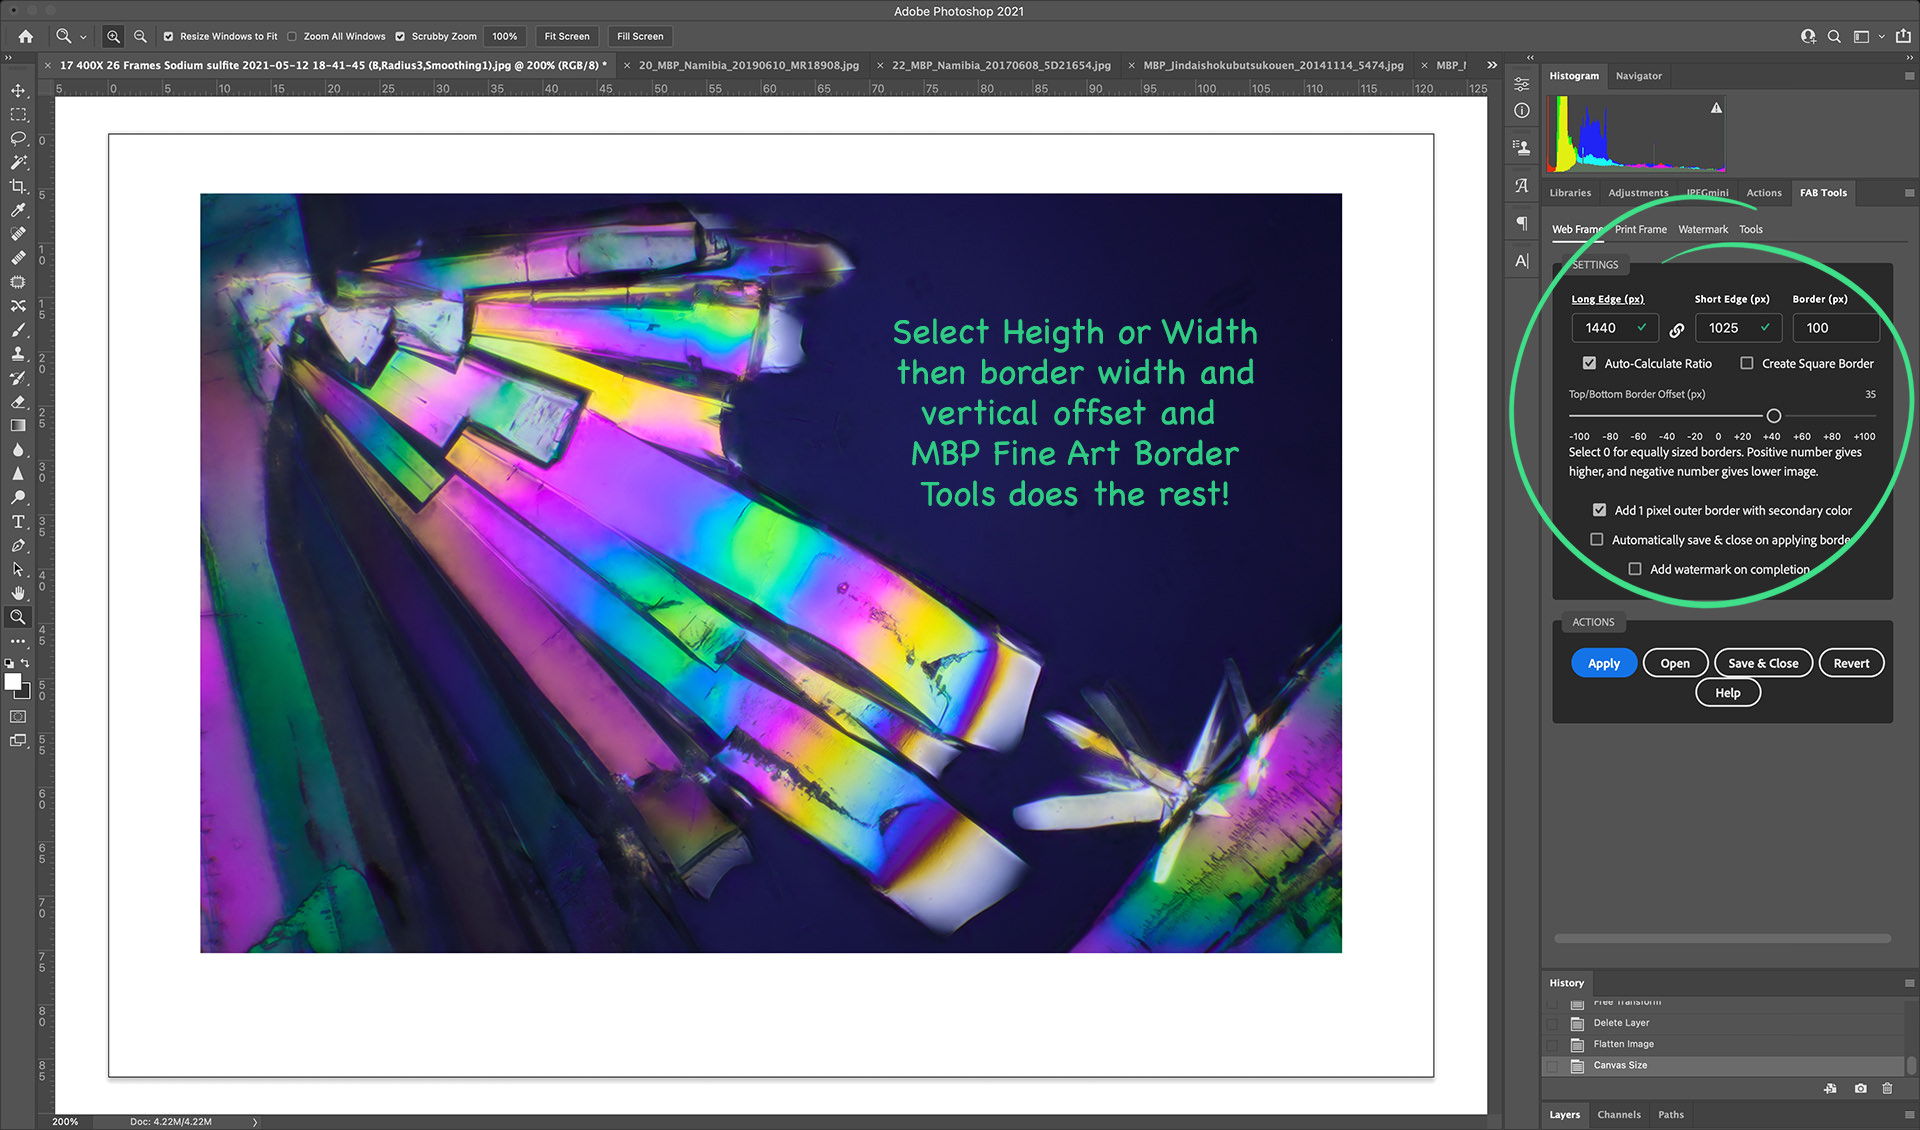
As you can see in this screenshot, the Web Frame module is relatively simple on the front end, with a few nice tweaks to help your workflow. The idea is to add a border, the width of which you specify with the Border (px) field. If you have a specific height and width that you would like to resize your image to, you can enter both values. If you enter either the Long Edge or Short Edge value and turn on Auto-Calculate Ratio, the plugin will calculate the edge that you didn’t enter automatically.
When you enter the Short Edge you’ll notice the Short Edge heading then becomes underlined, indicating that it has priority. To go back to Long Edge priority, simply enter the long edge value. If you’d like to frame your images inside a square, simply enter the Long Edge value to resize to, and turn on the Create Square Border checkbox. We’ll then create square borders and position your images inside.
The Top/Bottom Border Offset slider is where you move the image up or down in the frame. For centuries, fine artists have positioned their work slightly higher in a matte or frame to provide more pleasing visual balance. Moving your image up slightly also gives you room to sign or add a watermark to your work.
The Magic Formula
After a lot of research around 10 years ago, I came to the conclusion that a good balance for fine art prints was to calculate 10% of the height of the image and use that for all four borders while moving the image up by 3%. This gives 10% side borders, a 7% top border, and a 13% bottom border. In the Web Frame module, we convert these percentages to pixels, as you specify the border width in pixels, so moving the image up 3% in a 100-pixel border equates to 30 pixels. Just wiggle it around and hit the Apply button to see what you get though. The Revert button reverts all changes, so it’s easy to try different settings.
Depending on the ratio of your image, you may find that you get slightly larger borders on the top or sides when working to a specific media size. With the Web Frame module though, if you only use Long or Short Edge priority, FAB Tools will add the exact sized border on all four sides, offset to the amount specified. If you want completely equal borders, leave the offset slider at zero.
There are three more checkboxes to talk about before we move on. First, you can add a one-pixel outer border using the color selected as your secondary color in Photoshop. A mid-gray is a good choice. This just helps your images to stand out against a similar color background and will disappear against a darker background.
There is also a checkbox to automatically save and close the image after applying the border, and a final checkbox to add the watermark on completion, and we’ll look at Watermarking in more detail shortly.
Print Frame and Resize
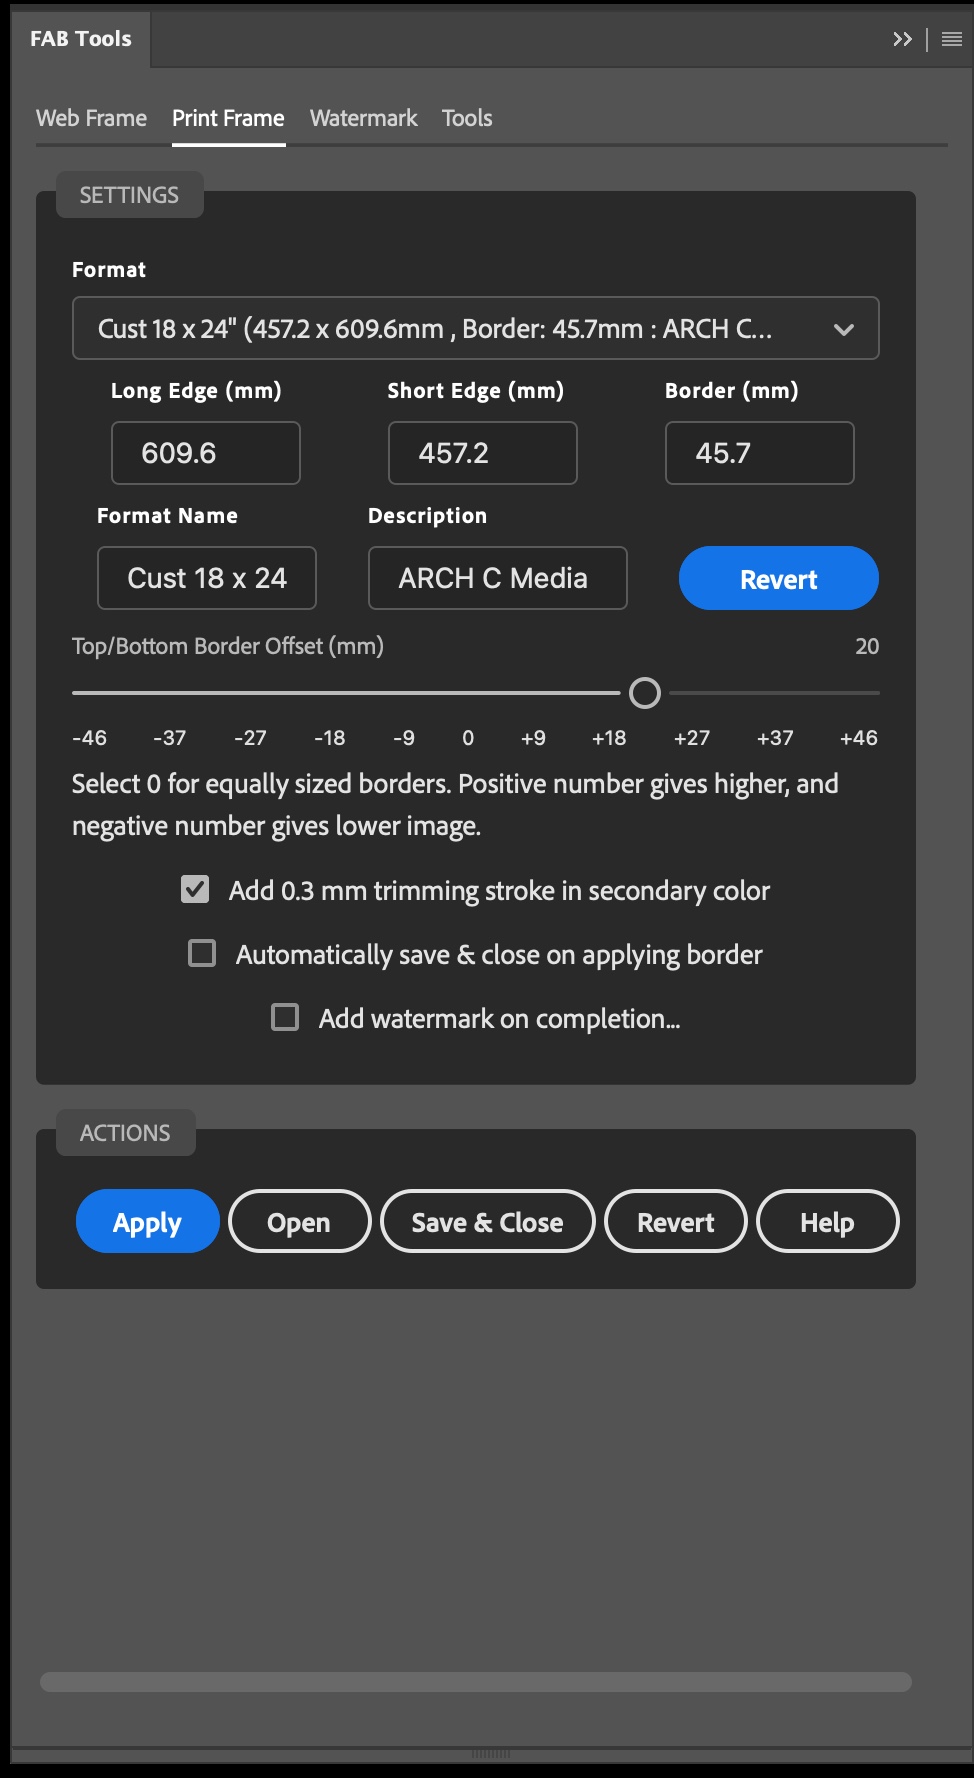
The next module is for framing for Fine Art Prints. This is closest to my 2013 Border Scripts release, but now highly customizable right here in the user interface.
There are 28 presets which, to protect the integrity of the media formats, cannot be modified, other than the border size and vertical offset. If you change the border size it will automatically be saved for future use, but a Revert button will appear, to remind you that you’ve modified the preset and to revert to the preset 10% border if necessary.
In addition to the 28 media presets, there are ten customizable formats, based on popular media size and a few square frames. You can take these and make whatever you want. You can enter the Long Edge, Short Edge, Border width, all in millimeters, as well as a custom name for your format and a short description. Each of these fields is saved as you move away from the field, but if you want to reset this and start again, just select a saved custom format and hit the Revert button. The vertical offset you select is currently not saved as part of your custom format, but if you think it should be, let me know and I’ll consider changing that in a future update.

Watermarking Module
A completely new addition is the ability to add graphical watermarks with precision to pretty much any location on your image. Start by selecting one of the nine anchor points, including the four corners, center sides, and the center of the image. From there, you can nudge the watermark up to 100% of the image away from the anchor point.
If no image resize has been performed, you can only anchor the watermark in relation to the canvas, but once you have performed a resize, you can also select to anchor the watermark to the inside or the outside of the resized image within the frame.
You can currently only load one image, but once loaded, it will generally be stored until you change it. You can scale the image to a percentage of the width of your resized image, and change the opacity, which is useful if you are placing a watermark over the image area.
Once you’ve specified your settings, you are ready to apply your watermark. When you are happy with the placement, you can also turn on the checkbox in either of the resize modules to automatically apply the watermark after resizing. There’s no need to worry about the image orientation. We calculate the position based on your image size and orientation, so the watermark should be placed perfectly each time.
Tools Panel
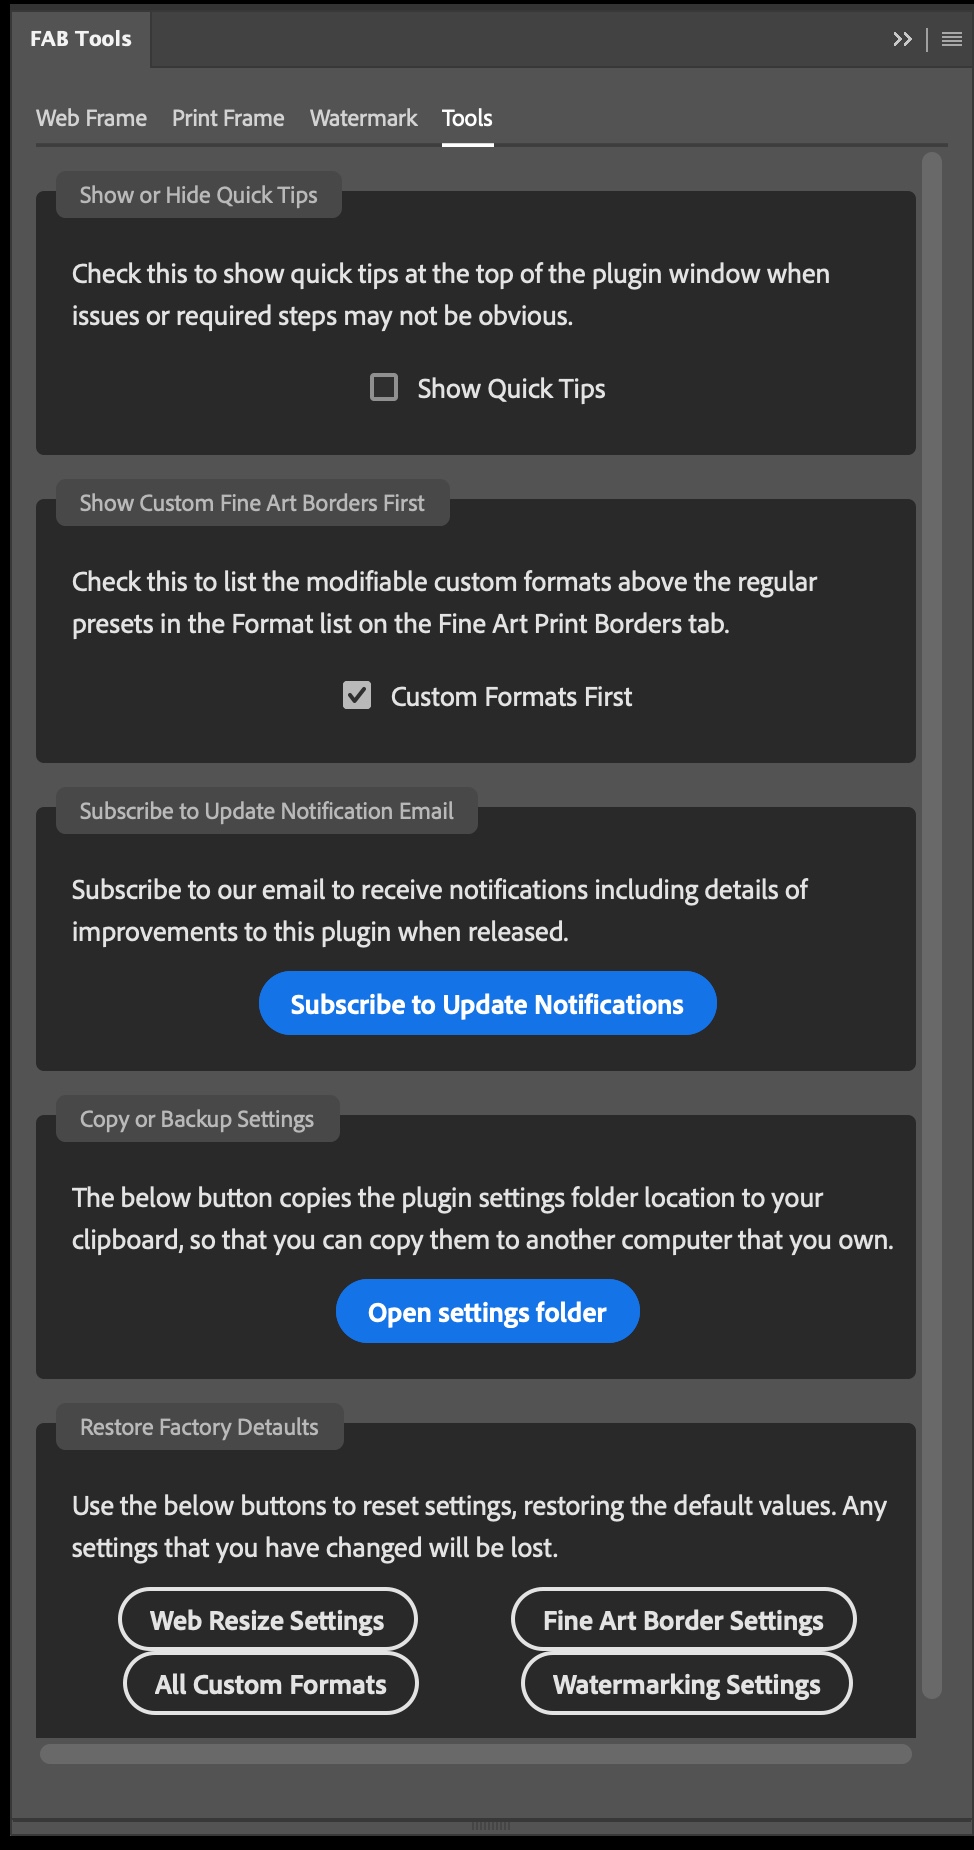
As I mentioned earlier, there is a fourth panel called Tools, where you can turn off Tooltips, and have the Custom Media show at the top of the Format pulldown on the Print Frame tab, and there are some other options, such as the ability to reset the settings and all of the Media modifications if necessary. There’s also a link to sign up for our Plugin Notifications, and a button to show the folder where the plugin settings are stored, so that you can, for example, back up all of your custom media or if you want to move your settings and media to a second computer that you own, you can do that with the files in the path that is displayed. Note too that although I’ve used the Dark theme plugin screenshots for this post, it fully supports the Light theme as well, and will automatically adjust the colors used based on your theme preferences.
Practical Use Scenarios
OK, so let’s look at a few practical use scenarios for the features and modules we’ve discussed. To be completely honest, one of the reasons I started to look into the new plugin technology, was because I had to modify one of my original 2013 scripts to enable me to easily reframe some of my recent microphotography work to upload to Instagram. Ironically that was also put on hold for the last month as I worked on the plugin, but I really wanted an easy way to add what I call the Fine Art Border to my images in preparation for web upload. I had originally planned to just add a completely square border, most suitable for Instagram, but that became a checkbox option in the final plugin. Here, for example, though, is a small gallery of images with square borders, which looks really neat on sites like Instagram that list images in a square format. It also helps with uploading very tall images, as they get cropped by Instagram, and that has always been a bugbear for me.
Notice how the border automatically calculates the necessary position of the image within the border, and moves the image up, in Fine Art Border style, according to my settings, although I actually used the default vertical offset and border width for these images, and just turned on the Create Square Border checkbox, so that they were all put neatly into the same sized squares. Also, note that once you are happy with the positioning of your watermark, you can simply open the images that you want to resize and turn on the Automatically save and close option, and if necessary the Add Watermark on completion checkbox, and the image will be resized, watermarked, saved, and closed when you hit the Apply button.
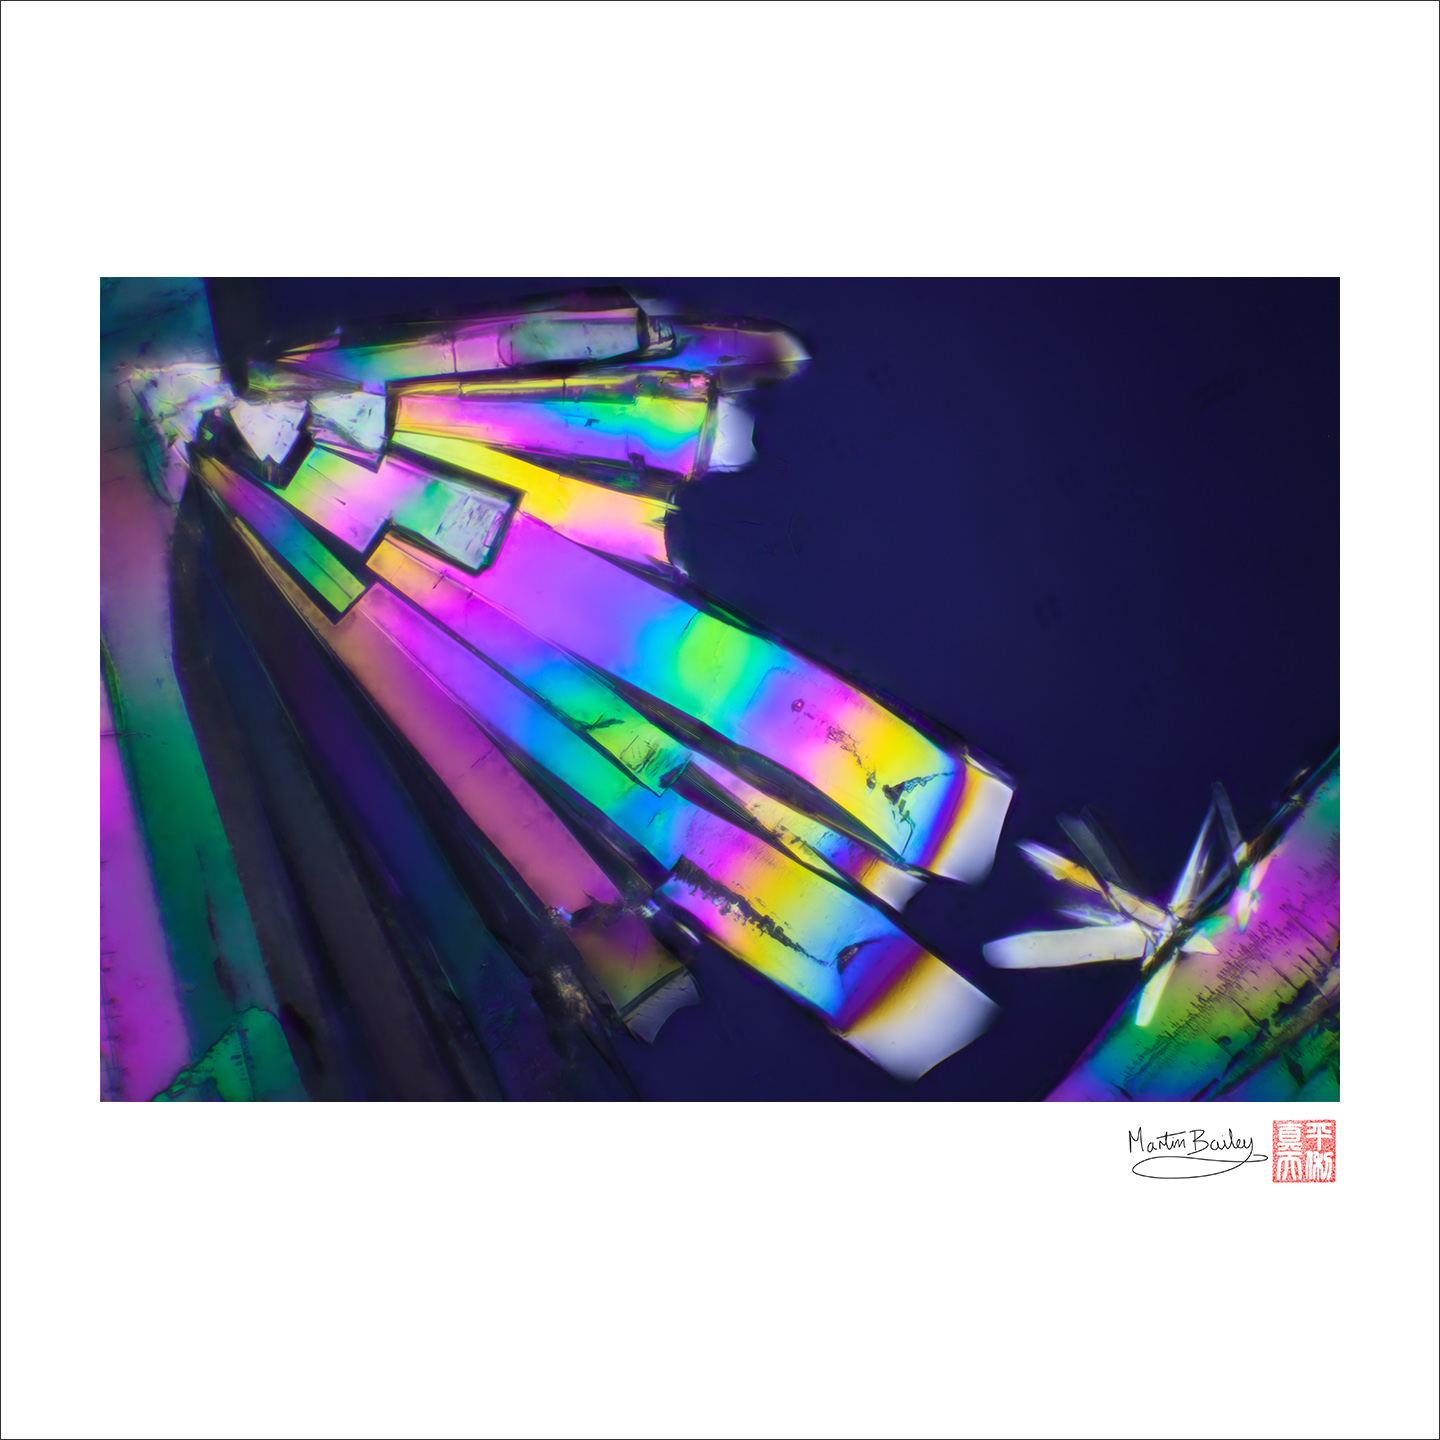
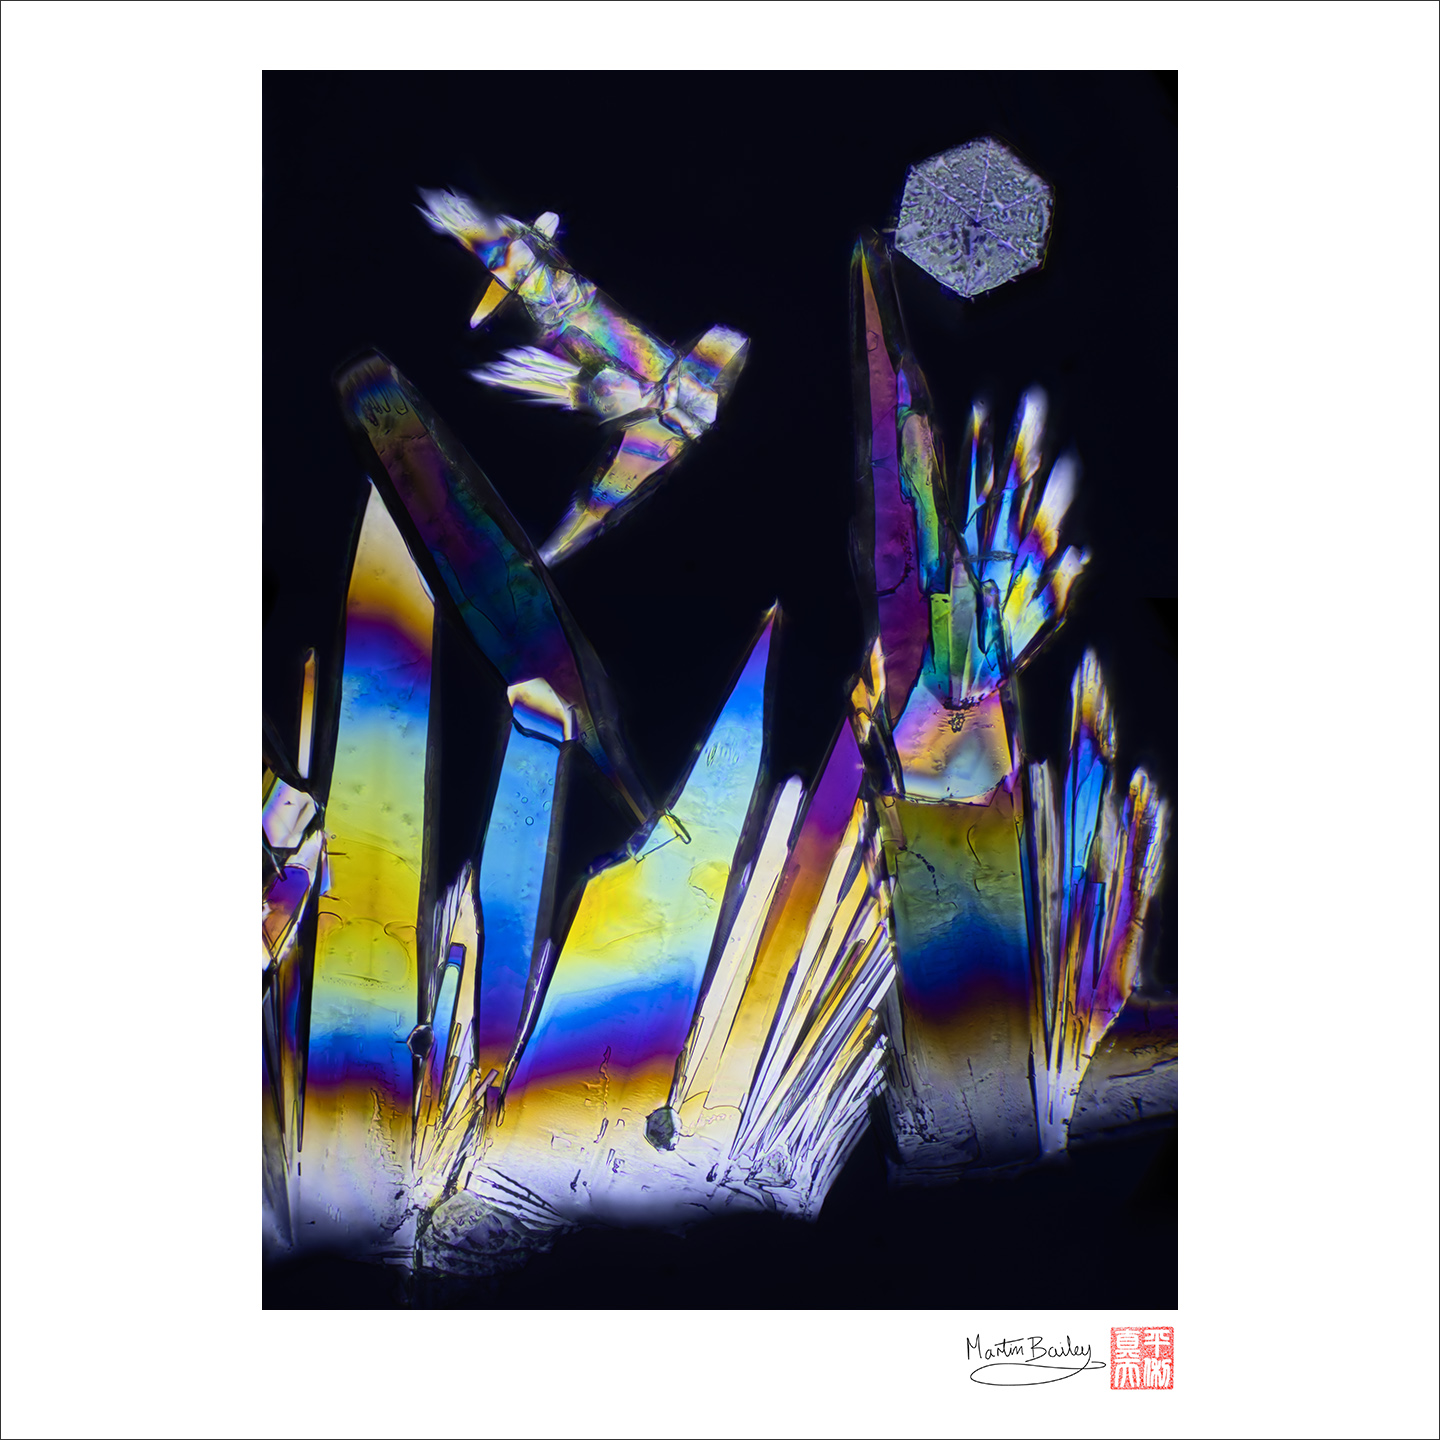
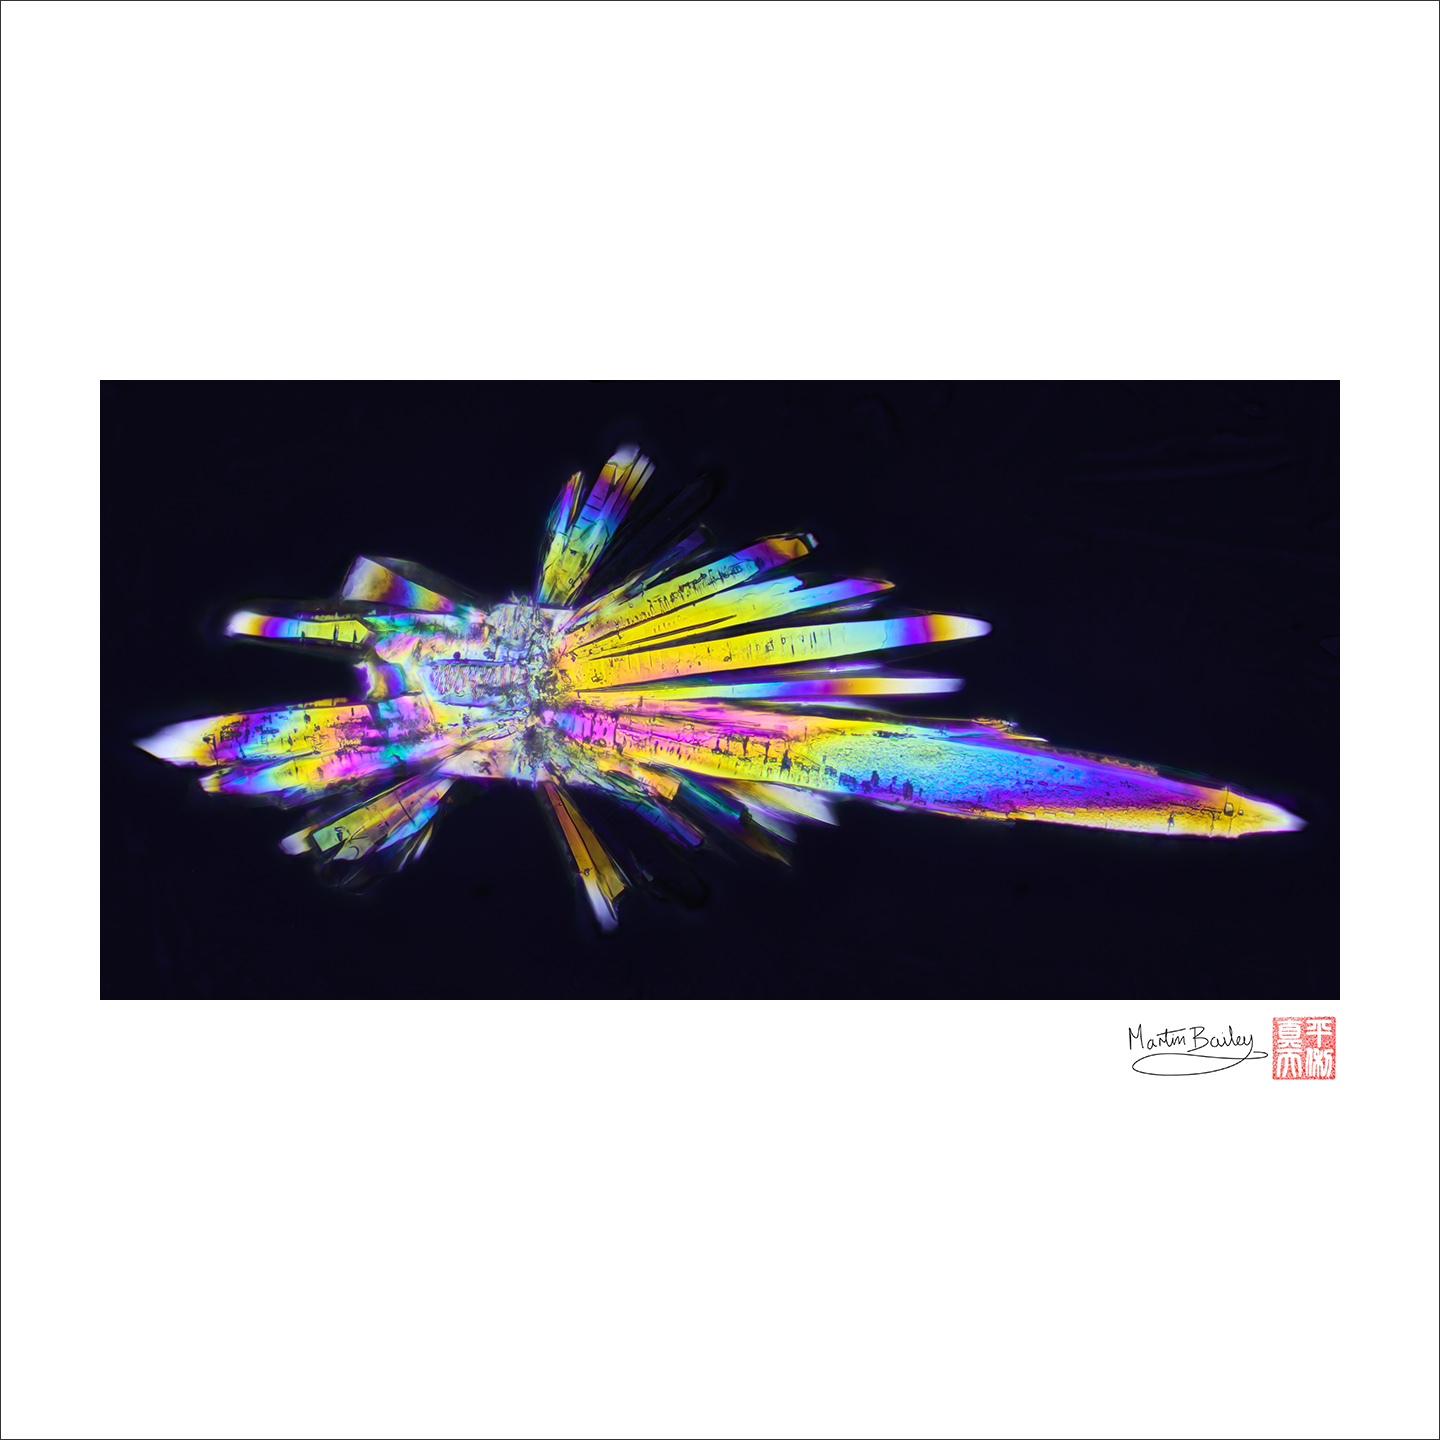
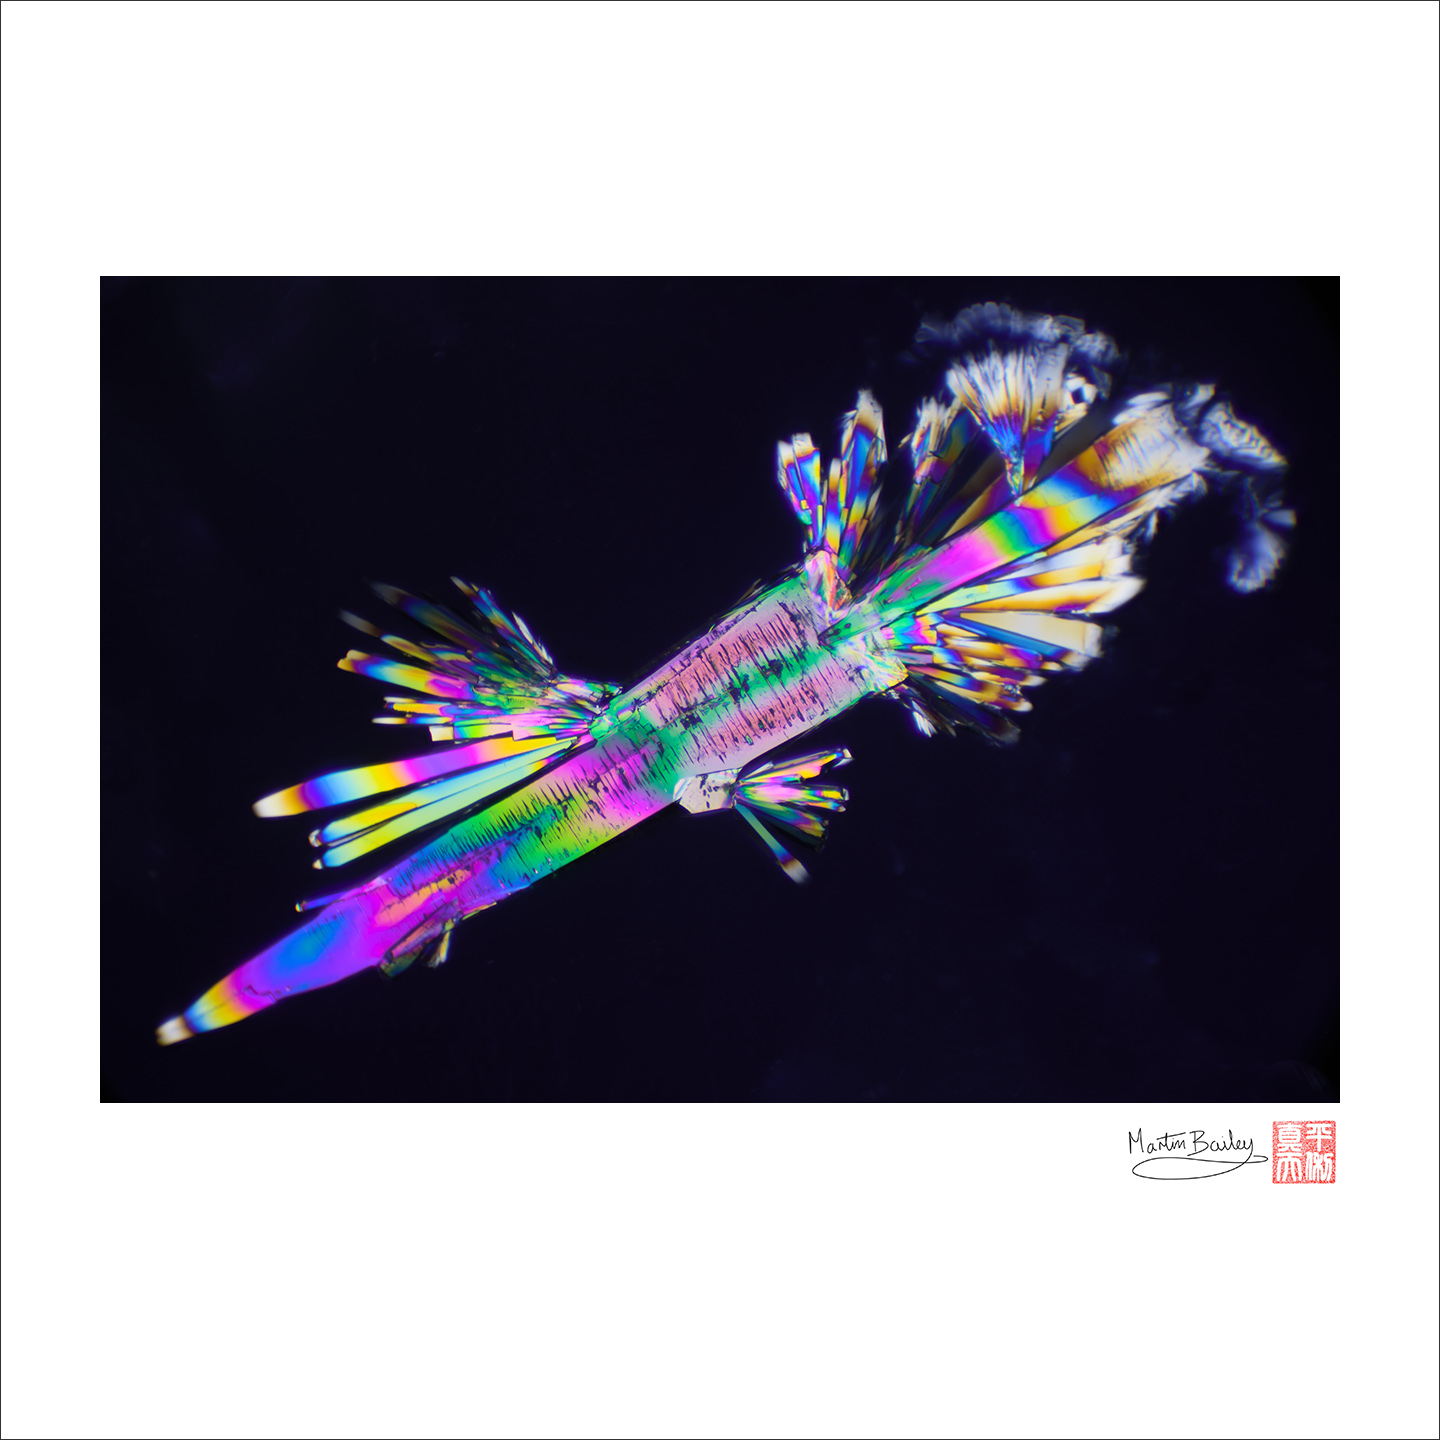
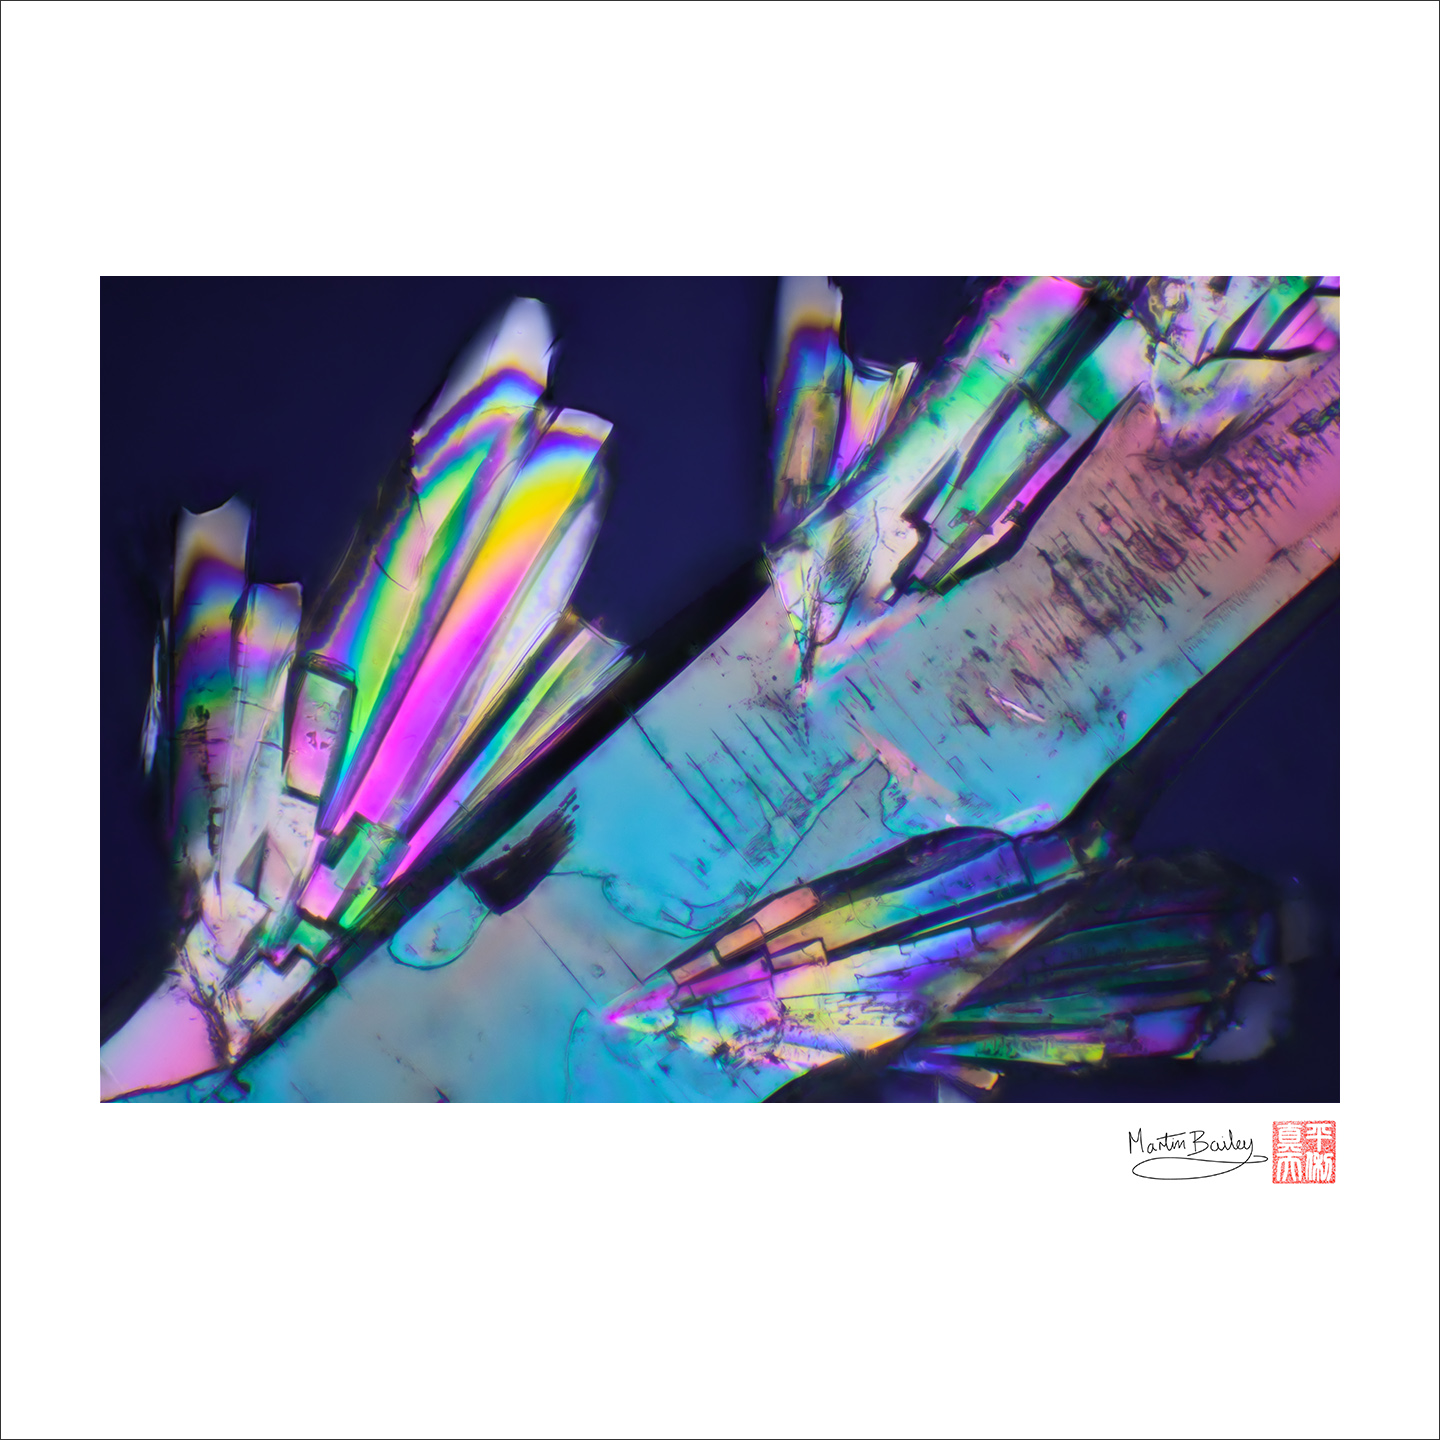
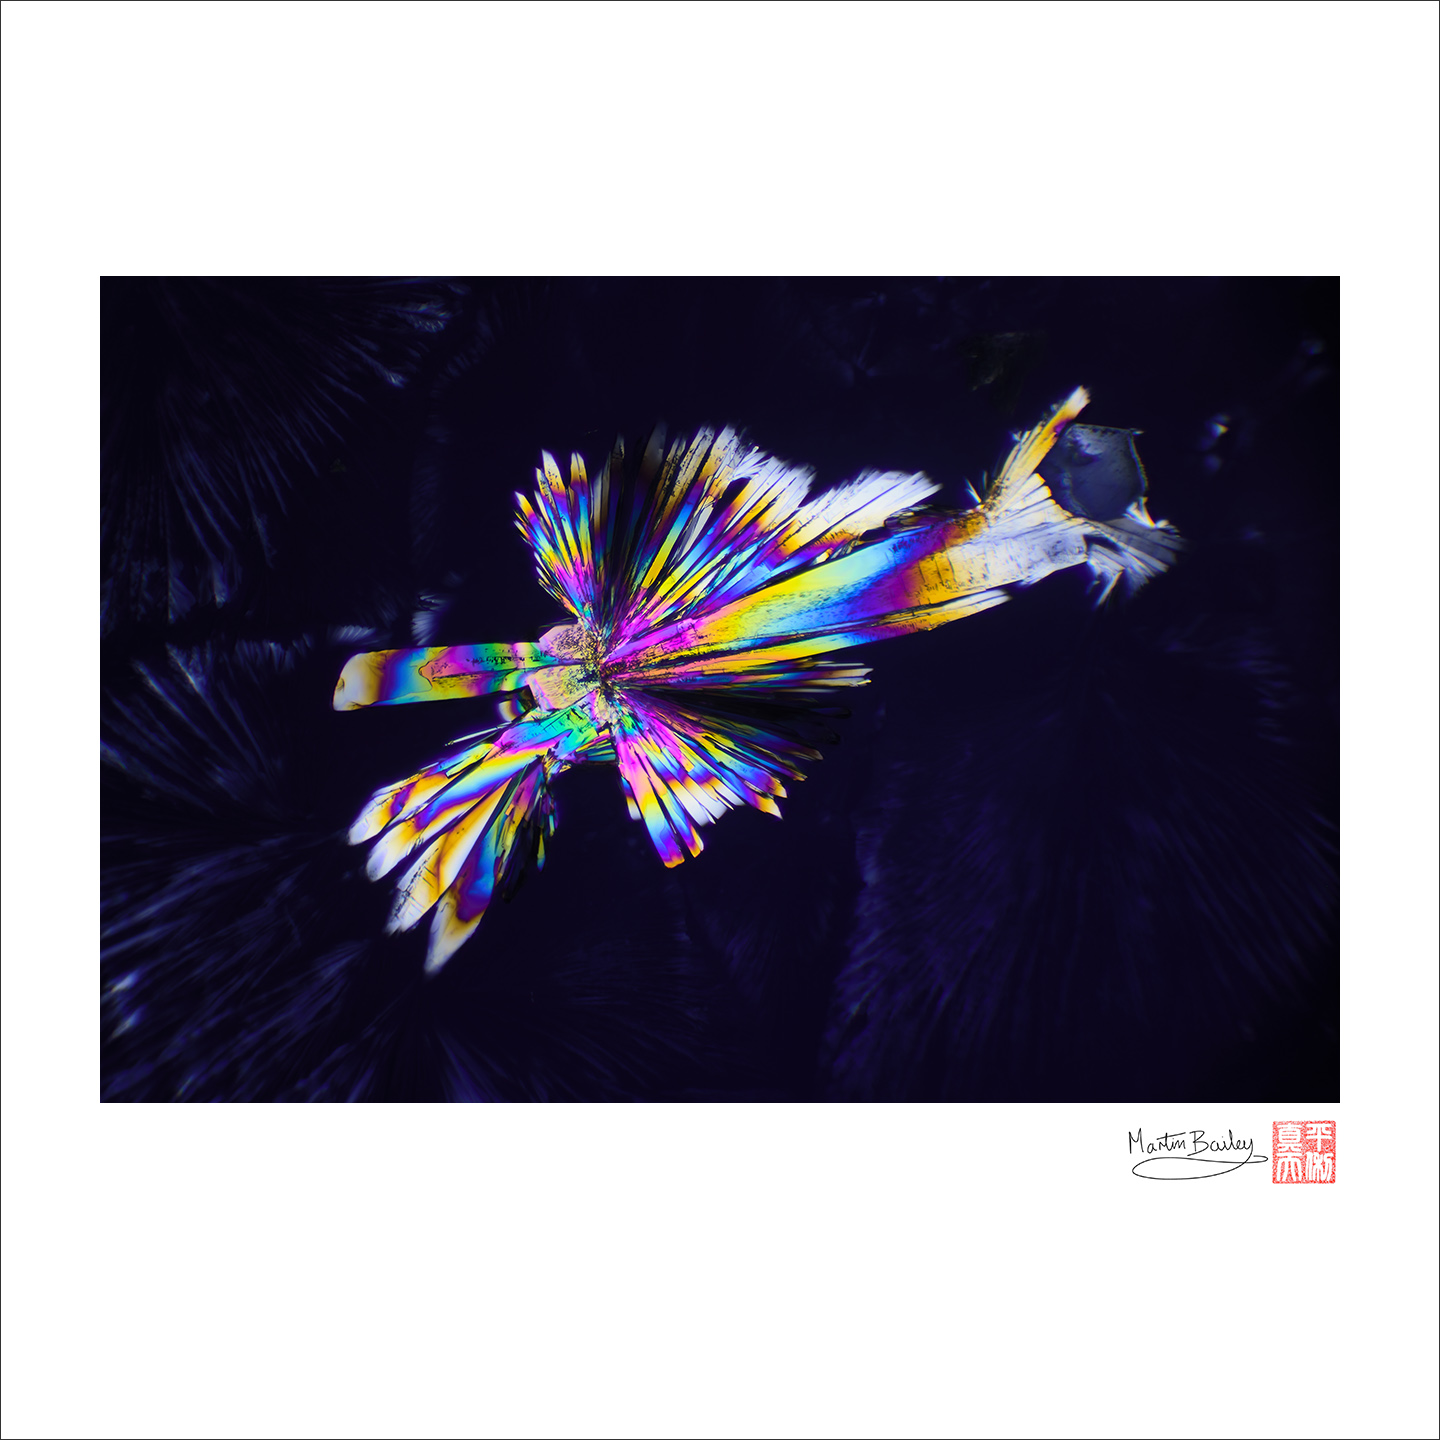
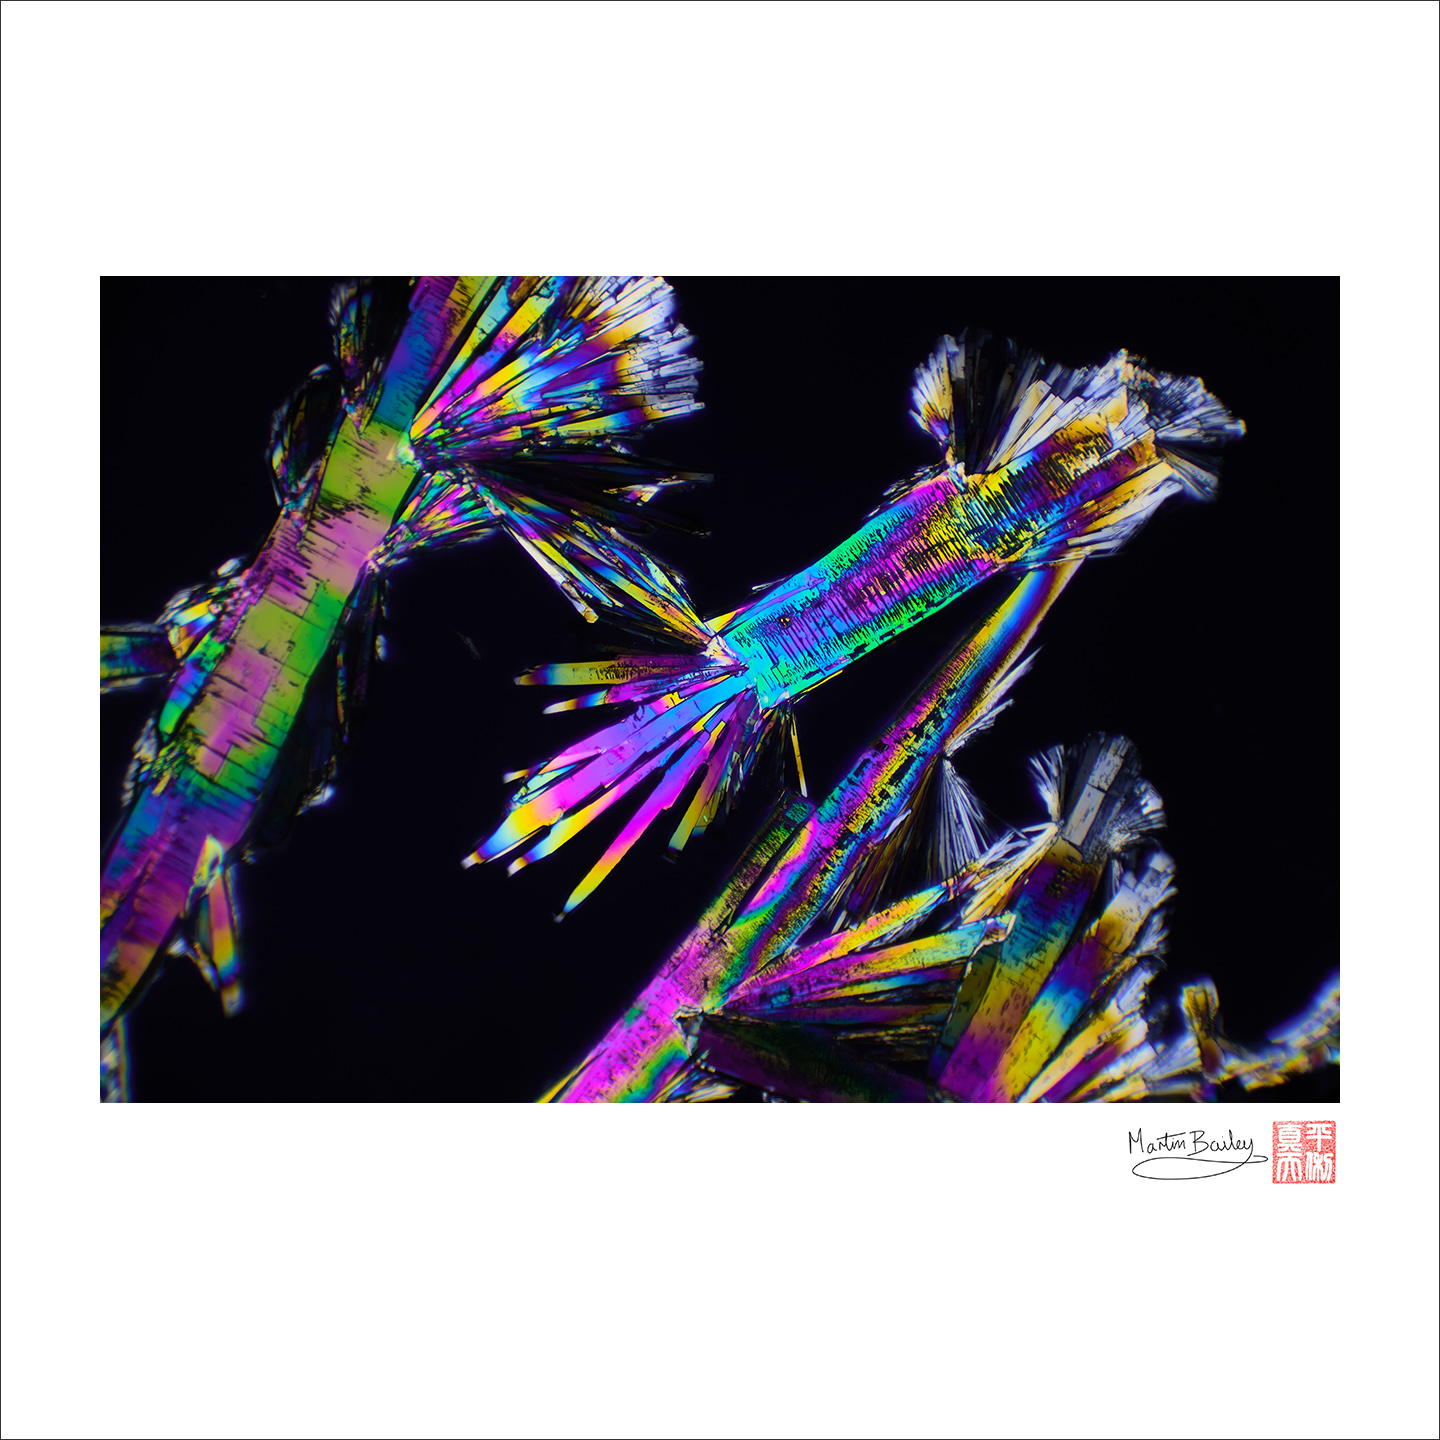
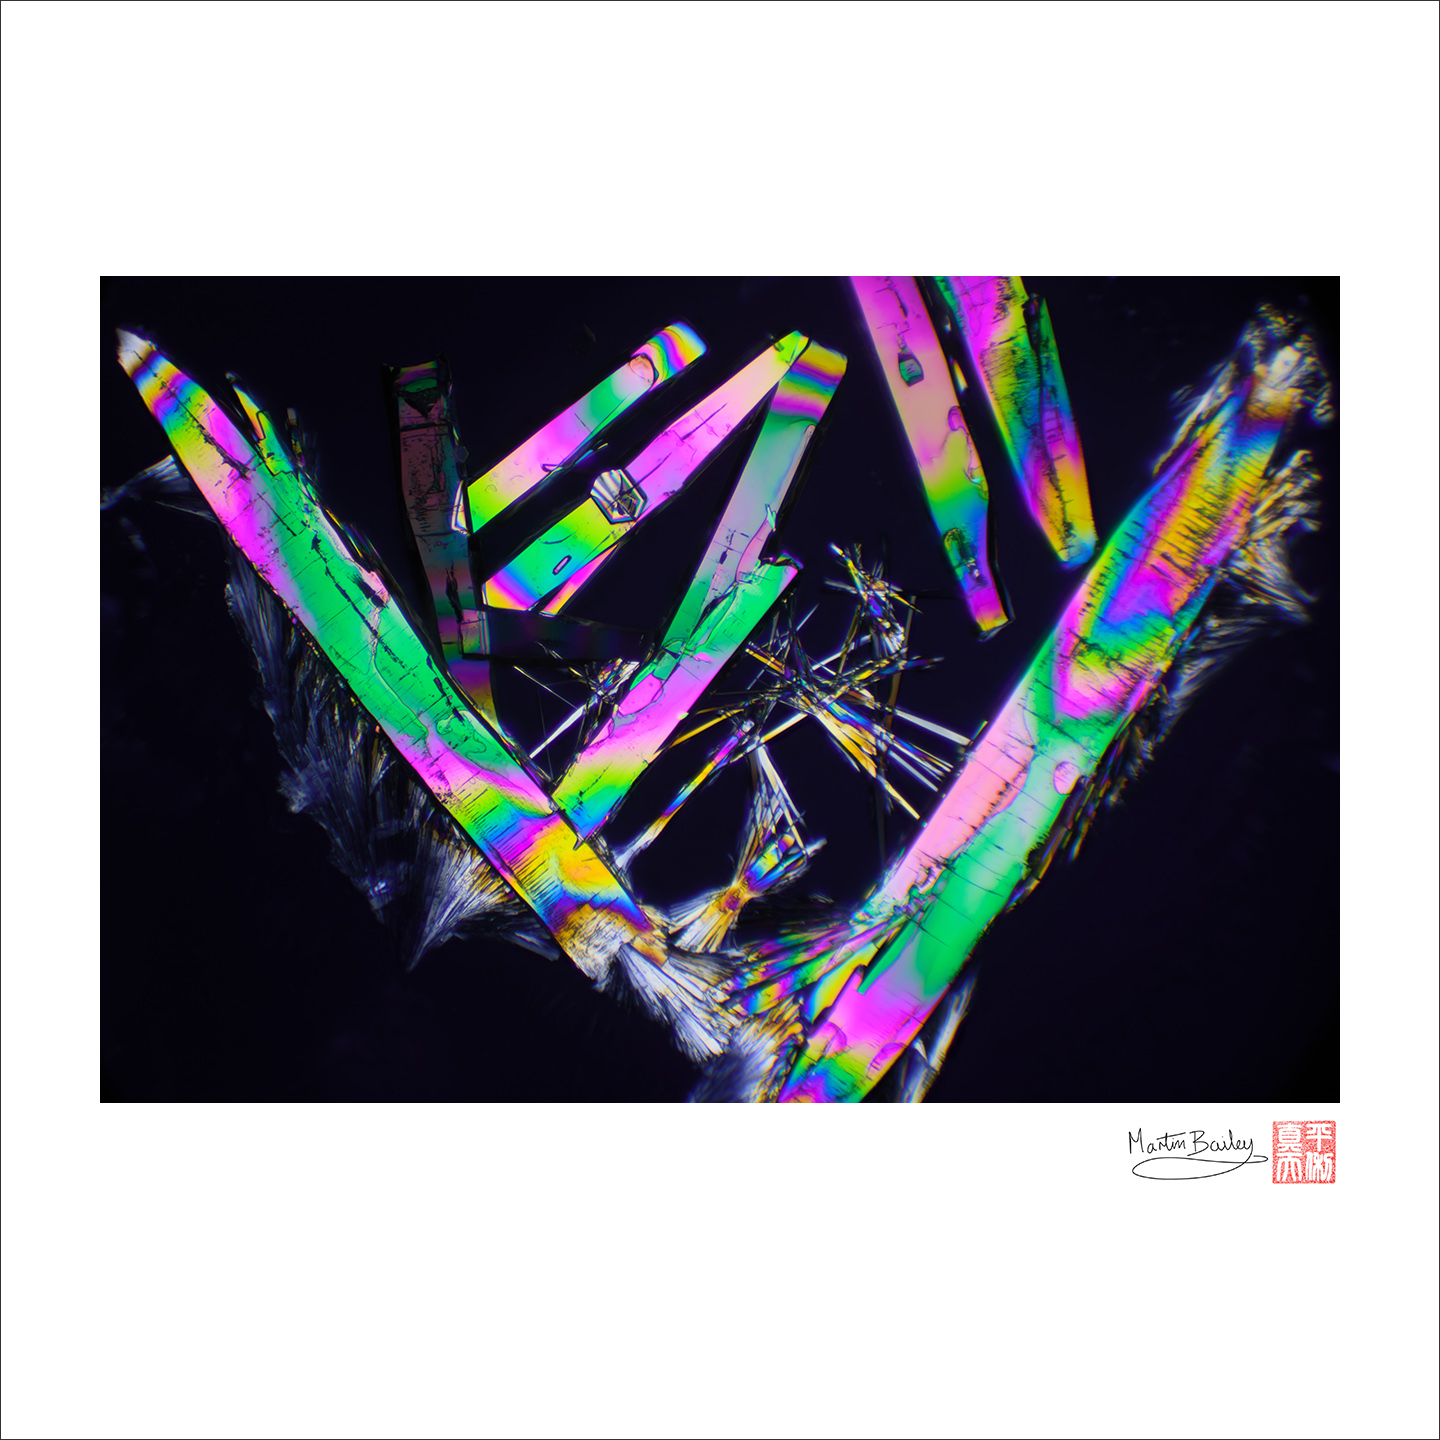
You don’t have to add a watermark, of course, and generally, for Instagram, I don’t, but this should be a good illustration of the precision of positioning etc. It’s also great for mocking up prints for sale if you sell prints that are signed. Just scan your signature and save it as an image file, and you can associate that with the plugin in the Watermark module and it will be used until you change it.
Printing Examples
The reason that I created my original Fine Art Border scripts back in 2013 was to prepare images for print with the Fine Art Border vertical offset already in place. If you print directly to the media size that you want as your final result, the border can generally be created by adjusting the border widths in your printing software, but getting the ratios the same each time you print can be challenging. I always used a spreadsheet with my calculated border sizes in it, and managed a large number of printing templates, and that can be avoided by running your image through this new plugin. If you are printing to the media size of your final print though, it’s best to uncheck the checkbox to add a 0.3mm stroke border around the outside edge of the image.
If however, you want to use the plugin to help you to save money carrying various media sizes, leave that border on, so that you can see where to trim after you’ve printed. The idea is that say for example you create prints for sale in say A4, 8 x 10 inches, A3, and 11 x 17 inches, but you don’t want to stock all of these sizes as sheet media in various finishes. Let’s imagine that you need an A4 and an 8 x 10 print and you have a 24-inch wide roll media printer. It takes just a few seconds to resize your images using my new plugin, then click on the Padlock of the background layer of one of the images in Photoshop to unlock it, then specify a canvas size small enough to print on your roll width. 24-inch rolls are 609.7 mm wide, so you can either specify say 600 mm, and print without any scaling, or if you know like I do that your printer requires a 3mm border on each edge, you could simply resize your first image canvas to 603.7 mm so that it will fit perfectly after deducting your printers minimum edge gap. Make the height something taller than the tallest print you need, say 220 mm in this example.
Because we unlocked the first image before resizing the canvas, the we can easily move the image in slightly, and then drop our 8 x 10-inch resized image onto the newly resized image, and position it to the side of the first image, as you see in this screenshot. If you print this at 220 mm high on 24-inch roll media, you’d have minimum waste and once trimmed, two perfectly sized prints.

Even if you don’t have a roll media printer, you can save on sheet media varieties in a similar way. Say you received an order for a print on A4 media, but you don’t have any A4 sheets available. You could resize and add the trimming stroke border, then print on something larger, like A3 media. Here is a screenshot of the Photoshop Print screen with a print resized to A4, about to be printed on A3 media. There’s a waste of media that we’d be trimming away, but it does save stocking lots of different sizes of sheet media. And of course, similarly, you could simply lay out two prints on the A3 page to minimize waste.
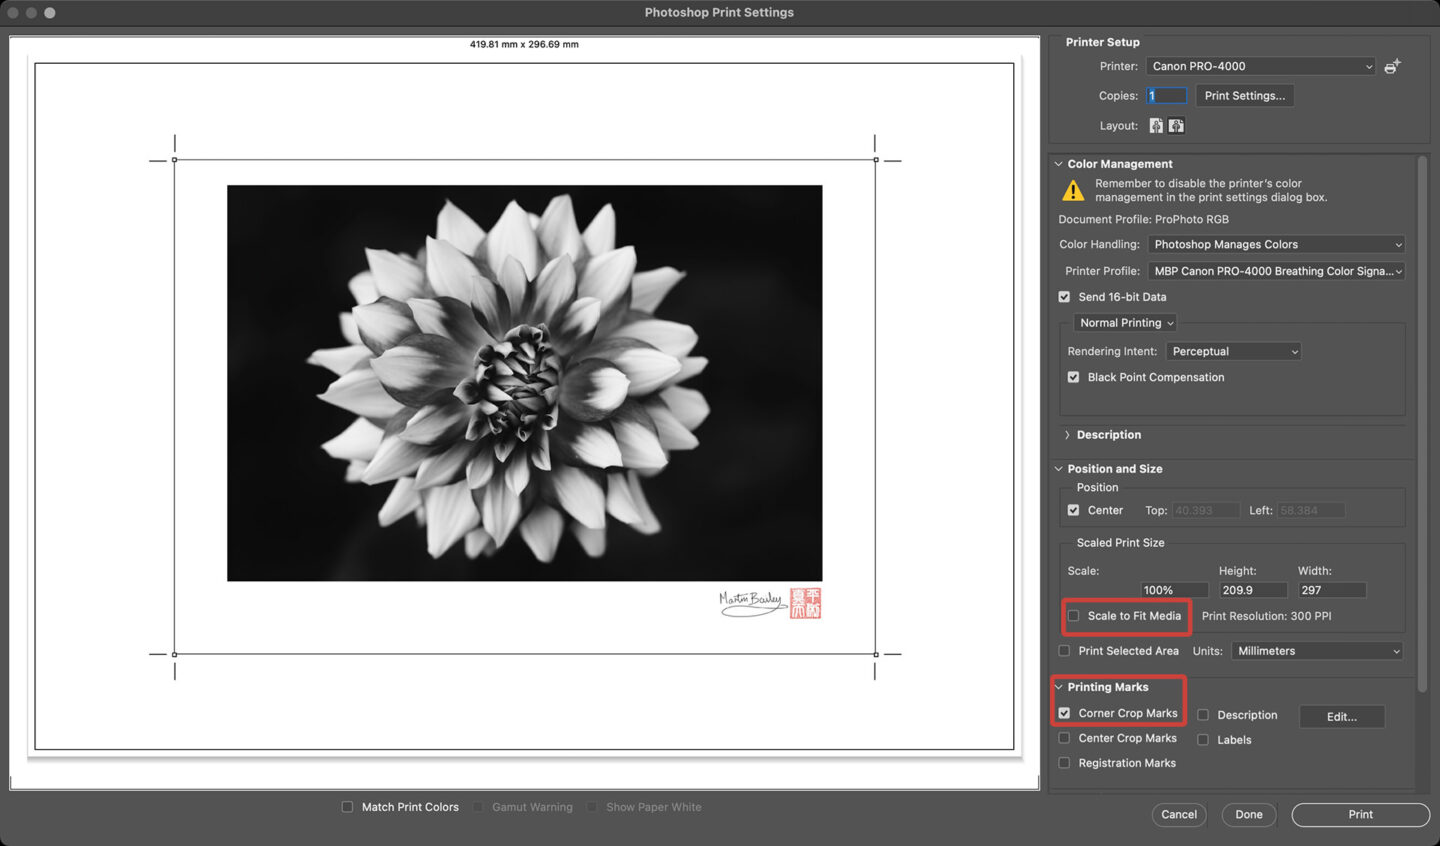
Note too that some programs have the ability to add additional trimming guides, such as the Corner Crop Marks that I turned on in Photoshop in the above screenshot. Also note that to ensure you print at the correct size, you’d need to turn off any scaling to fit the media. The images are currently saved in the original resolution or set to 300 PPI if the resolution isn’t set for any reason, but either way, it will be set so your resized images will be displayed at exactly the size you need if you print without any scaling turned on.
Click the MBP Fine Art Border Tools logo to jump to the Adobe Marketplace to pick up your FAB Tools!
OK, so that’s about it for this update. As I say, if you are interested in this plugin, and are checking out this post much after June 2021, please check the Product page for the latest information, and if you sign up for our Plugin Notifications newsletter and I’ll keep you in the loop. If you pick up a copy of the plugin and have any problems or suggestions, please do let me know via the support contact form.
※ Adobe, the Adobe logo, and Photoshop are either registered trademarks or trademarks of Adobe in the United States and/or other countries.
Show Notes
Jump to the FAB Tools page in the Adobe Marketplace with this link: https://mbp.ac/fabtmp
See FAB Tools product details here: https://mbp.ac/mbpfabt
Audio
Subscribe in iTunes to get Podcasts delivered automatically to your computer.
Download this Podcast as an MP3 with Chapters.
Visit this page for help on how to view the images in MP3 files.



0 Comments