

Visit Library for MBP Pro eBooks |
A few weeks ago, in my monthly Patron-only question time event, I received a question about creating and maintaining a photography website. I pulled together my thoughts, and the talk went well, but a few things have changed since then, as going through my website and taking stock of some of the plugins I was using got me thinking about a few areas in which I may be able to improve the site even further.
Before we start, I should let you know that my site is built on WordPress on a dedicated server. I have used and recommended working with WordPress for many years, as it enables me to extend the platform almost endlessly. Although we'll talk about the danger of having too many plugins, if managed well, it's a very liberating and useful platform to build pretty much any kind of website on.
One of the questions during our discussion was about my theme and how I integrated it with the Elementor Pro plugin. The theme I was using until just a few days ago was called Bridge, and I have used it for many years without thinking of changing it, until now. The thing is because I have bolted on so many things, like the main menu and all of the sliders and other page elements, I realized that the theme itself had become quite easily replaceable.
On a copy of my website, I change temporarily to the standard WordPress theme, and there were only a few areas that looked really out of whack. I had also become somewhat dissatisfied with the Elementor Pro plugin because there was a critical error that occurred after every update when updating the database. Despite many people complaining about this for several years, it was never fixed, so I revisited a plugin that I used briefly a few years ago and liked, which was a different page builder called Divi.
I had forgotten a large part of the Divi proposition, though, probably because I was so happy with the Bridge theme that I simply ruled this out. Still, Divi can be installed as a page builder inside another theme or as a full-blown theme with a page builder built into it. I grabbed and tried the full-blown Divi Theme and was impressed with how far they'd come over the last few years since I previously tried this product from Elegant Themes.
I figured I'd give it a try and found that my reliance on the Elementor page builder on some pages made the migration to Divi very difficult, as backing out of the Elementor page builder back to regular WordPress pages rendered many pages in various states of disarray, ranging from a mess to a total disaster. Turning on the Divi page builder is less destructive. Most pages can be converted to Divi with a few clicks, but once using the Divi Visual Builder, the amount of control you have over the page elements is astounding.
I'm treading cautiously because I imagine backing out of the Divi Visual Builder will be as destructive as backing out of Elementor pages. So, where possible, I'm trying to stick with vanilla WordPress. Still, some pages are made a lot easier by the Divi Visual Builder, and I'm feeling pretty comfortable that I'll stick with Divi, so when necessary, I'm flicking the switch. Besides, I also paid for the lifetime license, so unless Elegant Themes pull a swift one on their users, I should be set now for the foreseeable future.
It's taken me the best side of a week to check all of my pages, though, mainly because of the clean-up and rebuilding that I had to do, so I haven't yet made anything cool with Divi that I can show you, but as you visit posts if you are maintaining your site, especially if it has a blog, take a moment to check out the blog page, and the way the individual blog posts now look, including this one.
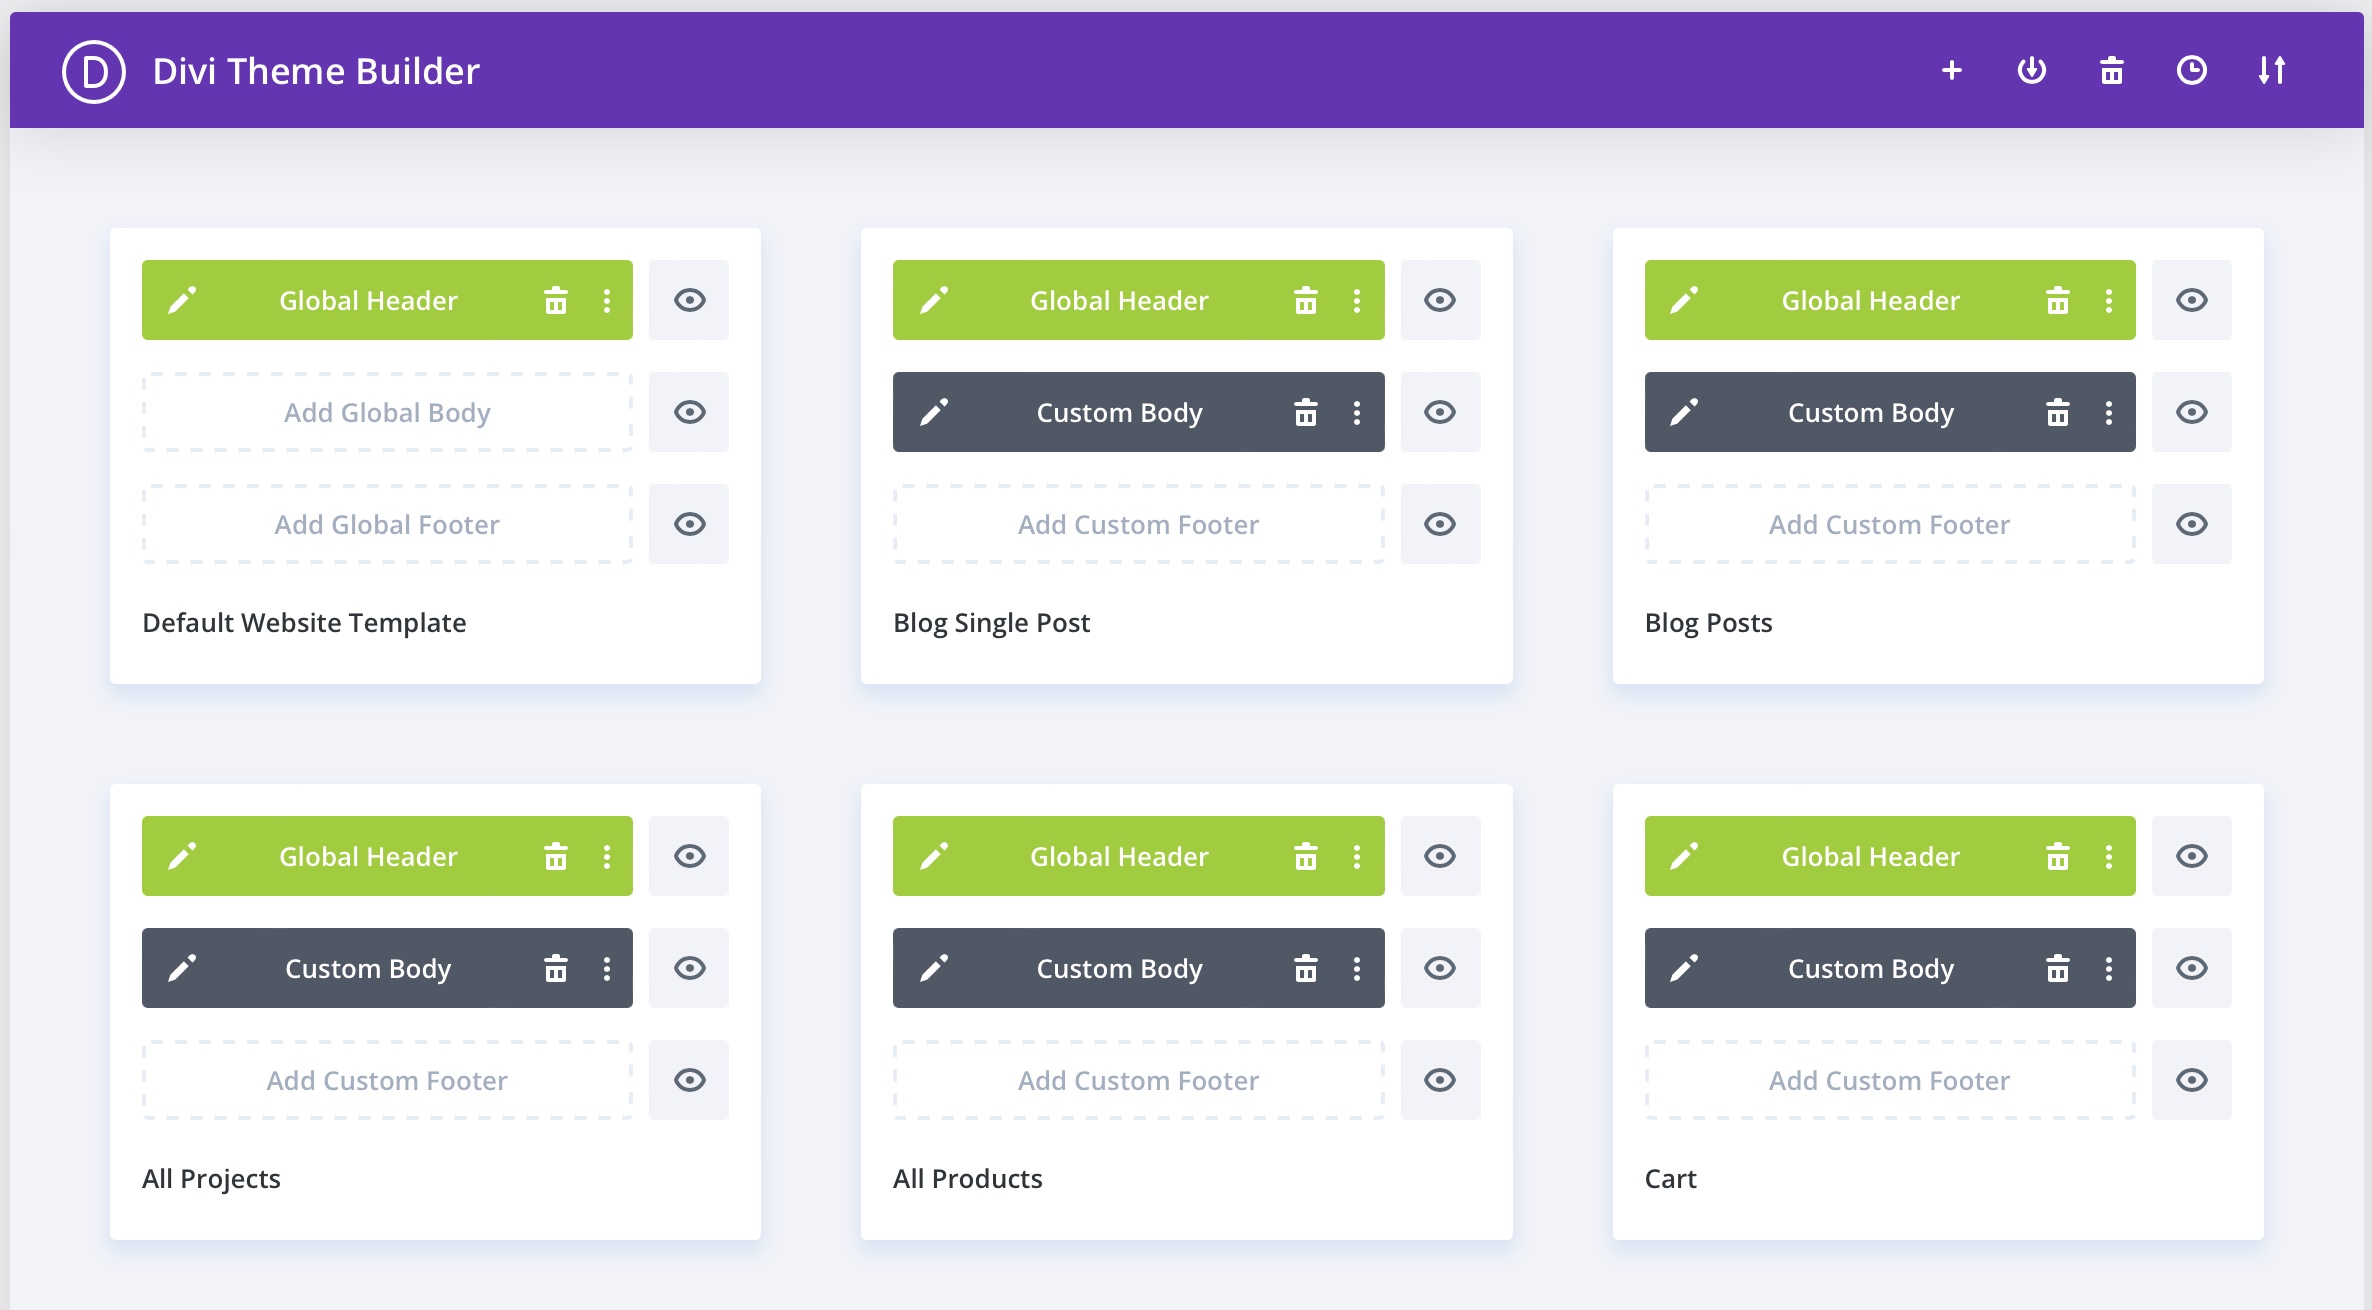
The featured image at the top of each post, the metadata, as well as the navigation is all coming from the Divi Visual Builder. I'm not sure if it will stay, but as you scroll down to the bottom of the post, you might also see a snazzy little animated divider between the post and the comments. That is created with the Divi Visual Builder and added as part of the blog post template created in the Divi Theme Builder, which is the place to create and assign templates to various posts and page types. You just create the template, and Divi ensures that all pages that match the criteria you select, such as all blog posts, are served using that template.
Anyway, a large part of the question I answered in the August Question Time was about the dos and don'ts of running a photography website, and as I came up with a chunk of advice, I figured I'd share some of that with you today. Please note, though, that first-hand discussion on these topics is a privilege of our kind supporting patrons, so if you want to get involved first-hand, please consider becoming a patron too at https://mbp.ac/patreon.
Photography Website Dos
Share Your Work
These aren't necessarily in any particular order, but one thing you have to do if you are hanging your hat as a photographer is share your work. I can name numerous photographers that have built a pretty respectable name for themselves as photographers without really sharing any of their work. I've spoken to people about this, when people have said something like, "Oh yeah, I know said respected photographer, he's great!" and I'd gone on to ask which of the photographer's photographs are their favorite, only to be presented with a blank face. They don't have one because they've never seen any of the photographer's work. Can you call yourself a photographer if people can't even recall any of your photographs?
Later I'll share details of the Meow Gallery and Lightbox, which are the plugins I use to create my galleries, including all of the Portfolio galleries that you will find under the menu at the top of each page. If you decide to share various portfolios in multiple genres, as I've done, you can also create a tiled gallery of portfolios using the Divi Visual Builder. Click on the Portfolios link to see what I mean. Note that behind the scenes, these are defined as Projects to Divi, not Portfolios.

Show Large Images
Also, when setting up a photo gallery to share your work, try to share your images as large as you can be comfortable with. I've seen amazing photographers share their work in 500 pixel-wide images because they are scared of people stealing them. This, for me, is an immediate put-off. If I'm going to give someone my time to look at their work, I at least want to be able to see their work at a decent size. Sure, some people will steal your work, so go and get a lawyer and claim your fees and damages. The majority of the visitors to your website, though, just want to enjoy your work, so try not to hamper that process by sharing tiny images.
Stay Focussed
Another piece of advice is to stay focused. If you are running a business or just a hobby website, it's important to share relevant work. If you are a wedding photographer and we are talking about your business website, then you should only be sharing wedding photography. In the case of wedding photography, of course, you will need model releases from your subjects, but staying on topic will help to keep your audience engaged.
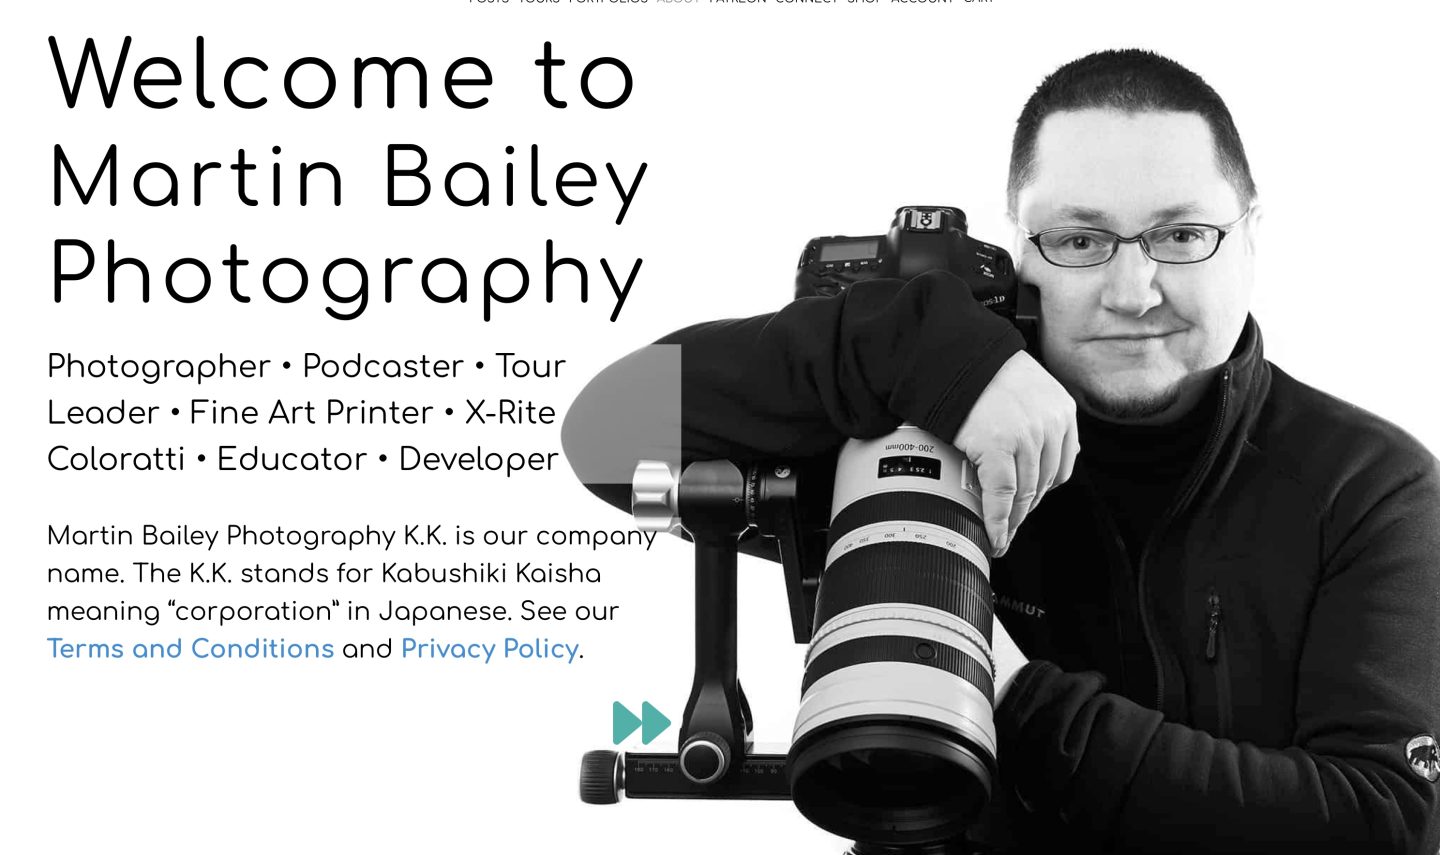
Create an About Page
Ensure that you create an About page that tells your audience and potential clients all about you. Include some of the achievements that help to give you credibility. People sometimes need a little help understanding why they should be interested in what you have to say or your ability as a photographer if they are thinking of hiring you.
Many of the plugins I have used and those that I'll recommend shortly come with example pages, sometimes multiple pages that help you to build nice looking About pages, and sometimes entire sites that look nice, so explore the templates and install a few to see what you can create.
Selling Online
If you sell anything online, I strongly recommend working with a plugin called WooCommerce, which is free, but you will probably need to pay for a plugin or two to make it work how you need it to. This is how they monetize their business, so don't be afraid to pay for some of it. Note that if you are selling digital products, though, I highly recommend Paddle and have a section on this towards the end of the post.
Another selling tip I learned early on is if you are going to talk about a product or service that you are about to launch, ensure that you have your commerce pages up and running before talking. If you ask for the mail addresses of people interested in buying whatever you are about to launch, 80% of them will not buy anything. If, however, you have a buy or pre-order button, you will make many more sales because people will put down their money while they are excited. It's human nature.
Build a Mailing List
On a related note, you must build a mailing list of people that want to hear from you. Whether you live in Europe or not, ensure that you abide by the GDPR because a proportion of your audience will almost certainly be in Europe, but start to build a mailing list as soon as you can.
It may come as a surprise, but the audiences you have spent years building on social networks will no longer see your posts simply because they follow you. You now have to pay to reach more than a few hundred of your most loyal fans, so unless you are prepared to pay to reach people you have already gotten interested in your antics, a mailing list is a direct link to their mailboxes and for at least a proportion of them, that will get their attention.
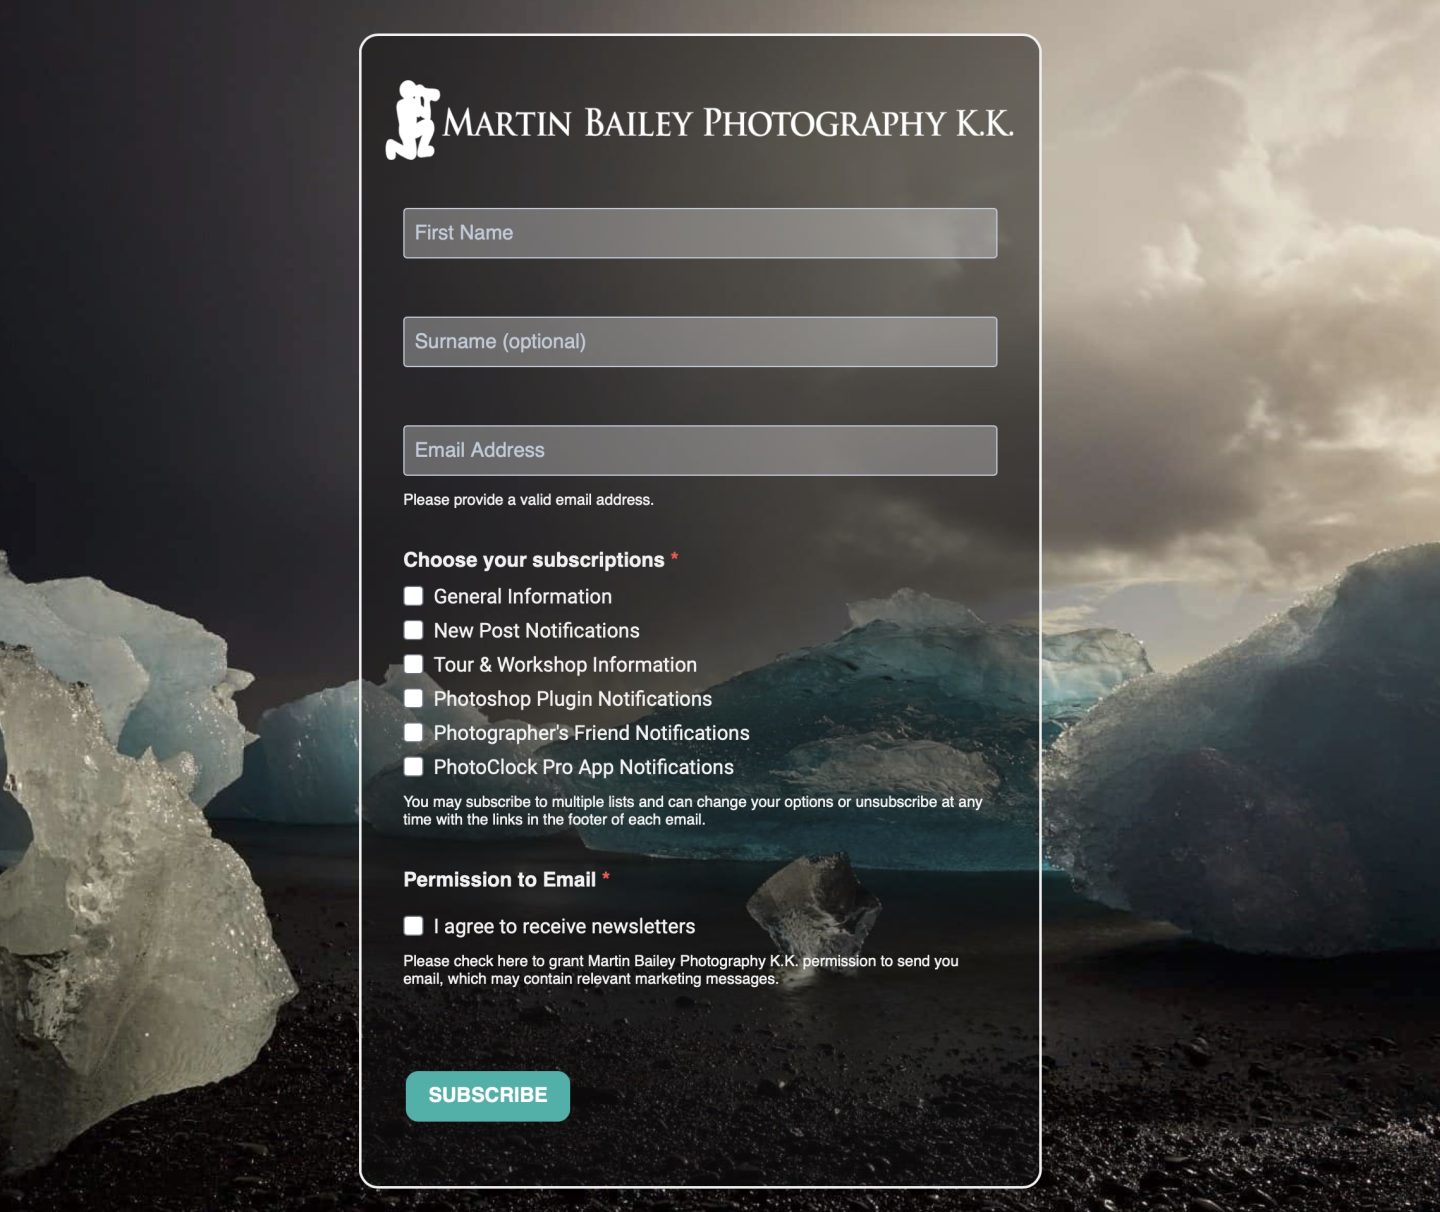
There's often more than one way to enable people to subscribe to your mailing list. If you hit the Contact Us link under the Connect menu above, you'll see a checkbox to subscribe to newsletters. If you turn that checkbox on, you'll see the interest groups you can select so that you only receive newsletters on the subjects you are interested in.
Also, because I send my newsletters out via a service that uses a specific domain and email address, I used the same domain to host a sign-up and maintenance form for newsletter subscribers, which you can see at https://mbp.news. You must have checkboxes unchecked by default to be GDPR compliant and allow people to choose what they want to receive, not deselect what they don't want to receive.
NOTE: To streamline newsletter delivery, I later decided to move the newsletter subscription pages to this website, and used the mbp.news domain solely for email delivery.
Include Images in Social Posts
Unless I have you running off to delete your Facebook page, when you do post to Facebook or any other social network, ensure that you have a featured image assigned to your posts, and even if you are just posting about something random, find an image that illustrates or compliments what you have to say. Simple text these days is not likely to grab anyone's attention, even if they have been chosen from your wider audience to be presented with your post.
Photography Website Don'ts
Don't Expect Any Visitors Without Doing Any Work
If you build it, they will not necessarily come. Just because you made a great-looking website doesn't mean people can find it or even be interested in looking for it without a little push. You have to work in some way to build an audience and you have to work to keep that audience engaged.
As you know, I built my audience by starting a Photography Podcast in September 2005. The Podcast is 17 years old this month! At first, I didn't expect my entire life to be changed by what I started, but I'm pleased with how things have progressed. I can't say that it has been easy, though. A lot of work goes into creating a releasing a Podcast, including creating the blog post and also an eBook for each post for my kind Patreon supporters.
I have reduced my commitment from a weekly podcast to release at least three episodes per month, and that is still tough at times, but that's mainly because I'm busy doing other things to forward my business. The decision to release the blog post for all episodes, including the backlog, was another part of my success. Having 17 years of blog posts helps with Search Engine Optimization or SEO.
Don't Dilute Your Message
In general, I recommend that you stick to a consistent message rather than diluting it with various topics. Still, as you'll have seen, I talk about many different photographic genres via the guests I've had on the Podcast over the years. My Photography work is mostly nature and wildlife interspersed with my travelogue-style episodes when I travel, so there is a general theme. The idea has always been to talk about photography through my own experiences in the hope that it helps you with your photography too. I'm super humbled and honored to have received messages of thanks over the years from people that I've been able to inspire, so I know I'm doing some things right.
Avoid Too Many Plugins
As I mentioned earlier I do recommend working with WordPress as your base platform because it gives you the freedom to add plugins to make it do different things, but I do recommend trying to keep the number of plugins you use to a minimum. This is ripe coming from me because there was a time when I was running over 100 active plugins. At the time of this episode, I still have 64 active plugins, which is a lot, but a lot less than 100. I am constantly evaluating whether or not I need each plugin. If I can remove anything and maintain all the required functionality for the site, I don't hesitate to deactivate and remove plugins.
When you run lots of plugins, the risk of them conflicting increases, and conflicting plugins can cause all sorts of annoying problems. One of the most annoying things is that when you do get a problem, the first thing plugin developers ask you to do is to deactivate all other plugins and see if the issue persists. This is generally not possible on a live site, so you must clone your site to a staging environment to check.
Security Concerns
If you allow people to create accounts on your website, especially if you run something like WooCommerce and save customer details, you have to be especially careful about security. Many companies ask for access to your website when they need to troubleshoot an issue with a plugin. Although you can probably trust most of these people, I choose not to trust any of them because that's the only way I can be sure that no one will steal my customer or user information and sell it to a third party.
Create a Staging Site
If you must provide access to your site to a third party, I highly recommend using a plugin like WP Staging Pro to make a copy of your website that will be accessible under a subdomain, and before you create an account to let the third party in, you have to delete all user accounts and all order information from your e-commerce solution. The only way to protect your users' and customers' personal information is for it to simply not be there.
I also change my admin password on the staging site so that the third party has no way to sniff my password and use it to access the production site. The important thing is to use your imagination, think of ways that could be potential security holes, and plug them up on your staging site.
Another good plugin is Shield Security which helps to fortify WordPress in various ways to help keep out the bad guys, and there are audit trails as well, so if something goes wrong, you have a good chance of seeing who got in and what they did.
Recommended Plugins
HollerBox is a great plugin to show email subscription forms or popups to alert site visitors to things you might be promoting. Keep in mind that people generally don't like popups, but when you consider the amount of work that you put into your site, it's fine to impose on your visitors to a degree. In many cases, if you promote things that you feel might benefit your visitors, you may find that people simply needed to be made aware of what you are selling or promoting.
The menu at the top of the MBP website is created with a plugin called Max Mega Menu, which enhances the standard WordPress menu system. It can be integrated into any theme, although some will take more work than others.
Meow Gallery and Meow Lightbox are responsible for creating most of the image galleries you see on our website and also for displaying the cool Lightbox that you see when you click on the images embedded into posts and the images in my portfolios etc. The Meow Gallery works with standard WordPress galleries, so you don't end up with lots of proprietary galleries that leave you dead in the water if you decide to change plugins. There are many different styles of galleries to choose from and they all look great.
Meow Lightbox looks great and above all, I love the fact that it displays the EXIF shooting data for images that you upload to WordPress. You can also define a class that tells Meow Lightbox not to display when an image is clicked, say for when you have an image that you need the visitor to click to jump to another page or website. Just add the class you defined to the image in the WordPress interface, and Lightbox will ignore it.
As customizable as WordPress is, there may be times when you have to add some code to make additional features available. For this, I use Post Snippets Premium. This enables me to check the inventory of my tour booking products and display text either telling a visitor that there are still some places left or that the tour has sold out and offering a link to contact us to be added to the cancellation waitlist.
Slider Revolution is another plugin I would not like to be without. Although some of the sliders that you see on my website were made with Smart Slider Pro, for many years now I have preferred Slider Revolution and use it for most of the animation that you see on this website.
You can make your website compliant with Termly. I started using Termly for GDPR and Cookie consent compliance but now use it to maintain our privacy policy, cookie policy, and terms and conditions pages. This may not be necessary for a personal website, but if you are running a business, it's worth looking into.
YOURLs Link Creator
Although there is a WordPress plugin to link the two sites, I also strongly recommend using a product called YOURLs Link Creator to create a server that creates short links for your WordPress posts and pages so that you can avoid sharing long and cumbersome links in your Social Media or verbally, as I often do in the Podcast audio. You'll have heard me give a short link such as https://mbp.ac/789 to jump to this episode of the Podcast. To create that link I have set up a YOURLs server and I simply enter the keyword 789, which is the episode number for this week's podcast, into a field in the WordPress post editor. Then when I publish the post, the YOURLs site automatically creates the link for me.
It's important to get a very short domain for use with your YOURLs server. I was pleased when I was able to get mbp.ac for this purpose. I also recommend getting an SSL certificate for your server, and your main server for that matter. Running a site on plain HTTP now displays warnings to potential visitors, and search engines will lower your score considerably if you don't run your site on HTTPS with a trusted SSL certificate. Ironically, the YOURLs team do not have an SSL certificate, which is pretty strange in 2022.
Zapier
One other service I'd like to recommend you take a look at is Zapier. Zapier is used to automate tasks and link online services that would otherwise not be able to talk to each other. It can be costly, but if you automate several tasks that would generally take up your time to complete, you will make your money back over the year. I have Zapier announce new MBP blog posts on my social media networks, and it also grabs user details for people that sign up for newsletters via my contact form, which otherwise has no newsletter integration. It can take a little time to put together complicated Zaps, but once they are in place, they start to save you time and money immediately.
Paddle for Digital Products
One last recommendation is Paddle if you intend to sell digital products online. International taxes on digital products such as software and ebooks are now so complicated that you need to sell through a third party that takes care of taxes for you. Some countries have put unrealistic requirements in place as well that just cannot be met by small businesses. I'm not sure if this is still the case, but a few years ago, India required that you hired an accountant in India to process your tax payments. When you sell just a handful of products in India a year, it's not realistic.
Another reason that I chose Paddle, after several other companies that fell flat, is because Paddle correctly includes the Japanese Tax Registration number for companies selling in Japan into the invoice they generate. I asked FastSpring to do this more times than I can remember, and it was never done. Also, note that although FastSpring may contact you to show your WordPress website working flawlessly with their WordPress plugin, their plugin is a piece of crap, and they don't support it. If you get stuck, you'll be told you are on your own.
If you sell digital goods via WordPress, Paddle is the way to go. Note, though, that Paddle also do not have a WordPress plugin, but they have resources to make coding what you need to sell products a breeze. I created several code snippets in Post Snippets Premium that I embedded into my product posts, and then each product is created with a WordPress Custom HTML widget.
OK, so that's about all the advice I have on creating and maintaining a photography website for now. Note that none of the products or links provided in this post are sponsored in any way. These products and services are what I use daily and are recommended purely because they are great, and I hope you find this useful.
Show Notes
Check out Divi from Elegant Themes here: https://www.elegantthemes.com/gallery/divi/
WP Staging Pro: https://wp-staging.com
Shield Security: https://getshieldsecurity.com
Holler Box: https://hollerwp.com
Max Mega Menu: https://www.megamenu.com
Meow Gallery and Meow Lightbox: https://meowapps.com
Post Snippets Premium: https://www.postsnippets.com
Slider Revolution: https://www.sliderrevolution.com
Termly: https://termly.io
YOURLs: http://yourls.org
Zapier: https://zapier.com
Paddle: https://www.paddle.com
Subscribe in iTunes to get Podcasts delivered automatically to your computer.
Download this Podcast as an MP3 with Chapters.
Visit this page for help on how to view the images in MP3 files.

As usual, more great advice and very thorough when addressing the key issues. Thanks Martin
Hi Bruce,
Great! I’m pleased you found this useful.
I hope all is well.
Regards,
Martin.