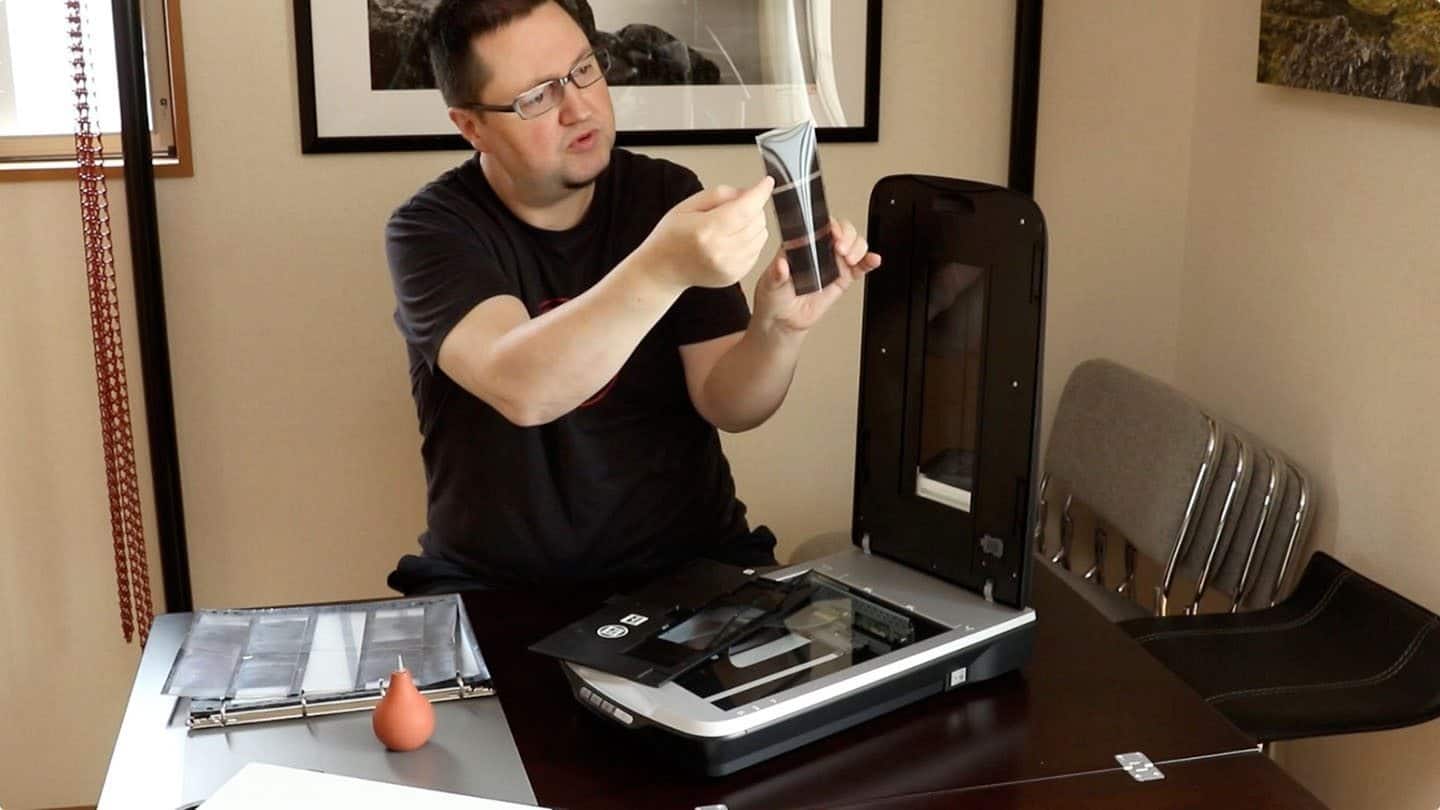
This is part 4 of our Film Fun series, in which I walk you through scanning medium format 120 film into the computer.
The podcast released for this episode is just an iPhone optimized low-resolution version of the full-sized video, which will enable you to view during your commute etc. but to see any detail, it’s best to view the full-sized video below.
Here’s a rundown of the entire Film Fun series.
- Part #1 – Loading and Unloading a Yashica-D TLR Camera with 120 Medium Format Film (see here)
- Part #2 – Feeding 120 Film into a Paterson Reel for Developing (see here)
- Part #2b – Feeding 120 Film into a Paterson Reel inside the Changing Bag (see here)
- Part #3 – Developing a Roll of ILFORD 120 Black and White Film (see here)
- Part #4 – Scanning Medium Format 120 Film (video below)
Although I shot film for around 20 years until around 2000, I never had the chance to develop my own, so this whole experience has been very new to me and a LOT of fun. I have much more experience scanning film though, so this video is perhaps the one which I am most confident of the content, but I have enjoyed the entire process, and I hope you’ve enjoyed joining me on this initial Film Fun journey.
Here are the links to all of the products required for this process on B&H Photo. You can help to support the podcast by using these links. Use this link if you don’t see the products below: https://mbp.ac/bhfdp
Film Related Posts
[ess_grid alias=”film-posts-grid”]
Show Notes
See this video on our Vimeo channel here: https://vimeo.com/martinbailey
See our Recommended Film Developing Products page on B&H: https://mbp.ac/bhfdp
Subscribe in iTunes for Enhanced Podcasts delivered automatically to your computer.
Download the low-res Podcast in MP4 Video Format.


Cool Stuff. Thanks for taking the time to podcast this little series. I was surprised you use the epson scan software since so many people don’t like it. I use epson scan software for some and perfectcolors photoshop plug in for some. It all depends on the negative or my mood.
thanks again 🙂
Charlie
You’re welcome Charlie!
You know, I looked into some other software, but as this really isn’t something I’ll be doing a lot now, I don’t think it’s worth buying something else. Plus, if other listeners buy or own an Epson scanner, this is already available to them.
Thanks for sharing your experience in the four part series. Videos were great, look forward to seeing more in the future.
You’re welcome Alex. I’m pleased you enjoyed these.
Wouldn’t output to 16bit gray or 48bit color output, or you didn’t notice any difference with 8bit output ?
I don’t understand your question Luc. I used 24-bit color, which is plenty. Where do you get 8bit output from?
Basically 8 bit per channel. My gut feeling would be to scan at 16-bit grayscale since it’s a B&W negative.
Not sure if there’s more information in the color channels (probably depends on the hardware and driver handling of the data).
In the old days, some people would scan 16-bit per channel in color (48-bit image) and maybe keep only the green channel (more noise on the other channels supposedly). Or do a “Silver Efex” process on the RGB data.
Just wondering…
Aah, I see. I’m using color because the negatives are not 100% black and white. They have a very subtle sepia tone in them that I do not want to remove by scanning in B&W.