
Visit Library for MBP Pro eBooks |
Having just completed this year’s Hokkaido Winter Landscape Photography Tour, today I’m going to start a three or four-part travelogue series to walk you through our antics as we made our way around the beautiful northern-most island of Japan for twelve days.
I’m always a little nervous as we start this tour, because the success of at least the first location, Biei, depends on us getting some falling snow while we are there. I plan for three days in this area partly to give us a better chance of getting that, but also because there are lots of things to shoot. In the past, we’ve gotten to the last few hours of daylight on day three before it snowed, and that was nerve-racking.
Biei
On this visit, it started snowing as we arrived in the area on day one, which is a huge relief and takes the pressure off for these first few days, but of course, we had to get out and do our photography before that became a given. We started with the trees behind the Takushinkan gallery, as usual. You wouldn’t know it from this shot, but without the falling snow, there is a brow of the hill just above the top of the trees behind them, and I love it when that is erased by the snow.
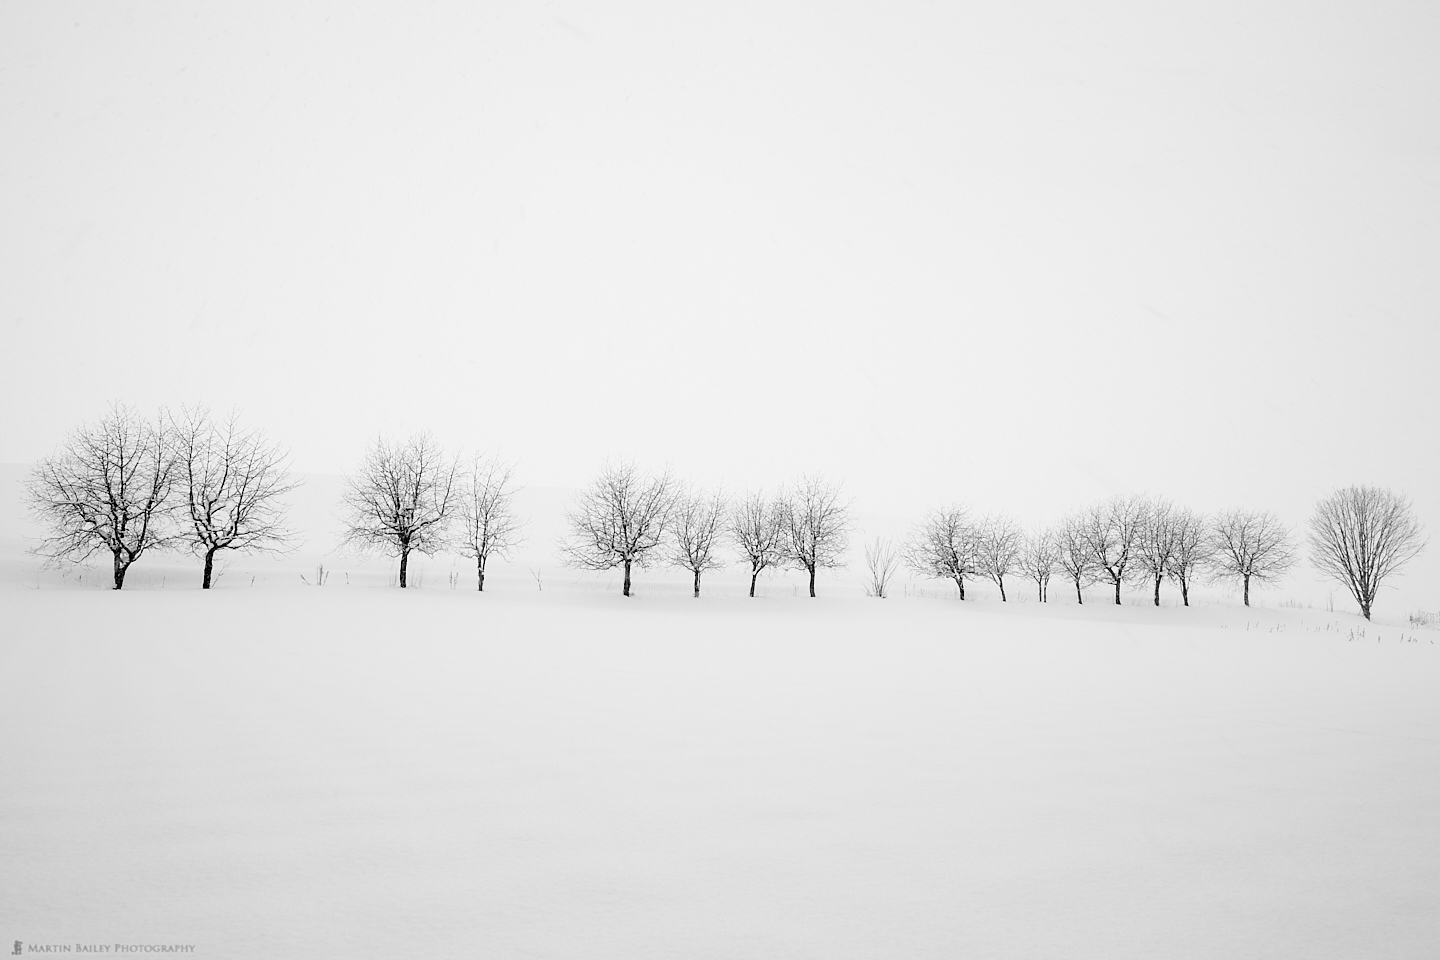
Even as the snow stops and the sky lightens I get completely put-off by this scene, and others in this area. The snow minimalizes everything and helps to create the look that I think suits this area so well.
Here’s another example, where the falling snow renders the scene in a beautiful minimalist style. I love how you can barely see the top of the hill against the very slightly darker sky here. I also love to see the faint shadow below the tree, and then how the patches of grasses punctuate the hillside.
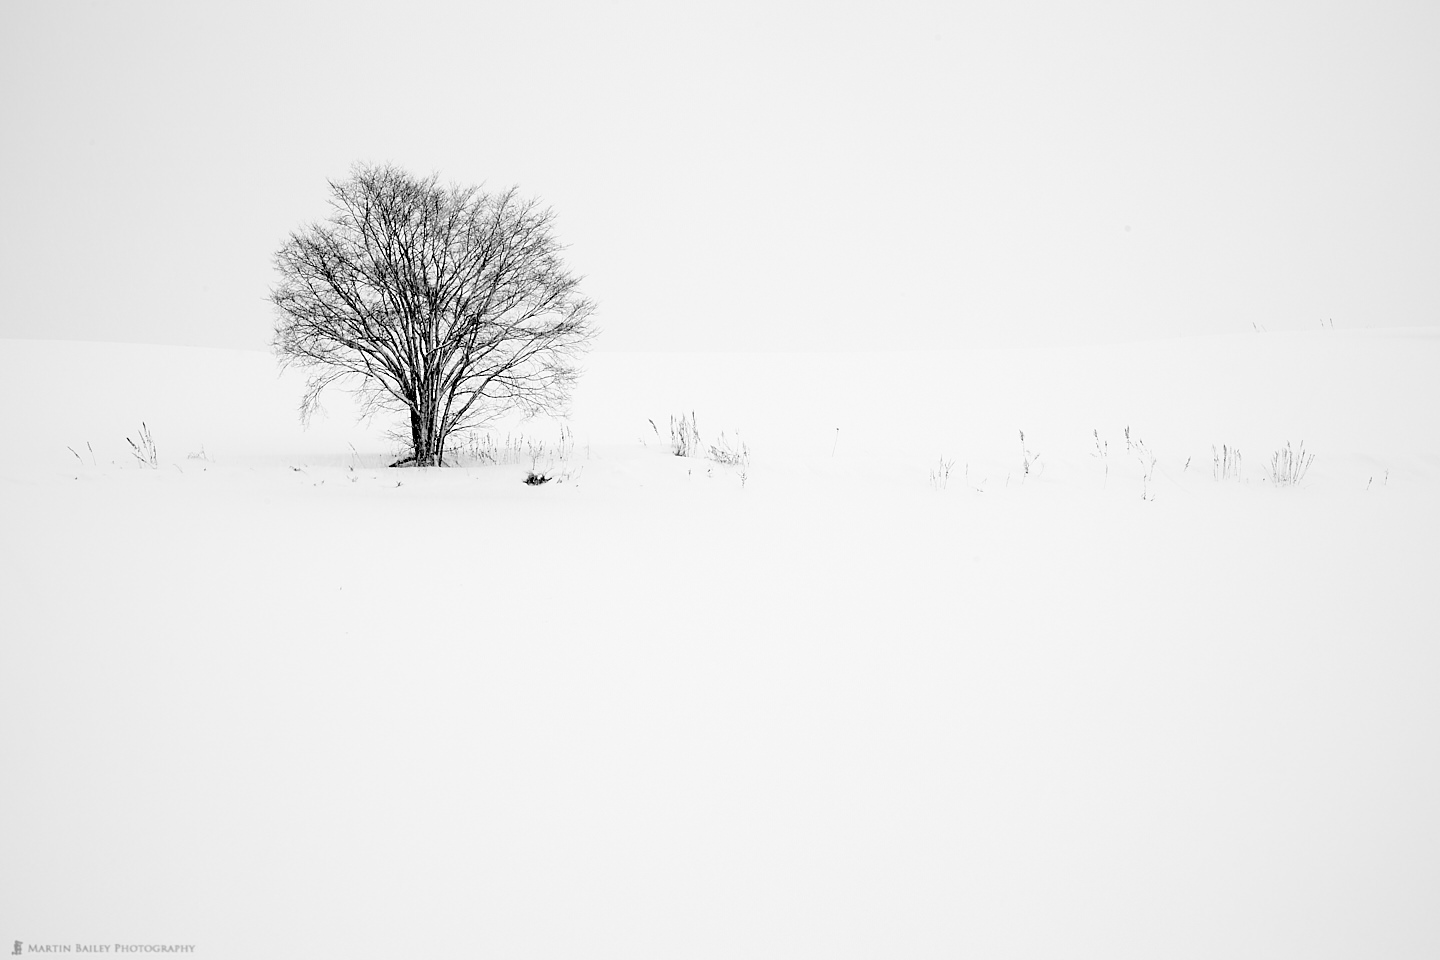
This is really what this area is all about to me, and I love sharing these scenes with the guests on this tour. As I’ve mentioned in the past, I now have a piece of software on the Website that includes the EXIF shooting data with the image in the lightbox that is displayed when you click on the images, so if you want to check my settings for any of the shots, just click or tap on them to view the lightbox.
In stark contrast, as we walked along the hills in Biei, the late afternoon sun broken through the clouds to the right of this next scene, illuminating the foreground snow, outlining it’s texture while leaving the sky dark, which I enhanced a little in Capture One Pro to exaggerate the difference between the sky and the snow.
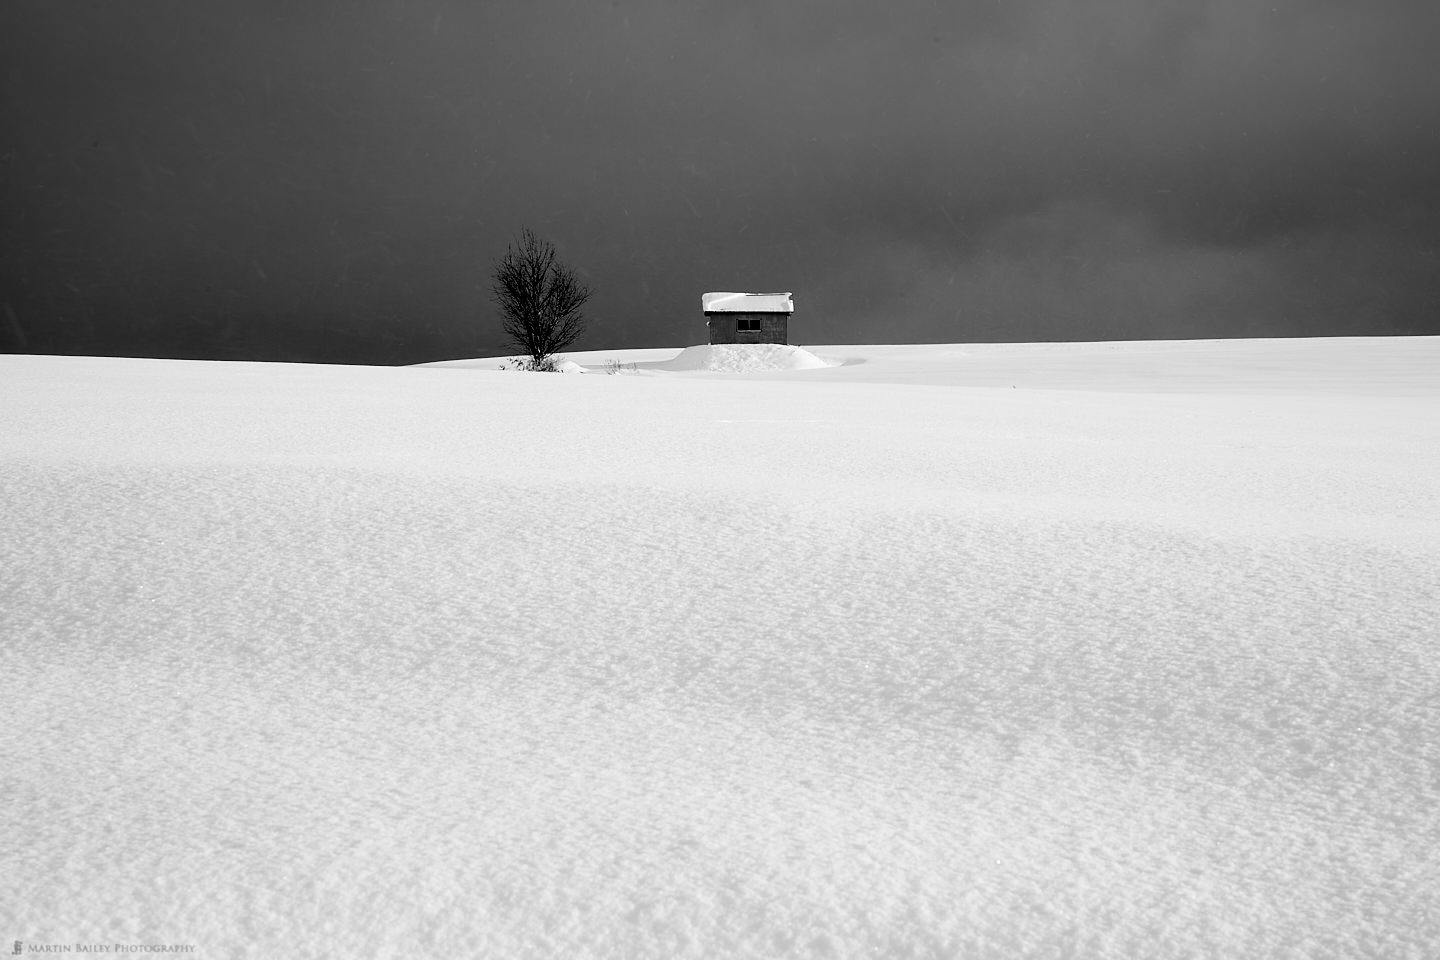
I do like this as well and think that I’ve kept a relatively minimalist feel to the image by not zooming in on the hut and the tree as much as I could have. Leaving them small in the scene helps to keep it simple, and also feels more effective when viewed as a large print, kind of as a reward for walking up close to the print.
The following image is another that you’ve seen before from previous years, but I can’t resist doing this. Again, it kind of requires you to look at a higher resolution version, but when you look closely at the line of trees in this image you can see that the falling snow has made the trees look like a pencil sketch, which once again, I find really appealing. I like to aim for a shutter speed of between a 1/40 and a 1/20 of a second to create this look.
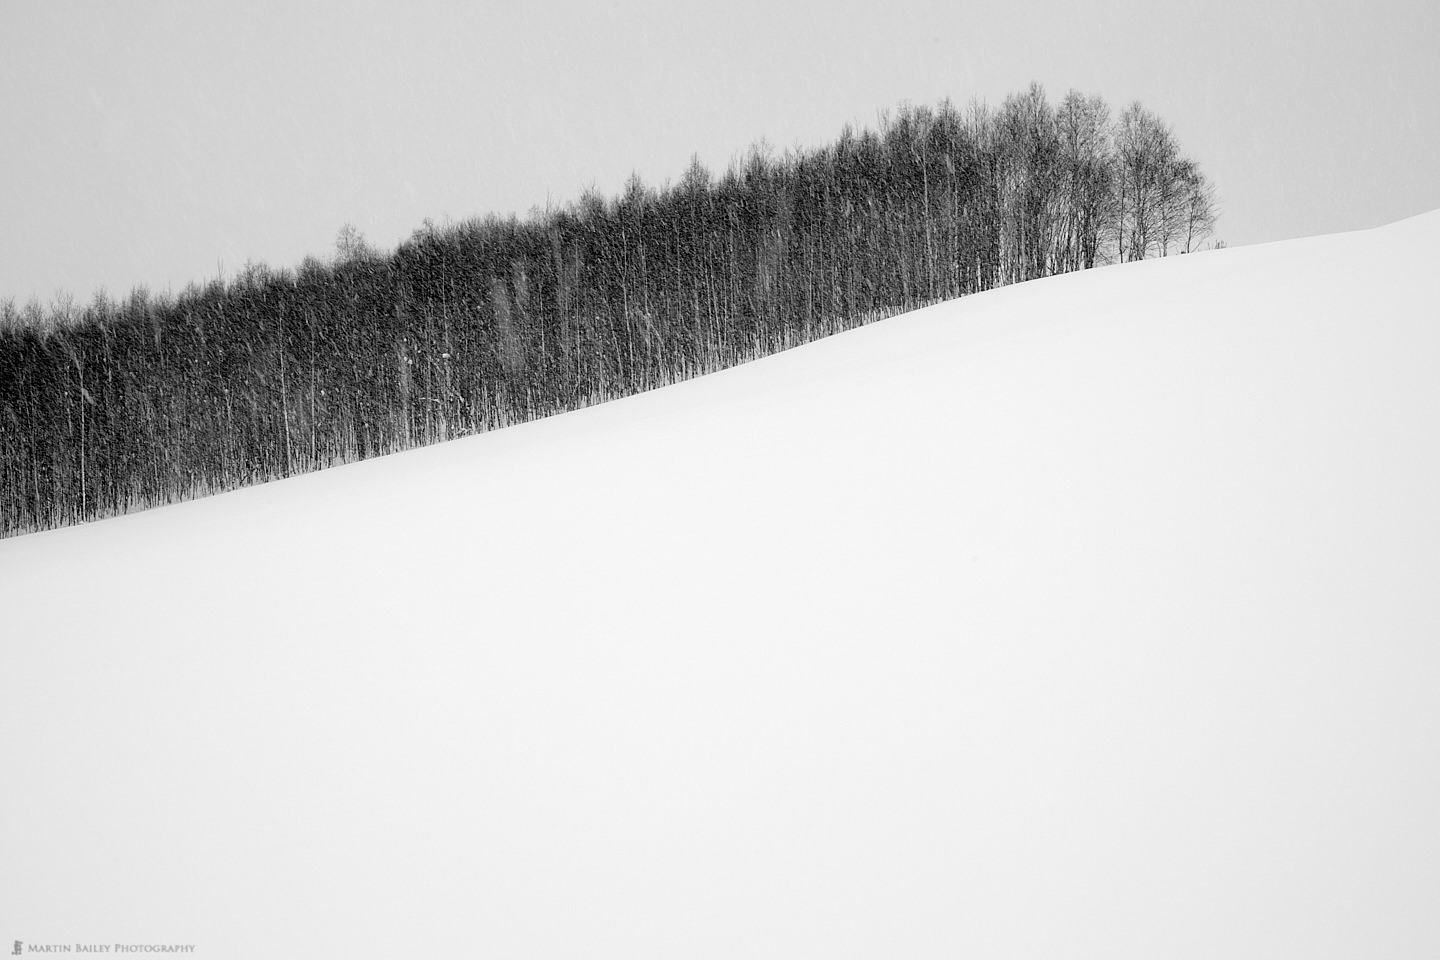
Something that often comes up as I work with the group here is how I decide where to place the line of trees in the frame. My usual way of thinking about this is, if the subject is physically higher than I am, as in, I’m looking up at it, I tend, more often than not, to place that subject near to the top of the frame. If I place it anywhere else, you lose the feeling of it being higher, and I think that is important. Also, I ask what the better of the possibilities, a white field of snow, or a blank white sky. I personally prefer the snow, but that’s mostly in a symbolic sense. As far as the photo is concerned there really isn’t much difference.
The next photo from day two was a bit of a bonus. There wasn’t as much snow in Hokkaido, as usual, this year, and that has probably left more food in the hills for the crows, so this was the first time I’d seen what I conceitedly call Martin’s Tree with a murder of crows perched in it.
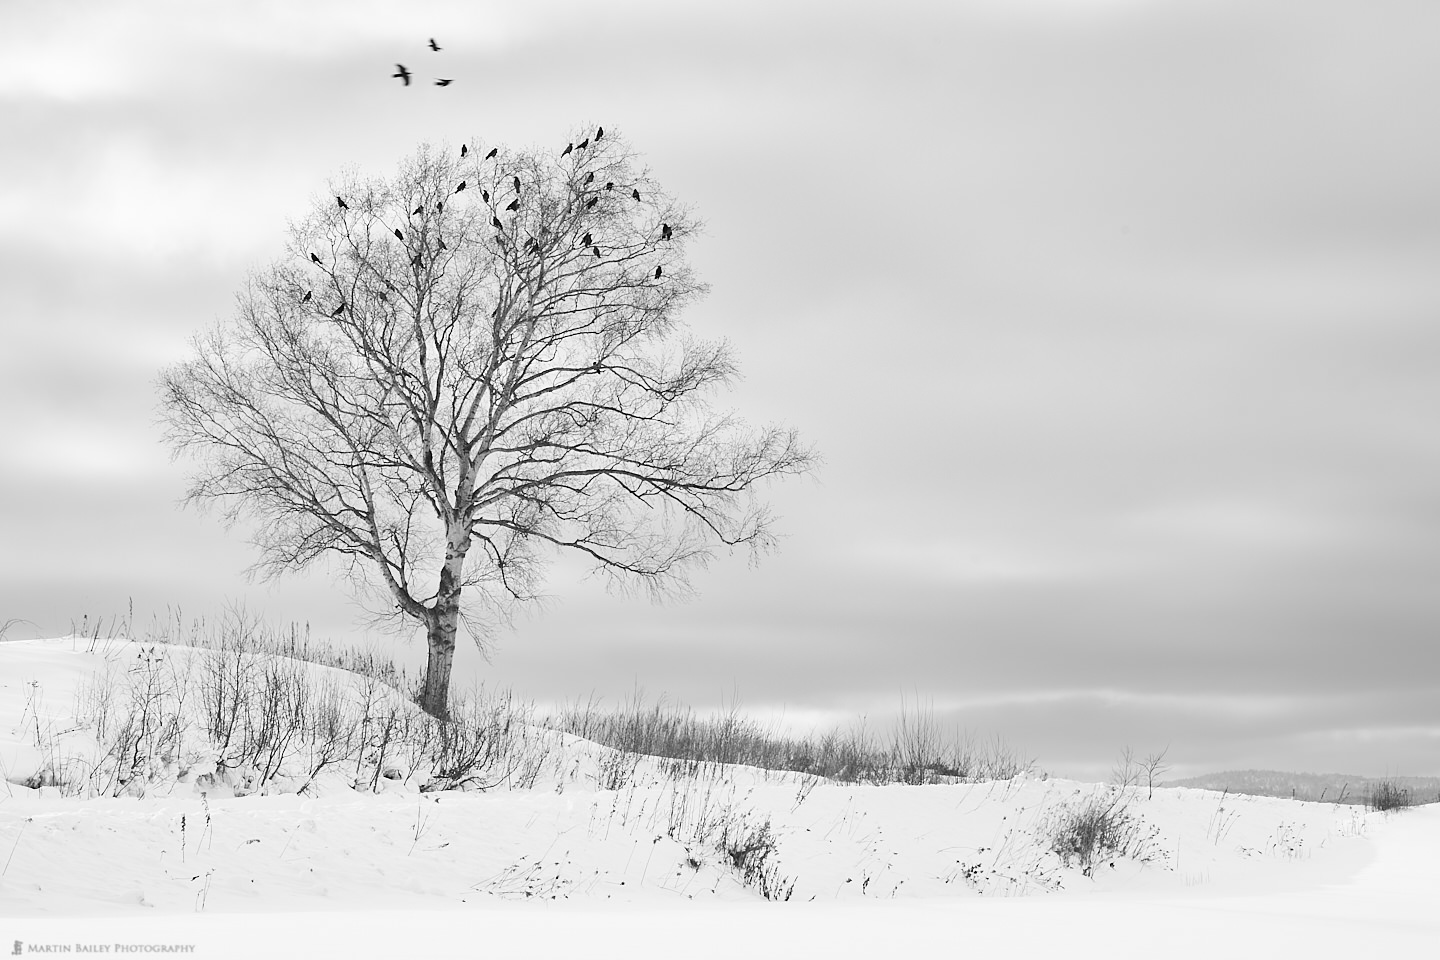
I left my shutter speed slow as some of the crows took flight, to add a little dynamism to the shot, and feel that the blurred crows add a slightly stronger Hitchcock feel to the scene. The texture in the sky for this shot also adds to that feeling, so I am pretty happy with this.
Another thing that I’ve not really seen at this spot in all of the years I’ve been traveling there, is the shadow of the tree on the snow, as we can see in this next image.
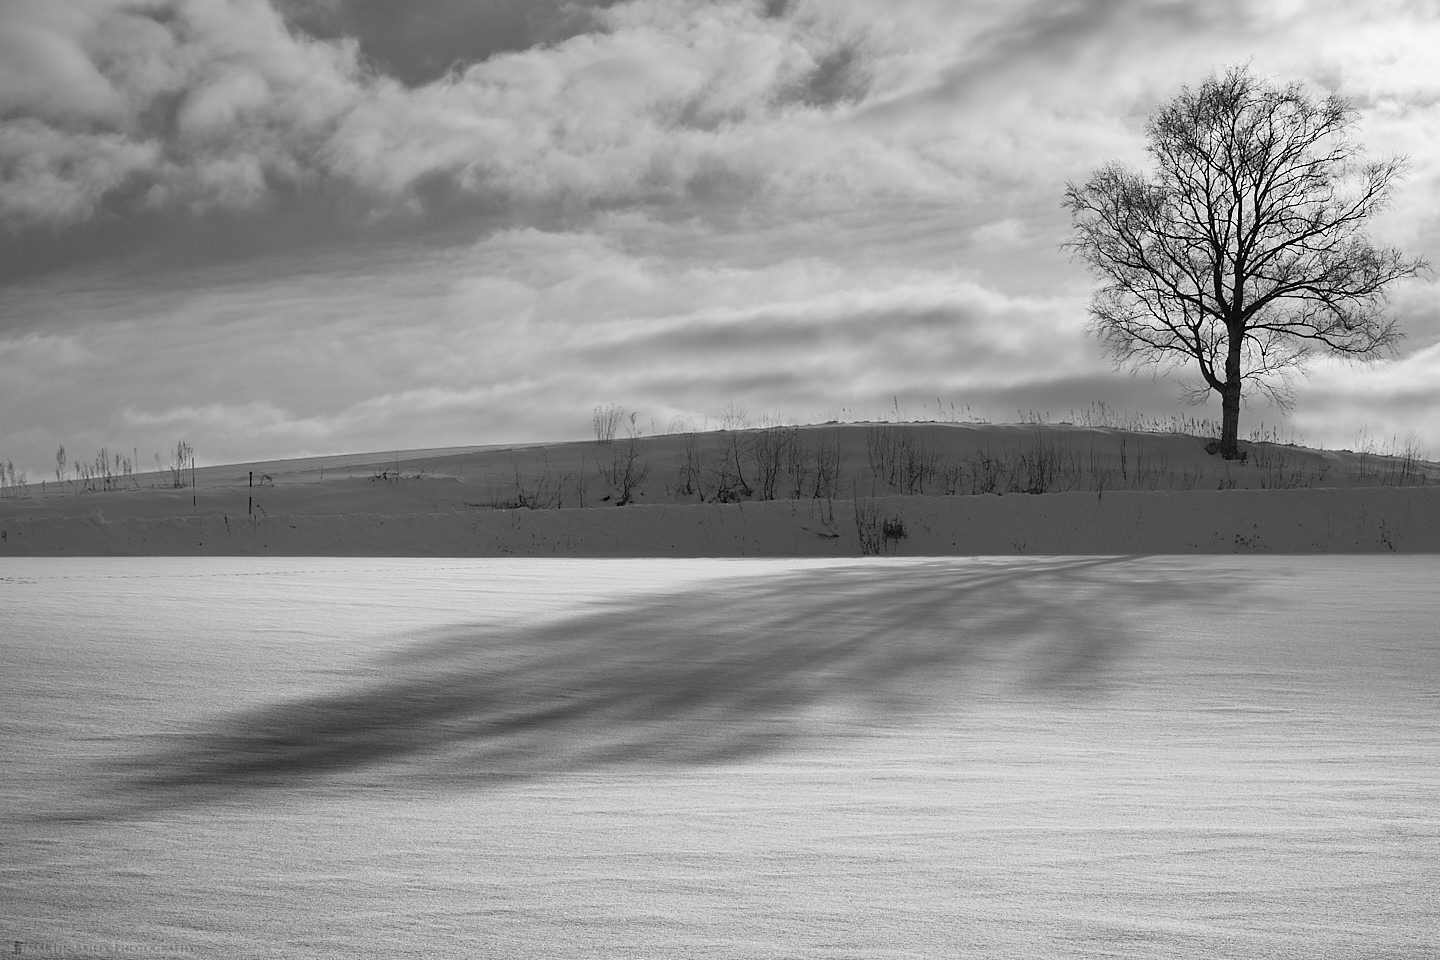
This was somewhat difficult to process, as I exposed for the highlights in the sky in the top right corner, leaving the foreground snow very dark. I did most of the work in three layers, one to bring out the detail and texture in the sky, a second to lighten that central bank of snow, as that was almost black, and then a third over the foreground snow. That third layer, covering most of the bottom of the frame has a tone-curve on it that snakes back and forth across the center line to create almost white snow while enhancing the shadow.
On our third day in the Biei area, we drove around to Mount Asahi to photograph the scenes either side of the ski slope there. On the way, we stopped to photograph the pillows of snow forming on top of the rocks in the river, that you can see here.
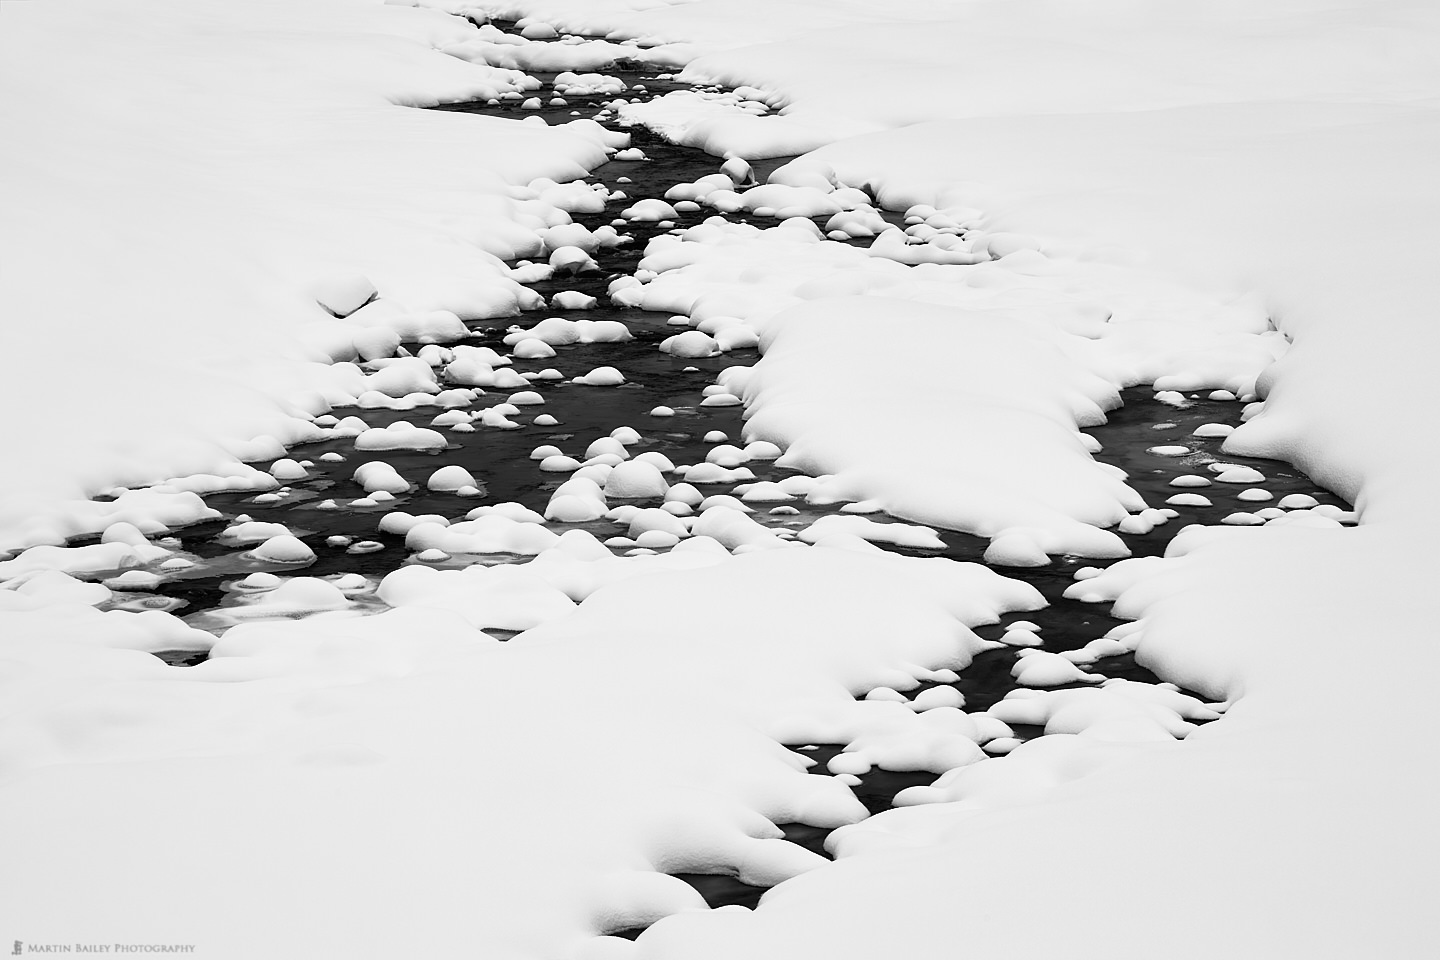
I usually shoot this with a much longer focal length, but I stayed pretty wide at 120 mm for this shot, as the individual pillows didn’t do much for me this year. They were small and not really well-formed, so I decided to portray the larger scene instead.
I took my new Rolleiflex TLR camera on this trip and shot a total of six rolls of 120 format film, and here is the first one I want to share with you, of the trees at the side of the ski slope.
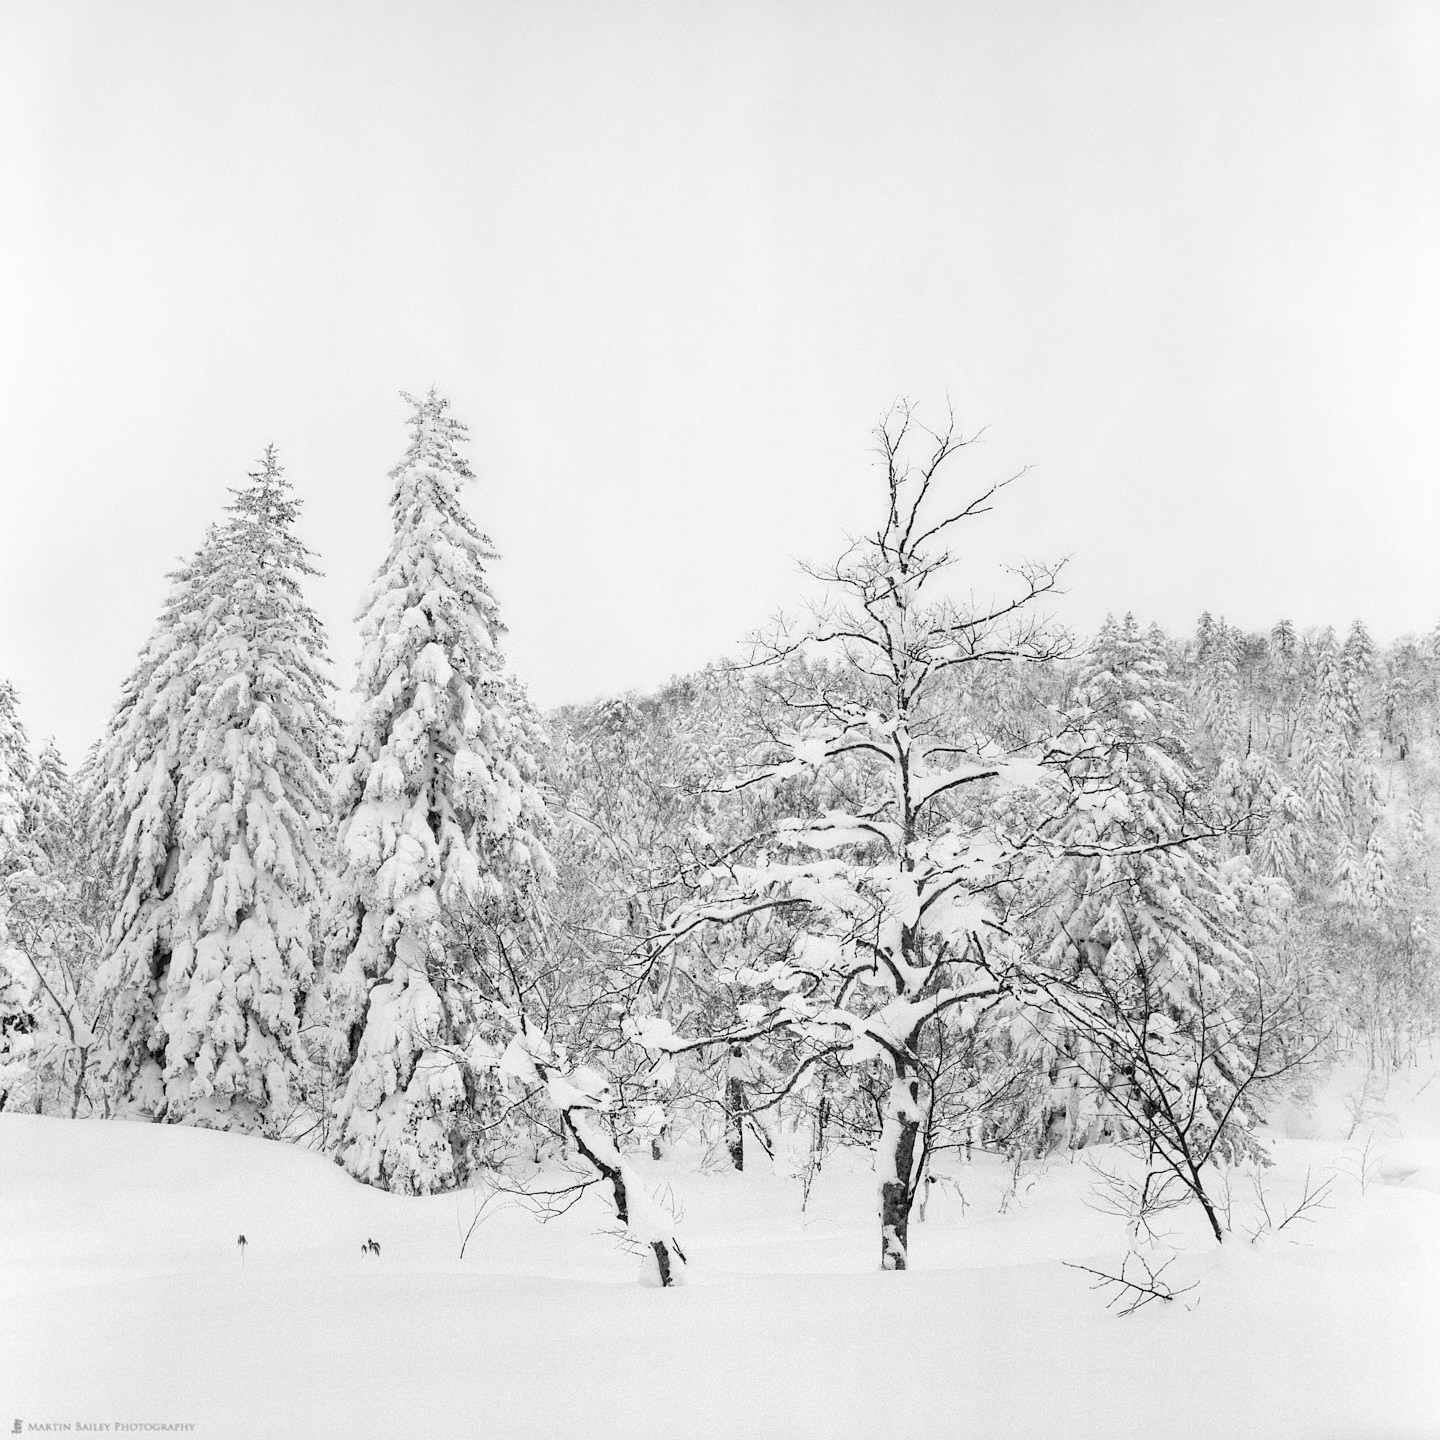
I’d prefer to work a little more on this, as I’m still trying to get better results from the scanner software that people recommended in the comments on my recent post about scanning medium format film. The software is called SilverFast SE and although I can see the benefits of using it, the image quality that I’m currently getting isn’t as good as what I get with the native scanner drivers, so I’m trying to get some advice from their support team, and if that doesn’t help, I will probably rescan my film with the original Canon software.
The blue Shirahige waterfall behind our hotel was pretty much unchanged, but I thought I’d share a shot, to complete the documentation of the trip.
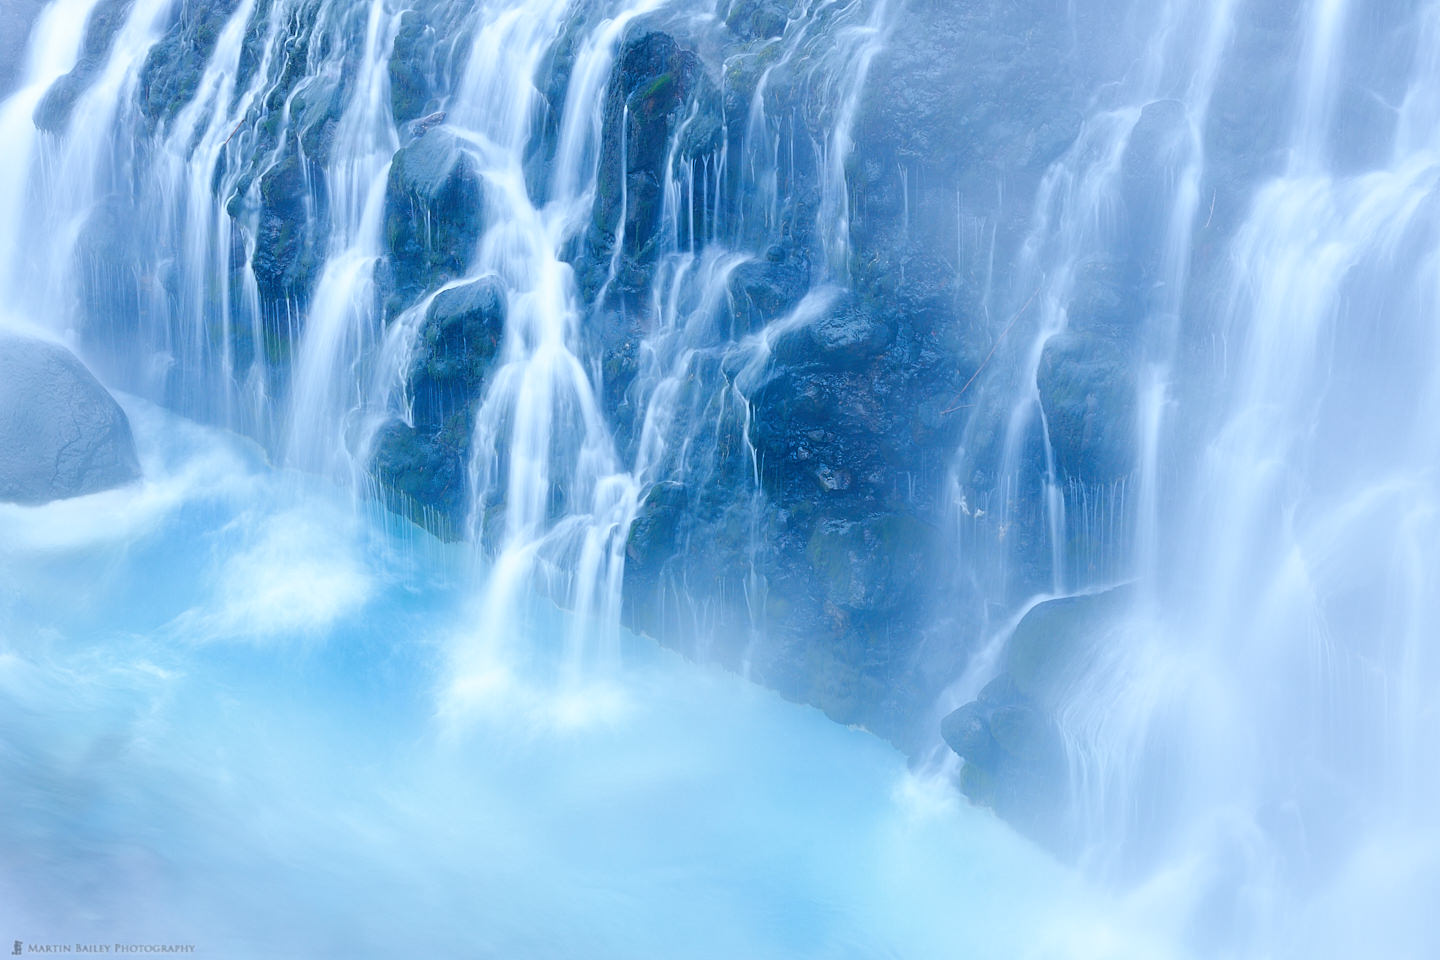
This is from the start of day four, as we walked around from the hotel before starting our drive to the next location.
I couldn’t resist stopping our bus as we drove out of town though when we were presented with this morning mist against the pastel dawn sky.
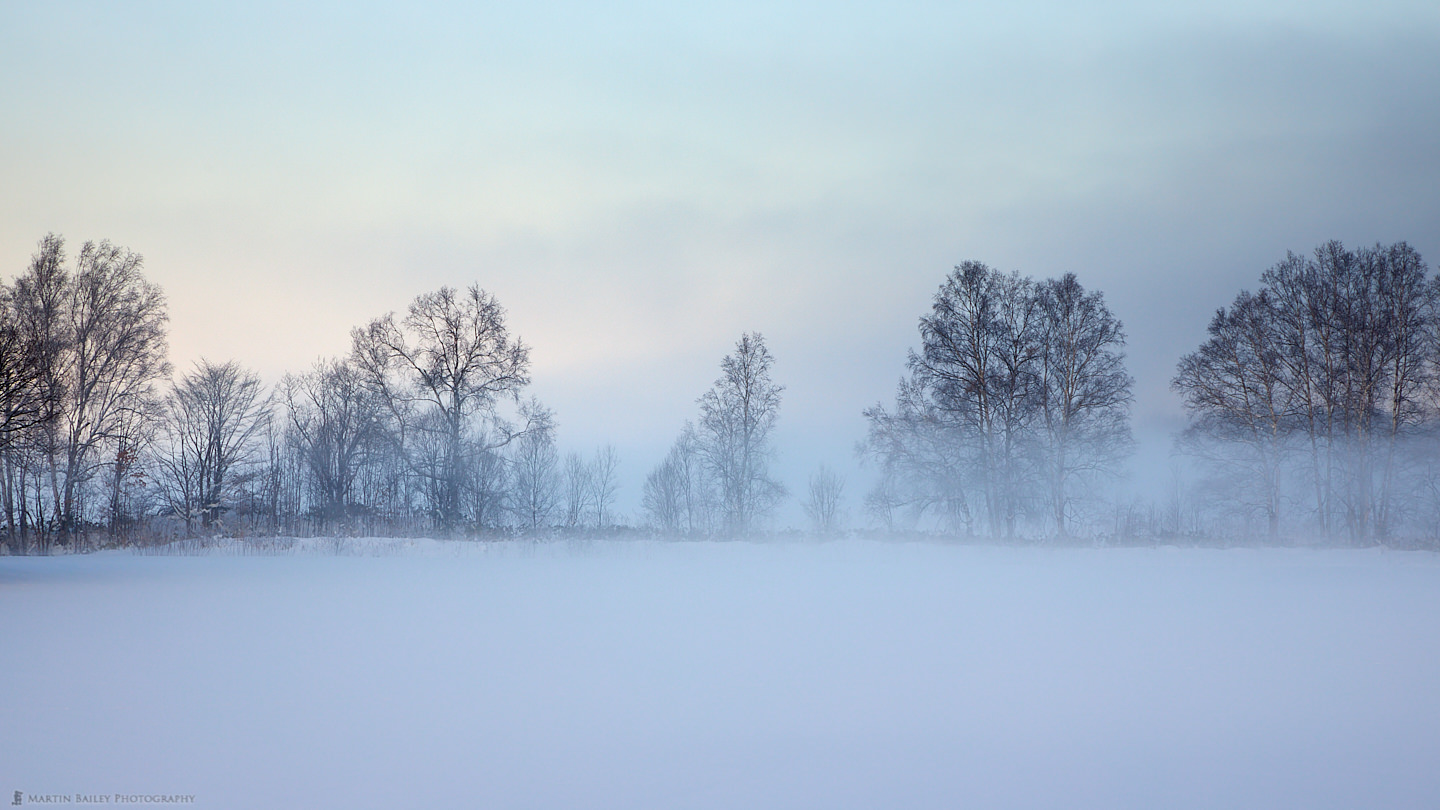
I originally converted this to black and white, which I liked, but these colors kept calling back out to me from the Apple Photos app, as I’d loaded both versions so that I could live with them for a while to help me make up my mind. I found myself preferring this, so I’ve now deleted the black and white version.
We’ll wrap it up there for today, as that takes us to our ten photo limit that I try to stick to. If you would like to join this tour, I have switched to running this twice a season from 2021 so we do have a few places left on each tour. Check out the tour page here: https://mbp.ac/hlpa
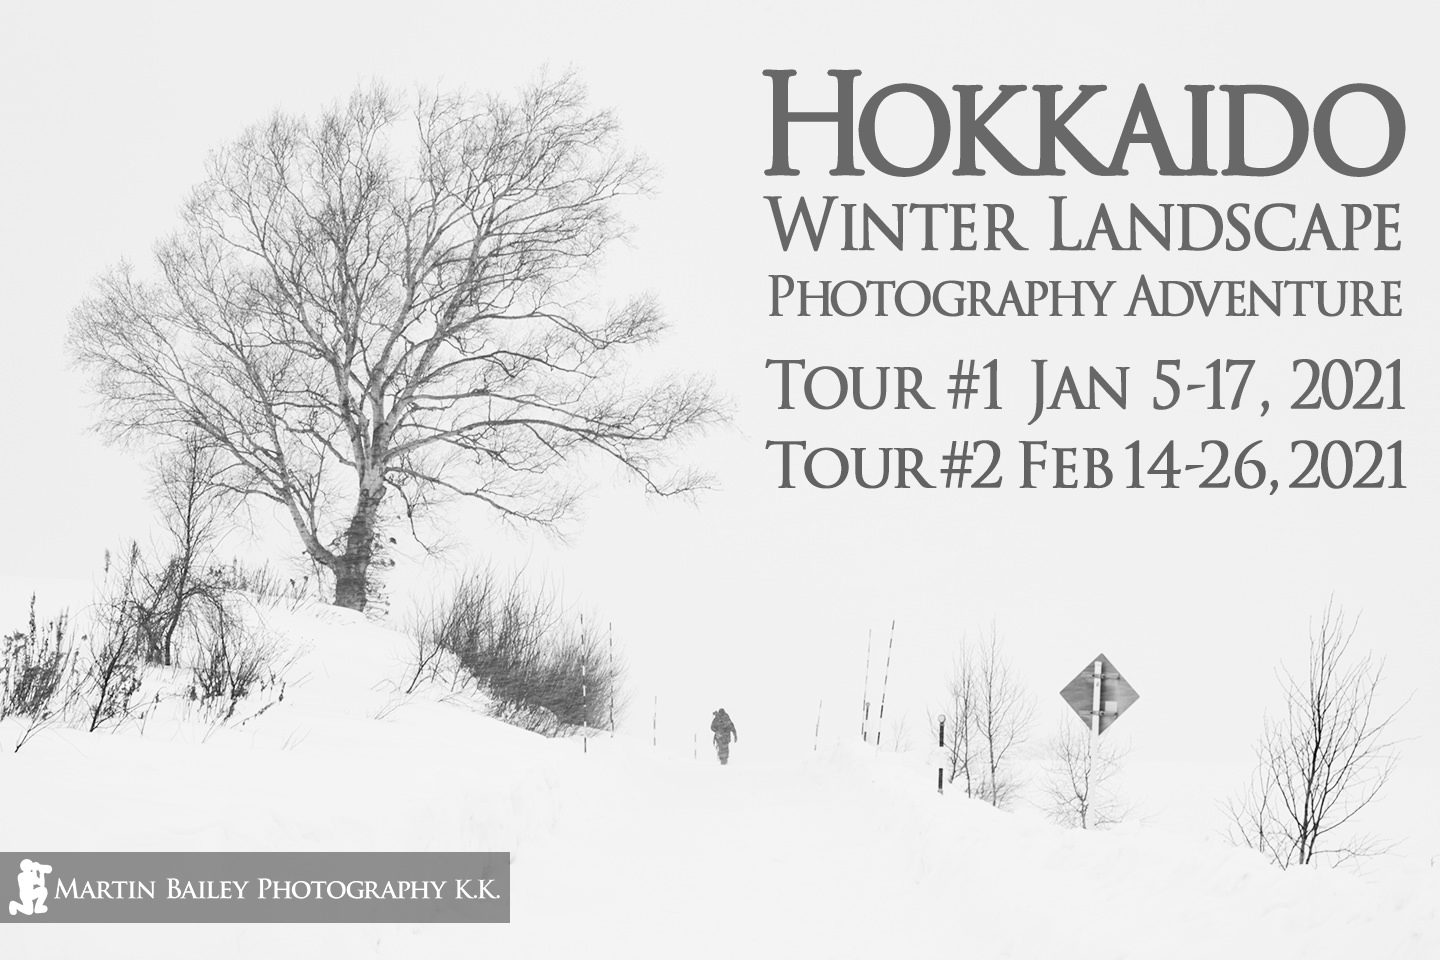
You can see details of future available tours on our Tours and Workshops page.
Show Notes
View all available Tours and Workshops here.
Subscribe in iTunes to get Podcasts delivered automatically to your computer.
Download this Podcast as an MP3 with Chapters.
Visit this page for help on how to view the images in MP3 files.

Hi Martin.
Congratulations for the magnificent photos you’ve published in this post, as always. They’re really striking out.
I do have a question. Wy do you use apertures so small as F/16 with such wide focal length as 22mm?
For the longer I understand if you want to keep everything in focus but as wider than 22mm or 35mm, wouldn’t you get the lens best performance (keeping everything in focus) and using a little bit wider aperture (say f/8 to f/11), having in mind that diffraction usually starts to show with f/11 and smaller? I know that it depends on the lens you’re using, and my experience is only with APS-C sensors in which diffraction happens sooner than with FF,
Another question if I may is where did you put your focal plan? At the trees or did you use some kind of hyperfocal distance?
All the best
Paulo
Hi Paulo,
Thanks for the kind words, and great question.
My settings are usually the result of thinking through what I want to do with the elements of the image, and also based on testing my gear to understand what it is capable of. There is also a hint in the above text with regards to these particular scenes.
The main reason here is because I wanted to get a shutter speed of between 1/20 and 1/40 of a second to cause the snow to streak slightly. It’s hard to see in the web versions, but it makes a beautiful pattern over the trees at these shutter speeds. If that requires me to stop down to f/16, I’m fine with that, because I test my lenses as described here https://mbp.ac/594 to see where diffraction starts to kick in. I built the functionality into my Photographer’s Friend app to also display diffraction warnings when calculating depth-of-field, which I also reference, but I’ve found that my gear does not start to visibly show the effect of diffraction until I stop down to f/22, but the depth-of-field does increase.
For example, for the hut and tree shot with the dark sky, that was shot at 91mm, and at f/16 the close foreground snow is starting to come out of the depth-of-field. For the snow pillows shot, I was trying to get a slow shutter speed to record the water movement.
For the dawn mist in Biei shot, you’ll see that I opened it up to f/11, because, firstly, I was hand-holding, but also because the foreground snow was not going to be important, so I didn’t need to stop down so much. For the blue waterfall, I opened up to f/11 and adjusted my ISO to get a 1-second shutter speed, again, so make the water look the way it does. For the raven’s in the tree shot, I opened up to f/11 to get a shutter speed of 1/100 of a second, but I didn’t want to go any faster, because I wanted the flying birds to blur slightly when flying.
I have to admit, that these are perhaps better examples of my thought process because the low light causes me to decide where the trade-offs will be played out. With brighter scenes I generally just shoot pretty much everything at f/14, but this is more out of habit. Before I really tested my lenses I used f/14 as my soft-ceiling, and f/16 was pretty much the highest I would go, but that is no longer the case.
I am aware that some people like to shoot at f/8, mostly because they’ve read somewhere that this is the sweet spot for the lens, but this in my experience is generally completely unnecessary, and often causes them to have to focus stack, etc. I rarely focus stack, and I mean like, almost never, and the thought of having to do that to overcome an obstacle that does not exist turns me completely cold. Before anyone makes a decision like that, they need to test their lenses and find out where diffraction starts to become visible for all of their lenses.
Also, as you said, crop factor cameras will start to see diffraction at wider apertures, so you do need to test, but my app also shows the warnings accordingly when crop factor sensor sizes are selected. In case you haven’t see this, check it out here: https://martinbaileyphotography.com/photographers-friend-app-for-ios/
People also, in my experience, have a very poor understanding of depth-of-field, and very few people understand that depth-of-field is directly affected by the megapixels (resolution) of the sensor in the camera. You get shallower depth-of-field with higher resolution cameras, if, as I do, you check critical focus at 100%. This is what I enabled with the Pixel Peeper mode that I built into my Photographer’s Friend app. When enabled you can clearly see the difference in depth-of-field as the sensor resolution increases.
Regarding your question about where I focus, most of the time I am focusing on the main subject, to give it the clearest pixels. I occasionally focus around a third into the screen when I need more depth-of-field, but I generally feel that the main subject is best. With the shadow of the tree shot, for example, I recall focusing on the middle of the shadow, as it was about one third into the scene, but also because the shadow was the main subject of this image, not the tree itself. This also helped me to get more focus on the foreground snow.
I hope this helps some, and by all means, let me know if anything is unclear. If I’d had more time, I would like to have included much of this in the original text, so I think I’ll add this in reply to your question at the start of the second episode in this series. Thanks for pulling this extra information out of me. 🙂
Regards,
Martin.
Hi Martin,
Thanks for your reply. As usual, your answers are crystal clear and it makes me better understand the why and how you did it to get the intended results. It’s really good to have your feedback, as we’re always learning something new every day. Once again, thank you for sharing with us your knowledge.
PS: Whatever reason I don’t no why, I didn’t get the email notification with your reply. I just saw it today when I received podcast 694
Have a good week with your Japan Wildlife trip.
Best regards
Paulo Silva
Hi Paulo,
You’re very welcome, for the reply. Thanks for the great questions! 🙂
To automatically receive a reply to comments, you have to turn on the check-box below the comment that says “Notify me of follow-up comments by email.” Do you know if you checked that or not on your original reply? If you did, I’ll try to look into this more in case something is broken.
Regards,
Martin.
Thank you!!!! I must thank both Paulo for asking the questions and Martin for giving such a thorough and understandable response. In fact, I”ve marked this so I can come back and study the photographs again in light of the detailed response. I’m also going to review the link you have embedded to another post to take a more thorough look of your app.
Thank you again. Looking forward to the rest of your travelogue. Cheers!