Here’s a quick post to show you how useful the Digital Lens Optimizer can be in Canon’s Digital Photo Professional. I was over at the Canon Inc. HQ this week, and had a chance to talk with someone from the camera line, and he strongly suggested that I give the new Digital Photo Professional Digital Lens Optimizer a try. It turns out that they know I have a pet hate for DPP so we had a bit of a laugh with this, but the results they showed me on some A2 size prints from the 1D X were pretty impressive, so I promised to take a look.
Then this afternoon I received a question about the sharpness around the edges of the 16-35mm f/2.8 II L lens, from Steve White on Google+, so I searched out a photo shot with that lens wide open at 16mm and ran a quick test, and I have to say, I’m impressed!!
Here’s the shot that I looked at, from Miradores de Darwin in Patagonia.
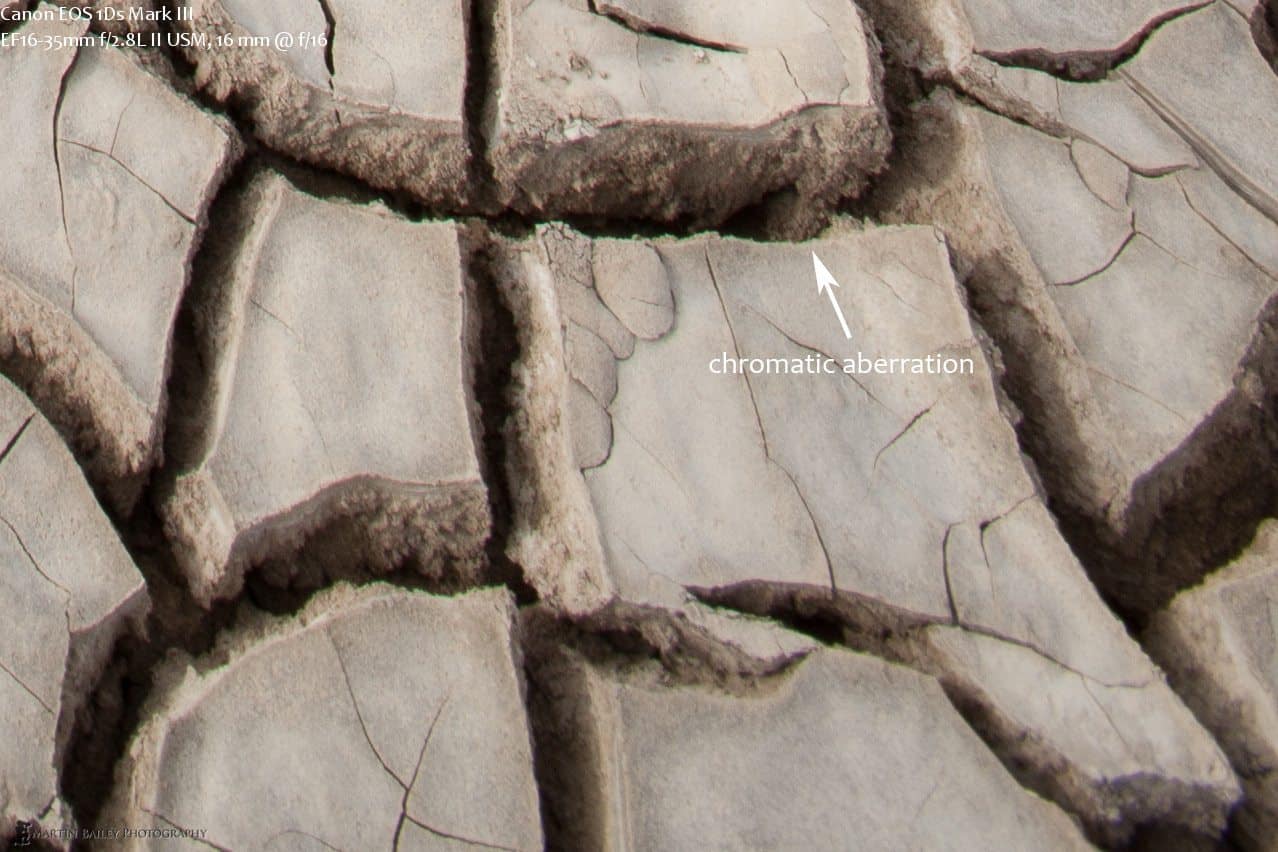
I shot this at 16mm with an aperture of f/16 and there was a little bit of softness and chromatic aberration in the foreground corners, and the mountains in the distance were a little bit soft too, as you can see in this image, which is a 100% crop from the RAW image in Lightroom. Make your browser window as wide as possible and click on the image to view it at full size.
So that you can make a direct comparison by navigating back and forth with your mouse or clicking the right or left sides of the images.
And this is the Digital Lens Optimizer version.
As you navigate back and forth through these two images, you can see a huge difference in sharpness and the chromatic aberration disappears too.
In answer to a question, I’m also adding an example of how the image looks with Lightroom 4.1 with Enable Profile Corrections turned on under the Lens Corrections > Profile tab. I also checked the Remove Chromatic Aberration check box under Lens Correction > Color, and that got rid of the green fringe. That works either with or without Enable Profile Corrections turned on.
Note that the image shift out slightly to remove distortion in the image, and is also brightened, removing the natural vignetting in the image. Note too that Lightroom doesn’t really sharpen the image up with the Lens Correction. Canon do seem to have the upper hand here with their access to information about the architecture of the lens itself.
Here too is a comparison of the top left of the same image, though the black and white versions. You can see here how the original image was starting to flow towards the edge of the frame slightly, along the top of the mountain especially, but that too is gone in the optimized version.
Again, don’t forget to open up your browser window nice and wide and click the images to view as a true 100% crop.
Digital Lens Optimizer is not just to clean up the corners though. One of the biggest advantages of the Digital Lens Optimizer is when you are trying to achieve pan-focus with longer lenses, and have to stop down to f/22 or an even smaller aperture on some lenses. This of course causes the entire image to get softer, not sharper, because of the effects of diffraction as the light passes through the small aperture. With DPP’s Digital Lens Optimizer though, you can now stop down past the lenses sweet spots to attain pan-focus with confidence that you can bring back the sharpness in post processing. This isn’t sloppy shooting of course. It’s using the technology to the max to get the best results possible.
Does this mean that I’ll be dumping Lightroom and doing all of my image processing in Digital Photography Professional from now on? You know me better than that. And for those that don’t know me, of course not. Lightroom rocks and I wish Canon would enable this to be built into the Lightroom Lens Optimization module, but I doubt that will happen.
Moving forward though, I’ll keep the DPP Digital Lens Optimizer in mind when I shoot and use it only on problem images. It’s nice to know that we have such a powerful new tool in our digital toolbox though. Thanks Canon!


Martin, does this work better than Lightroom 4.1’s lens correction technology? I haven’t looked at DPP in a long while – does it support non-Canon lenses?
Thanks,
Jack
Hi Jack,
It doesn’t, but although I’d tried that, I didn’t include an example. I just added that above though, so you can see the difference the Lightroom Correction makes. I also turned on Remove Chromatic Aberration which does do a good job of removing the green fringe. This is what I would usually do if I was going to print an image with a bit of CA like this.
It seems Canon still have the upper hand when it comes to actually sharpening the image. Take a look.
Cheers,
Martin.
Thanks, Martin – I’ll have to download the latest DPP to play with, I think!
As always, thanks for an informative post!
— Jack