Visit Library for MBP Pro eBooks |
Exactly two weeks after my Compound Microscope arrived, today I’m going to pull together another status update, to let you know how I’m getting along and share some of my new work, which I will tell you upfront, I’m very happy with. I also took possession of my Stereo Microscope a week ago, but some of you, I know, will be pleased to hear that I’ve decided to keep both microscopes. I was a little hesitant as to whether or not I would keep the Compound Microscope, mostly due to the total financial outlay involved in buying both together, and partially due to the fact that I was initially finding the learning curve relatively steep.
Not wanting to let it get the better of me though, I continued to study various techniques, bought a few more supporting pieces of equipment, and I am now having so much fun, I doubt that either microscope will be leaving my possession in the foreseeable future. As I mentioned in my first post on this topic, a large part of me diving down this rabbit hole was inspired by my friend Don Komarechka who’s just released a new book on Macro Photography and it has a section on using Microscope optics to get photos and covers the procedure for making crystals out of citric acid mixed with water and or alcohol, and I also got a lot of great information from the Canadian Nature Photographer website.
Both resources made it sound relatively easy, although I initially tried simply mixing the citric acid with water just by stirring it in a plastic Petri dish and found that the surface tension of the resulting liquid was so great that it wouldn’t spread out on the slide, so I ended up with little mountains of crystals which although could be photographed, weren’t really satisfying me artisticly. The mounds of liquid were also so thick that they took around 12 hours to dry.
Then I noticed in an article by Robert Berdan of the Canadian Nature Photographer website that he used a Vortex Mixer to mix the ingredients, so another $60, and two days later I tried that method and created ten slides with just IPA (Isopropyl Alcohol) and citric acid and another ten slides with half water and half IPA. As you can see from the center image below, there is some citric acid settled at the bottom of the test tube. This is because the liquid became saturated before all of the citric acid had melted, so I simply used a pipette to take just the solution from above the settled acid crystals and applied a few drops to each slide. This time it spread out very quickly, pretty much over the entire face of the slide, and both solutions dried very quickly, providing very similar results.
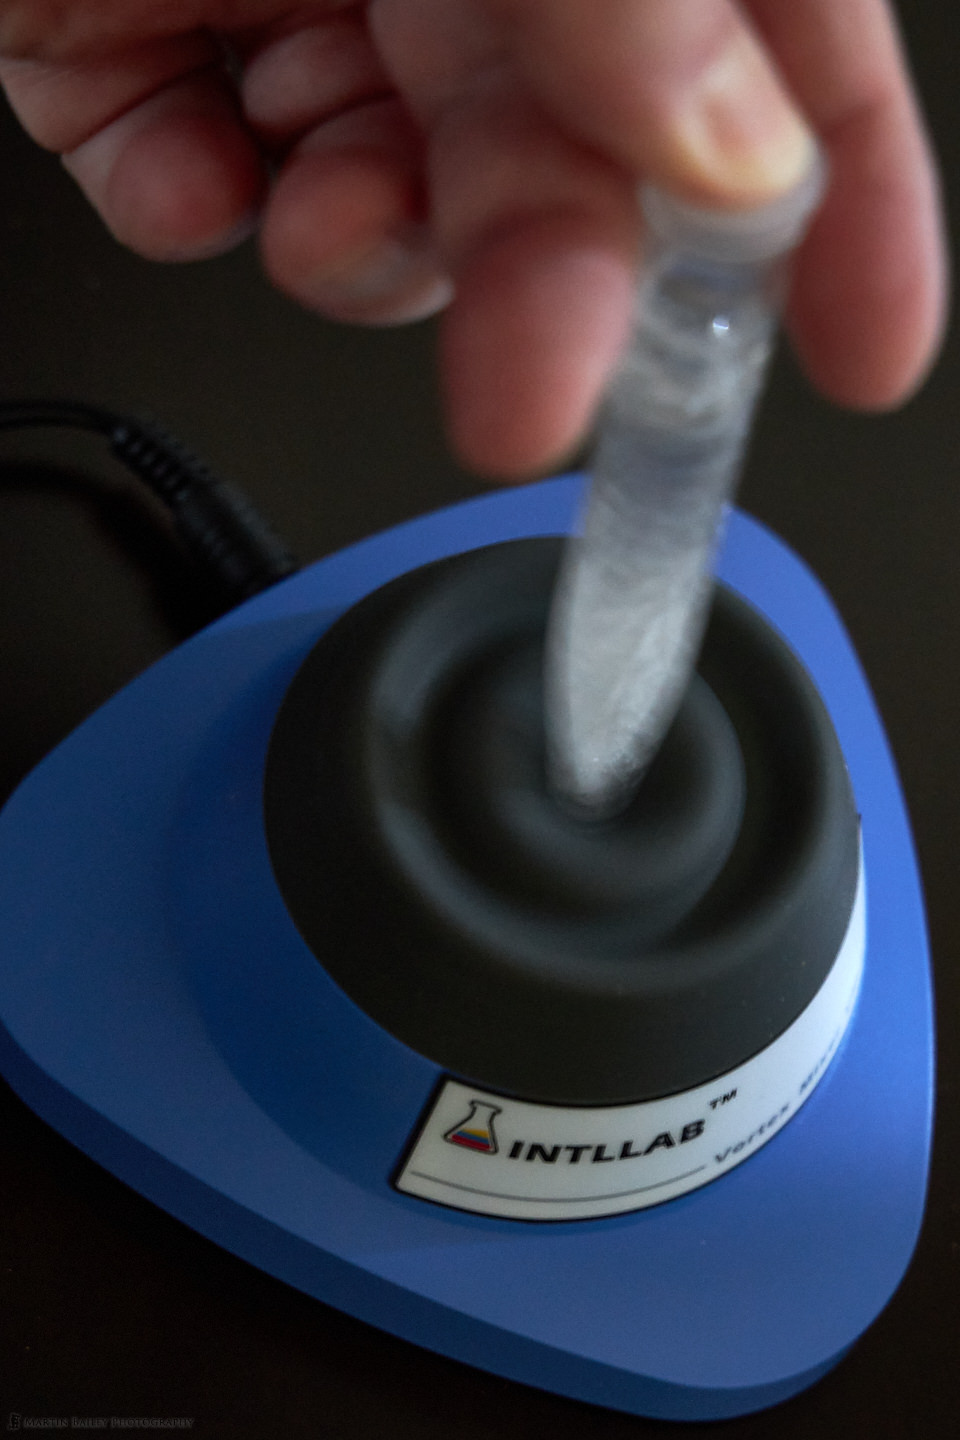
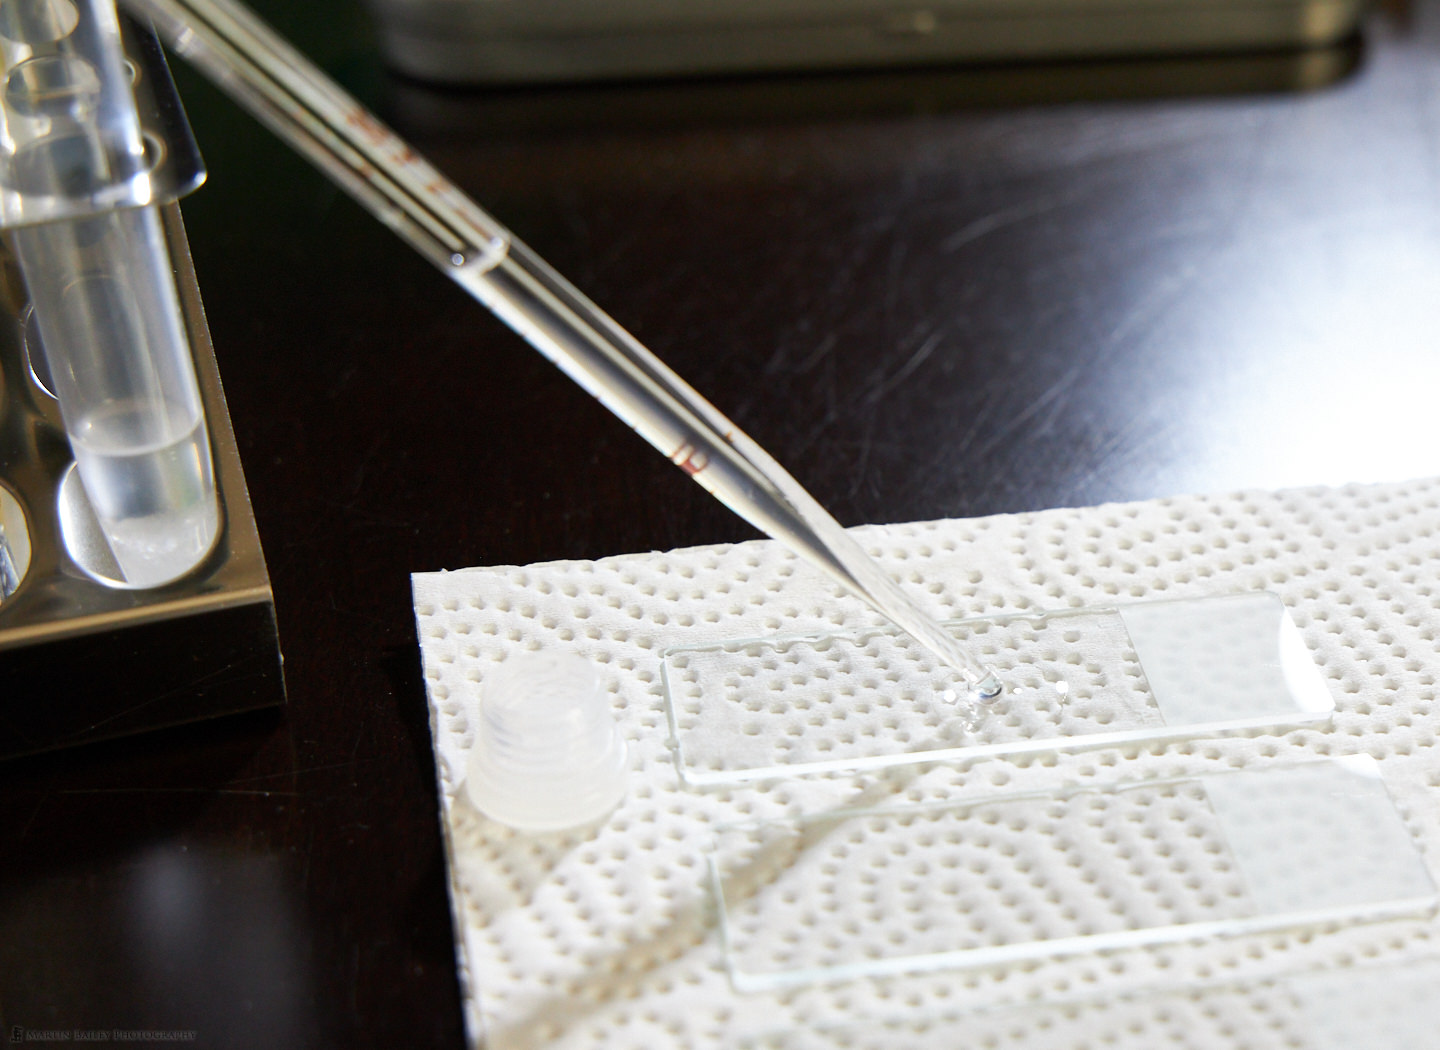
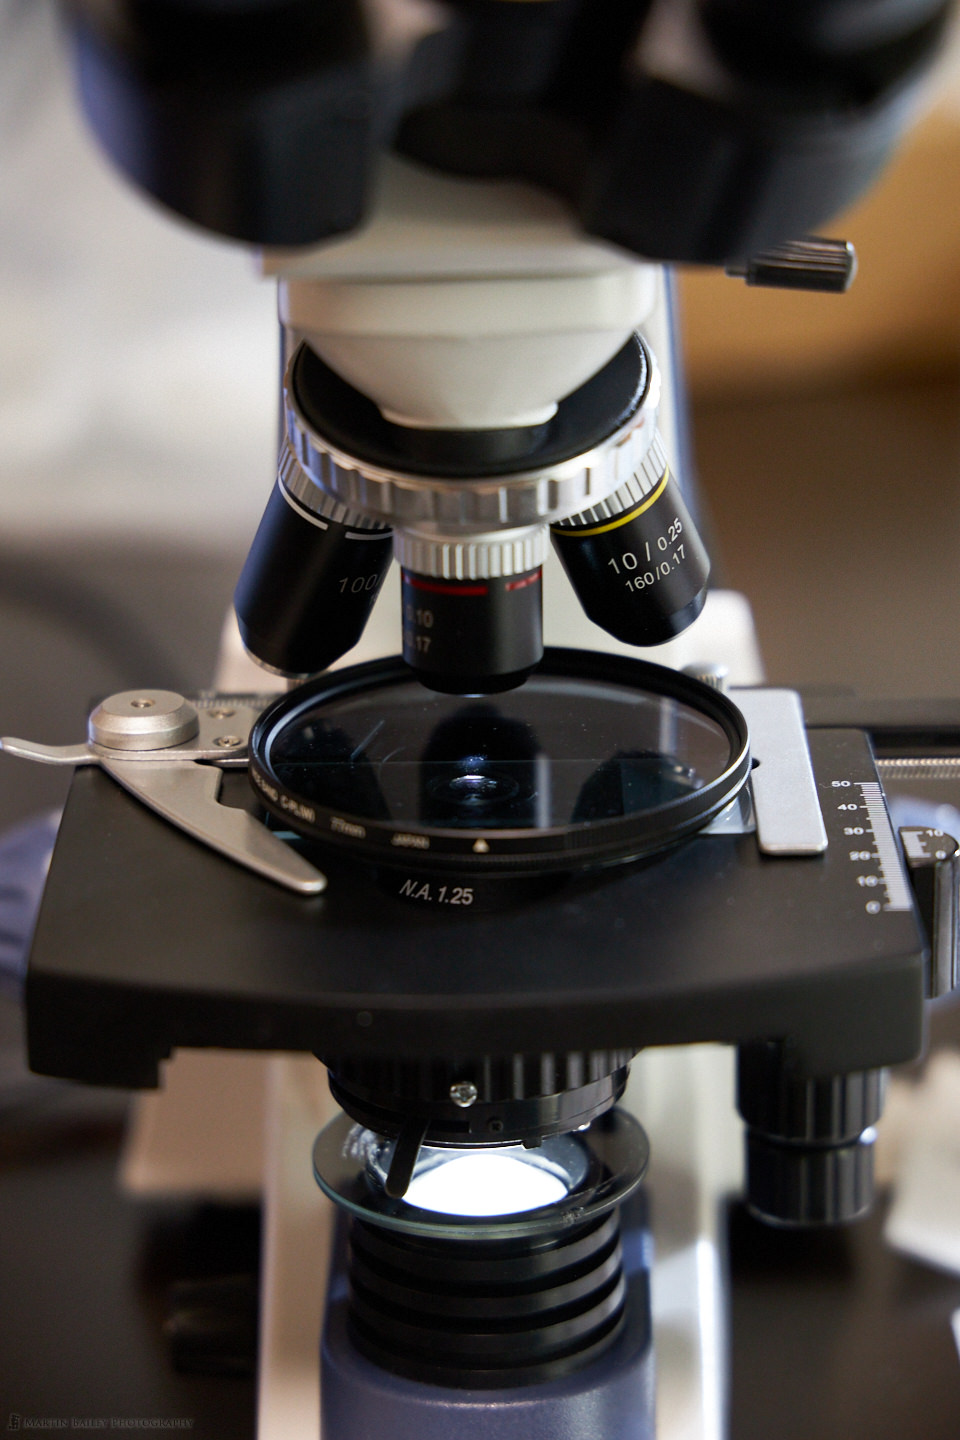
The way the patterns in the crystals formed was very similar with IPA alone and when I also mixed it with water, but simply by the nature of this experiment, the crystals that form are unique, not only from slide to slide but from millimeter to millimeter of each slide. I created a short video which is embedded at the bottom of this post to show you through the microscope as I surveyed just a small area of one slide.
Note too, that to turn these crystals into beautiful abstract art, the light has to be adjusted in a specific way by two separate polarizer filters. As you can see in the photo (above right) there is one polarizer filter between the light source and the subject, and a second between the subject and the viewing lenses. Apparently, this happens when the subject is what’s known as anisotropic or birefringent, which means it has double refraction.
The makeshift setup I’ve used so far is not ideal because the thickness of the filter prevents me from using the 40X objective lens, which would give me 400X magnification. Over the last week, I’ve been restricted to using my 4X and 10X objective lenses for magnifications of 40X and 100X through the ocular lens and on my camera. My Camera is actually magnified by around 2.5X magnification because of the adapter, so in real terms, we’re probably talking between 100 and 250X magnification in the images, but I’ve not accurately measured that yet.
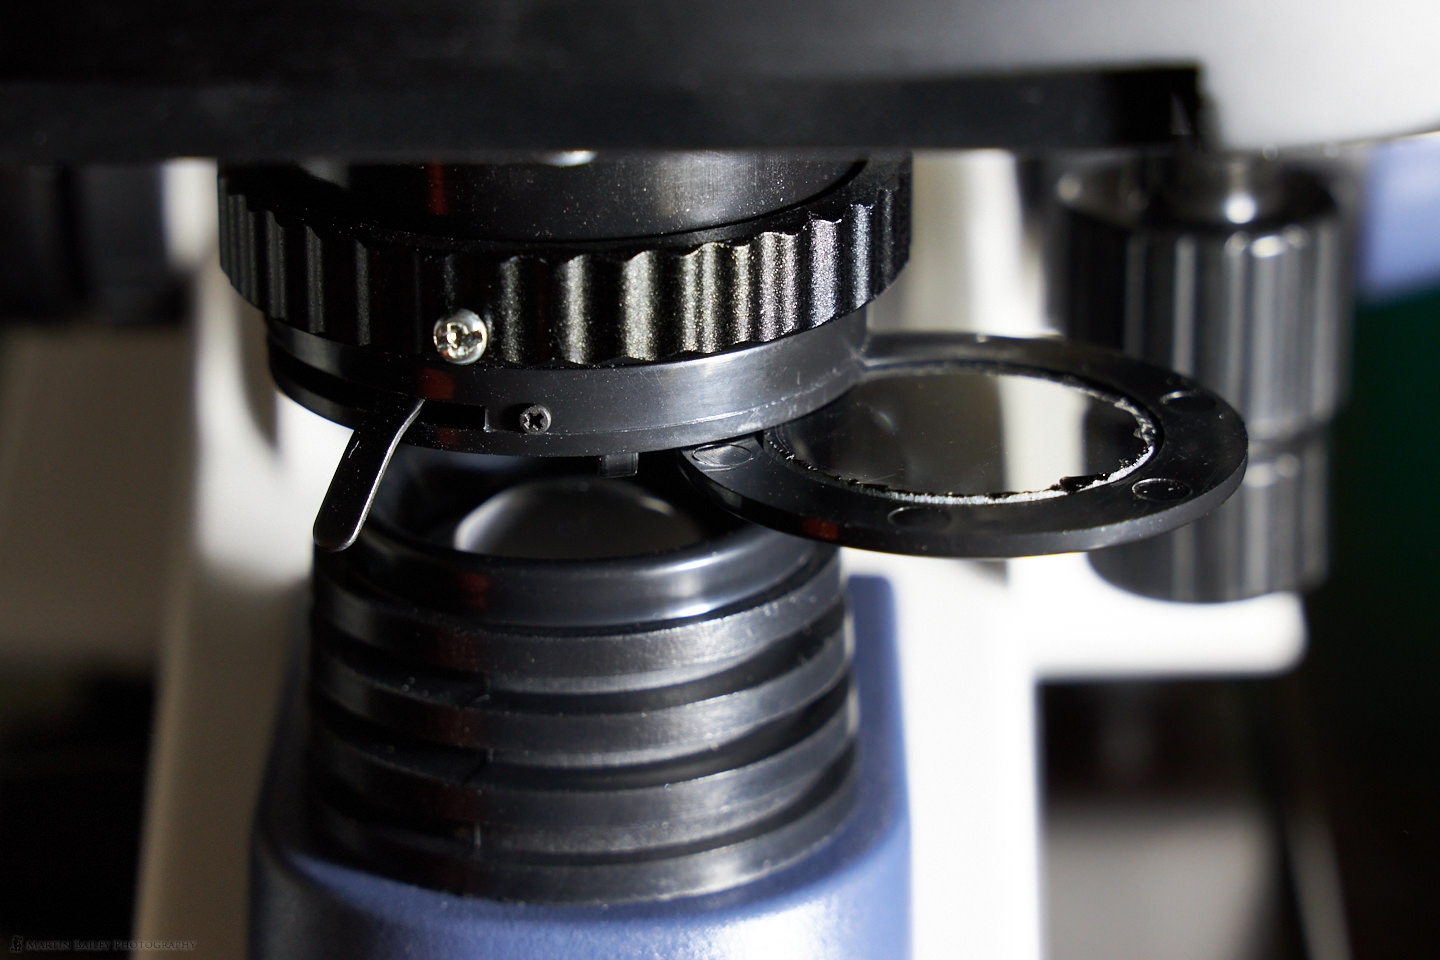
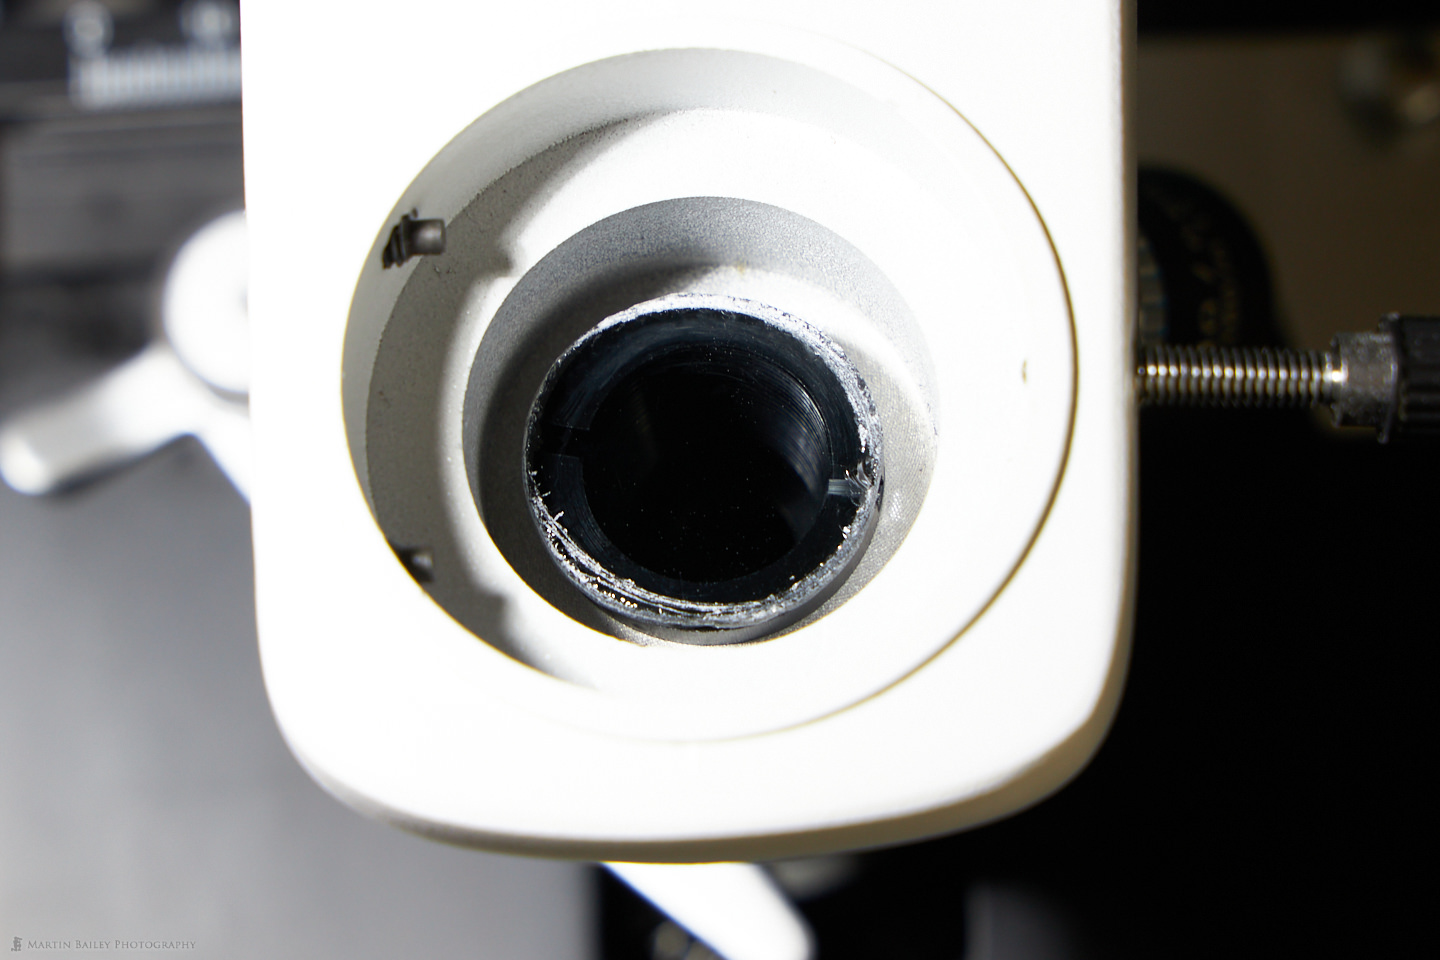
Because my first filter setup was not ideal, yesterday, I managed to find some inexpensive cylindrical diamond cutters that contained sizes that would enable me to use the piece of polarizer from the inside of the cut to fit into the filter holder below the diaphragm of my microscope and a second in the space between the objective lens turret and the rotating head that houses the two eyepieces and camera port. The filter above the turret will be more difficult to rotate, but the bottom filter above the LED light is more accessible, and so far my tests have shown that it doesn’t really matter which of the two filters you rotate. It’s more about the degree of rotation between the two filters, so I think this new setup will be better and allow higher magnifications to be used. Here are two photos of the new, somewhat roughly cut filters that I made, in place.
Before we take a look at a few of the resulting images, here too is a photo of my work table as I got started photographing the slides while they dried. For the first few minutes, I was actually watching the crystals form through the microscope, which I also found fascinating. Since this first evening using my laptop as you see in the photo, I moved my microscope to my main desk and connected my camera to my iMac instead, so that I could use the large screen, and the more powerful computer to deal with the focus stacking using Helicon Focus, which I’ve started using to process the images that I’m making.
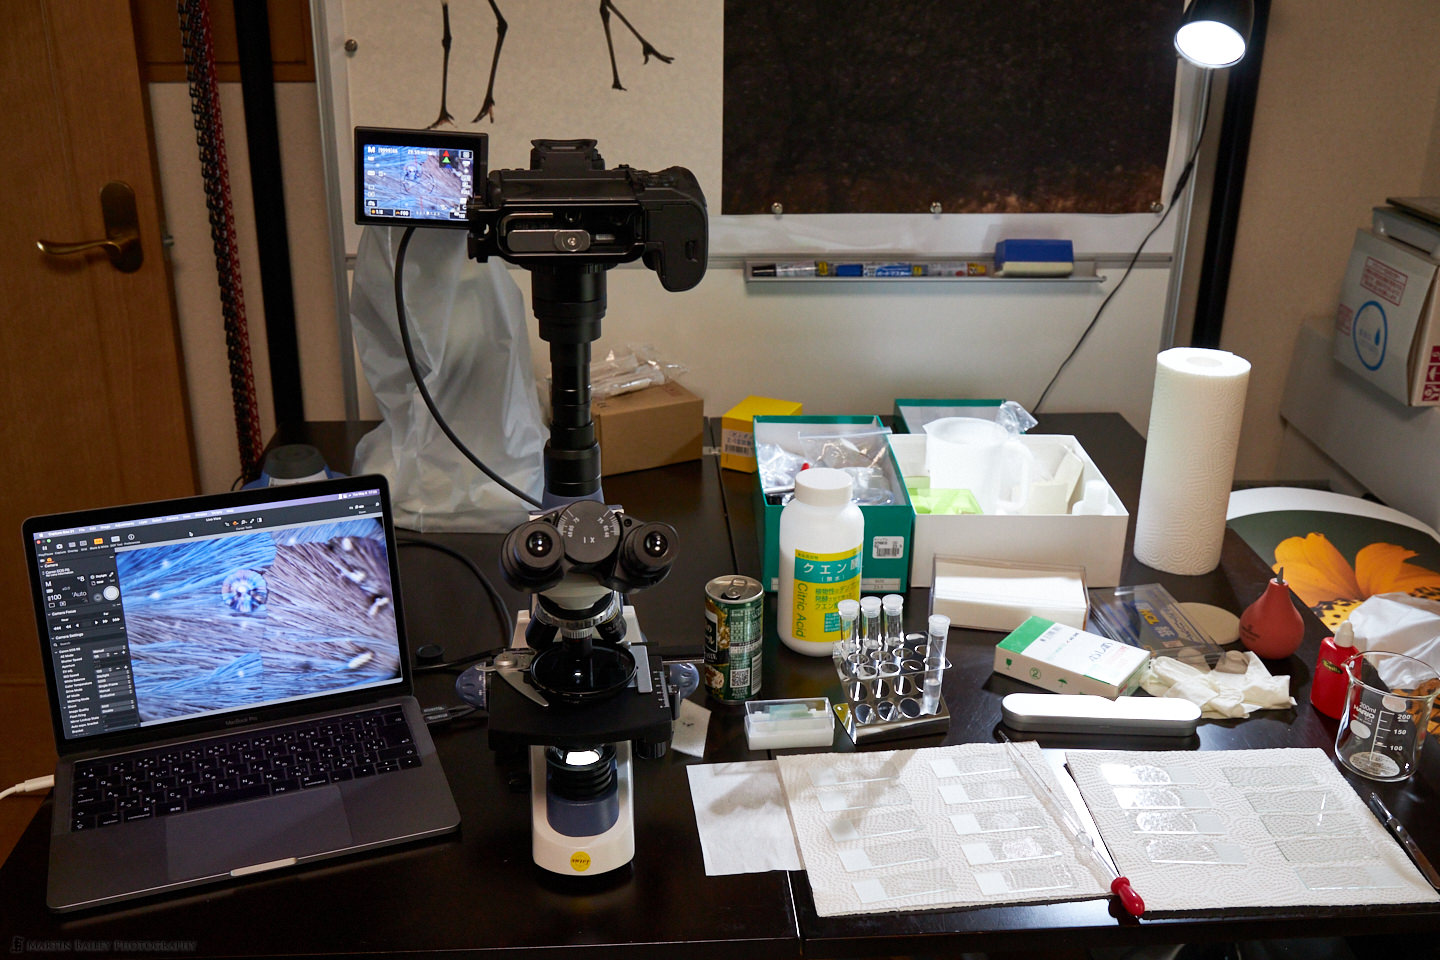
I was happy to get my camera connected up using the adapter that I bought, although the image quality is about as good as I’d expected, it’s not as good as I’d hoped for. At some point, I think I’m going to take the plunge and go for the LM Microscope adapter, but spending almost one and a half times more than the cost of both microscopes just for the adapter is not a decision I’m really able to make at this point, especially as I’m getting good final results, mostly down to processing.
My First Results I’m Happy With
Anyway, let’s look at some of my favorite example photos from the last week, starting with one of the first ‘scenes’ that I was presented with as the slides I prepared dried. As you can see, the variation of the shapes and textures of the crystals varies greatly. The blue and brown colors that you see, as well as the rainbow colors visible in some small areas, come from the polarization. When you rotate one of the two polarizing filters the colors change dramatically.
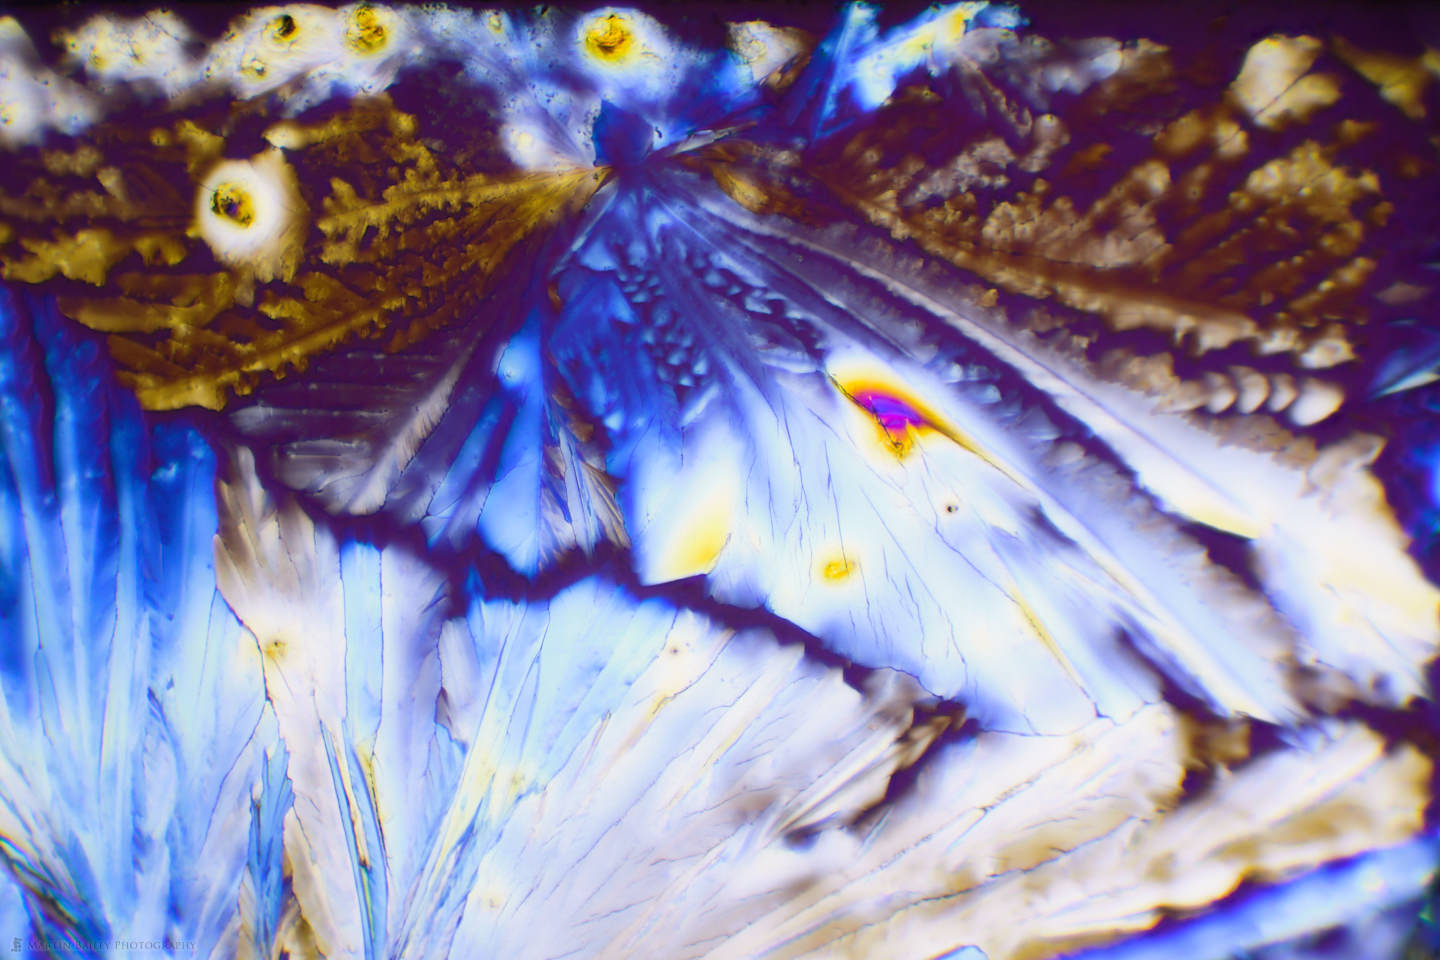
This was a 14 frame stack initially shot with Capture One Pro tethered to my Canon EOS R5, but Capture One froze on me as I created my stacking sets, and I lost around 40 of my last images, so I turned to Helicon Remote which is built for shooting sets of images for stacking, and there is no looking back. I’m going to dedicate the next post on this subject to Helicon Focus and Helicon Remote, so stay tuned for that if you are interested in focus stacking.
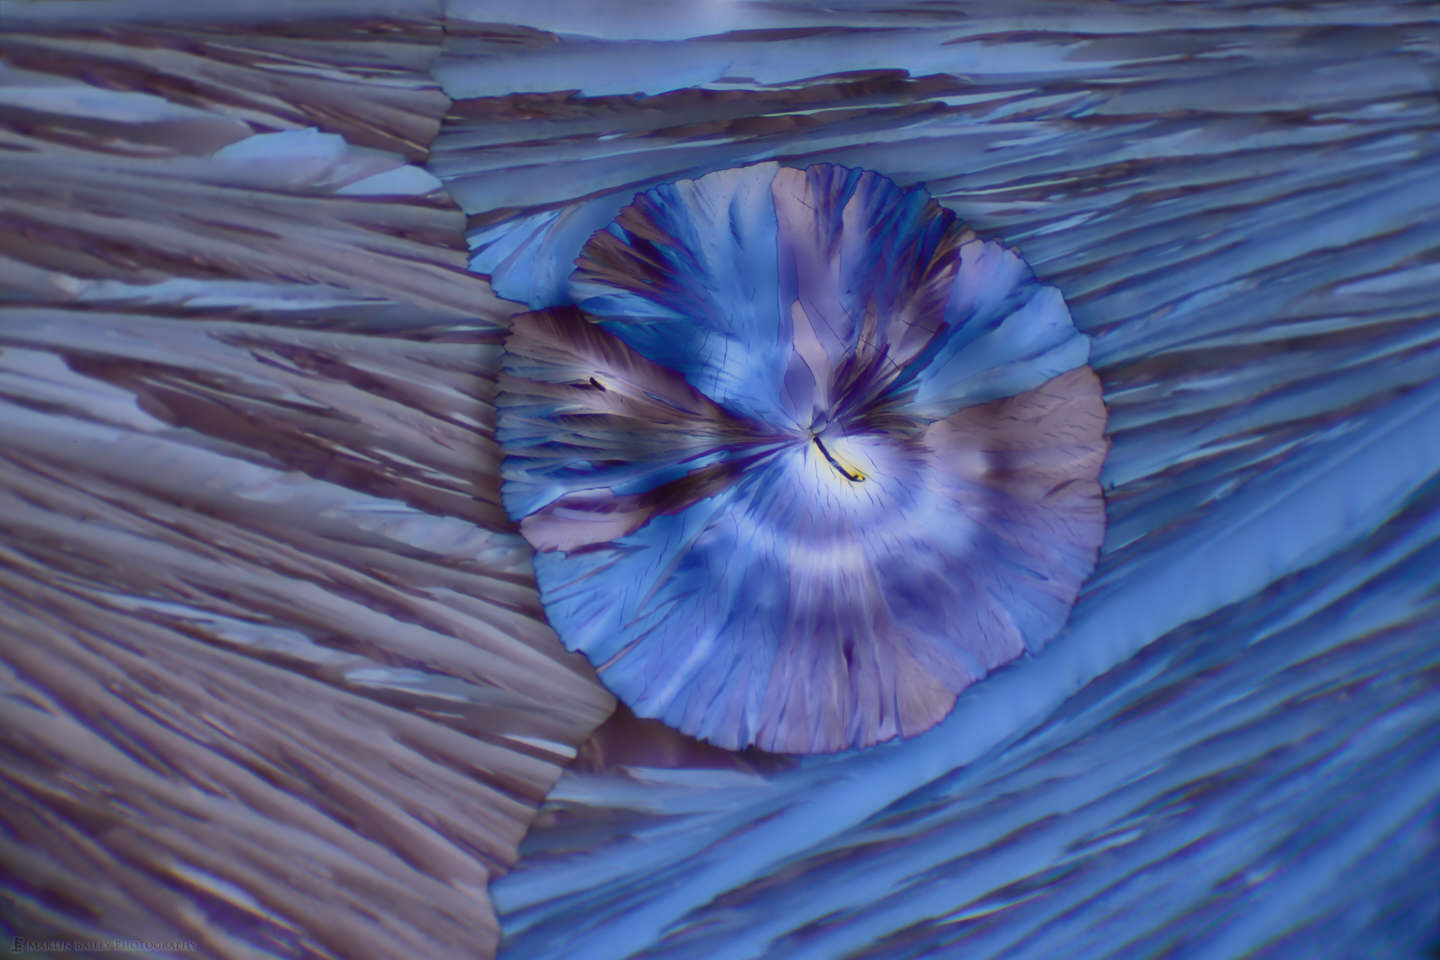
This next image has quickly become a firm favorite and caused a bit of a stir when I shared it on the social networks last week. To me, this looks like an alien flower head that has been discarded, although you may see something completely different. Notice the small line in the center of the disc, which will be a bit of fiber or dust that fell onto the slide and is responsible for the disc of crystals forming at that location. Both of these images were shot at 100X magnification.
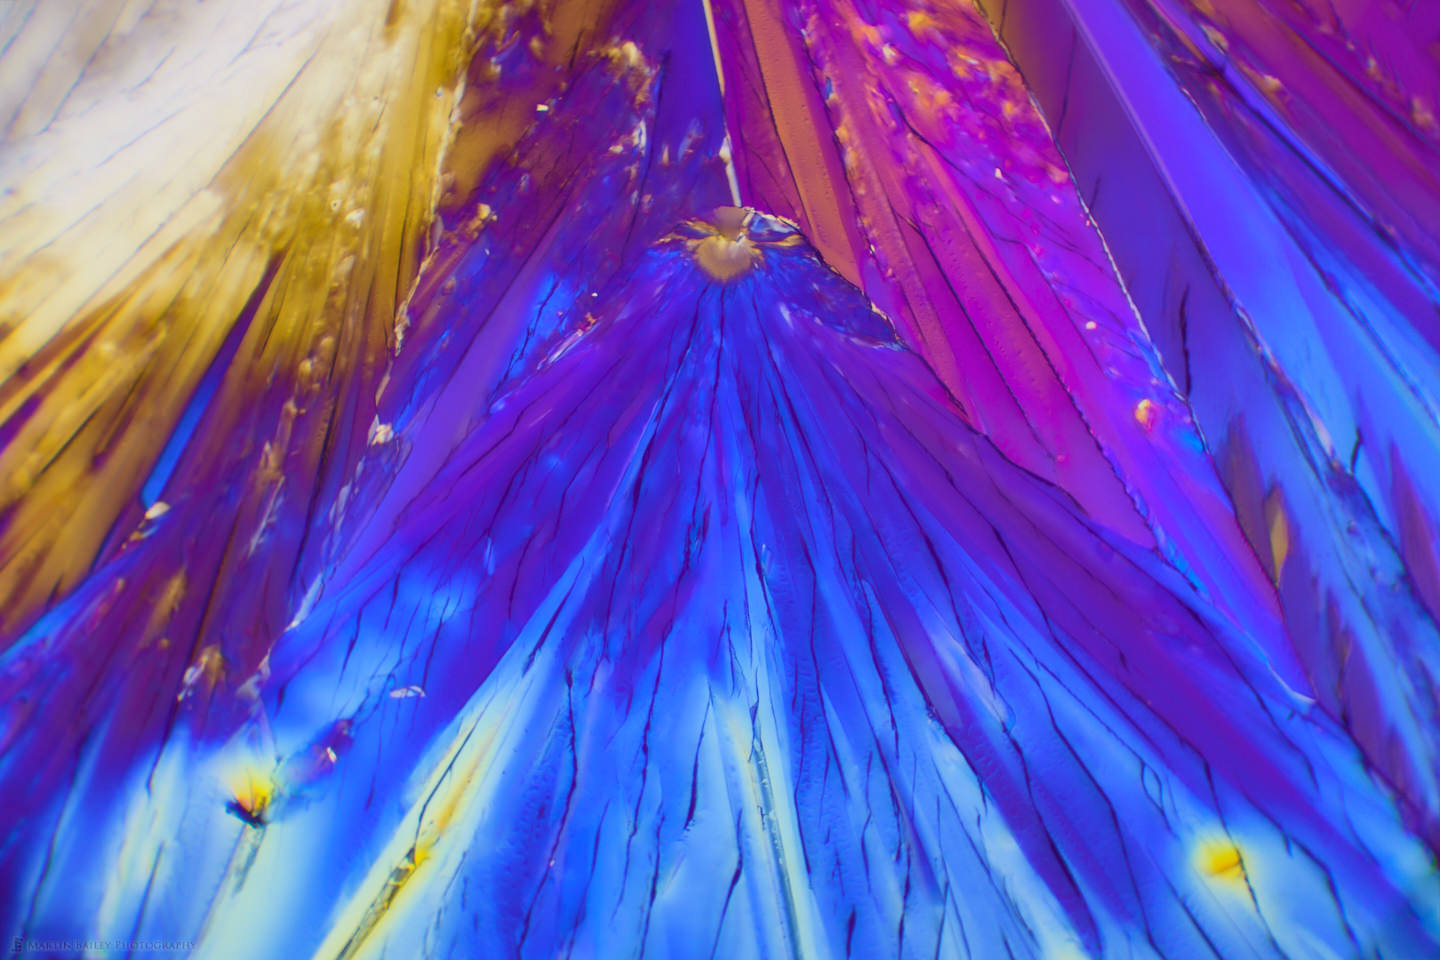
Another type of image that I’ve been getting is this kind of electric rainbow-colored image, with very rich colors. Again the intensity can be changed by the degree of rotation between the two polarizer filters. I chose this section to photograph because to me it looks like a Hokusai print of a blue Mount Fuji here in Japan.
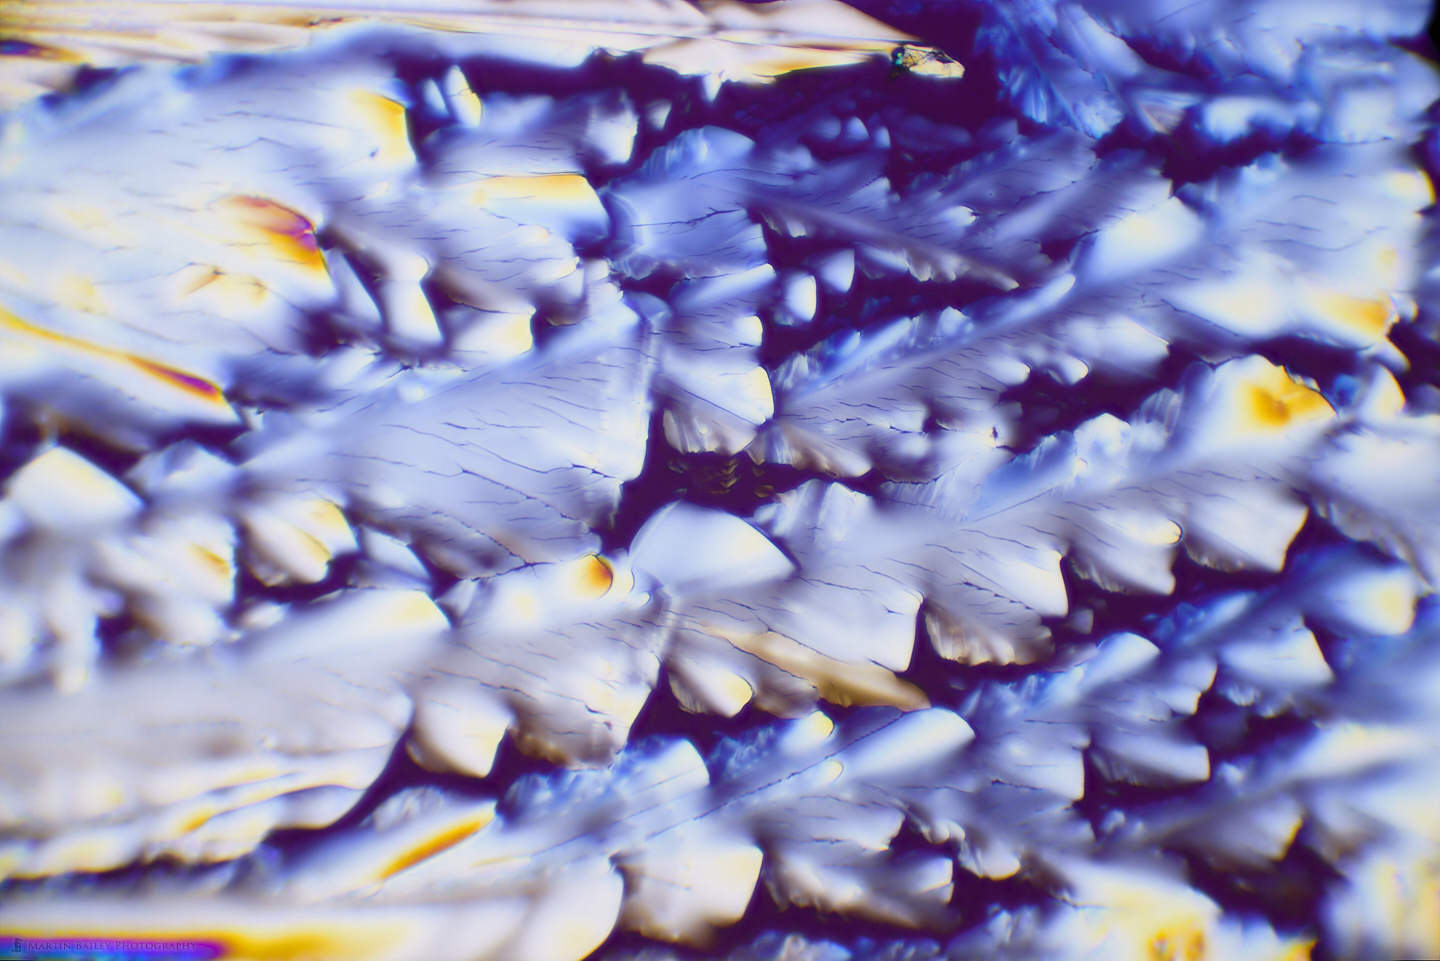
Almost in complete contrast, this image looks like frail feathers or flowers to me. Watching these crystals form under the microscope was one of the most fascinating things I’ve ever done. I mentioned a few weeks ago that I was scratching a long term itch by starting this project, but at the time I had no idea that it was going to feel this good.
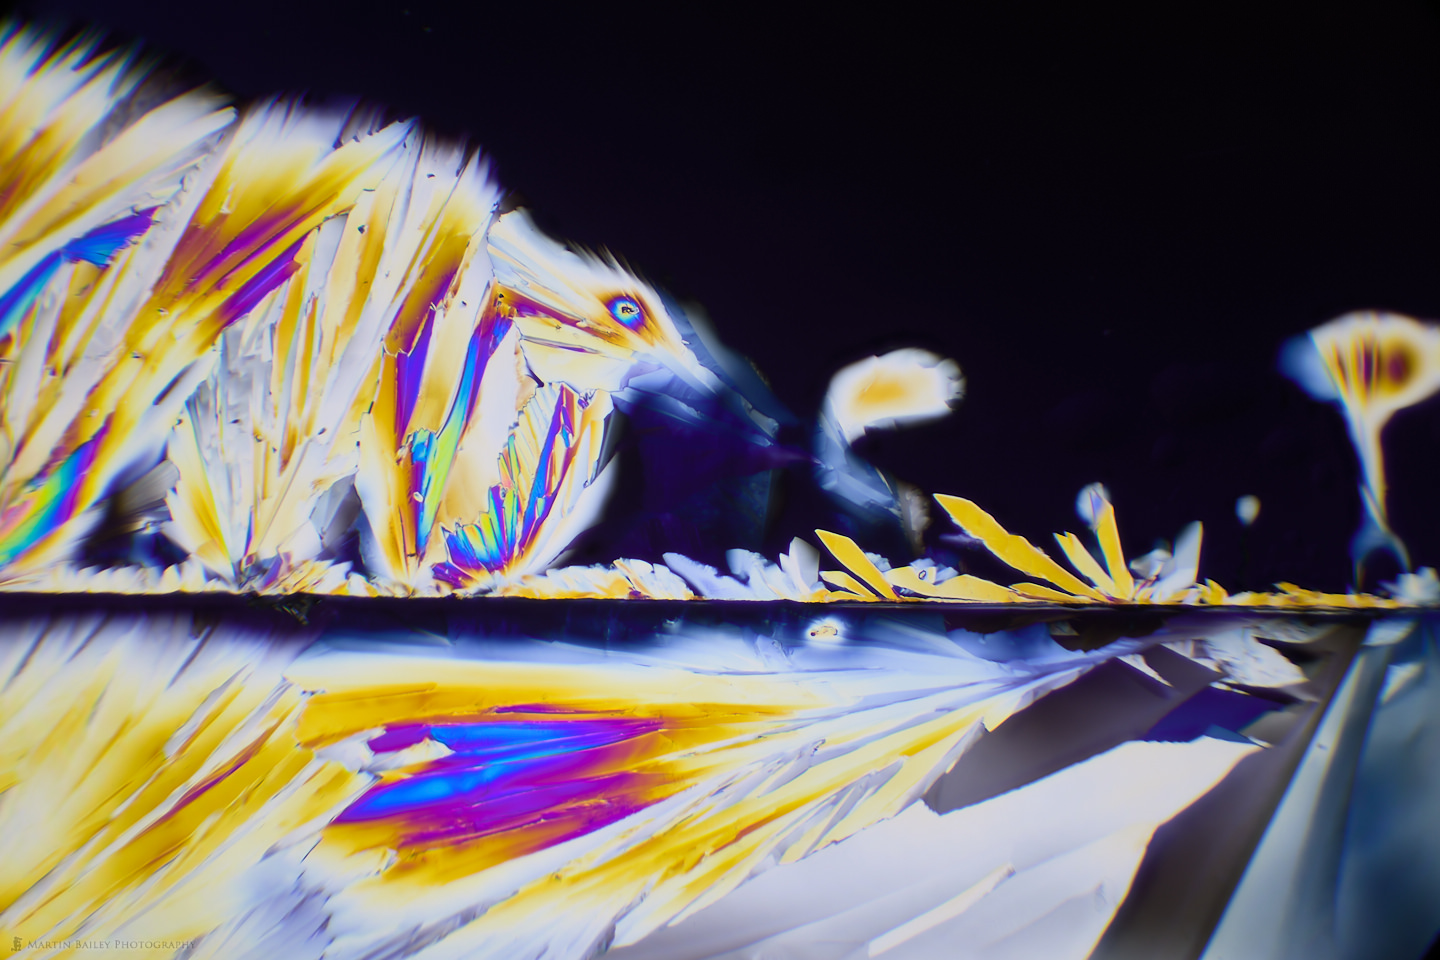
Once again, in contrast, here is my electric alien fox with his golden grasses and whacky alien flowers, running along the edge of a magical lake. I actually placed a glass cover on a couple of the slides to see how the cover interfered with the crystals as they formed. I was happy to see that the crystals reacted by forming along the seem as you can see here.
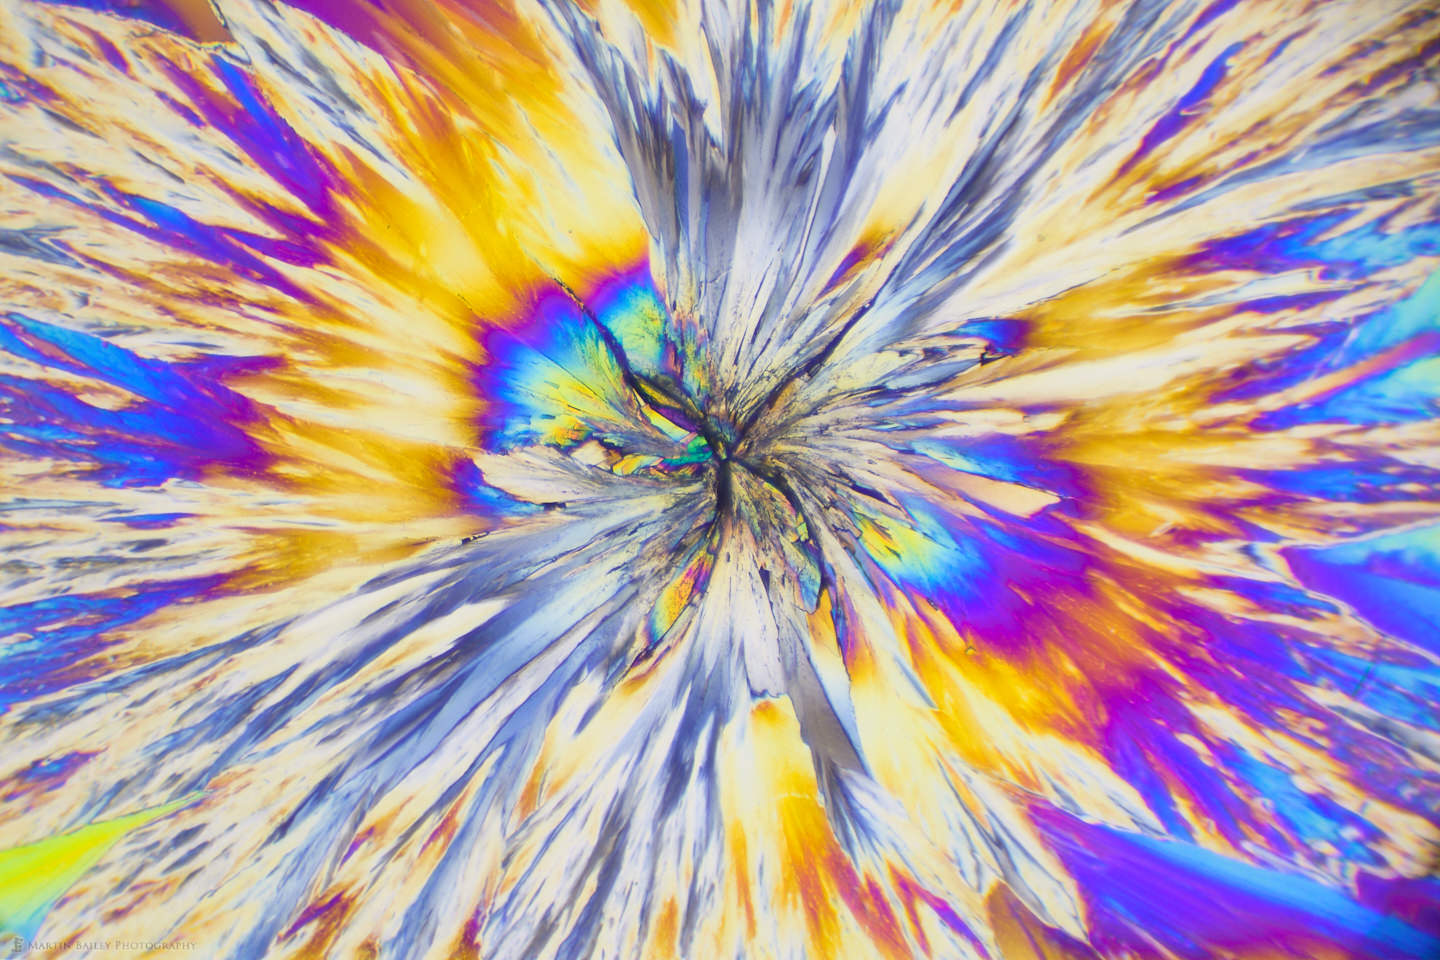
Here is another very colorful shot that seems like an explosion in a Japanese anime movie. Again, the variations that can be found are astounding!
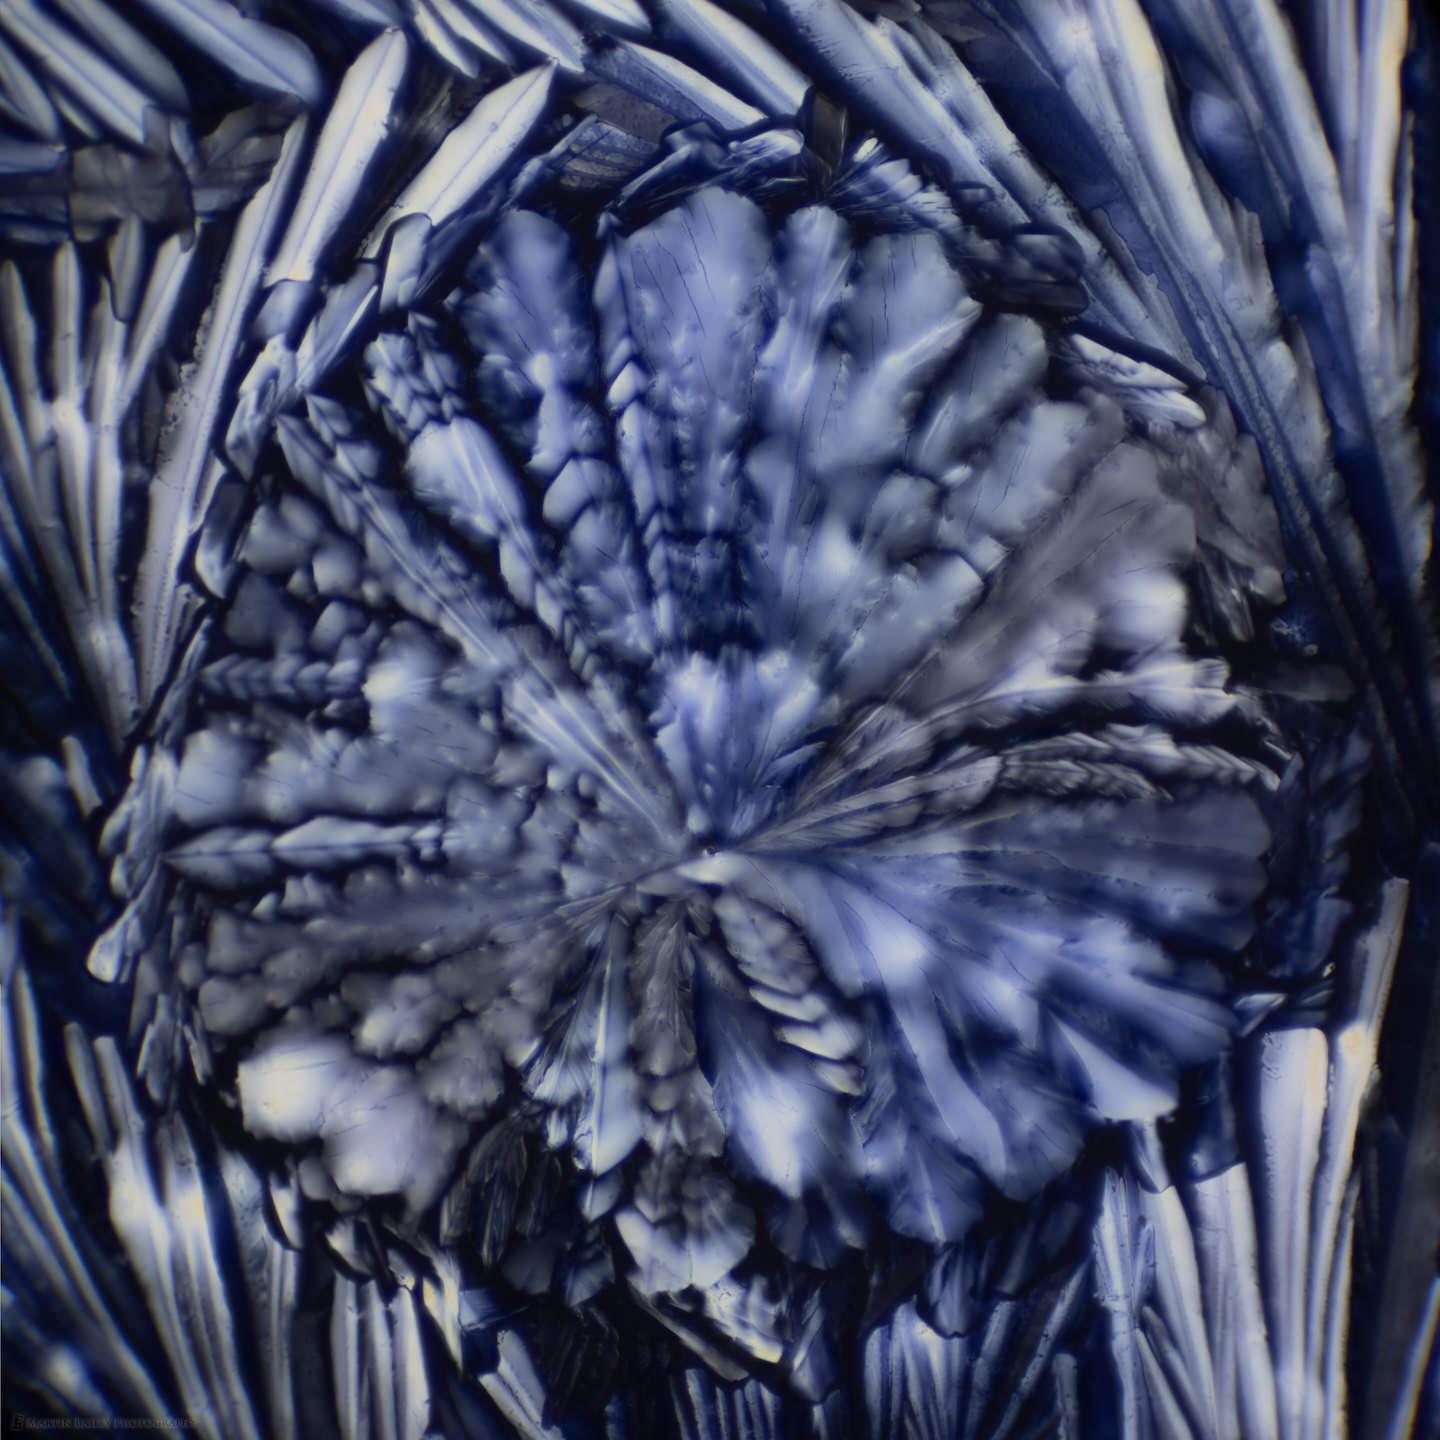
This next shot is another favorite. It reminds me of a wreath made from feathers. This is actually two separate 28 image stacks stitched together to form a square image. I purposefully rotated the polarizer filter so that the colors become more subdued for this shot, as I thought the cool blues would suit the subject better. There were richer colors initially, but it didn’t quite work for me.
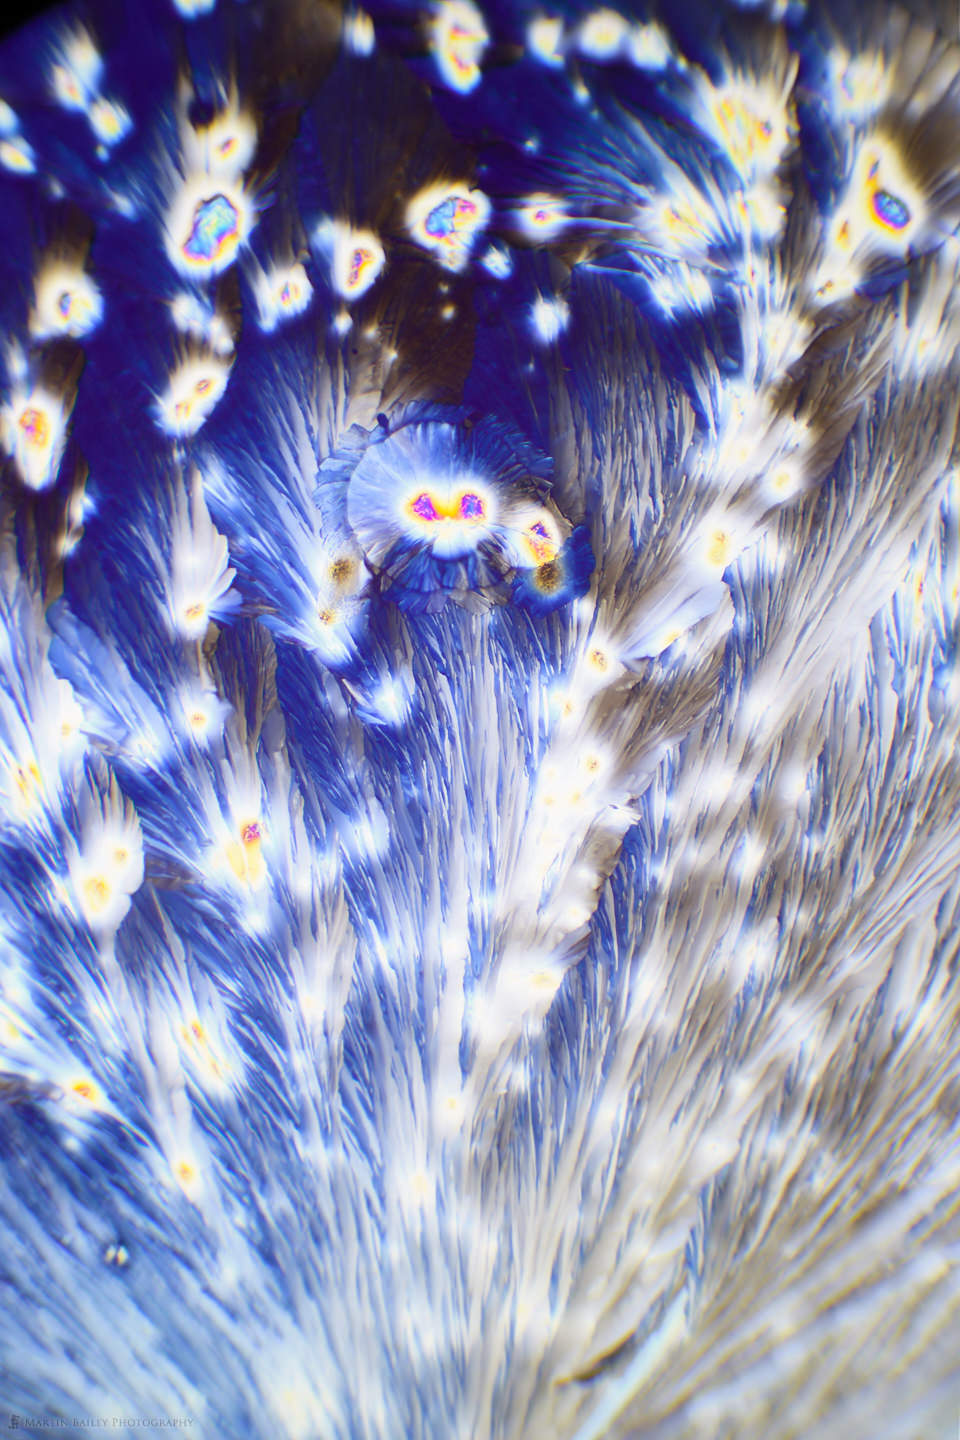
The image to the right above looks to me like a fluffy alien fairy sitting in tall grasses or even the feathers of a peacock’s tail. The little alien has a canary pet in its arms. I wonder if you can see which part of the image I’m referring to? Don’t forget to click on the images to open them up in the Lightbox for a better view.
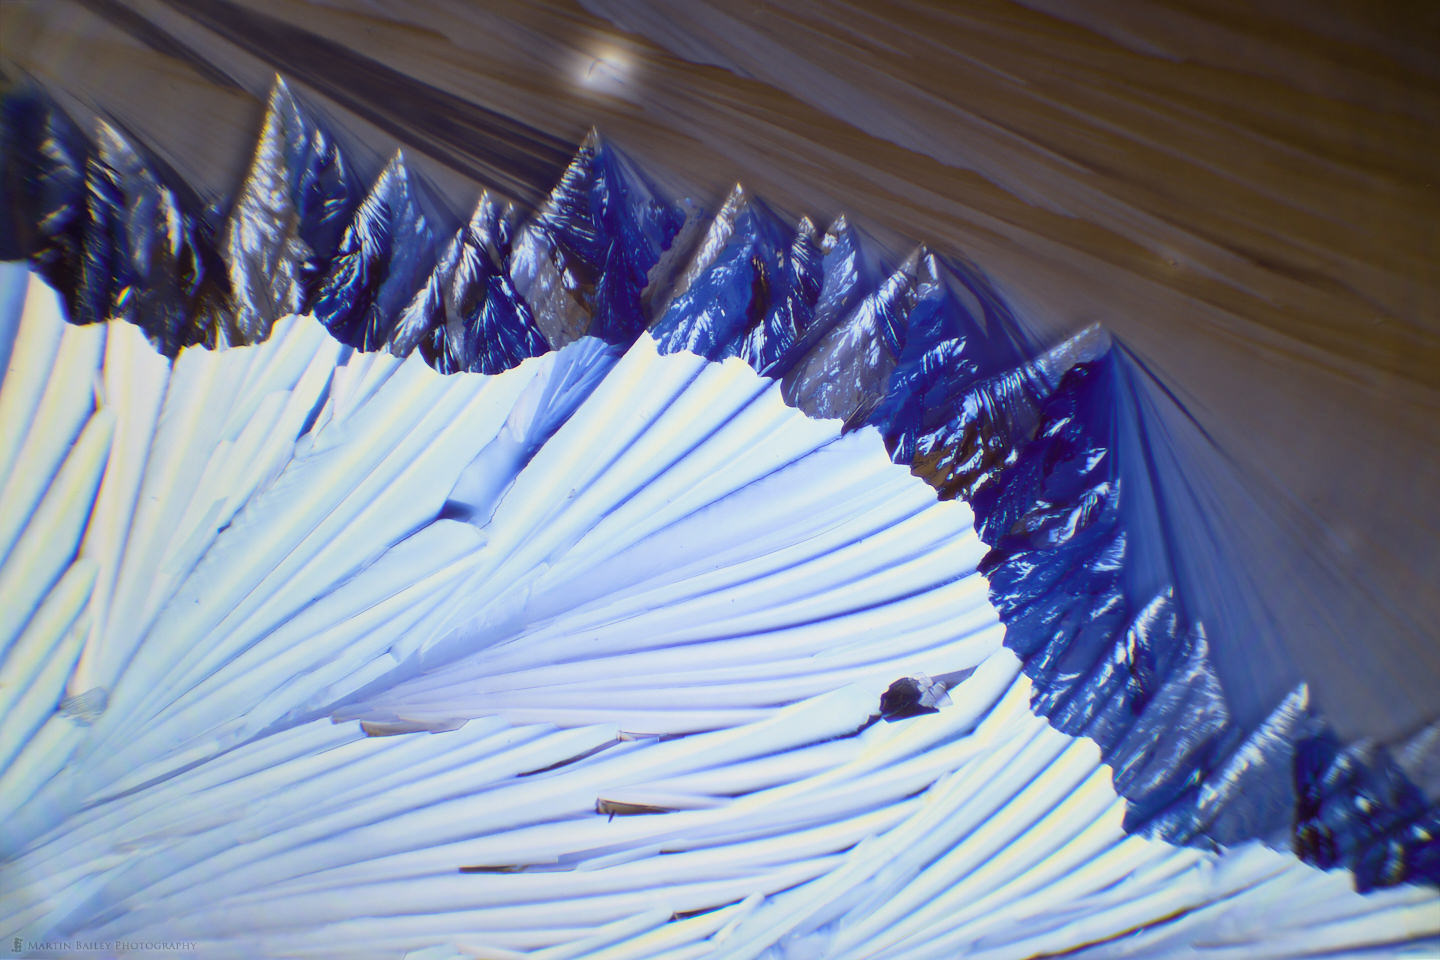
This next image to me is almost a complete miracle. Nature has created an almost perfect mountain range with a glacier and even the light of the moon shining through thin cloud coverage. This is almost untouched, with the only changed being a little bit of cloning in the corners to fill in the slight vignette that I’m getting from the camera adapter.
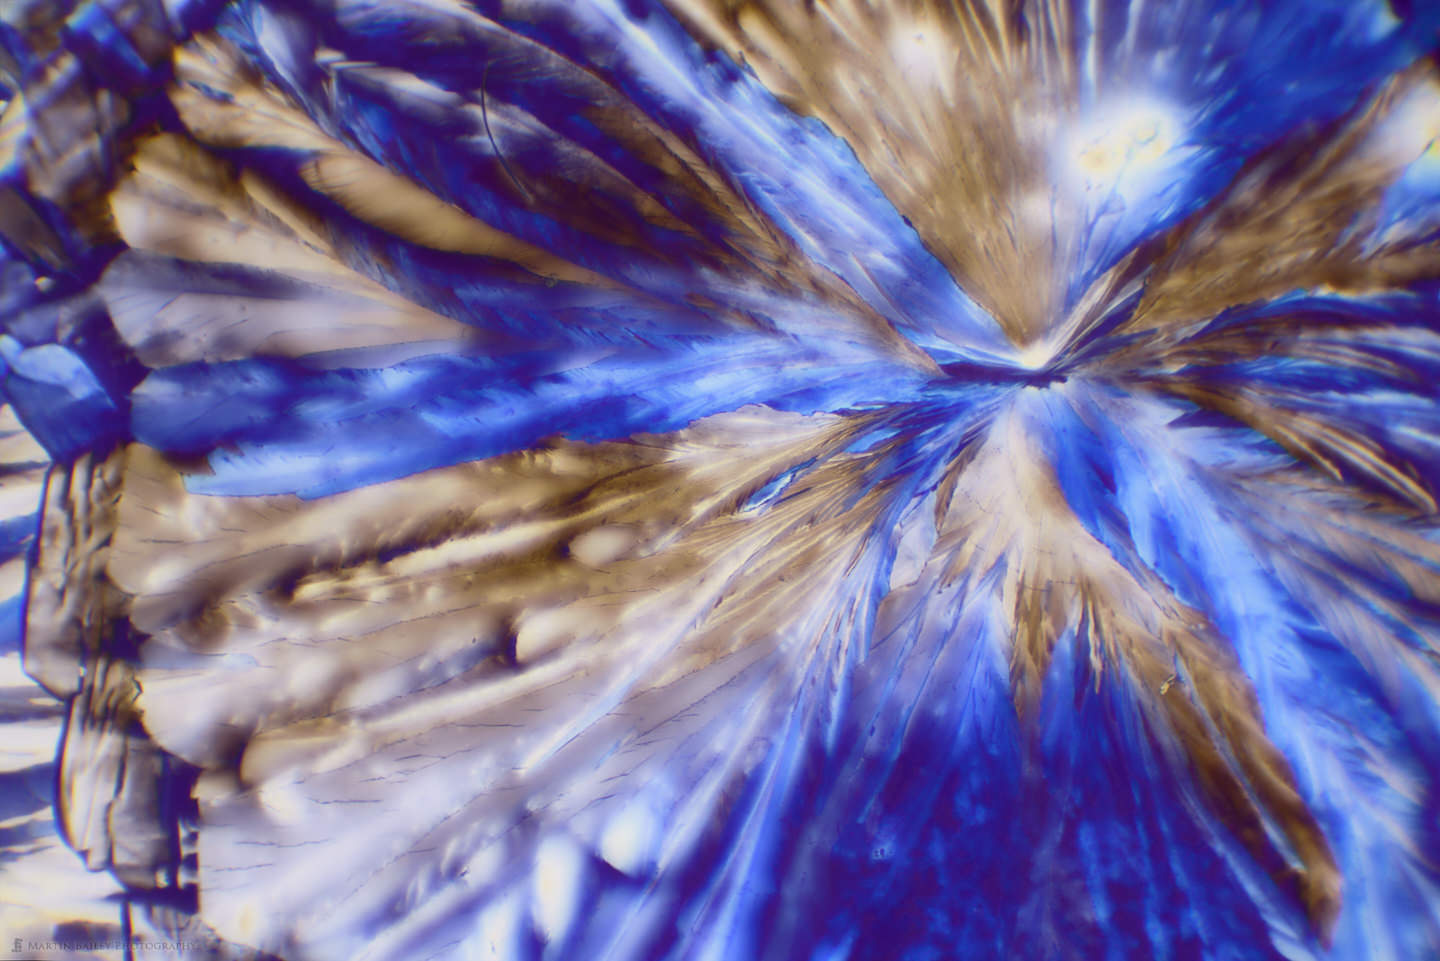
OK, so one final image, that has become pretty much my favorite of all the images I’ve shot over the last week. I see something different in this image every time I look at it, and just find the overall feel of the image very appealing.
Crystal Micrographs Portfolio
There are a few more things that I’d like to relay as we start to wrap this up. Firstly, I’ve pulled together a portfolio of my best Crystal Microphotographs so if you want to see more, please check that out.
Wall Art Now Available!
Also, as I think many of these photos would make good wall art, I’ve added a number of them to my wall art store on the Art Storefronts Website, which you can check out here.
Surveying a Slide and Polarization Effects Video
Finally, here is a video showing some footage of me surveying my first slide and also showing the effect of rotating one of the two polarizing filters. It’s under two minutes, really just a glimpse so that you can see what this is like.
As I mentioned earlier, in the next post on this topic I’ll walk you through how I’m using Helicon Remote to shoot my sets of images and then Helicon Focus to stack my images together. I hope you are finding this interesting. If you are, note that I have also added a Micrography page under the Posts menu, and will pull together everything about this new endeavor on that page, so bookmark that if you are interested in following my Micrography antics.
Show Notes
INTLLAB Vortex Mixer: https://amzn.to/3xRV3yu
Buy my Crystal Micrographs as Wall Art: https://www.martinbailey.art/crystal-micrographs
Check out my Crystal Micrographs Portfolio: https://mbp.ac/crystals
Audio
Subscribe in iTunes to get Podcasts delivered automatically to your computer.
Download this Podcast as an MP3 with Chapters.
Visit this page for help on how to view the images in MP3 files.


0 Comments