
Today I'm going to share a simple yet sometimes overlooked technique for decurling photographs printed on roll paper. This is not a difficult thing to imagine, but a quick search shows me that few people have actually illustrated posts on this topic, so as usual, I've shot a few pictures to show you what I'm talking about.
Most large format printers use roll paper, which of course is great, as it frees you up to print many different sizes without having to stock lots of various sizes of sheet media, and it speeds up the printing workflow as well. The problem with roll paper though, is that when you unroll it, especially with heavier fine art media, it wants to roll back up again, even after you've printed and cut the paper.
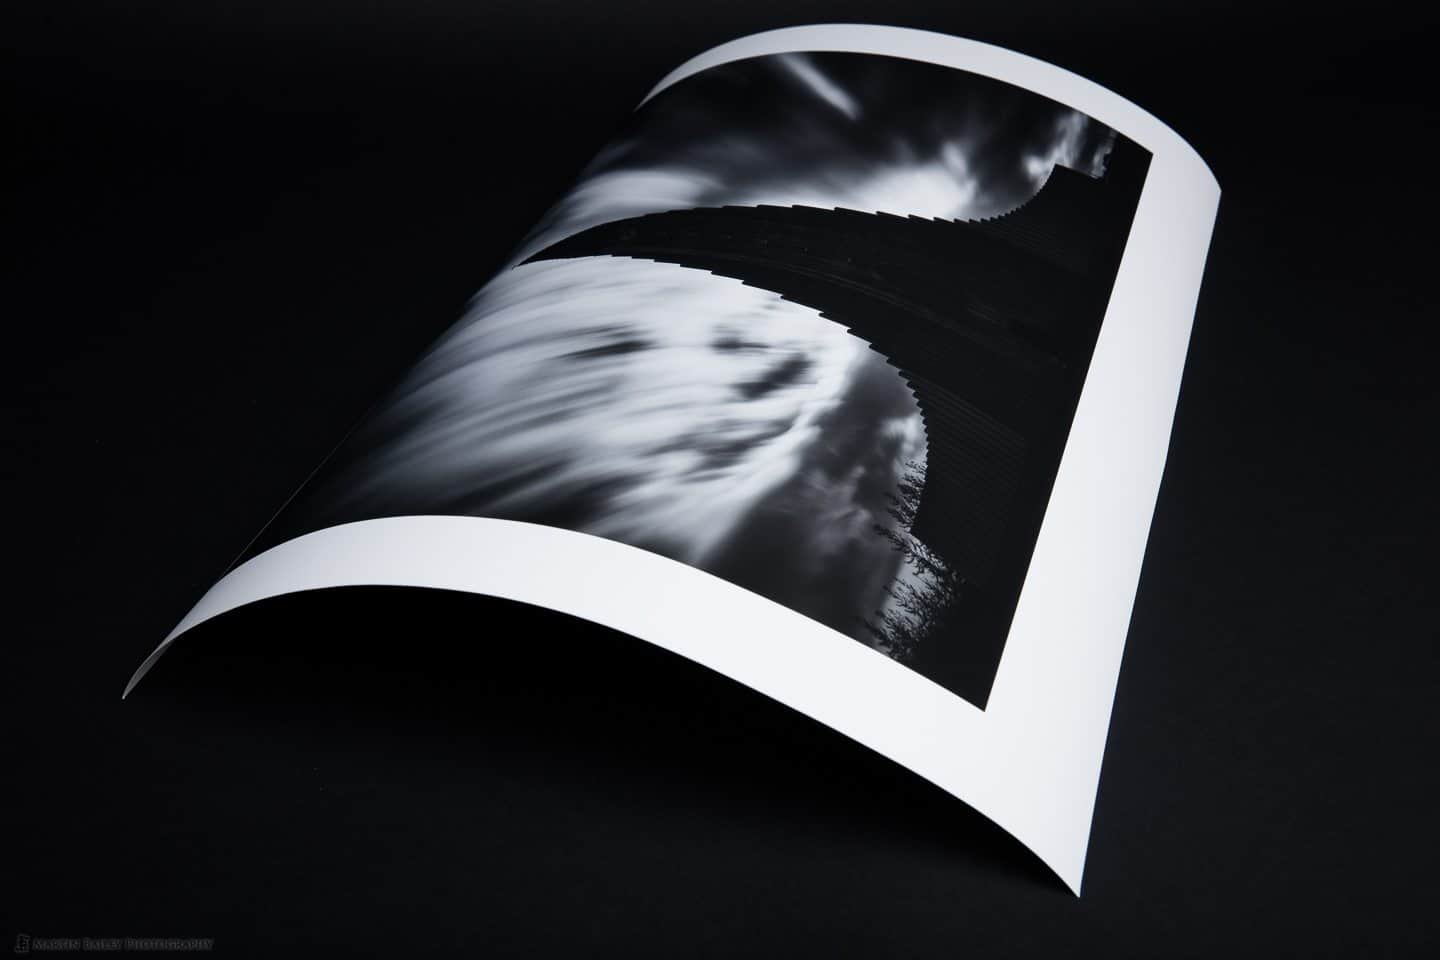
As we see in this photograph (below), after printing, most media will curl up as if it was still on the roll, and this gets worse as you get closer to the end of the roll, as the paper is wound more tightly as you get closer to the core. I actually printed out the image that we'll use in these examples as a 17 x 24 inch print on 24 inch roll media. If I'd printed this on 17 inch media, the curl would run lengthways instead of sideways, but the technique for removing this curl is the same.
Give Gravity a Shot
I have to admit, that when I can, my preferred method of decurling prints is to simply lay them out on a table, and leave them for a number of days. Sometimes you have to stack a few prints together, for added weight, but after a few days they generally lay flat, if you have the space to do this, and you don't have too many prints to decurl at once. We need to give prints a day or so to degas anyway, so it's always good to get into the habit of just letting them sit for a while anyway.
The Decurler
Sometimes though, I need to remove the curl, or decurl, my prints in a shorter amount of time. I usually do this if I'm going to frame the print and don't have the time to let it lay flat of it's own accord. Or if for example I am preparing a printed portfolio for presentation, and I need some freshly printed images to lay flat.
The easiest way I've found to do this, is to keep the end of an old roll of paper, leaving the last five feet or so on the roll. If you manage the amount of media left on your rolls by entering this information into your printer when the roll is new, you generally find that the media manufacturers include a few feet extra anyway, so although your printer is telling you there is no media left, you generally have a bit left to use for these purposes. You can of course continue to print and use right to the end of the roll if you need to, but for the sake of getting yourself a decurler, this is a good option.
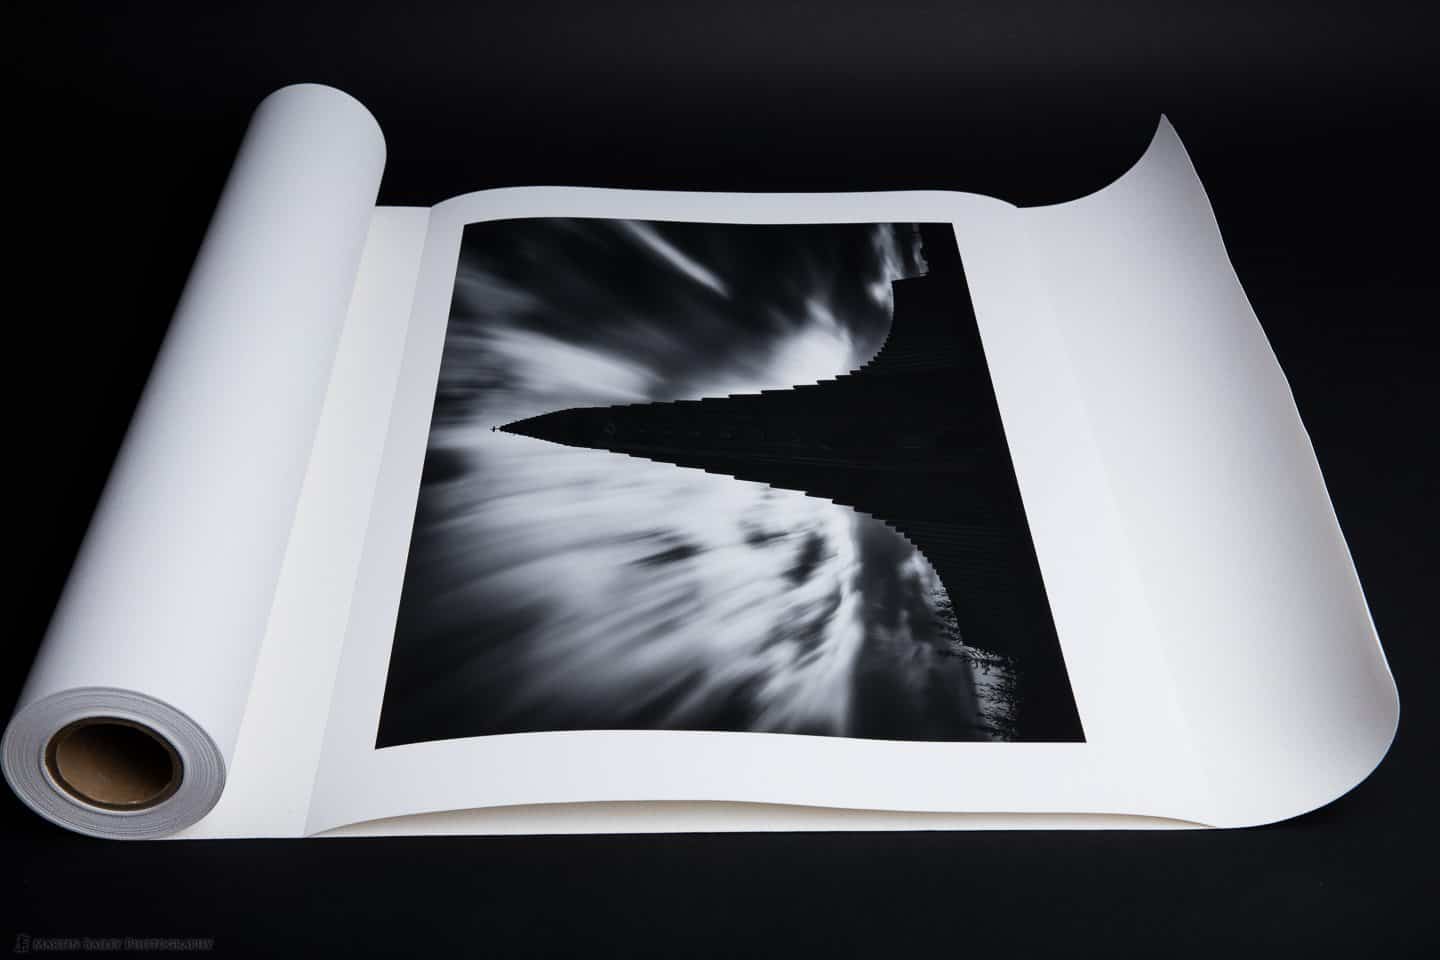
Sometimes, you also find yourself with a roll of something that you will no longer use to print on, but you don't really want to just throw out either. This is a great way to reuse that. I have an old roll of canvas media that I use as my decurler. Still give your print a few hours at least, up to a day if possible to dry and degas before doing this, but once you are ready to decurl, unroll your print remnant and place your print on top of the paper, with the printed area facing up, as you see in this photograph (below).
If you don't give your print time to fully dry, rolling it against it's natural curl can break away fragments of the face of the print, leaving white spots, and this of course ruins the print, so giving it time to dry before you do this is very important, especially with matte media.
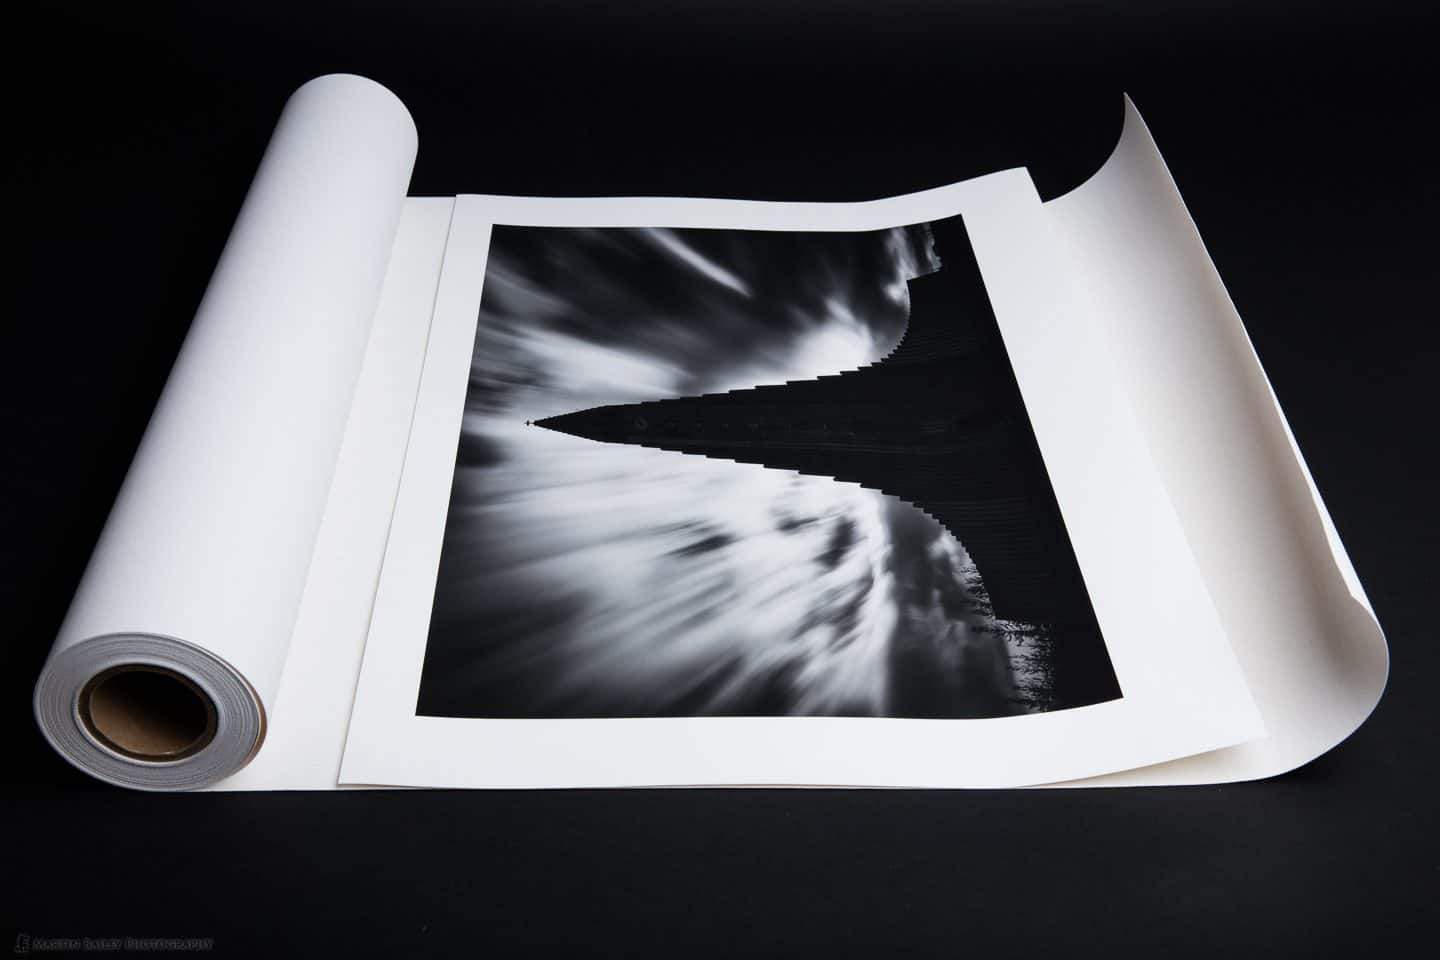
When you are ready, simply roll the decurler up, taking the print inside the roll, as you see here (below). If necessary, once rolled, you might need to put something either side of the roll or tape it to stop it from unrolling, but once it's sitting without the need for you to hold it closed, you can just leave your print in there for an hour or two, to decurl.

The amount of time required depends on the media that you use, and how close to the end of the roll it was, but I generally find that about an hour is plenty. When you first unroll the print, you might find that it is curled the other way for a while, which is fine.
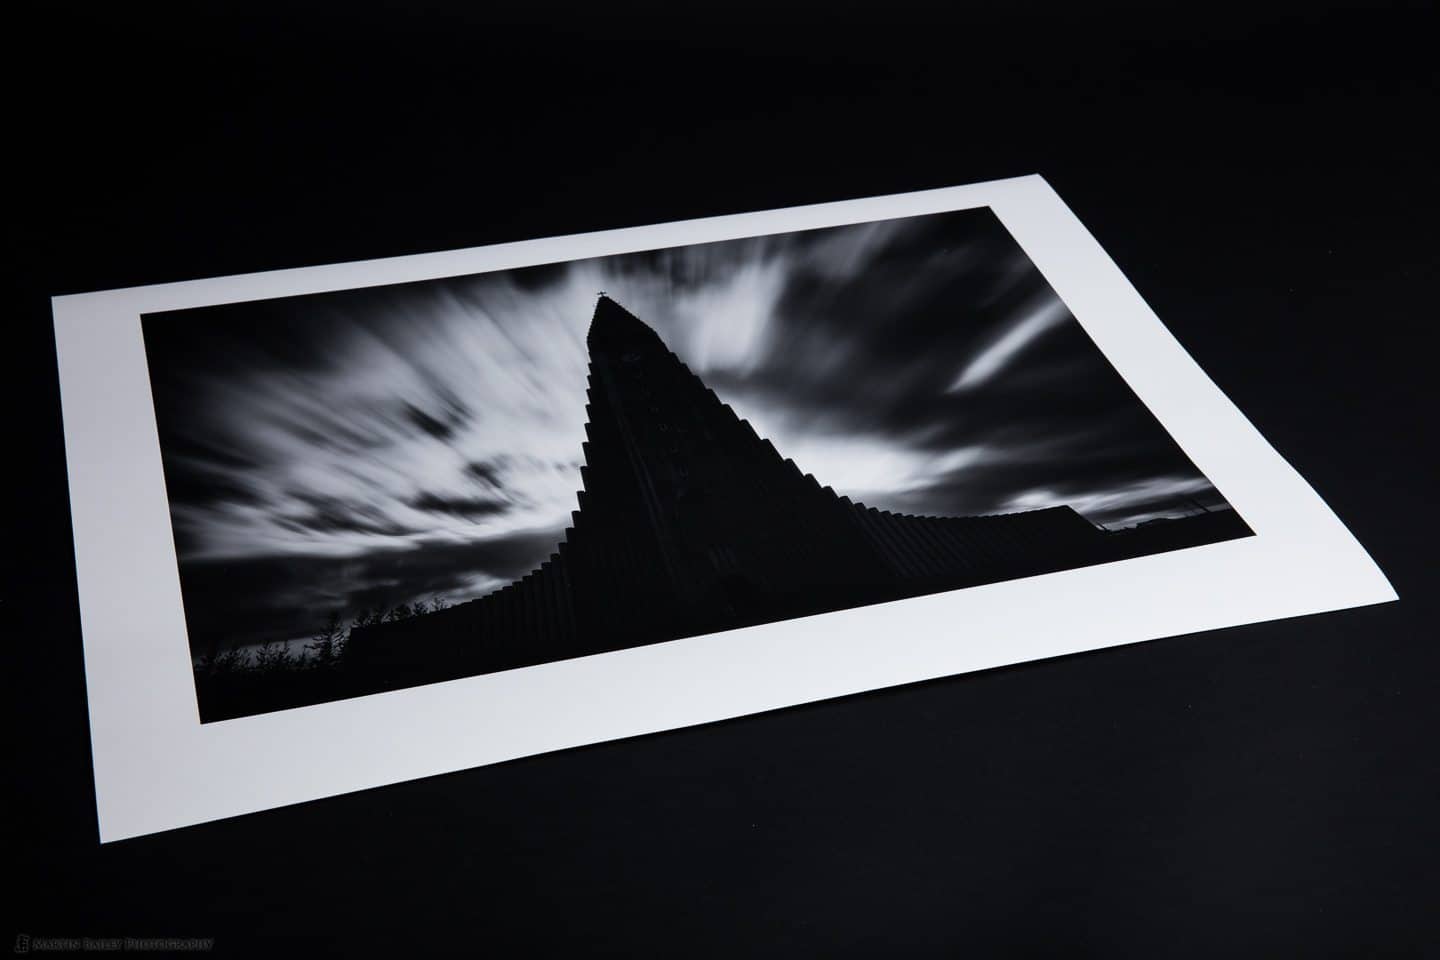
Generally, once you let it sit for a while, the print will lay out flat enough for you to frame, drop into a portfolio case, or present to a customer etc. If you find that the print is not sufficiently decurled, just roll it back up again, and the more you do this, the better you'll get at estimating the amount of time required for each type of media that you use to fully decurl.
Apply Facing Paper if Necessary
If you use this method, using an old remnant or roll of media that you'll no longer use, the face of your print will be touching the printable side of your decurler, and so it should be pretty clean, but if you find that your decurler leaves dust or any other fragments on your print, you might also need to put some clean facing paper on the face of the print before rolling it up. I use Canon Coated Bond paper as it's cheap and nice and clean.
Creating a Decurler from Scratch
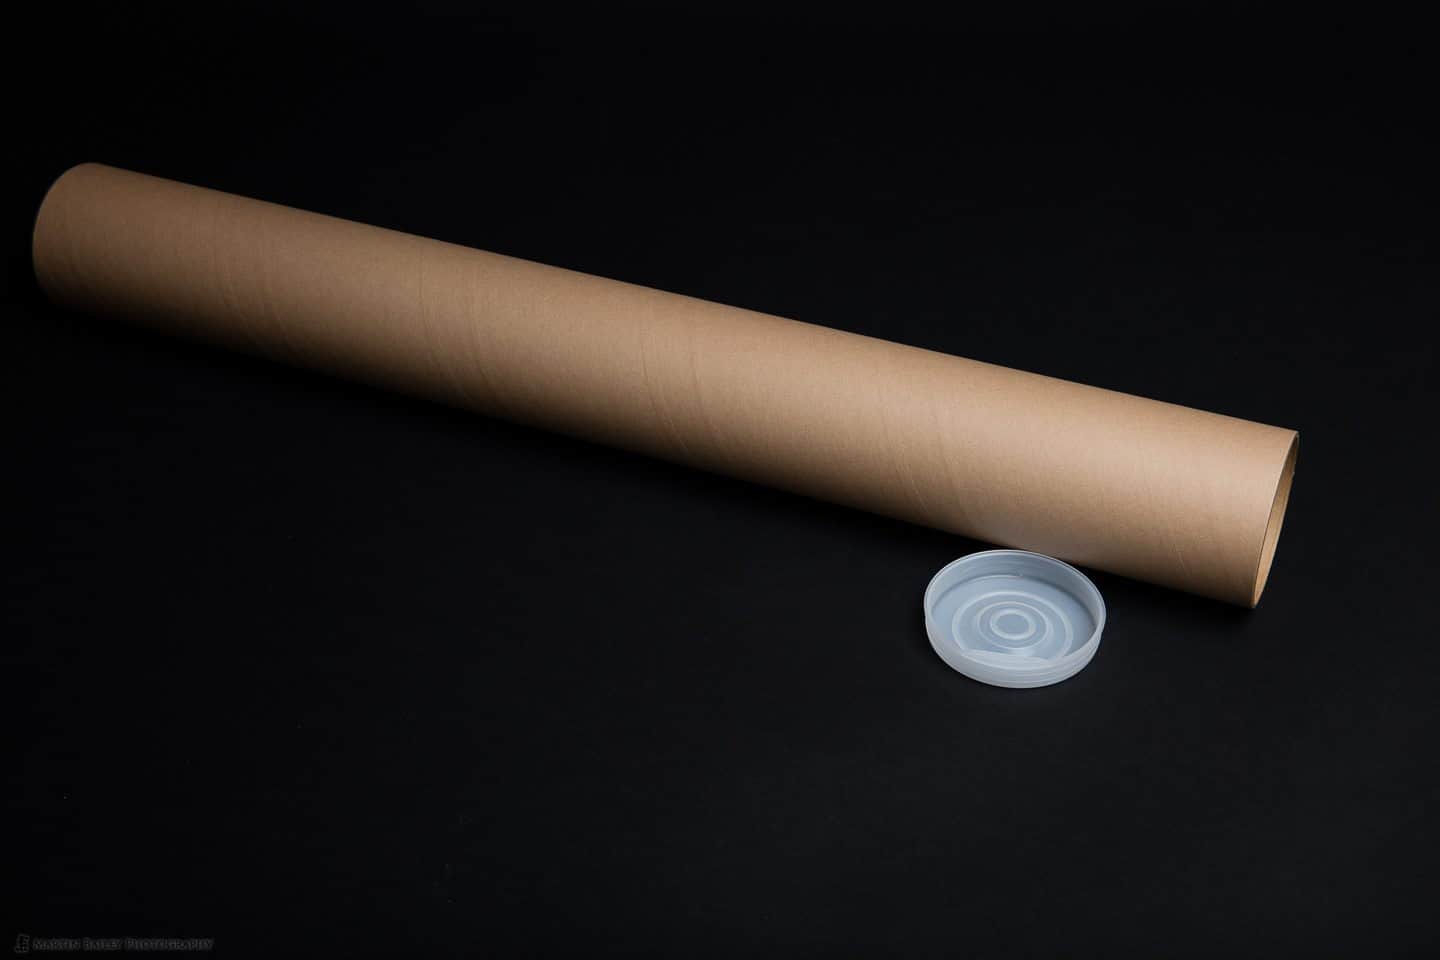
If you haven't yet finished your first roll of media, and therefore don't have a remnant attached to a core, then you can make a decurler similar to this with any tube. For shipping prints, I use 8 cm diameter tubes with the plastic stops in the end, such as the one you see here (below), and I could use one of these for example, as they're only about $3 to buy, but you could use pretty much any tube that you find, but you'll need to attach a large enough piece of paper to the tube, so that it can take in your prints. The more paper you attach, the more prints you can decurl at one time. When necessary, I will unroll a long segment of my canvas roll, and feed in multiple prints, and just roll them all up together.
Thinking about it, if you aren't creating huge prints, you could use an old roll of wallpaper if you have one hanging around, although I would definitely apply some facing paper to the face of the print before doing this. As I mentioned earlier, for my facing paper that I apply to prints that I ship, I just use a roll of Canon Coated Bond paper, as it's relatively cheap and comes in 100 foot rolls, and it's clean, with no fragments to break away and mess up your print. The other good thing about using cheap printer paper is that it's already cut to the same width as your other media.
In fact, if you are looking for a good roll of facing paper that doubles as a decurler, at $33.90 from B&H, a roll of Canon High Resolution Coated Bond paper is not a bad idea, although the 2 inch core would be a little tight as you got towards the end of the roll. I prefer the larger 3 inch cores if I'm just creating a decurler from scratch.
Customer-side Decurling
I should also note that when I sell prints, I roll them against the curl, so that the customer can generally let them gradually uncurl, until they lay flat. I talked about this process in a video that I released as Episode 425, if you'd like to take a look at that.
If the customer will take the print to a framers though, rather than letting it lay flat first, I generally recommend that they just leave the print in the tube, as it could be damaged before getting it to the framer otherwise, and the framer will usually know how to decurl the print before framing, and whether or not this is even necessary.
In case the customer does need to decurl the rolled print, I include a note recommending that they roll the print against the curl around the outside of the packing tube, using the facing paper that I include to stop them from damaging the face of the print.
OK, so a quick one today, but I hope that was useful for those of you that print your own work.
Hokkaido Landscape Photography Adventure 2016
Before we finish I'd like to just mention that we still have a couple of spaces left open on my Hokkaido Landscape Photography Adventure tour from January 10 to 22, 2016. This is the winter landscape photographer's dream, with beautiful minimalist scenes in the remote, rugged, yet incredibly beautiful northern island of Japan, and most of the areas we visit are still pretty much untouched by photography tours, so we have each location to ourselves in the most part. If you'd like to join us, take a look at the tour page at https://mbp.ac/hlpa for details and to book your place.

Show Notes
Martin's Rolling Prints for Shipping Video: https://mbp.ac/425
Canon Coated Bond Paper: https://mbp.ac/hrcp
See details of our Hokkaido Landscape Photography Adventure here: https://mbp.ac/hlpa
Subscribe in iTunes for Enhanced Podcasts delivered automatically to your computer.
Download this Podcast in MP3 format (Audio Only).
Download this Podcast in Enhanced Podcast M4A format. This requires Apple iTunes or Quicktime to view/listen.


Or, you could help stimulate the eonomy and spend US$235 for the D-Roller [https://www.itsupplies.com/D-Roller-Paper-De-Curler] ?.
Nah… 🙂