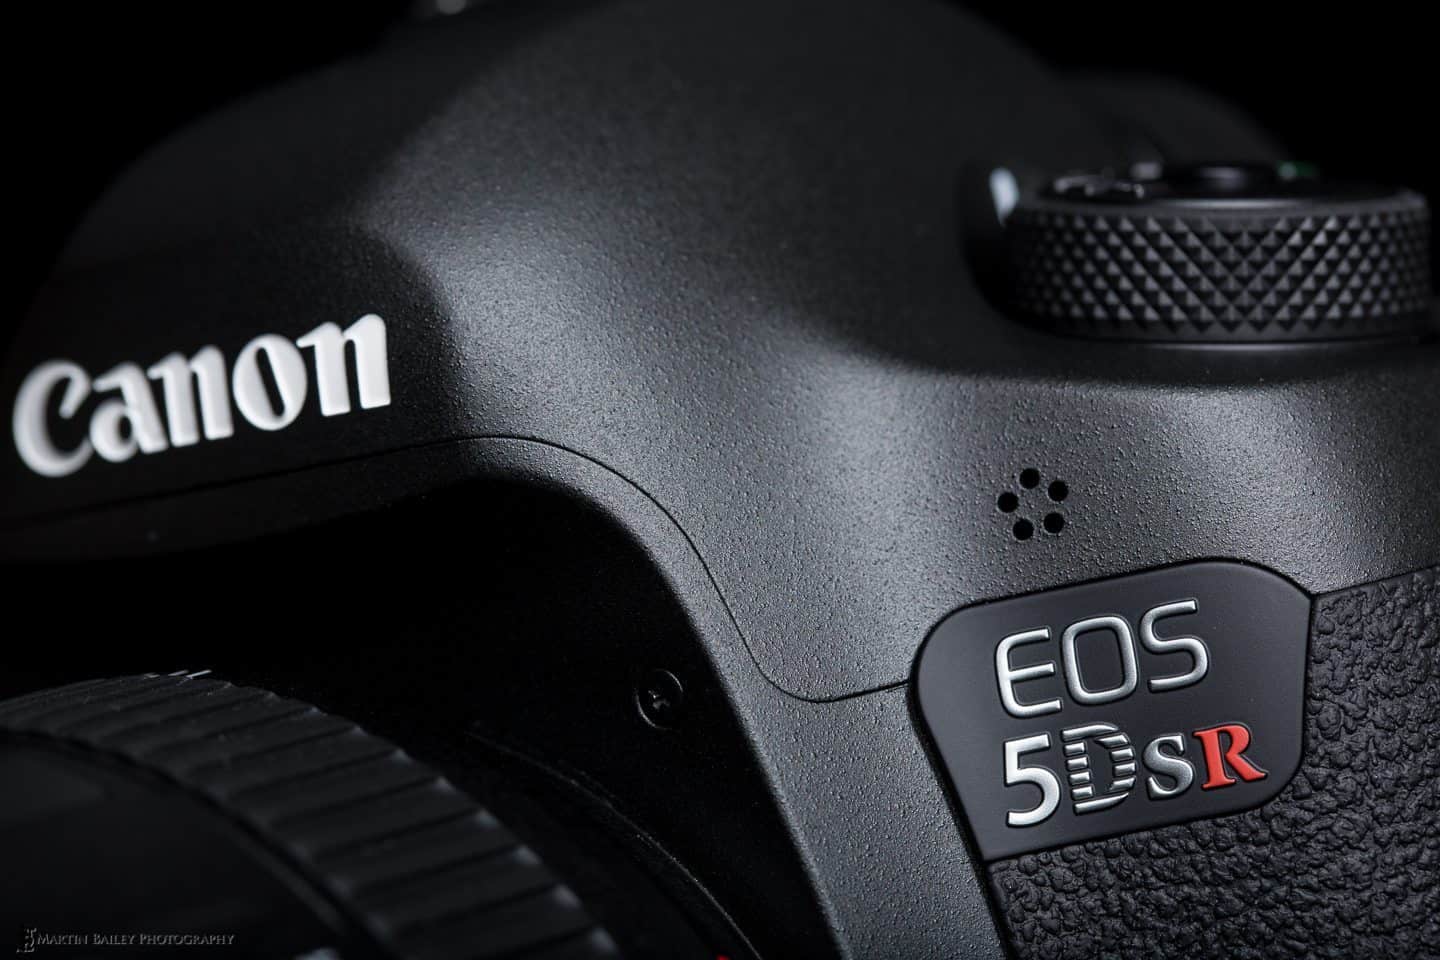
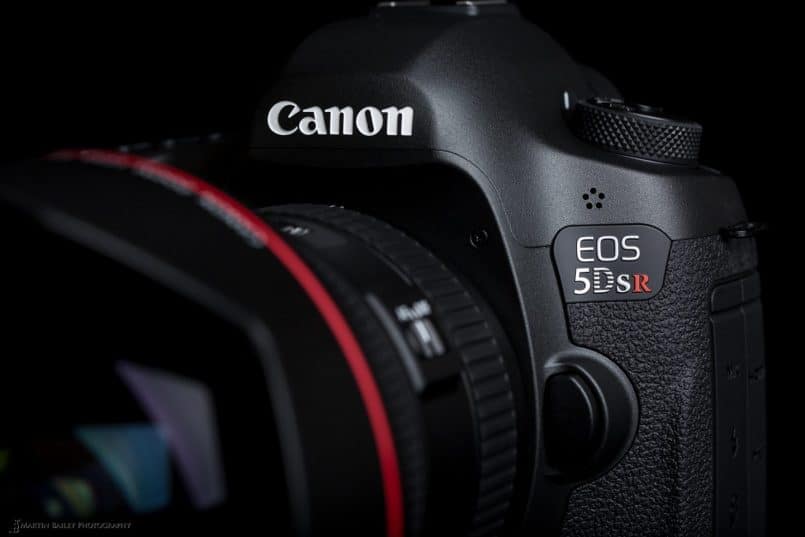
Yesterday I picked up my new Canon EOS 5Ds R 50 megapixels, ultra high resolution DSLR camera, and have since shot around 200 frames, on which I’ve based this first impressions review. I’ll follow up on this with a full review and podcast in a week or so, when I’ve done more shooting, but I am so excited about this camera, I just have to share my initial findings with you.
My Expectations Before Buying
First of all, let me explain the downsides that I was expecting from the Canon EOS 5Ds R before I actually picked up the camera. I was every bit ready to see slightly soft images, because 50 megapixels is such a high resolution, I was expecting that many of my lenses would not be able to resolve light down to a fine enough point to create a sharp image. Basically, I expected it to “out-resolve” many of my lenses. I thought that the new Canon EF 11-24mm f/4L lens would just about hold up to the task, because it was announced at the same time as the 5Ds and 5Ds R cameras, but I thought that even that would be a bit soft.
So far I have only shot with the 11-24mm and the 24-70mm f/2.8L Mark II lens, so that’s all I can comment on right now, but as you’ll see, I have been pleasantly surprised by the results from both of these lenses.
I also fully expected ISO performance to drop from around ISO 800 and start to absolutely suck from around 1600. I just couldn’t see how pixels this small could perform well in low light.
I expected this camera to be virtually impossible to shoot hand-held and still get sharp images, because the pixels are so small that even the slightest camera movement will take light that should have been focussed on one pixel, and blur it into the next pixel.
Read on to see how wrong I was on all three points…
My First Field Test
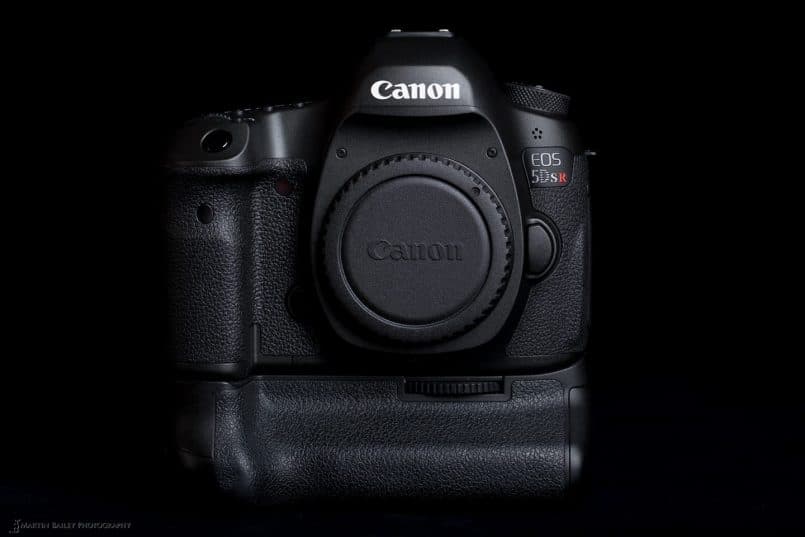
I picked up my Canon EOS 5Ds R here in Tokyo on the morning of it’s release here in Japan, on June 18, 2015. As I often do on such occasions, I took the accessories that I need and a few lenses, so that I could start testing the new camera right away. After picking up the camera, I went to the Starbucks around the corner from the camera store, put on the strap, then my old battery grip from the 5D Mark III (that works with the 5Ds R!) and left my Really Right Stuff L-Bracket on the battery grip, which also fits fine.
I then went through the menus, and changed things like the Histogram from Brightness to RGB, changed the color space of the images from sRGB to Adobe RGB, and stopped the camera from being able to shoot images without a CF card. I also at this point found a few nice surprises, which we’ll get to after looking at a few images.
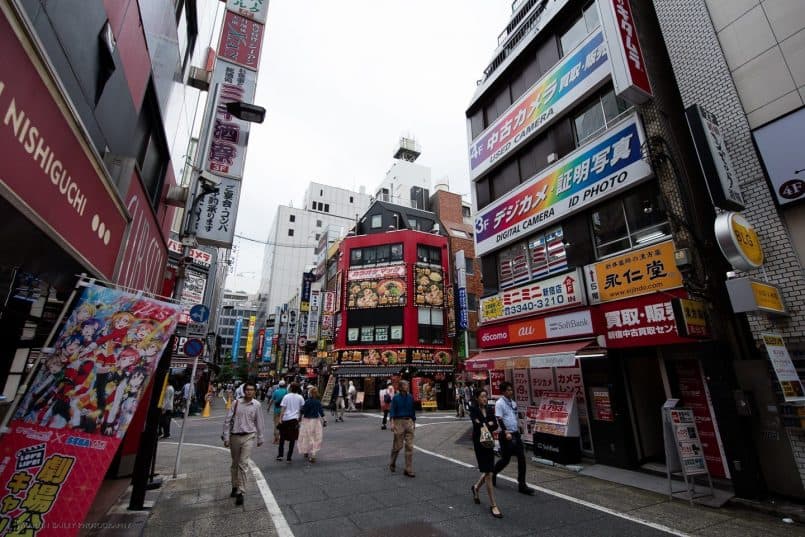
After finishing my coffee, I walked back down the street again and shot the first few images, hand-held. As I said, I fully expected that this would give me blurry images at this resolution, but when I hit the Magnify button and zoomed in to a 1:1 view of the image, I almost dropped the camera. I am not kidding you, the hair on the back of my neck stood on end. Here is the image I looked at, the sixth frame that I shot with the camera (below).
Note that when you click on the images to view them larger, they will automatically start a slideshow, and progress through each frame. To stop that, mouse over the images. You can also click either side of the image or use your keyboard arrow keys to navigate back and forth.
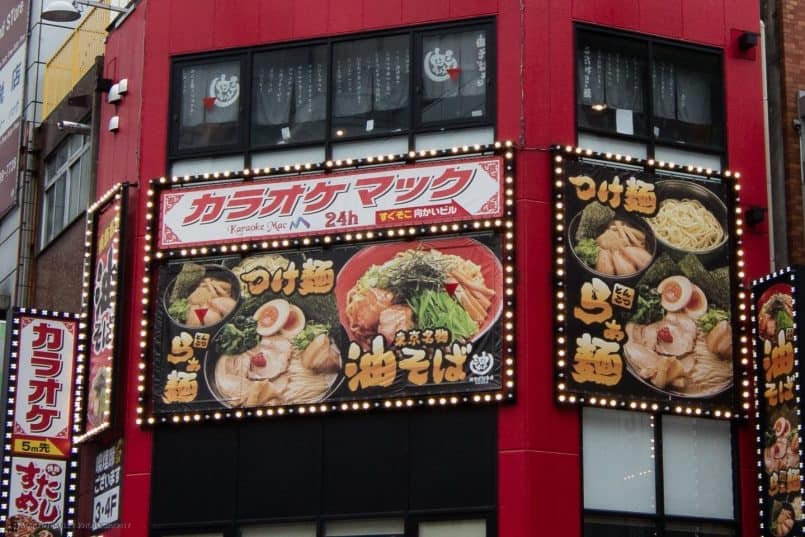
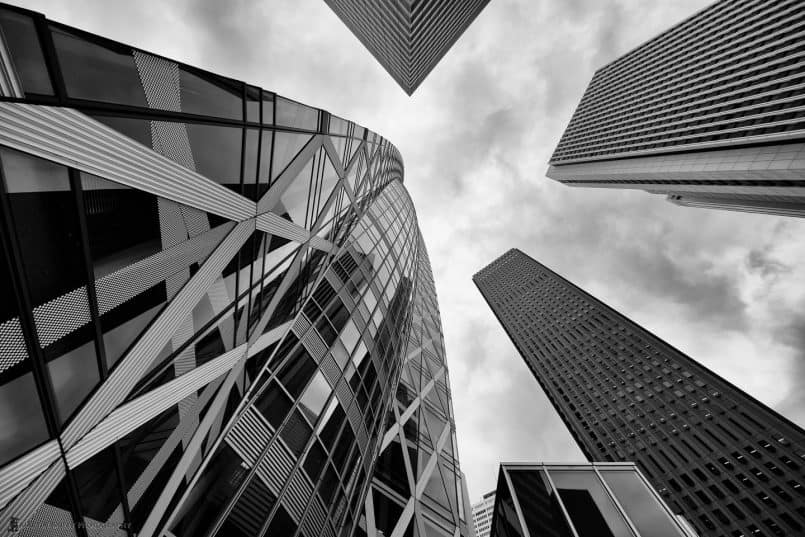
Here now, is the center of the image, at 100%. All of the full images are resized to 1440 pixels wide for the web. The 100% crops are exactly 144o x 960 pixels cropped from the original images. There is nothing done to these, other than the default sharpening that Lightroom applies to all images on import. For some many of the following images I have converted to black and white, so show how I would probably process these images, but all 100% crops are straight out of camera.
Keep in mind that this image was shot hand-held, at 1/125 of a second, f/8, ISO 160, 16mm with the Canon EF 11-24mm f/4L lens. As I said, I was expecting this to be virtually impossible at this resolution, but it works! I consider myself to have a relatively steady hand when shooting, but not necessarily super-human.
Advanced Mirror Control Mechanism
How can this be? Well, at this point, I’m assuming it’s down to Canon incorporating a new Mirror Vibration Control System. This is from the Canon web site.
The camera shake that occurs from the impact of an SLR’s mirror can leave blurred details in the recorded image. This effect is magnified when working with a super high-resolution sensor like the one found in the EOS 5DS R camera. To counter the effects of conventional, spring-driven SLR mirrors, the EOS 5DS R features a newly developed Mirror Vibration Control system. The camera’s mirror is not controlled by springs but instead is driven by a small motor and cams. This system suppresses the impact typical of the camera’s mirror, significantly reducing impact and its effects on the image.
It seems to have done the trick, and the shutter action sounds beautiful! I shot just over 200 frames and only a handful using a tripod, and none of them were blurred. I kid you not. I didn’t get a single blurred frame.
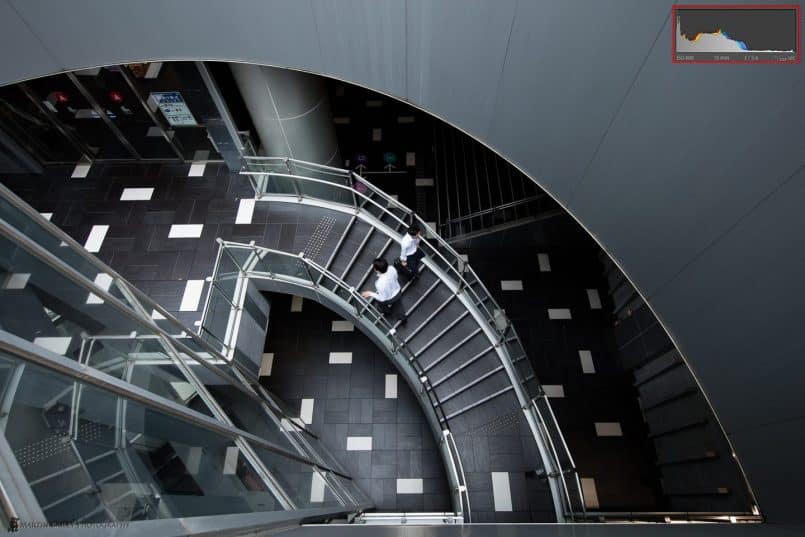
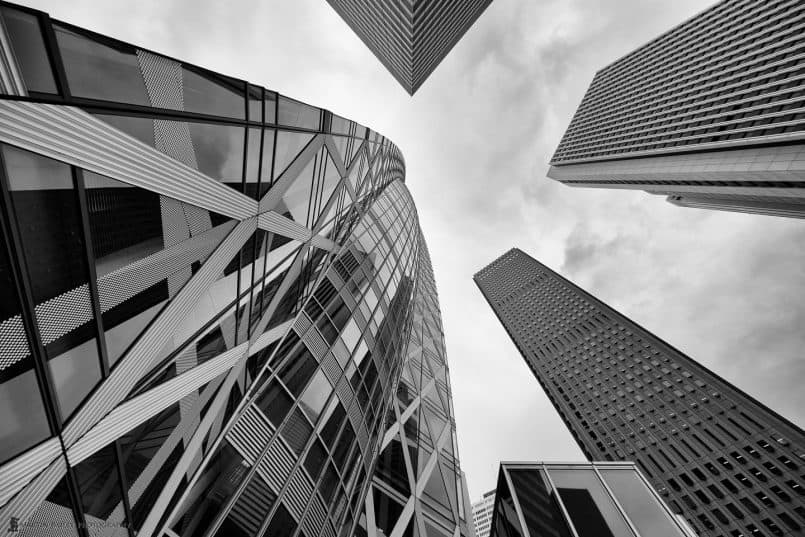
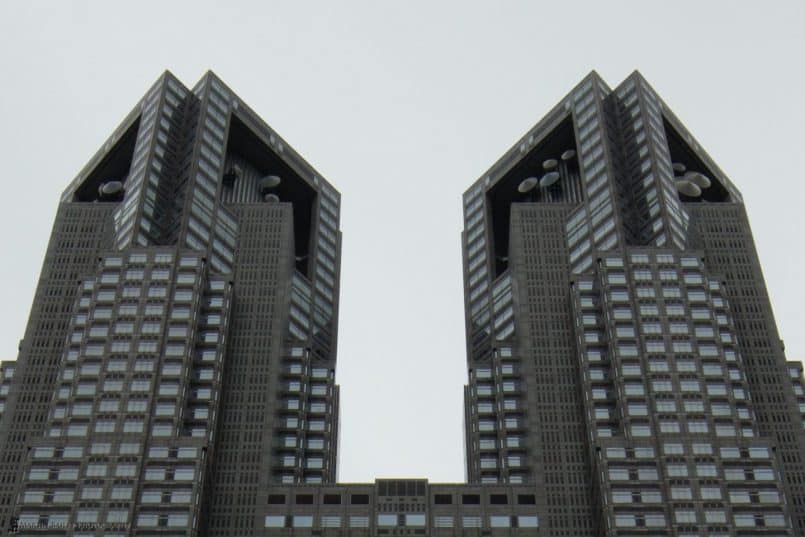
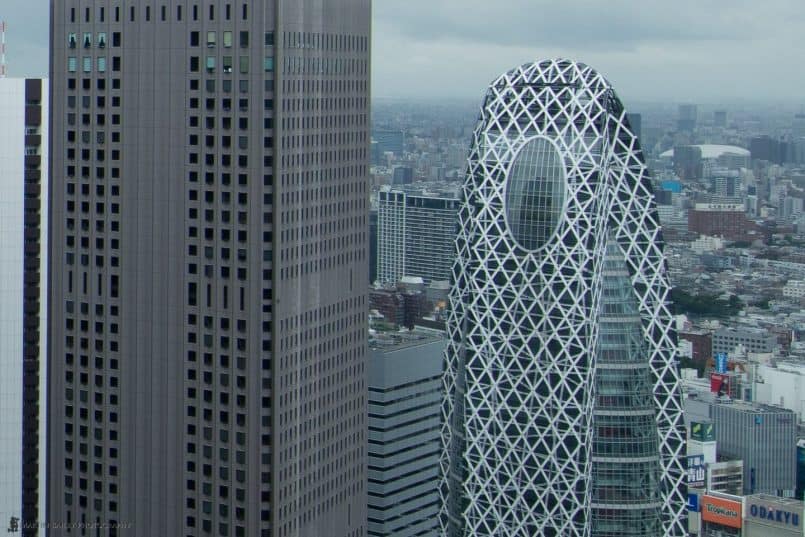
I took a walk over to the Cocoon Tower, my favourite building here in Tokyo, and did a few other shots. Here is one looking down into their dark stairs. They have two sets of stairs; one white with black tiles and one black with white tiles. I chose this one to start testing the ISO performance. For this photo, I had to crank up the ISO to 800, with a shutter speed of 1/100 of a second, f/5.6 at 18mm.
I’ve also embedded the histogram into this shot, to show you that although I was exposing the whites to be white, the majority of the image information in this image is way down in the shadows. That usually means a LOT of noise, especially on cameras that don’t work well at high ISO. Hell, this shot would have totally freaked my old 1Ds Mark III out at ISO 800, and that was only (phner!) a 21 megapixel camera.
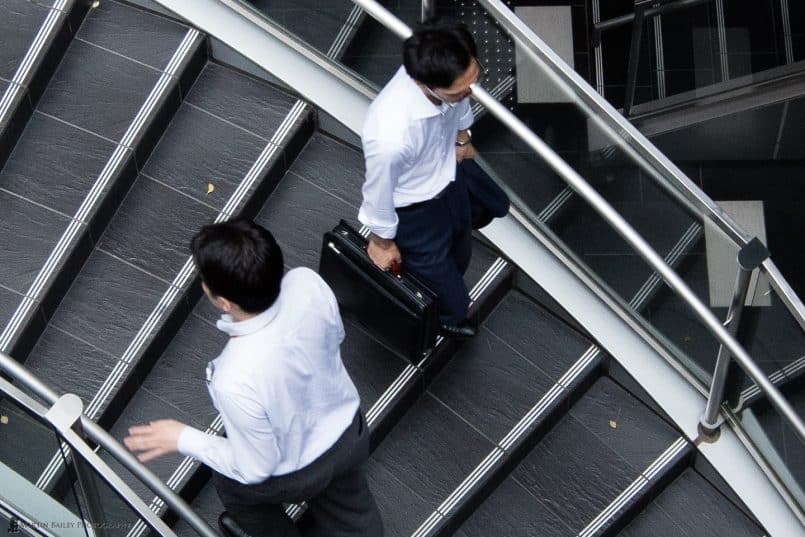
Anyway, here is a 100% crop of the two gentlemen crossing on the stairs. Sure, you can see a tiny little bit of noise creeping in, but to say we are looking at the shadow end of the histogram for much of this image, I am happily surprised to see so little noise.
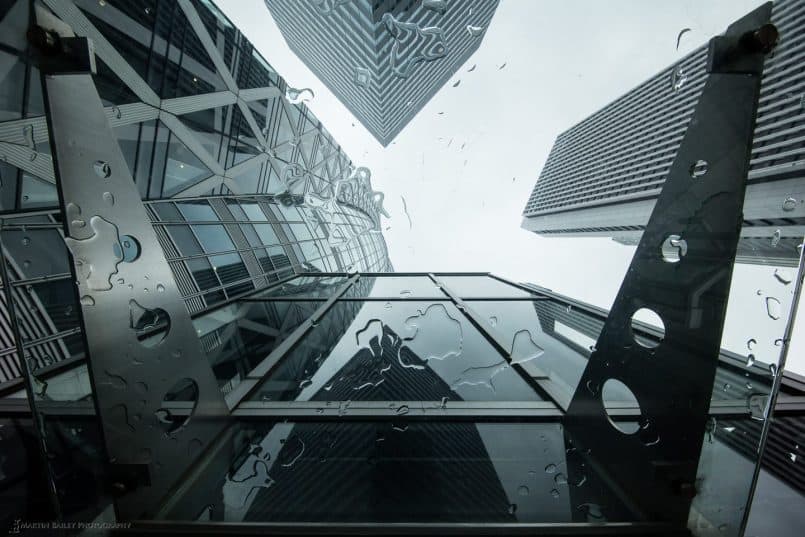
I went around the other side of the building, and because it had been raining, shot this fun image of the glass above the elevator door, with little puddles of rain on it. I’m just including this for fun, but I do love the tonal qualities of the images. Again, this one is straight out of camera (below).
Comparison between the 5Ds R and 5D Mark III
I did one test where I pitched the 5D Mark III against the 5Ds R. I set this shot up on a tripod, and made this first image with the 5Ds R (below).
I then unscrewed the 5Ds R from the battery grip, which was attached to the tripod with the Really Right Stuff L-Bracket, moved the 11-24mm lens from the 5Ds R to the 5D Mark III, and then screwed the 5D Mark III into the battery grip. It seems to have shifted very slightly, but the below is from the 5D Mark III. The lighting changed slightly in the few minutes it look me to switch the camera out, but these were both shot at 1/100 of a second, f/8, ISO 100, 11mm.
Here now, is the 100% crop from near the centre of both images. This is really to give you an idea of the difference in magnification between the two cameras. These are both in color, straight out of the camera.
I did one long exposure, using a tripod of course, to see how well the image quality coped. I put a piece of ND10000 gelatine film in the film holder on the back of the 11-24mm lens, for this 2.5 min exposure, f/11, ISO 100 at 11mm, using the new in-camera Bulb timer that we’ll look at later.
Here is a 100% of the top of the buildings, again from the color original (below). Again, what we are looking at here is in the low end of the histogram, as I was exposing to keep the sky from blowing out, so you can probably detect a tiny bit of noise in the dark building, but this is a perfectly acceptable amount in my opinion.
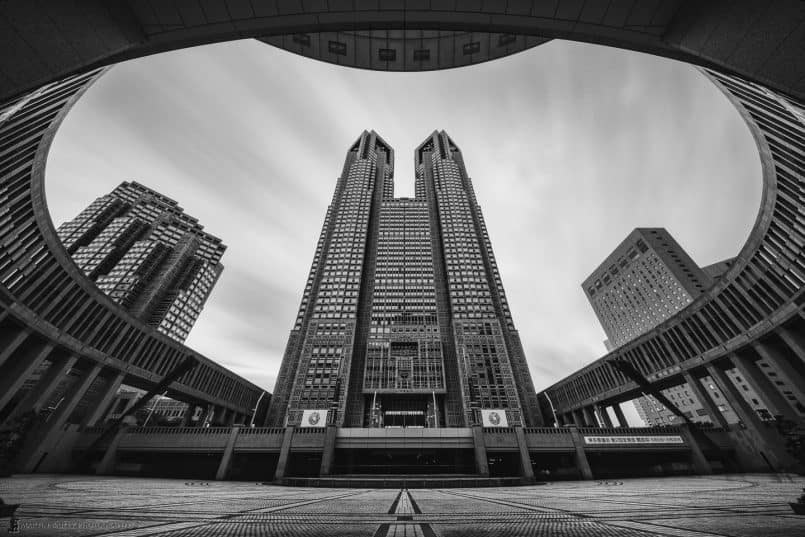
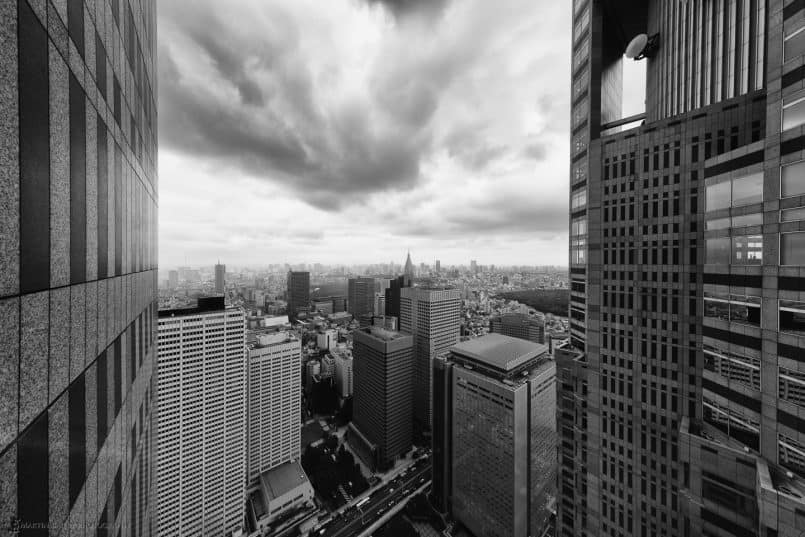
I went up to the 45F of that building, and shot some images out of the window. If you know the Tokyo Metropolitan Government Building viewing area, you’ll probably also know that tripods are strictly forbidden. These next handful of images were all shot hand-held, either resting on the ledge on the inside of the window, or simply standing with the camera against the glass.
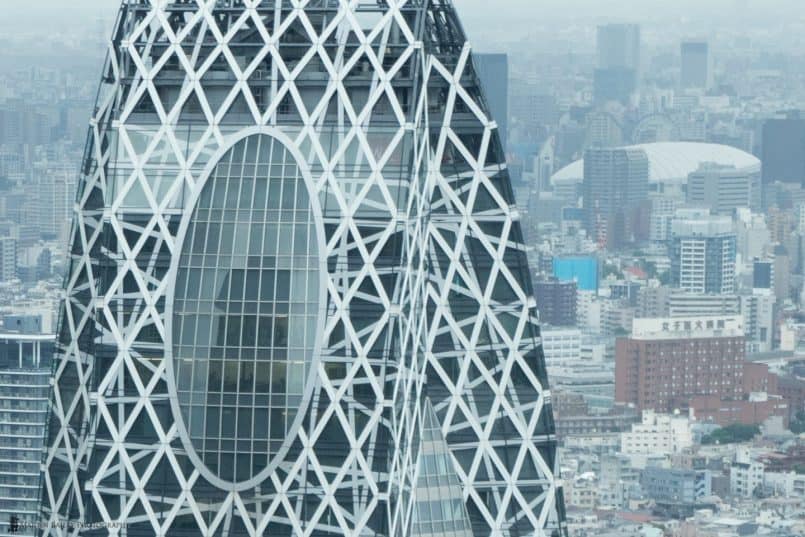
Here is a 100% crop of the center of this image. You can see that it was a dull and hazy day, but I think you’ll also appreciate the amount of detail being captured here. This was shot at 1/100 of a second, f/8, ISO 200, 11mm.
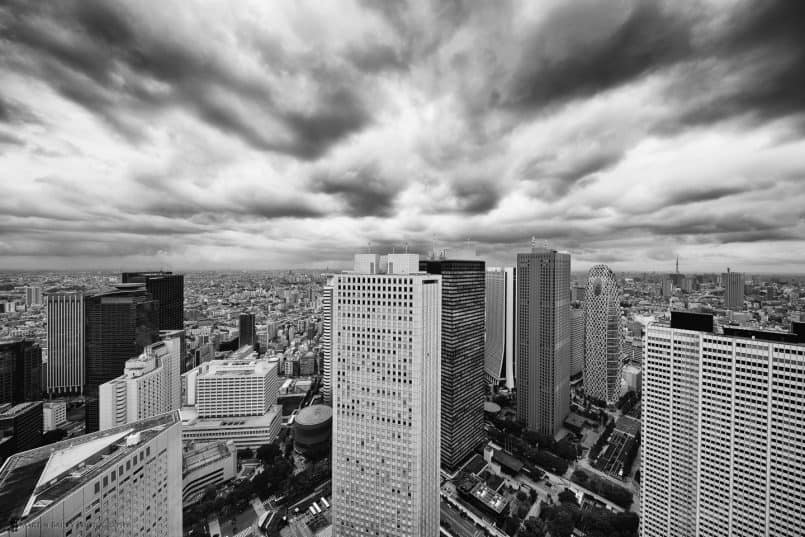
Here’s another view from the other side of the building, with my favourite Cocoon building down there on the right. 1/100 of a second f/8, ISO 160, 12mm.
And here’s the 100% crop.
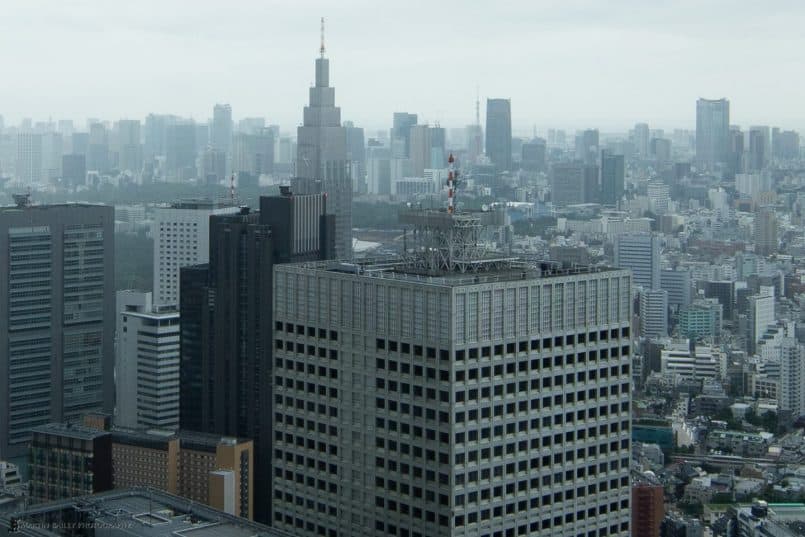
So far, all of the images we’ve looked at were shot with the new 11-24mm which we can almost assume Canon were confident of the resolving power of, as they announced it at the same time as the 5Ds R. This next photo though was shot with the older 24-70mm f/2.8 Mark II lens, at 1/125 of a second f/8, ISO 320 at 45mm.
And here is our 100% crop. Again, the weather was a little hazy, but I am blown away by the amount of detail being capture here, even with this older lens. I didn’t even know that you can see Tokyo Dome (top right) from this building, until I looked at this image at 100%.
I’ll be testing my other lenses over the next week or so, to see how they also hold up to this resolution, but honestly, if the 24-70mm is as good as this, I’m not concerned about my other glass. It’s not that the 24-70mm is bad, but I’d say it’s on a par or perhaps a tad softer than all of my other glass, so right now, I’m a happy camper.
ISO 3200 Test
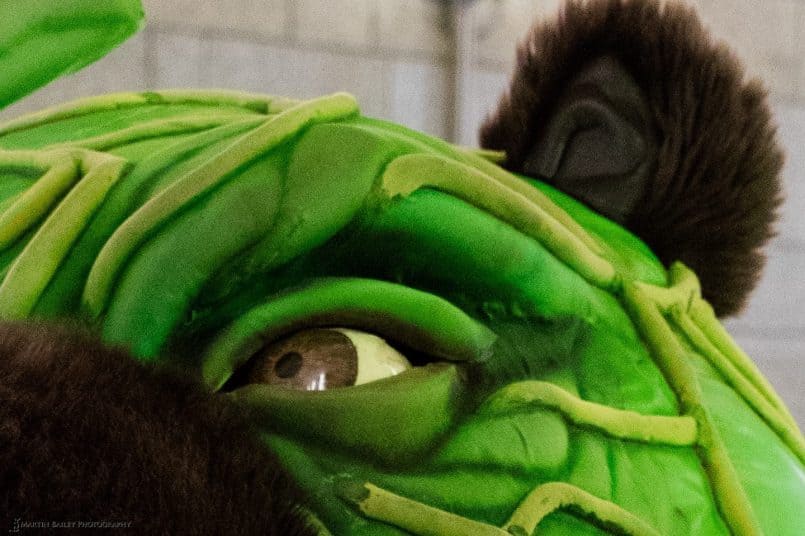
OK, so I’ll do some more scientific tests of the ISO performance soon, but for now, here’s a shot of the incredible Melon Bear, a Japanese “Yurukyara” mascot for the Hokkaido town of Yuubari, where they grow the most amazing melons. I shot this on the 2F of the metropolitan government building, hand-held at ISO 3200, 1/60 of a second, f/5 at 35mm.
And here’s the 100% crop. Don’t forget to click on the image and view it at true 100%. Sure, you can now see the grain, but if that’s as nasty as it gets at ISO 3200, I can totally live with this level of ISO performance. Hand-held at 1/60 of a second didn’t really seem to be posing any problems either.
Freedom to Shoot Hand-Held!
I’ve heard many people complain that you really can’t use the Nikon D800 at 36 megapixels, because camera shake makes the images soft. Basically people say you absolutely must shoot with a tripod the entire time.
Don’t get me wrong, I love shooting with a tripod, but I also love being able to shoot hand-held when I’m running and gunning, and I was expecting to have to give that up with the 5Ds R due to the high resolution. Again, I was pleasantly surprised to find that this simply isn’t the case. Canon have hit the ball right out of the ball park with this camera.
Other Nice Surprise Features
I probably should have already known about these next few features, but I honestly didn’t have much time to read-up on the new features before I picked up my 5Ds R, so these came as a nice surprise to me as I look through the camera menus yesterday.
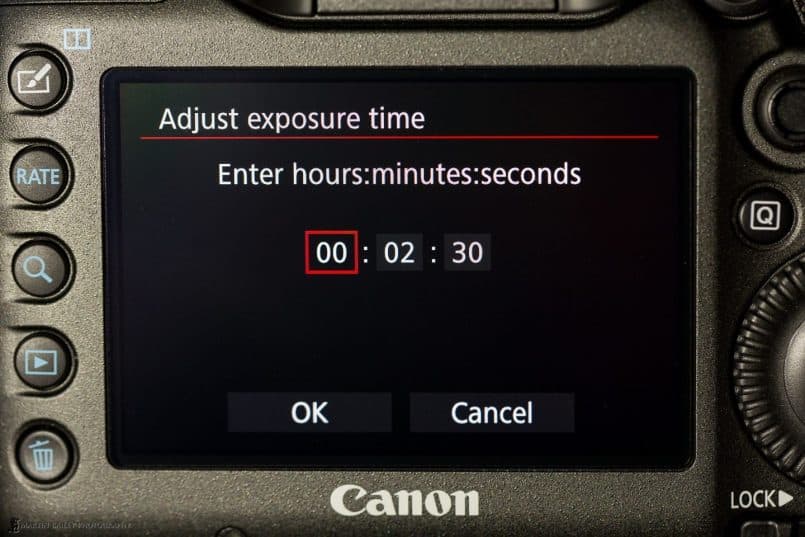
In-Camera Bulb Timer
I was pleasantly surprised to see a new built in Bulb timer for long exposures. Traditionally 30 seconds was the longest in-camera exposure we could achieve, before it was necessary to attach a cable release or remote timer and go to Bulb mode, then either time your shots while depressing the cable release, or set your shutter speed on the remote timer.
We still have to go to Bulb mode, which is fine, but now there is a timer built right into the camera, so it is no longer necessary to use a cable release. If you also start your exposure with a two second timer, you can get your hand away from the camera and give it time to stop vibrating from your hand movement before starting the actual exposure. Great stuff!
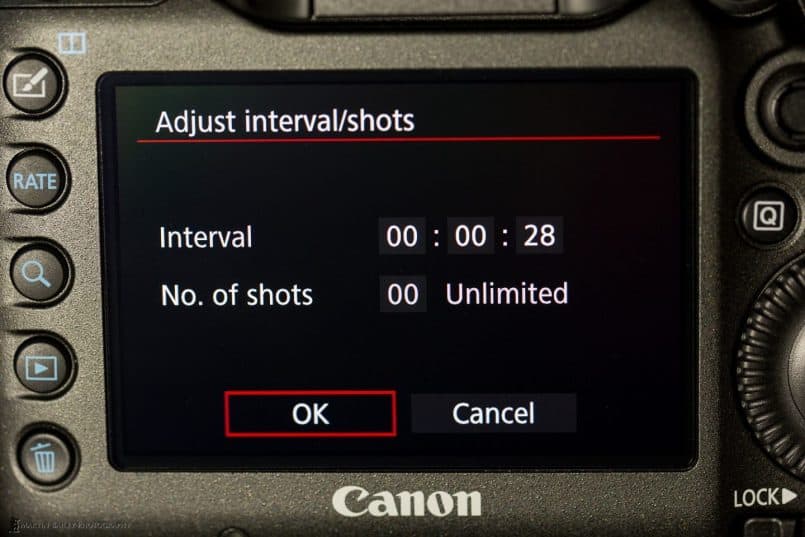
Built-in Intervalometer
I was also happy to see that the 5Ds R has a built-in intervalometer, so that we can now do time-lapse photography without a remote timer/intervalometer. Another nice touch!
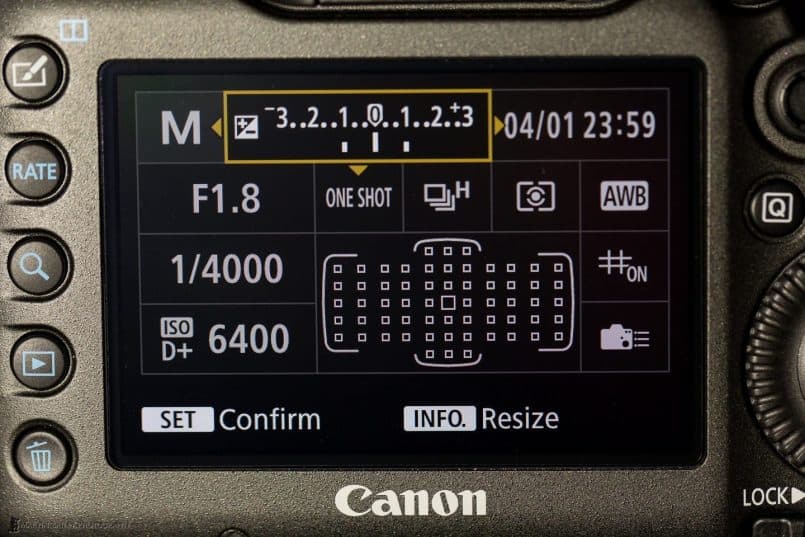
Custom Quick Control Screen
And something else that I absolutely love, is the Custom Quick Control Screen. This is similar to the Quick Control Screen that we’ve had for a few generations of Canon camera body now, but now you get to choose what is displayed, how wide, and where on the screen it is displayed. This is how I’ve set my screen up for now.
Because I’ve now disabled the standard Quick Control Screen, when I hit the Q button that we can see on the right of this photo (above) I am brought straight to my custom screen. Another great new feature! By the way, I did not shoot this image at 04/01 23:59. That’s just what get’s displayed when you start to customise the screen. I had to wait for my 5Ds R just like most everybody else. 🙂
Do We Really Need 50 Megapixels?
I know that some people are going to ask this, so let’s just consider if we really need 50 megapixels.
Personally, I’ll take every megapixel I can get if it doesn’t result in the sensor out-resolving my lenses, and doesn’t give me really bad ISO performance. I could have lived with having to use a tripod, but fortunately, that is not the case. I took a gamble when I reserved my own 5Ds R back in February, while on the bus on the last day of my Winter Wonderland Tour, but I’m glad I didn’t sit on the fence and miss out on getting mine of the day of the launch, because none of these three possible issues affect this camera.
If you only shoot for the web, or never print your work, and you don’t sell images commercially, then you perhaps don’t need this many megapixels. I have almost lost commercial image sales in the past because my 12 megapixel files weren’t large enough. I was able to provide alternative shots at 21 megapixels and still close the deal, but it was a close call. For that same job, if I’d have had 50 megapixel images, it would have been a no-brainer for the client. For me, this is future-proofing my images that I work hard to create.
How you want to proceed is for you to decide, based on your own situation and requirements.
5Ds or 5Ds R?
The other thing to consider, is whether to go for the 5Ds or the 5Ds R, which is what I went for. The 5Ds R is pretty much the same camera, but the R has the low-pass filter effect cancelled. Here’s how Canon describe it:
With all the features and capabilities of the EOS 5DS, the EOS 5DS R camera offers the potential for even greater sharpness and fine detail for specialized situations. It features the same Canon designed and manufactured 50.6 Megapixel sensor, with the low-pass filter* (LPF) effect cancelled to provide even more fine edge sharpness and detail for critical subjects such as detailed landscapes, and other situations where getting the sharpest subject detail is a priority.
*The possibility of moiré and color artifacts is greater due to the LPF cancellation function.
I have not shot with the 5Ds, so I have no idea how much sharper the 5Ds R is by comparison, but unless you think moiré would be a big problem for you, I’d recommend going for the 5Ds R.
Do Files Take Forever to Process?
I was pleasantly surprised by the process speed of the files. The transfer of the files to the computer took a little longer than usual, using a USB3.0 card reader, and the files take a second or so to “res-in” in Lightroom, but it is nowhere near as slow as I was expecting it to be. It’s really not a lot slower than working with my 5D Mark III 22 megapixel files.
I’m using Lightroom 6 (2015.1) on a Mid-2013 27″ iMac (32GB RAM/Fusion Drive) and a Late-2012 MacBook Pro Retina (16GB RAM/SSD). My Lightroom catalog and images are transferred directly to a Drobo Mini connected via Thunderbolt, which is slightly slower than working directly from the internal hard drive, but still runs fine, and enables me to move the drive between both computers without copying the catalog or images around.
What’s Missing from the 5Ds R?
At this point, the only thing that I am disappointed about with the 5Ds R is that it does not have GPS built in. I thought when my 7D Mark II came with this, all future Canon bodies would have GPS built in by default, but I was wrong. I understand that Canon were following the design of the 5D Mark III which also does not have GPS, but they were able to do so much elsewhere, this is a bit of a let down. I now have to continue to use my GP-E2 GPS unit to geotag my images.
BUT, this is the only thing that I can find at this point that I would have like to have seen in this camera. Sure, there is other stuff, like built-in bluetooth to pair this with my other cameras and have the ability to synchronize key settings like shutter speed, aperture and ISO etc as I change settings, but that’s been on my wish list for so long now that I have almost given up on it.
Conclusion
As I mentioned, I will follow up on this review with more test results after I’ve shot more, but at this point, based on an afternoon’s shooting, I am literally blown away by the 5Ds R. Even if my expected limitations had been true, I would have loved this camera, but with none of them affecting it, I truly believe that the Canon EOS 5Ds R is an engineering marvel.
Although it was a dull rainy season afternoon here in Tokyo, I hope that the images I’ve shown here help you to appreciate just how much detail this camera is capable of capturing, even at moderately hight ISOs.
If you have found this review useful, and intend to pick up your own, you can help to support my efforts buy purchasing with the below links. Note that if you already have a 5D Mark III battery grip BG-E11, you do not need to buy this again. They are the same.
Don’t Miss the Follow-up Review!
If you have arrived here having searched for 5Ds reviews, I urge you to subscribe to our newsletters so that you don’t miss my follow-up review. I release a weekly photography podcasts full of useful information about the art and craft of photography, which I hope you will also find useful.




Thank you for your report. It truly supports my decision waiting till I can get my hands on the “R” version. B & H does not have it yet but I will wait.
For sure Charlie. IMO the R is the way to go. I’ve not seen any direct comparisons yet, but unless you are shooting lots of fine detailed patterns that are likely to cause moire, and nothing else, then the R makes most sense. Have fun!
Thank you for a great review and perspective Martin.
You’re very welcome Chris.
I just got back from three days with the 5Ds R, and I am just becoming more and more impressed. I’ll be reporting on my findings in the full review, hopefully next week.
S.C.D.J. EN V.C.
Thank you Martin!
I was waiting for your review, toughts on camera, I too took chances and order it first day, wasn’t sure but now that I have used it , I am ver happy with it,and since I read your review I am more, congratulations on your excellent photography work.
Thanks Gustavo!
I’m working on a follow up review for next week too, but in short, I’m even more impressed with this camera after shooting more with it. I’m sure you’ll love yours too!
Hi Martin,
I had read the same thing about not being able to shoot handheld and after reading your reviews and with my own experience after I got my Canon 5DS R, I can confirm that there are no issues.
Regards,
Dipak
Yep! It works!
Thanks for taking the time to comment Dipak.
Thanks for this informative “first impression”. Very interested to know about your handheld experience with this camera that already clarifies lots of preconceived ideas about it. Hopefully, you will also have interest and/or time to look into the “crop factor” either in camera or processing and compare it with your 7DII files. I’d be curious to know whether the latter, save for the higher fps, will still have a place in your bag… Will sure not miss your follow-up review!
I’ve done a comparison of the 5Ds R in 1.6X crop mode compared directly with the 7D Mark II, and I’m very impressed. The image quality is better from the 5Ds R and the images almost exactly the same size. I will probably only be using my 7D Mark II now when I absolutely need the fast frame rate. The autofocus might also be better for really fast-paced shooting, but other than those times, it’s the 5Ds R all the way from now on. I’ll be releasing my findings in the follow up review, hopefully tomorrow. I’m almost finished with the preparation. Stay tuned!
Thanks for the great review Martin. Tokyo’s a great city and it looks even better in your photos.
Thanks Paul!