
This week I share a video tutorial showing how to shoot for and create a focus stacked image in Photoshop using a focusing rail. Focus stacking can be a lot of fun, and is often the only way to get everything in focus in macro photography due to the extremely shallow depth-of-field at when focusing at such close distances.
Note that there is currently a bug in Photoshop 15.1 (CC 2014.1) that prevents this feature from working properly. If you want to give this a try, you might have to downgrade Photoshop (with great difficulty) or wait for Photoshop 15.2 (CC 2014.2) which will hopefully fix the issue.
The focussing rail I use in this video is the Really Right Stuff Macro Focusing Rail B150B-LMT-Pkg: For collared macro lenses
Here’s the video in Full HD, so go full screen to view.
Here is the resulting photograph. Note a great shot, but you can see how the entire flower head is now in crisp focus because we merged all of the sharp areas from each image in Photoshop.
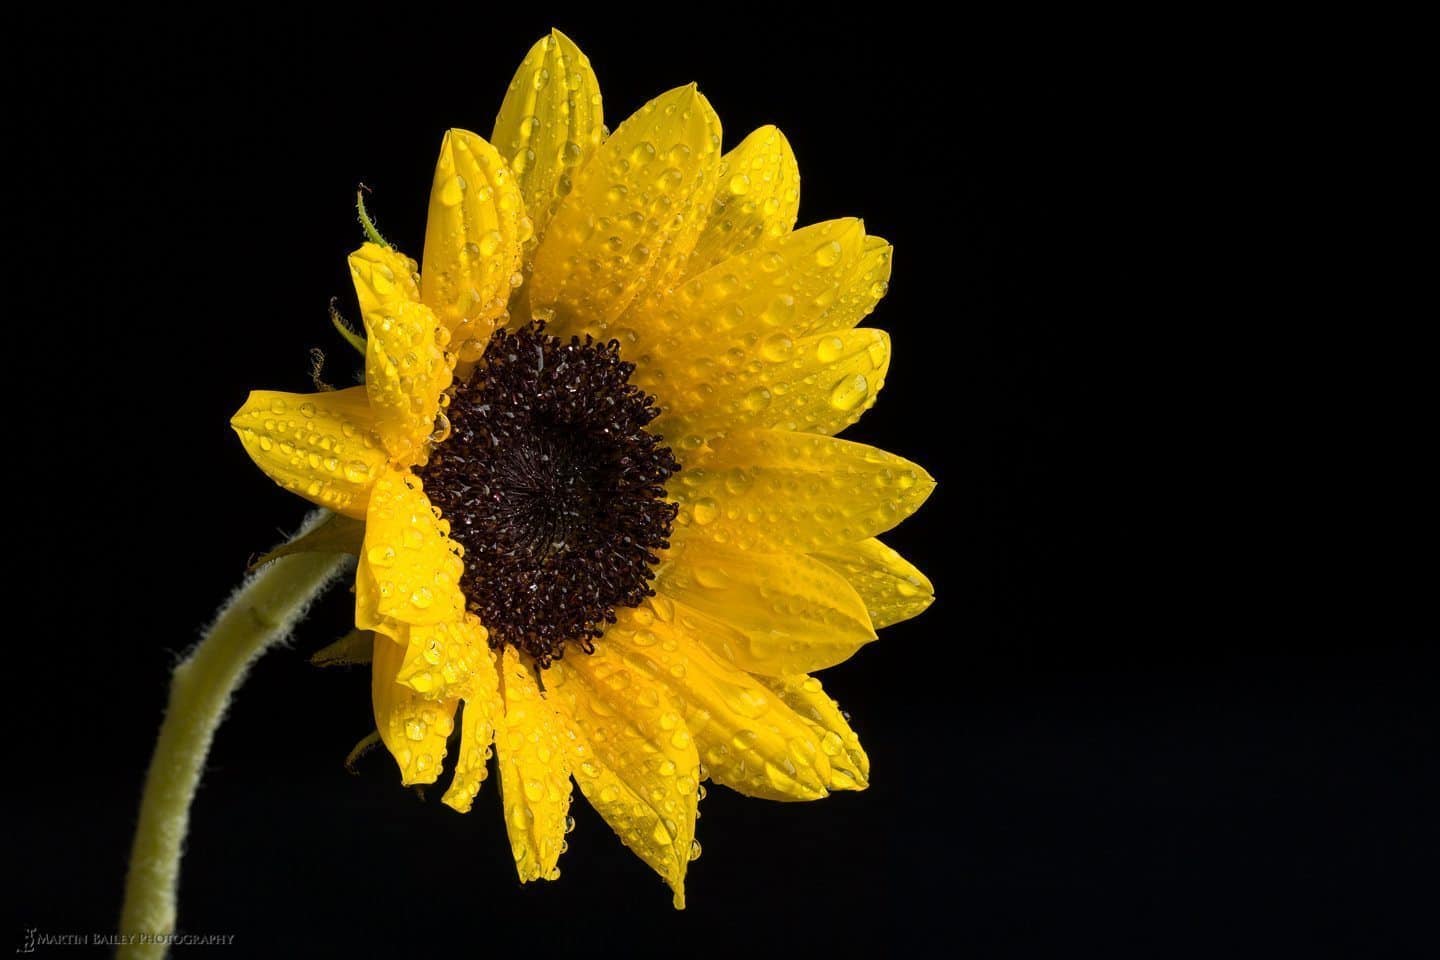
Sunflower Focus Stack
Show Notes
Really Right Stuff Macro Focusing Rail B150B-LMT-Pkg: For collared macro lenses
Subscribe in iTunes for Enhanced Podcasts delivered automatically to your computer.
Download this Podcast in small iPhone video format. Note that you can download the full sized video from Vimeo.


Thanks for the video on focus stacking, I can’t wait to have a go myself. I’ve got a focusing rail, now I just need to take the plunge and sign up for photoshop. I know there are lots of tutorials on all sorts of photographic techniques online both good and bad which can take some time to weed out so it’s great to watch someone I trust (having followed you through all the past podcasts) give such a helpful tutorial
You’re welcome Martin. Thanks for placing your trust in me too. I hope you find this useful.
Thank you for a well presented focus stacking tutorial – the best I’ve seen (been searching for good focus stacking info). I love shooting macros of flowers and have not been successful at tack sharp images.
Thanks Brooke!
Nice tutorial Martin!
I wonder have you had any experience using focus stacking for landscapes? Of course, you couldn’t use the rail method due to the distances involved (and you also get into things like hyperfocal distances), but I’m wondering how it would be using the alternative focus method. Assuming there was a landscape that wasn’t very dynamic motion-wise, I could see some of the benefits as opposed to traditionally stopping down, to avoid things like pincushion distortion. I haven’t tried this myself though, so I guess it’s something to experiment with next time I go out shooting!
Its interesting the things technology provides us with these days. I have also recently come across an interesting camera that lets you select a focus point in post (perhaps you have heard of it, the Lytro camera). Again, I haven’t tried this myself, but its always interesting to hear new exciting technologies that might make our lives easier one day!
Thanks Justin! You know, I’ve never felt it necessary to focus stack for landscapes. When I’m shooting long I generally go with the depth of field available to me. For anything 50mm or wider though, I generally have enough depth of field even without stopping down past f/16 and introducing diffraction.
Ah, I see. Yes I suppose the wider you go the less depth of field becomes an issue. Oh and thanks for correcting me! I meant diffraction of course and not pincushion distortion…hehe
That was a great podcast on focus stacking. However, in the video, you refer to aligning the images manually in Lightroom. How do you do that?
Hi Dale,
Hit R in Lightroom and crop into the image a little, and then do the same for all other images in the set, moving them slightly as you go back and forth until they are all perfectly in line. It’s a bit of a pain, but the only way to do this, especially while Photoshop isn’t working properly. I don’t have time to check right now, but Photoshop has been updated, so this may not be necessary. Try PS first, and only do the manual bit if necessary.
Cheers,
Martin.
In the audio, you say 1.36 millimeters is the depth of focus. But I think you mean 13.6 millimeters. Otherwise, if you chose 5 millimeters as the interval, you would have alternating sharpness and blurriness. Or, you might meant. .5 millimeters as the interval.
Good catch Tom. I actually meant to say 1.36cm, which is how it reads in my DoF Calculator.
You inspired me to have a go Martin. Thank you. I’ve been photographing some sections of big palm leaves and they come out pretty well. I’m learning and getting the technique and compostion sorted, but it is a bit like your B&W floweres, in that I put the radio on and find it quite relaxing.
I wanted to share that I found it very useful to use the EOS Utility. I don’t even usually install the Canon software, but for some reason had to do so, then tried it for remote shooting. In short, you get a laptop sized live view, can check exposure, and DoF more easily than using the LCD. BUT where I think it scores above other approaches is 1) you zoom in 5 fold (and 10 fold) on your laltop screen, making accurate focus easy 2) best of all you can focus in and out from the laptop. It took me a while to discoverf this, but you can click on arrow icons to step the focus in and out 3) the laptop can also be used for shutter release. So, I sit with the laptop and frame the shot which I want, then don’t have to touch the camera again. Cool.
As always, thank you Martin.
Thanks for the update Richard!
I’ve used EOS Utility like this in the past too, but never really thought of using it for focus stacking shoots. Great idea, especially about the focus adjustment. I’ll probably give this a try next time.
Not touching the camera in such a situaion does seem like a good idea, and now I’ve been a bit more scientific about it (a bit more Martin Bailey!) and have taken to doing a DoF calculation, and it then seems fairly easy to just how many steps I need to take ‘through’ the object. In the shots I’m taking of leaves, I can usually work my way, step along, and edge or some other guideline.