In this week’s podcast, I’m going to show you how to make an animated GIF in Photoshop from a series of photographs. This is a simple technique but seems to be somewhat hidden in the depths of Photoshop, so I hope this is useful for some of you.
Here’s a brief run-down of the steps, but it will be much easier to just watch the video below.
- Select the images that you want to animate in Lightroom, then right-click and from the shortcut menu, select Edit > Open as Layers in Photoshop…
- To open the files directly in Photoshop select File > Automate > Photomerge… (Turn of Blend Images Together, and Photoshop will then auto-align the images for you during the import.)
- If you opened your images a layers from Lightroom, select all layers in the Layer panel, then select Edit > Auto-Align Layers.
- Check each layer to see how much the images have moved during the auto-alignment, and crop the image down as necessary.
- Select Window > Timeline
- Select Create Frame Animation in the Timeline panel
- Duplicate the first frame in the Timeline panel and hide the next layer, then repeat this until you have a frame for each layer of your photograph.
- Change the frame order for best effect if necessary
- Ensure that you specify for the animation to loop forever
- Adjust the frame time to taste
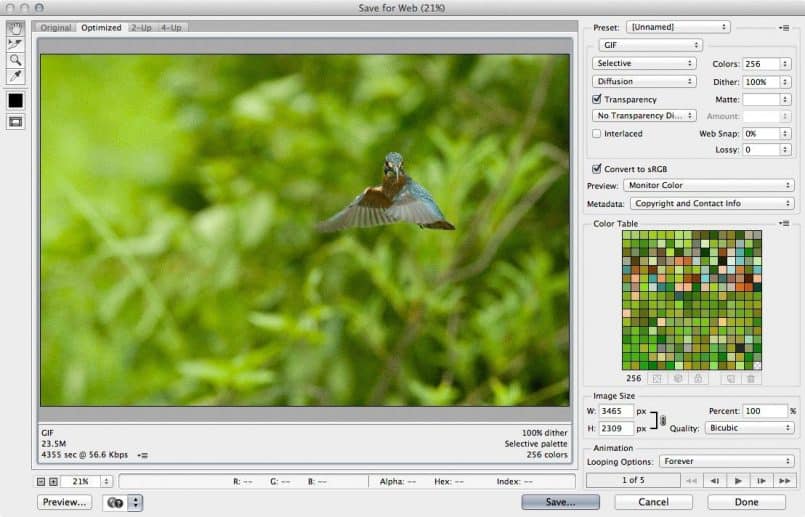
- Select File > Save for Web… and select GIF, ensuring that you use as few colors as necessary to keep the file size down, then the image resize as necessary during the export (there’s a screenshot of this below).
- On a Mac you can preview your animated GIF in the Finder, or just drag the file to an open in a browser to view – Voila!
One word of caution though, is that you need to be somewhat careful how you share these animations. Some people will automatically unfollow you if you start to share animated GIFs on social networks, because they’ve got a reputation for being a bit spammy, and they use up a lot of system resources to display in the browser. If you know your audience then you can share them, but do so sparingly. 🙂
Anyway, here’s the video walkthrough. I hope you find this useful.
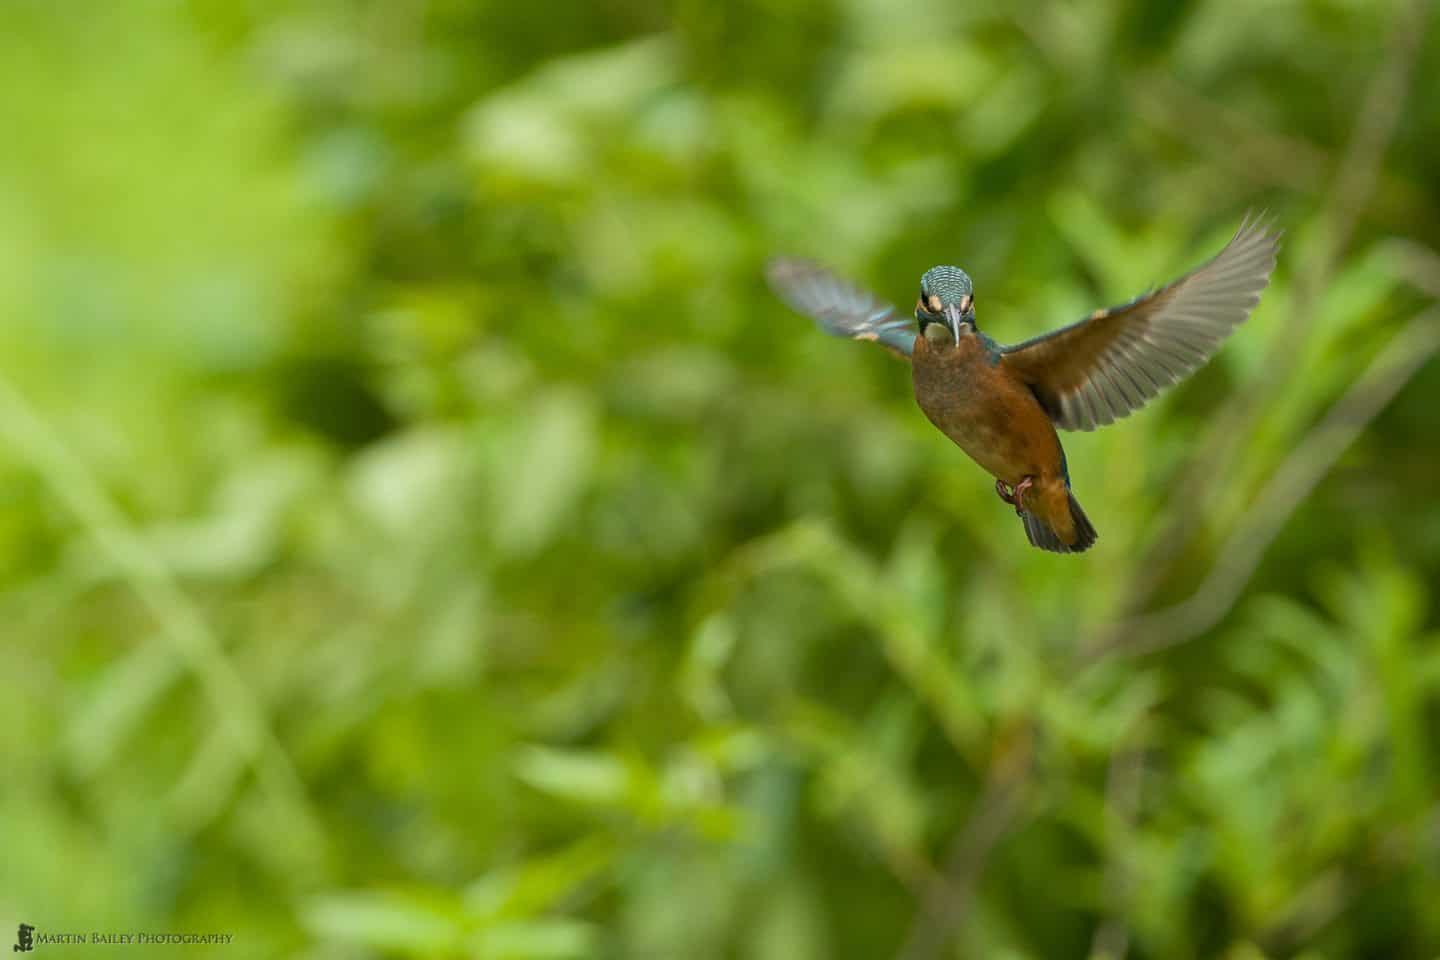
Here’s the resulting animated GIF file, scaled down for the blog.
Here too is a screenshot of the Save for Web settings panel.
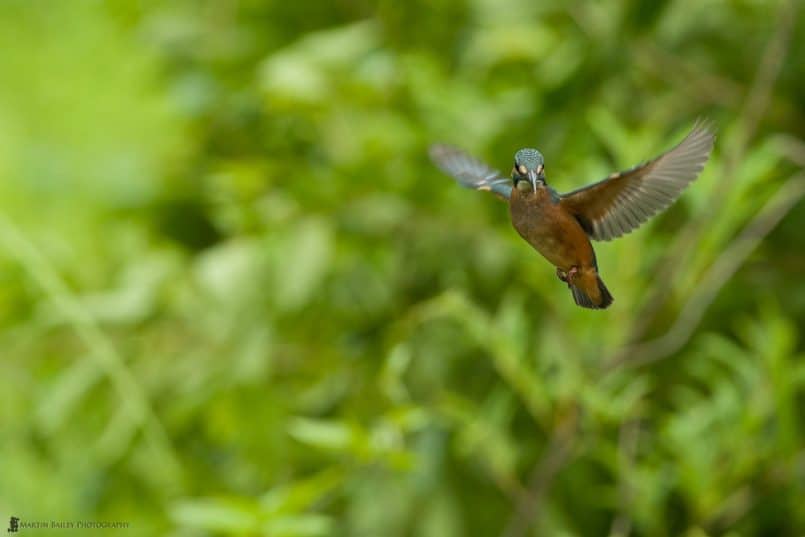
And this is my favorite frame from the series. 🙂
And don’t forget, I’m running another Pixels 2 Pigment In-Studio workshop here in Tokyo on August 23/24, 2014, so if you are in town then, I’d love to see you. For details and to book your space, please visit the Pixels 2 Pigment page.
Show Notes
Pixels 2 Pigment Workshop information: https://mbp.ac/p2p
Subscribe in iTunes for Enhanced Podcasts delivered automatically to your computer.
Download this Podcast as a small MP4 Video format for the iPhone etc.


Photoshop in addition to being a photo processing application can also create animated gif, cool article
Thank you for taking the time to make this and share it!
[* MBP Security plugin marked this comment as “trash”. Reason: Failed GASP Bot Filter Test (checkbox) *]
interesting ! Thanks for information !