I love it when a package arrives from B&H, and today was no exception. When ordering some 24″ rolls of Hahnemuhle Photo Rag a few days ago, I checked my Wish list, and found that the Westcott 7′ Octabank was down in price by a couple of hundred dollars, and I have been hankering after this beautiful softbox for some time. With the Yen also being really strong against the dollar at the moment, I figured it was time to get my new baby.
There’s also the thought that if I spread the postage over multiple items, it makes it cheaper per item, so I dropped the Profoto Zoom Reflector 2 and 10° Honeycomb Grid into the cart too, and I didn’t want to just drop the Octabank straight over my flat frosted glass front element of my Profoto D1 500W Monolight, so I grabbed a Glass Dome too, to spread the light out inside the Octabank.
Now, unless you already use these tools yourself, or you’ve already been looking into this, you’re probably wondering what the hell I’m talking about, so I shot a few images of the new gear as I had a play this afternoon, and thought I’d share them here.
Note that this isn’t a Podcast, so there’s no audio player below, and nothing new in iTunes. It’s just a quick ad-hock post.
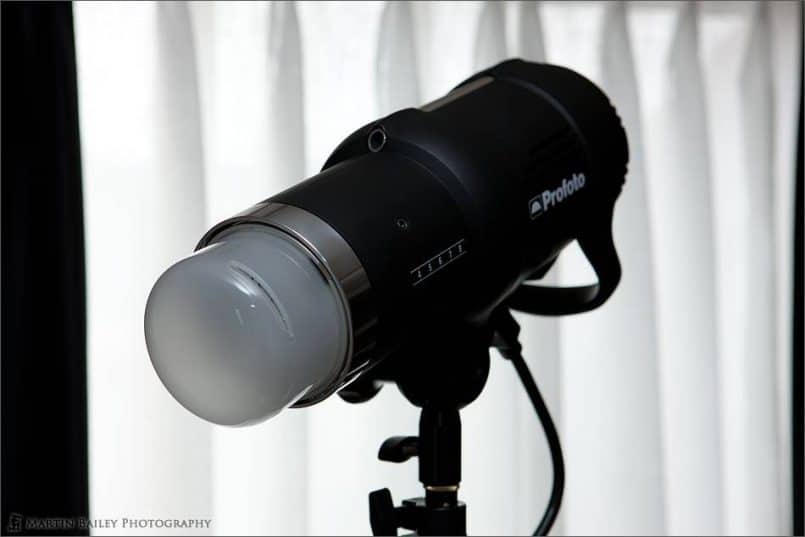
So, first of all, here’s the Profoto D1 500W Monolight. I work with two of these, and some Canon Speedlites for my portrait and commercial work. Note the flat frosted glass on the front of the Monolight. This is the standard kit, and works well. I’m leaving one of my lights like this, and will use that inside my Westcott Asymetric Strip Softbox, that I use for a hairlight or kicker. I’ll also use this unmodified Monolight with the Zoom Reflector 2 that we’ll look at next.
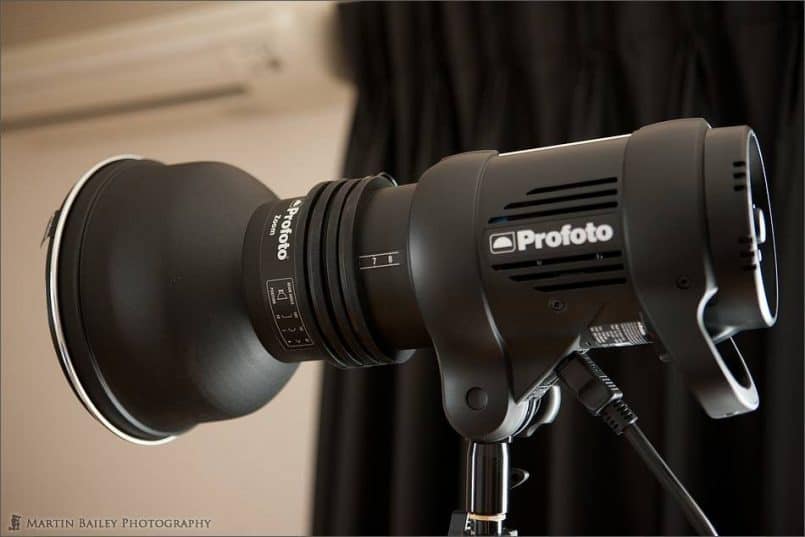
To widen my creative options, I really wanted a spotlight, so I grabbed the following two items. First, the Profoto Zoom Reflector 2 that you can see on the front of the Monolight here.
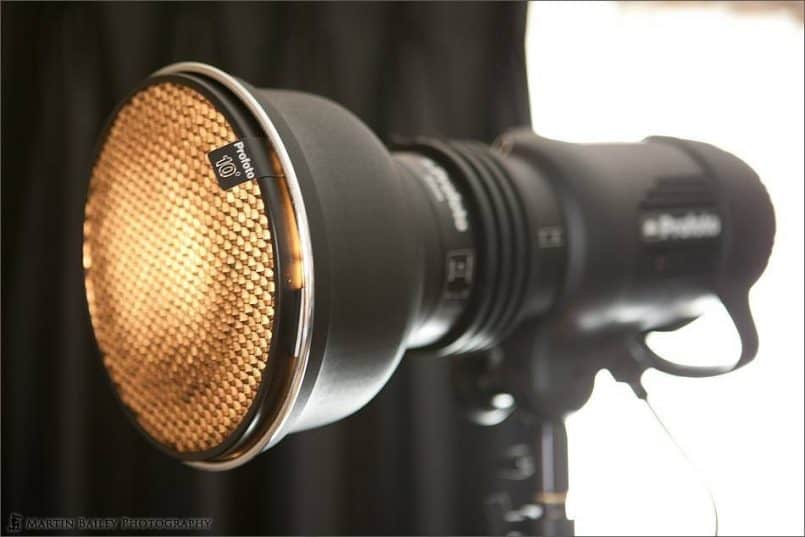
This restricts the spread of light from the D1 Monolight, but more importantly for me, it is an adapter to easily drop in the Profoto 10° Honeycomb Grid that you see here, with the modelling light turned on, so that you can see the structure of the grid.
Note the little tab on the front of the grid. This tells you that this is the 10° grid, so that you can easily tell it from the 5° and 20° grids, which I don’t yet have. If I find myself wanting a narrowing or wider spot than this though, I’ll pick them up later as necessary, making this tab even more important to me. This tab also gives you something to pull on, to remove the grid from the front of the Zoom Reflector 2.
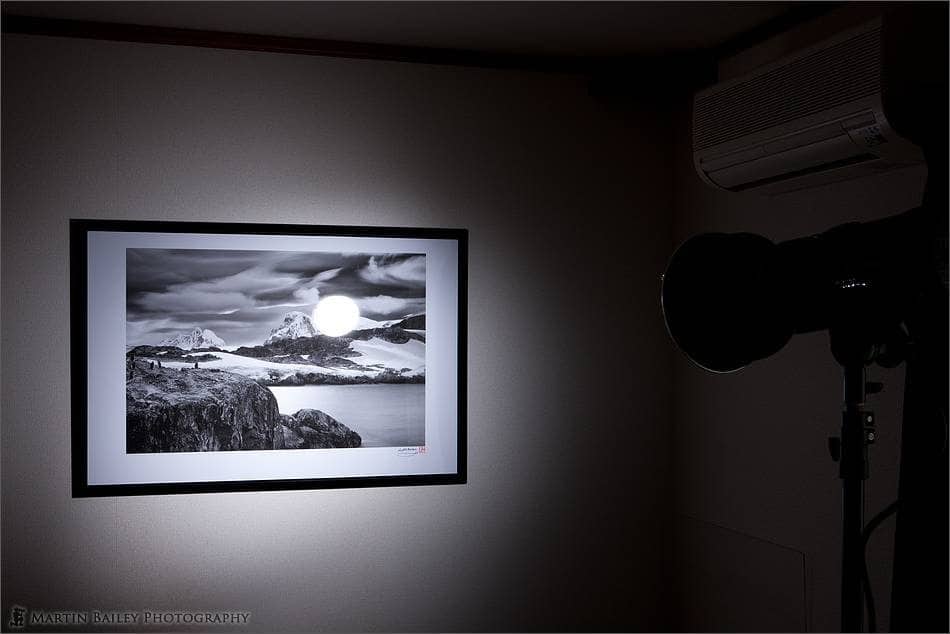
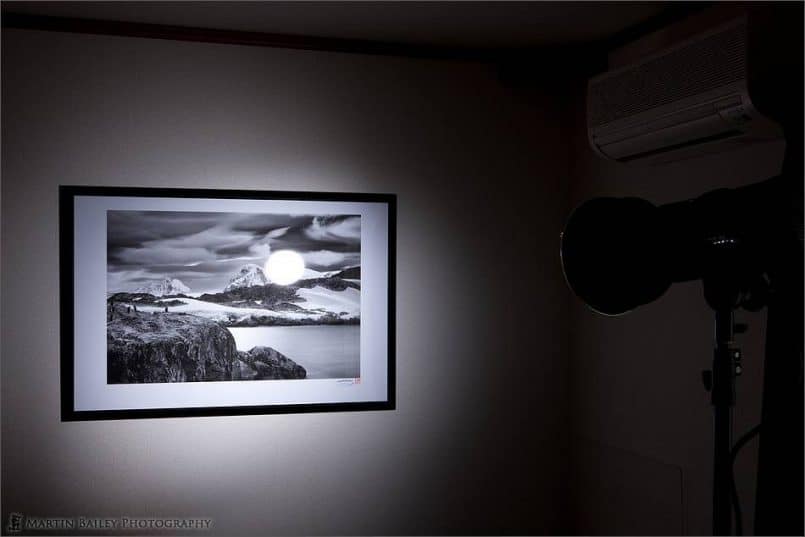
This is what happens to the light from the D1 Monolight with the 10° Grid fitted. This opens up some great creative doors for me. Think dramatically lit portraits, front or side lit, or maybe even back lit.
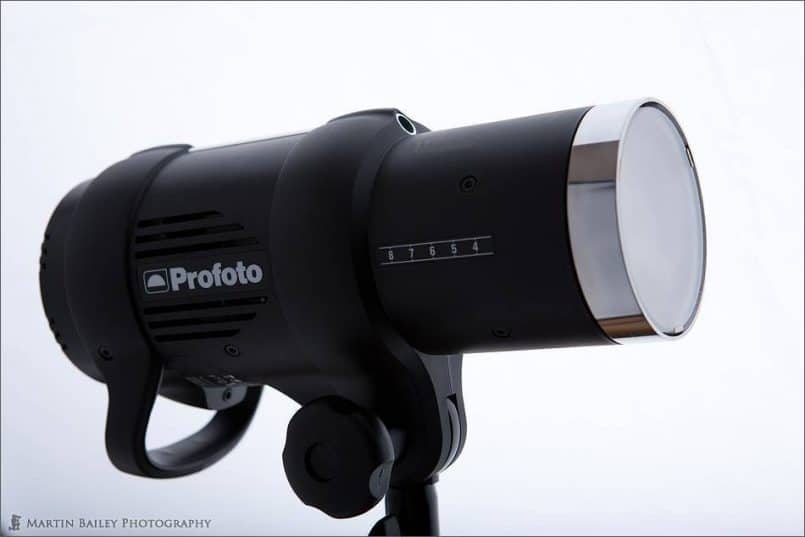
Next, let’s take a look at the glass dome that I fitted to the front of my second D1 Monolight, to help spread the light more smoothly inside the Octabank. It was a bit fiddly getting the frost glass plate out of the front of the Monolight, but once I’d got that out, it was pretty easy to drop in the new Profoto Frosted Glass Dome.
Of course, this means that unless I take this out and put the flat frosted glass plate back in, I can no longer use the plastic protective cover that comes with the D1 Monolights, which is a shame. I wish Profoto would ship this Glass Dome with some kind of cover too, but they don’t. I had to cut the packing in my Monolight case and remove some of the padding so that I could get this Monolight in with the Glass Dome attached. I don’t intend to try and switch these out in front of a client.
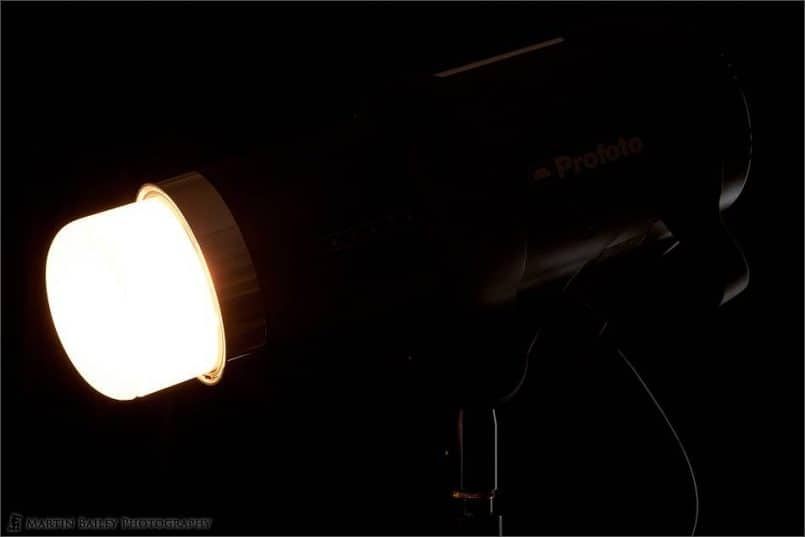
Here’s a shot of the dome with the modeling light turned on. I can imagine that even just the way the light spreads out from this glass dome, there will be creative uses. I imagine standing this up behind a model will throw light all over the place, giving a great backlit look.
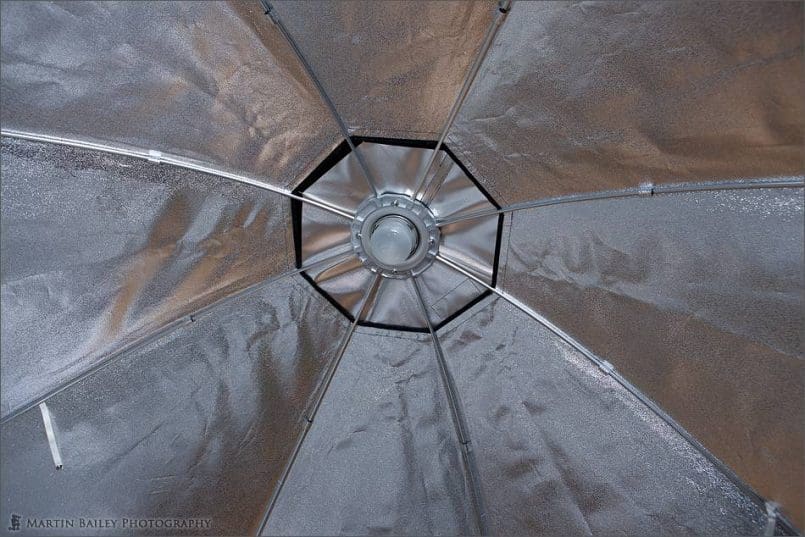
Back to the main reason that I bought the Glass Dome though – Here you can see it inside the Westcott 7′ Octabank.
It looks kinda puny in there, and I didn’t even shoot to the edges of the Octabank! You can see though that the dome will spread light around the inside of the Octabank much more efficiently than just the flat frosted glass front that comes with the D1 Monolight as standard.
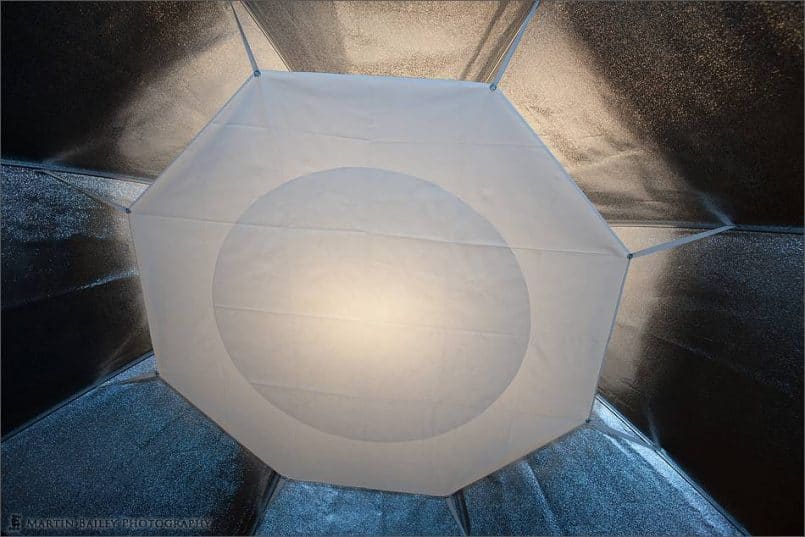
Also to help diffuse and spread the light around, is the inner baffle, as seen here, again with the modelling light turned on.
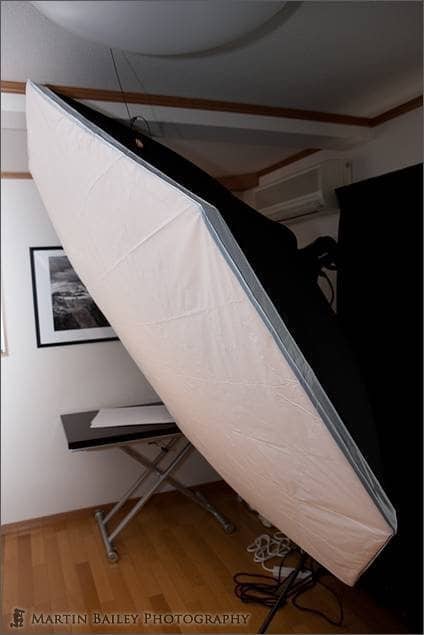
Then, to finish it off, you have the outer diffusion panel, as you can see below.
My office studio, which isn’t all that big to start with, has never looked so small! Obviously, I didn’t buy the Octabank to use in this room. 🙂
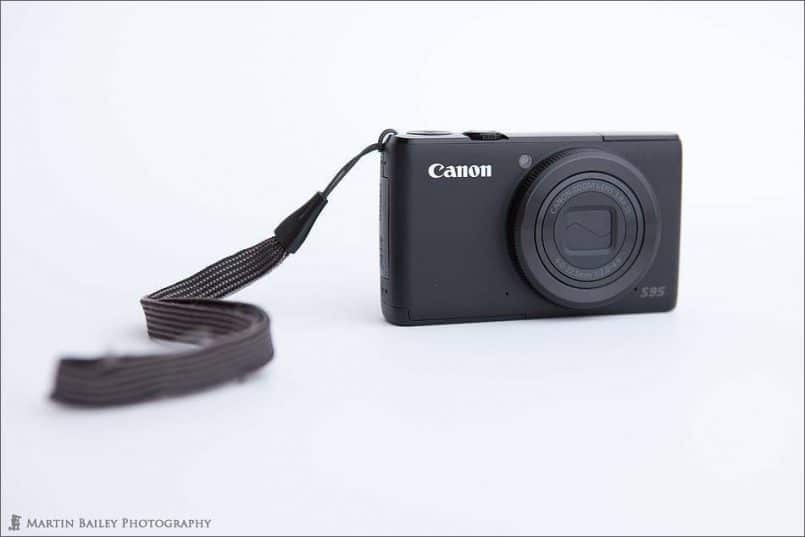
Here’s a shot of a Canon PowerShot S95 that I shot for a review Podcast that I’m putting together. I swung the Octabank around to about 45° to the table, and grabbed a few product shots like this. Totally overkill of course, but I’d already got it set up, so what the hey!
I used some white background paper taped to the wall and the table top for this, but otherwise, it’s just the Octabox at 45° right. I think this will give you an idea of how soft and enveloping the light is. Don’t worry though, as soon as I do a portrait shoot that I can share the images from, there’ll be a Podcast on this new Westcott 7′ Octabank.


I have two questions. As I am also a Japan based photographer, I wonder if we’ve ever met. I took a three day workshop with Rick Sammon, Hal Schmitt and Juan Pons last year and I seem to remember you being there as well.
My second question is how are you firing your Canon Speedlites with your Profoto Air Sync Remote?
I also have four Profoto D1 500ws Monolights but there are occasions where I will want to travel light and more compact and just use my Speedlights with maybe one Monolight. I was wondering how I can mix the two systems. Any advice would be great. Thanks in advance.
Hi Marven,
I wasn’t at that workshop. I knew about it, and was almost a speaker there, but it didn’t work out.
I fire my Canon Speedlites with the Profoto Air Sync Transceiver that you can see here:
http://www.bhphotovideo.com/c/product/584895-REG/Profoto_901032_Air_Sync_Transceiver_for.html/BI/5296/KBID/6081
Cheers,
Martin.
Hi Martin,
Thanks for the great tip. I now also use my Profoto Air Remotes to fire my off camera flashes. The only thing about this method is that they can’t control ETTL like PocketWizards (which aren’t available in Japan), so all of my Speedlites have to be set manually.
That’s true Marven. That is one downside. I would have probably gone with PocketWizard if they’d been available in Japan. The fact that they weren’t led me to Profoto. I love my profoto gear though, and have actually just bought two more monolights, so in a normal studio setting, I’ll no longer be using the Speedlites. I’ll keep the setup though, for more mobile shooting.
Cheers,
Martin.
Does the dome help spread the light enough for the 7′ octa? And have you ever experienced the D1’s overheat and turning of modeling lights etc during a shoot? Thanks!
Hi Run,
If you take a look at the third shot down in this post, you can see that the 7′ Octabank is full of light from edge to edge using this domed monolight.
https://martinbaileyphotography.com/2011/11/25/podcast-310-location-portrait-shoot-behind-the-scenes/
I rarely use the modelling lights, so I can’t comment directly about that, but I have used these outside with sun beating down on them, making them very hot to the touch, and they seemed fine.
Cheers,
Martin.
Hi,
I know this blog is old, but I found a protective cap made by profoto. It is not for this specific model, but it fits right in my D1 500 and the dome: http://www.amazon.com/gp/product/B002PHM3EM/ref=oh_details_o05_s00_i00
Wow! That’s great!
Thanks so much for letting me know Fidel!
Martin.