
Visit Library for MBP Pro eBooks |
If you've been following my progress as I try to get a new solution for backing up my photographs online, you'll have heard that my Internet provider has been giving me grief if I upload more than 30GB of data each day. They offer no mechanism to help me abide by their rules, other than sending me a registered letter to alert me to the fact that I am uploading, in their words, an unfathomably large amount of day each day. I tried to control the amount of data that I was uploading but was not successful, and so as per their warning, five days after my latest letter, I was taken out into the school corridor to have my legs slapped. For one month, I had my Internet bandwidth limited to speed literally slower than an early 1990s dial-up modem.
Now, we could argue that it's the provider's understanding of the real world that is unfathomably outdated, but as their service is, as my Mum would always say, "up and down like a whore's draws", I had already been trying to find alternative ways to get my data backed up. I had started a backup to the AWS Glacier service which I've settled on, and other t than my Internet restrictions, it was going well. I thought about getting a Snowball from AWS but as I have most of my data up until the start of this year in my iDrive account, I figured I'd just try to get the new data from this year uploaded, and then gradually move previous years over via the Internet as time allows.
But, all of this depends on a reliable, unlimited, Internet provider. I received a comment from a kind listener on the post for episode 819 asking if Starlink was available here in Japan, as it's unlimited. An interesting idea, I thought, so I checked and was excited to see that Japan has just become the first country in Asia to get Starlink, so after a few milliseconds wondering what to do, I placed my order. Actually, I spent a few minutes ensuring that I could source a few parts that would help me get the cable through my doorway to our balcony, but the decision was made, and I was just working on the logistics.
Although in September now, it is still way too hot in Tokyo to be able to do a video to walk you through the unboxing and installation. I was pouring with sweat most of the time, as I had to have my doors and windows open, making my air conditioning useless, so I simply took a number of iPhone photos to illustrate some of the important parts of what I did, and I'll use them and walk you through some key points, as I believe this may be useful for others in a similar situation.
I'm going to jump to the conclusion about Starlink first though, as I am very happy with the service, the product, and most of all, the lightning-fast connection. I should note that as I am the only person who will be using this, I went for a residential Starlink, which is much more reasonably priced, although it doesn't come with priority data transfer, like the business plan. The additional cost for the slightly sturdier hardware and service level agreements didn't seem worth the cost for just one person.
As you'll see from the featured image for this week's post, I have my Starlink out on a rooftop balcony, and to gain some height to clear the balcony walls, I bought a steel stand and some concrete blocks. My initial plan was to put the Starlink on the balcony next to my studio, and I was thinking that four blocks under each side of the stand would give me enough height, as the balcony is much larger. I was able to get a connection, but it kept cutting out as the satellites came in and out of view, so I bought the larger stand and used four of the blocks for some extra height, and another four as ballast, to weigh the stand down, hopefully making it a little more wind-proof.

The stand that comes with Starlink has holes on the end of each foot, so I threaded some wire through each of the holes and tightly secured the stand to the top of my steal stand that I bought.
As you can see from the screenshot to the left, the result is an unobscured view of the sky. From the screenshot to the right, you can see that I am getting speeds of over 500 Mbps on my Wifi, and over 200 Mbps upload speed to the Internet, and that is a major improvement over my previous provider. Starlink has been up for around five days at this point, and I have so far not had any issues with the connection. I am incredibly happy with it!
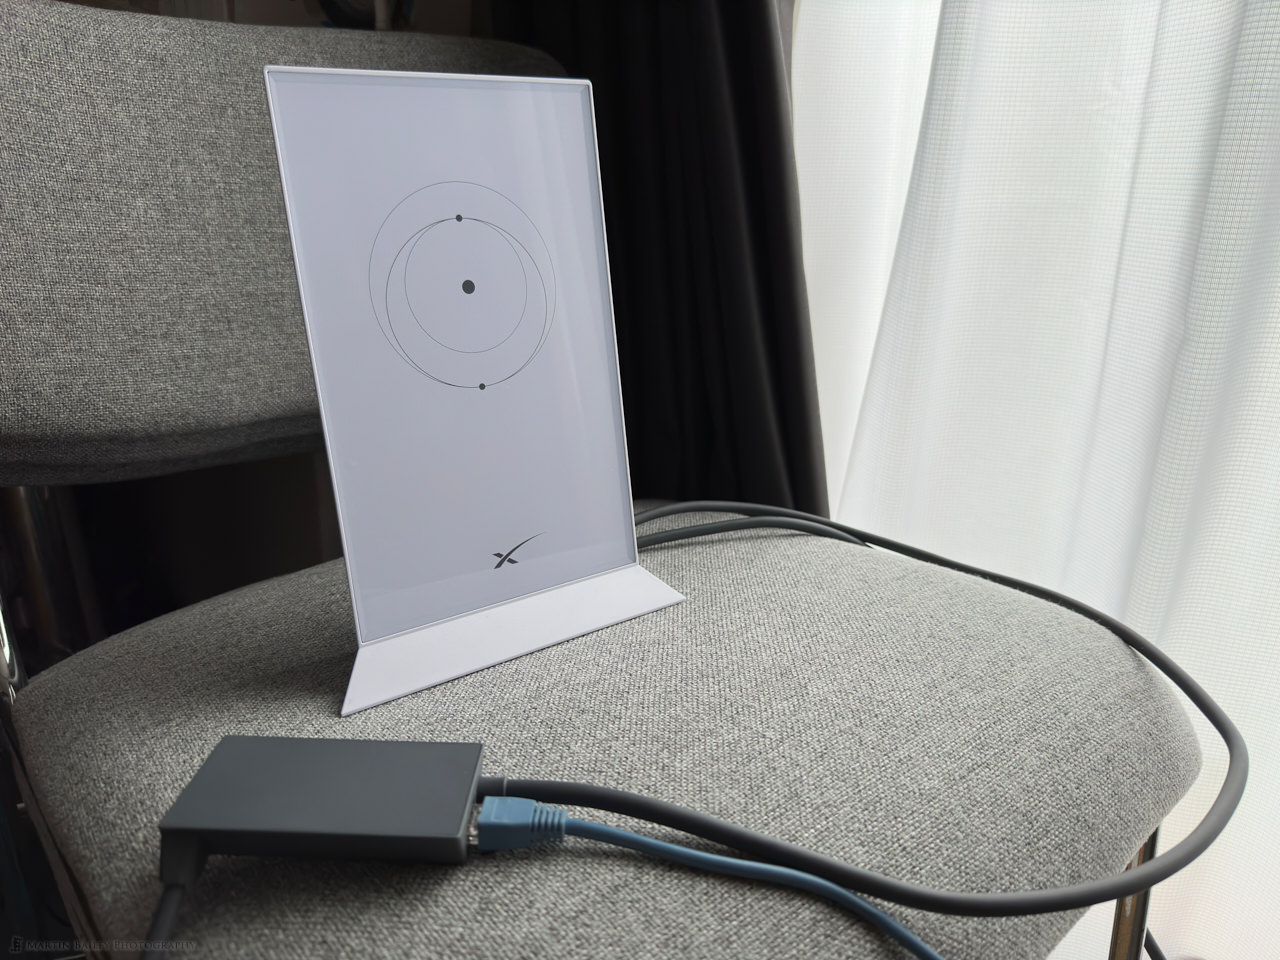
There are a few things that I did though to help me get this unit installed, so I'm going to go through those now in case it's useful for anyone else. First of all, so that I could use my existing Wi-Fi and wired Network when I ordered the Starlink, I also ordered their Ethernet adapter, which you can see in front of the main Wi-Fi and control unit for Starlink below.
You simply plug the main unit into the power supply, and instead of plugging the Starlink antenna into the main unit, you plug it into the Ethernet adapter and plug that into the unit. That then gives you one Ethernet port which you can either plug into a wired Ethernet switch or as I've done, plug it into a Wi-Fi Router. I initially used my Wi-Fi router as a Wireless Router to manage everything, but I have since put it into Access Point Mode, where it simply extends my Starlink Wi-Fi router, and because I have Ethernet ports on my router, I can plug other things in, as well as my fast 10 Gbps switching hub, that I use to connect my iMac Pro to my Synology NAS for fast access to my data.
This has the added benefit of being able to use my existing hardware, including my Mesh network extender units to push the Wi-Fi to the far corners of my apartment. I also found from doing a few speed tests, that this configuration gave me the fastest access to my Wireless network and to the Internet beyond.
The other hurdle I had to overcome was passing the cable outside to my balcony, as I live in a rented apartment, and I'm not allowed to drill holes in the walls. To overcome this, I bought an Ethernet ribbon cable, a waterproof connector for the outside connection, and an Ethernet extender with built-in lightning protection for the interior connection. Here you can see, as with the others, an iPhone shot of the completed cable.
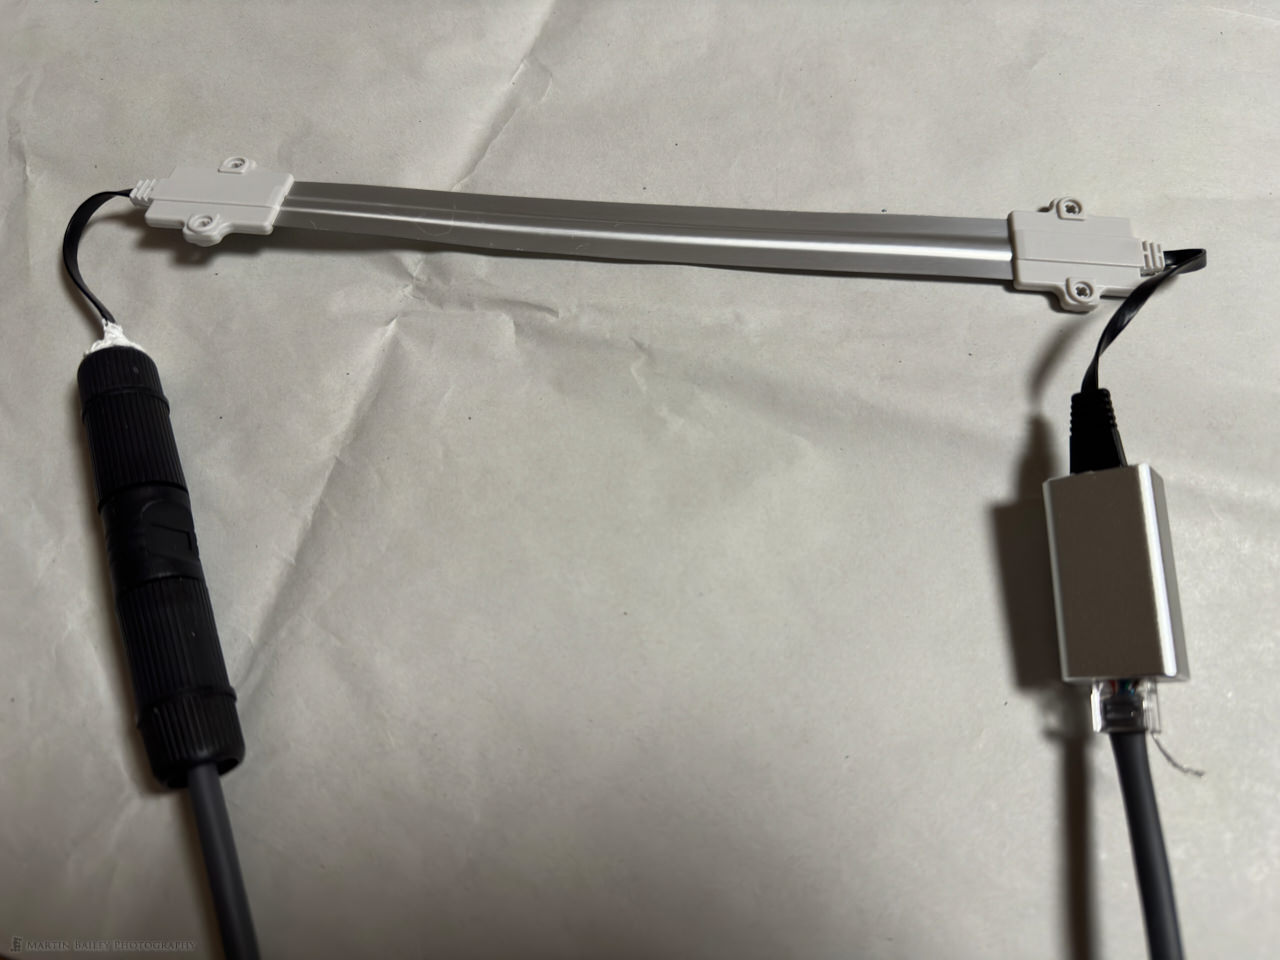
The ribbon cable is thin enough to pass through the door to my balcony without the metal door cutting the cable. You may though be wondering why Ethernet. This is the cable that runs to the Starlink antenna, not my Ethernet cable. Well, as you can see from the first photo in the following gallery, it turns out that the Starlink cable is the same as an Ethernet cable, with four twisted pairs inside, so if necessary, you can use RJ45 connectors to attach it to something like the ribbon cable I used, to pass the cable through the space around a door.

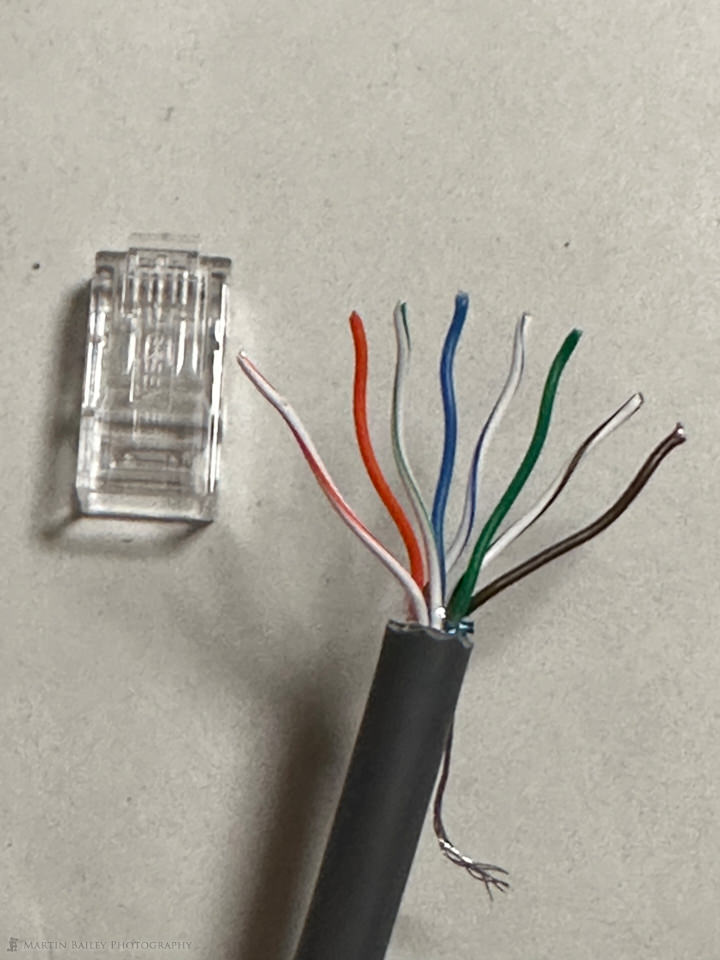

I should mention though, that this is not for the faint-hearted. After cutting the cable, you have to unravel the four twisted pairs and order the eight cables so that their colors are in exactly the right order, and then feed these small cables into the eight channels inside the RJ45 connectors before giving them a good squeeze with a dedicated tool to finish the connector. You can apparently get RJ45 connectors that have separate channels for the cables, but my older versions don't have that, so it's quite fiddly to get the eight cables to line up and feed in as you push the cable into the connector.
It is also vitally important that you check that you have the cables threaded in correctly. If any of the eight cables is not threaded in correctly, you could easily break your new Starlink unit, and I doubt they'd exchange it for you if you told them what you did, so be extra careful if you go this route.
You'll also notice the ninth silver cable that I have sticking out the side of my connector. I did that because I was not sure, with it also being metal if this was simply a rip-chord that you can use to cut the cable further once you have it open. I had checked online that the cable was four twisted pairs, but I think that was for an older unit. I was preparing to have to find a way to connect the ninth cable, but it was not necessary. Everything works fine the way I've done this.
So, there you have it. My Internet woes are over, I hope. I have been running my Glacier backup for five days now and uploaded a further 160 GBs. That's not a huge amount for five days, but I am hoping that it is simply being restricted intelligently, rather than sending me registered letters and slapping my legs with a 1990s modem speed connection like my current or hopefully now, previous provider.
I am still working to get external access to my Synology NAS which has partially broken because the Starlink router doesn't allow for port forwarding. I'm trying a company called Remote.it to create a secure connection to my NAS but so far their instructions haven't resulted in me successfully setting this up and their support is seemingly overwhelmed, so I can't get on a call with them to sort this out until another four days from now. It's not a show-stopper mind. I have most of what I need now, and will be calling J:COM my provider to date, to tell them where to stick their internet service.
Starlink isn't available everywhere, but if you live in an area that does have it, I can highly recommend it. The unit isn't cheap, but it isn't overly pricy either, and once you have it, the monthly plan is surprisingly inexpensive, and you aren't tied into a long multiyear contract. You pay month by month, and if you don't need it for a while, you can cancel and then start again later. There is even the option to pay a little more and take your Starlink on the road if you want to use it away from your registered home address, so it would be perfect for a road trip in a camper, for example. I hope you found this useful.
Before we finish, I'd like to point out that we have a few spaces left on my Hokkaido Winter Landscape and Winter Wildlife Tours for 2024, so if you might want to join me for any of these amazing photography adventures, please check out our tours page at https://mbp.ac/tours.
Show Notes
Check out Starlink here: https://www.starlink.com/
Subscribe in iTunes to get Podcasts delivered automatically to your computer.
Download this Podcast as an MP3 with Chapters.
Visit this page for help on how to view the images in MP3 files.


0 Comments