Visit Library for MBP Pro eBooks |
In last week’s episode, I included a photo of a new camera bag with my new Really Right Stuff Ultralight Tripod attached to the side, and today I will share details of this new addition to my kit. Long-time listeners will know that I am a huge advocate of Really Right Stuff gear, so when I was finally able to break my 11-year-old BH-55 ball-head during my travels this winter, the natural choice was to go back to Really Right Stuff for my next camera support.
I broke my old faithful BH-55 head when I allowed my tripod to fall over and it landed in such a way that the plastic cap on the end of the large locking nut broke, allowing water to get inside. Shortly afterward the head developed a bit of creep as I tried to lock it down, so after all this time, I figured it would be a good opportunity to change my tripod as well. I decided to go for the new Ultralight series 3 tripod legs, but as much as I love and respect the folks at Really Right Stuff, I have to tell you that I think the naming of this line of tripods is misleading.
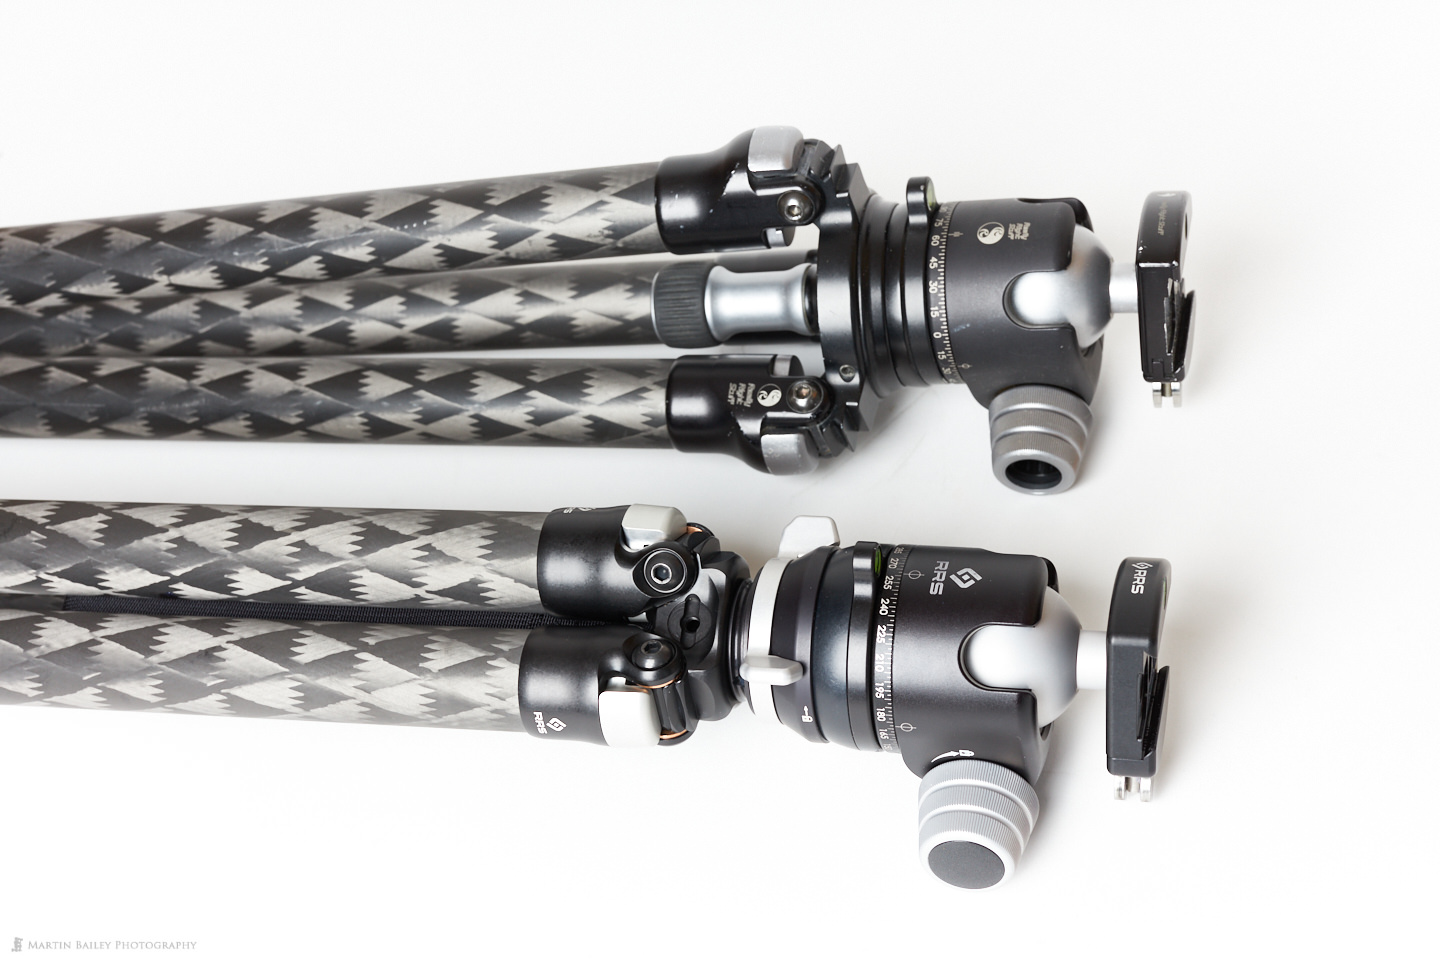
Especially if you go for the three series, the tripod is not ultralight or even light. It’s a good weight, and that is what I want for my camera support, so it’s a good thing. Now, I don’t want to spend too long trying to come up with an alternative name, but it’s more like a low-profile version of their regular tripods. Essentially what they’ve done is given us the option to omit the regular removable apex in favor of a fixed apex that enables the legs to close down until they are almost touching each other. Here is a photo of my new tripod, which is the Ultralight Tripod TFC-34L Mk2, compared to my old TVC-34L Tripod.

I can’t work how I want to be able to work without a leveling base, so for my new tripod, I had the TA-2U leveling base fitted, and as you can also see from the photo, it sits on top of the fixed apex of the new tripod as opposed to inside the removable apex. This makes the tripod slightly longer, but I generally go for a four-leg section tripod so that I can get the camera above head height or extend a leg downhill when necessary. The narrower profile is a very welcome change and makes the tripod much less cumbersome to carry on the side of a camera bag as well as to pack for travel.
The leveling base is used to level the base of the ball head without having to fiddle around with the length of each leg. You just loosen the leveling base locking nut, adjust it until the embedded spirit level is in the center, then tighten up the locking nut again. This is especially useful if you are doing stitched panoramas, as it prevents the horizon from dipping or climbing as you rotate the camera. I also used this feature when using a gimbal, but I recently sold my RRS gimbal as I no longer own any super-telephoto prime lenses, and these are the only lenses that can benefit from using a gimbal.

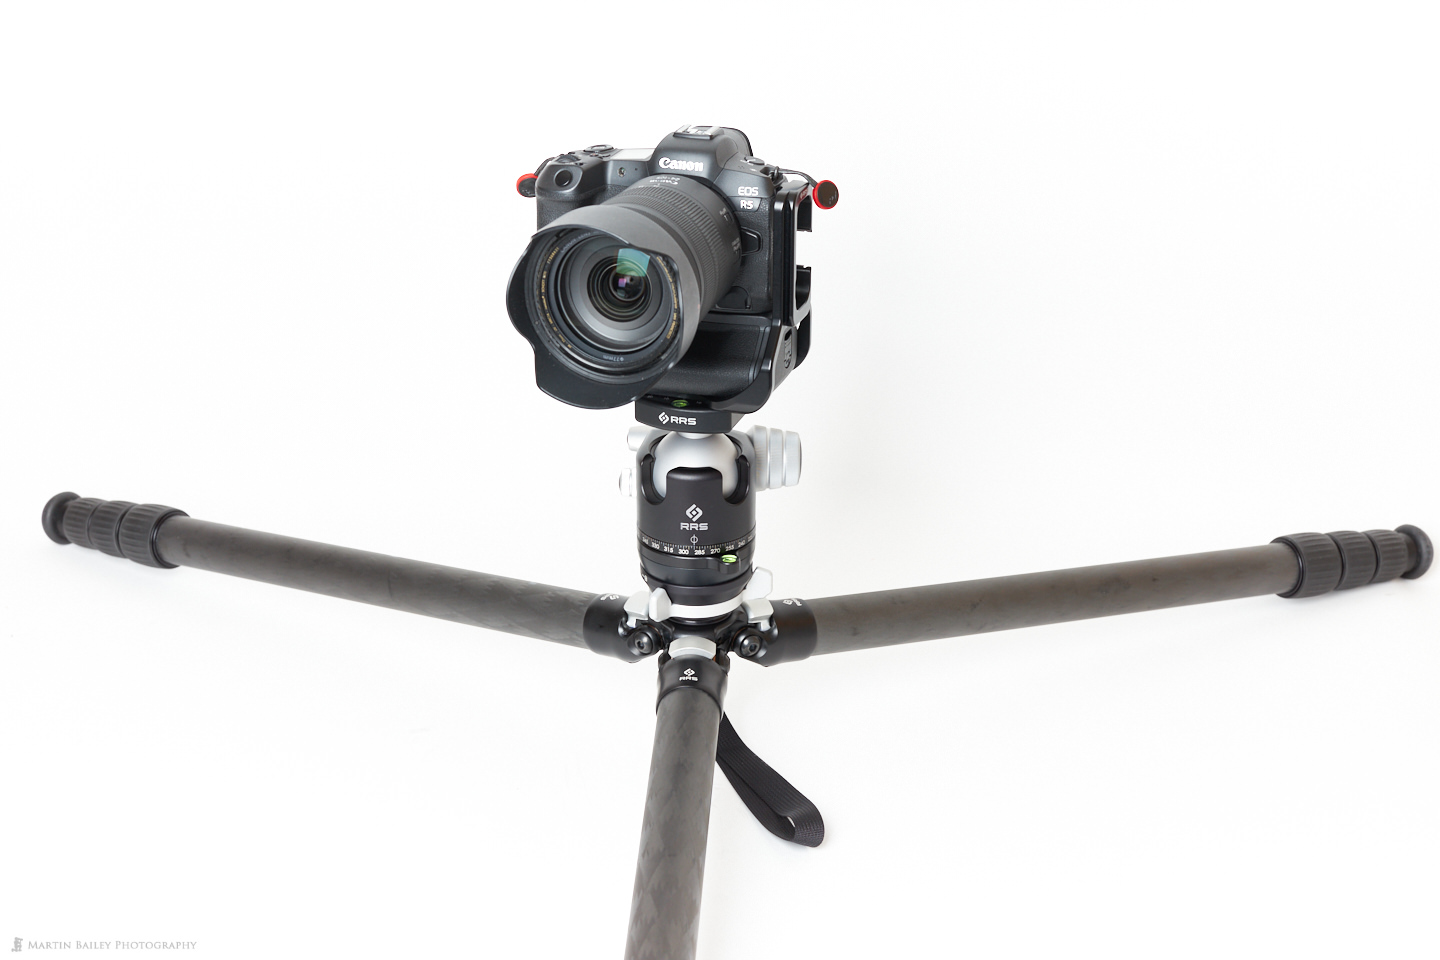
You can adjust the spread of the legs so that they open wider than the default or even keep going until the legs stick out almost sideways, allowing you to get down to almost ground level, as you can see in this next image. Because I want to be able to do this, and because I get an oversized tripod to get the camera well above eye level, I never get tripods with a center column. In the days when I did have a center column, I always tried to avoid using it because it destabilizes the camera, so I figured I’d just avoid buying the center column altogether.

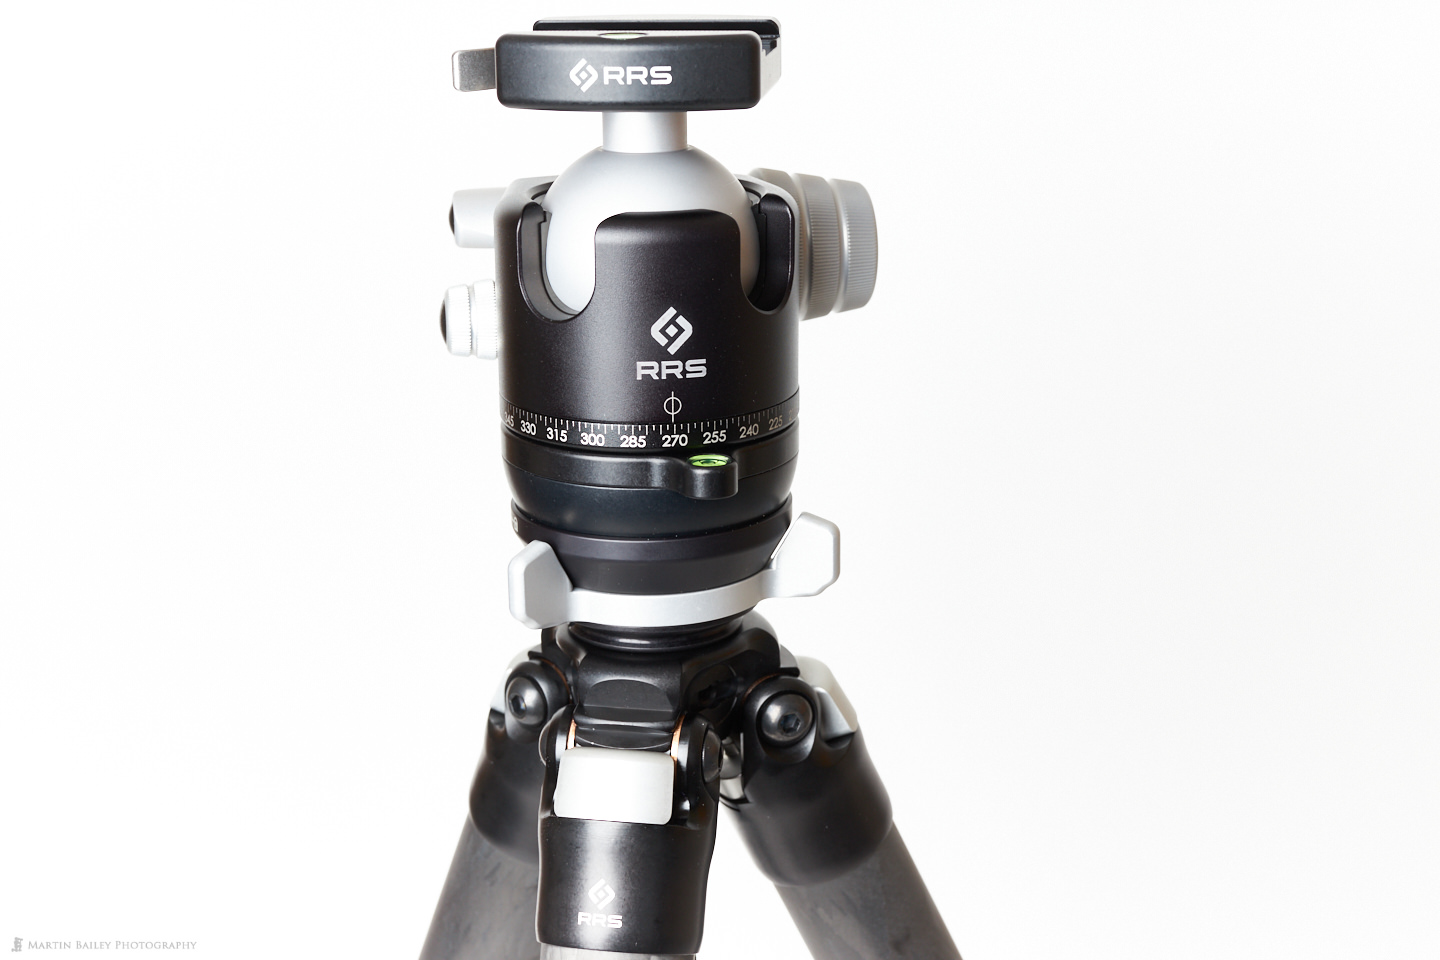
Here is one last photo of the entire tripod. You can see that the legs when closed are pretty much parallel to each other. Also notice the newly designed ball head cover, which is large enough to cover the leveling base as well as the BH-55. When I pack the tripod into my case to travel, I always take the head off the legs, so from now on, I’ll take the head and leveling base off, and store them in this pouch until I reach my destination.

Speaking of which, by the time I release this episode, I will be heading to Namibia to start the first of my two Complete Namibia Tours for 2023. I don’t think I’ll have time to prepare any other podcasts for release while I travel, so you’ll see a three-week break now until I get back, and then I plan to update you quickly with three episodes to cover the first tour, before heading straight back out for the second tour.
You can buy Really Right Stuff from our friends at B&H Photo using our affiliate links if you want to help support my efforts, and I’ll put three links to all of the parts I’ve mentioned today into the show note for this post. If you’d prefer to go straight to the mother ship, you can find them at https://www.reallyrightstuff.com.
It’s been over a decade since I bought my first Really Right Stuff tripod, so although I’ve bought L-Brackets and other accessories, I’d not opened up a tripod and ball head in all this time. I have to tell you, as I opened each of these products from the immaculate packaging, each piece had me giggling like a teenager with excitement. The engineering of Really Right Stuff products is second to none, and despite the number of knock-off brands out there now, I still believe 100% that Really Right Stuff cannot be beaten. I’m now looking for hopefully at least another ten or more years of faithful service from these products as well.
Show Notes
Order the RRS TFC-34L from B&H with our affiliate link: https://mbp.ac/RRSTFC34L
The BH-55: https://mbp.ac/RRSBH-55
And finally, the TA-2U Leveling Base: https://mbp.ac/RRSTA2ULB
Subscribe in iTunes to get Podcasts delivered automatically to your computer.
Download this Podcast as an MP3 with Chapters.
Visit this page for help on how to view the images in MP3 files.


0 Comments