Visit Library for MBP Pro eBooks |
In preparation for my upcoming Namibia Tours in April and May of 2023, I bought a couple of inexpensive pieces of gear that might turn out to be pretty good. Generally, I regret buying cheap, and I may still regret these purchases, but I thought I’d share my thinking at this point and then update you as I walk you through the trip on my return.
The first item that I bought, was a TTArtisan 11mm ƒ/2.8 Fisheye lens. I’ve had my eye on this company’s lenses for a while, and after recalling that I did in fact miss the extra few millimeters that I lost when I traded in my 11-24mm EF lens for a 15-35mm RF lens, but as Canon has not yet released anything super-wide for the RF mount, I decided to see what the TTArtisan offering was like.
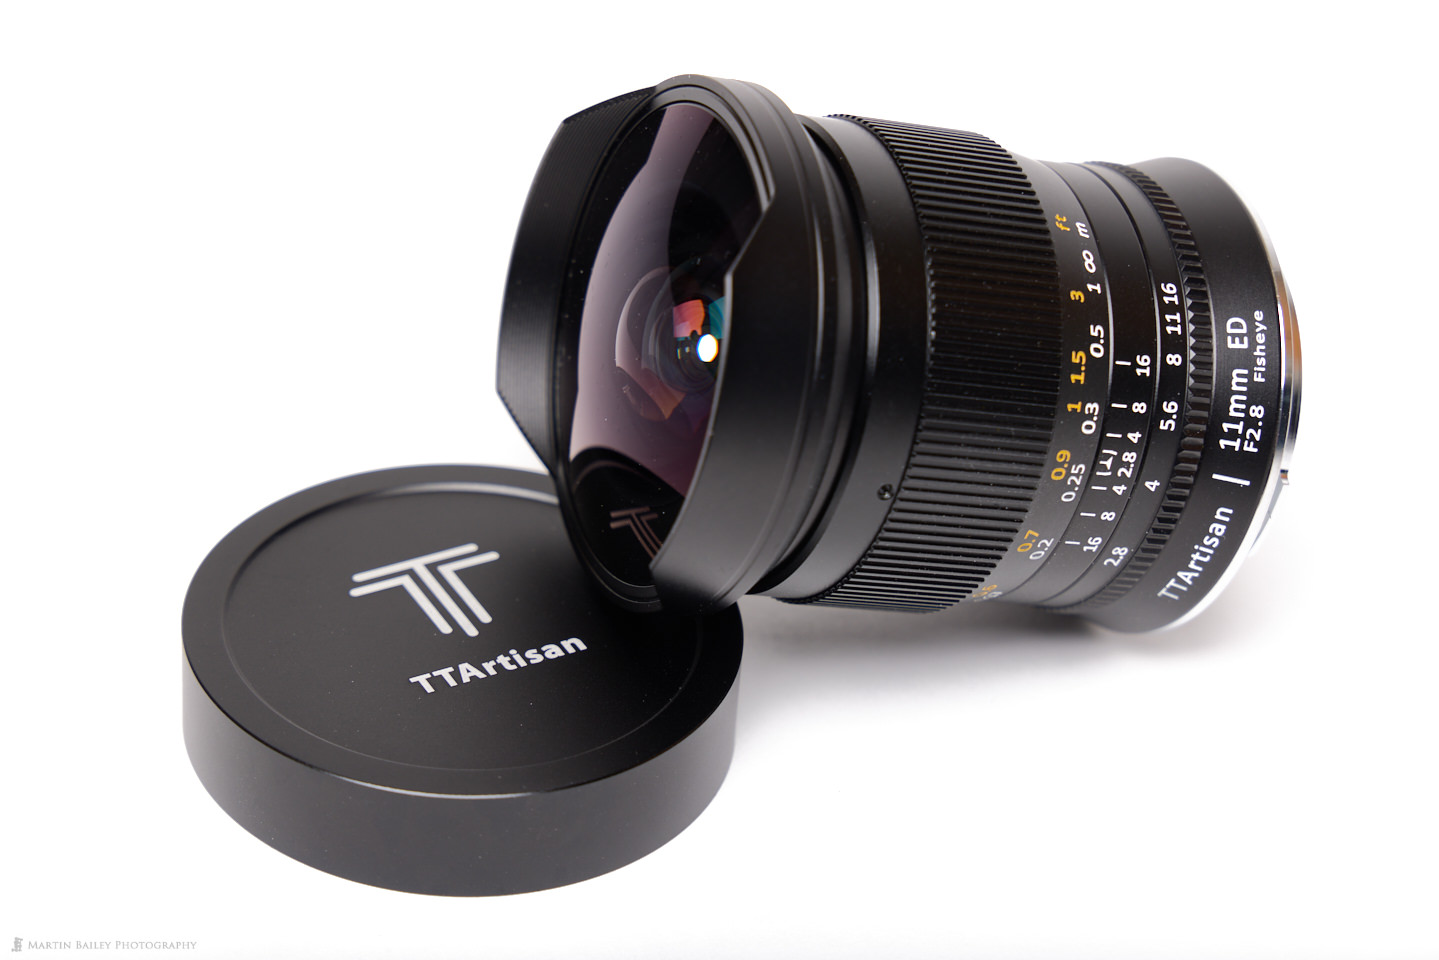
Well, the build is all metal, including the hood, which slides over the front of the lens nicely, and the lens itself feels high quality, with a very retro feel to it. There are no contacts between the lens and the camera, so operating the lens is completely manual. There is a focus ring and an aperture ring, which turn with just the right amount of resistance.
On an aesthetic note, not only does the lens have a nice retro feel to it, but the box it comes in is very reminiscent of the sort of boxes my 50-year-old Rolleiflex camera came in, which I thought was a nice touch. It also has molded foam inside to completely support the lens during storage and transportation, which is comforting.
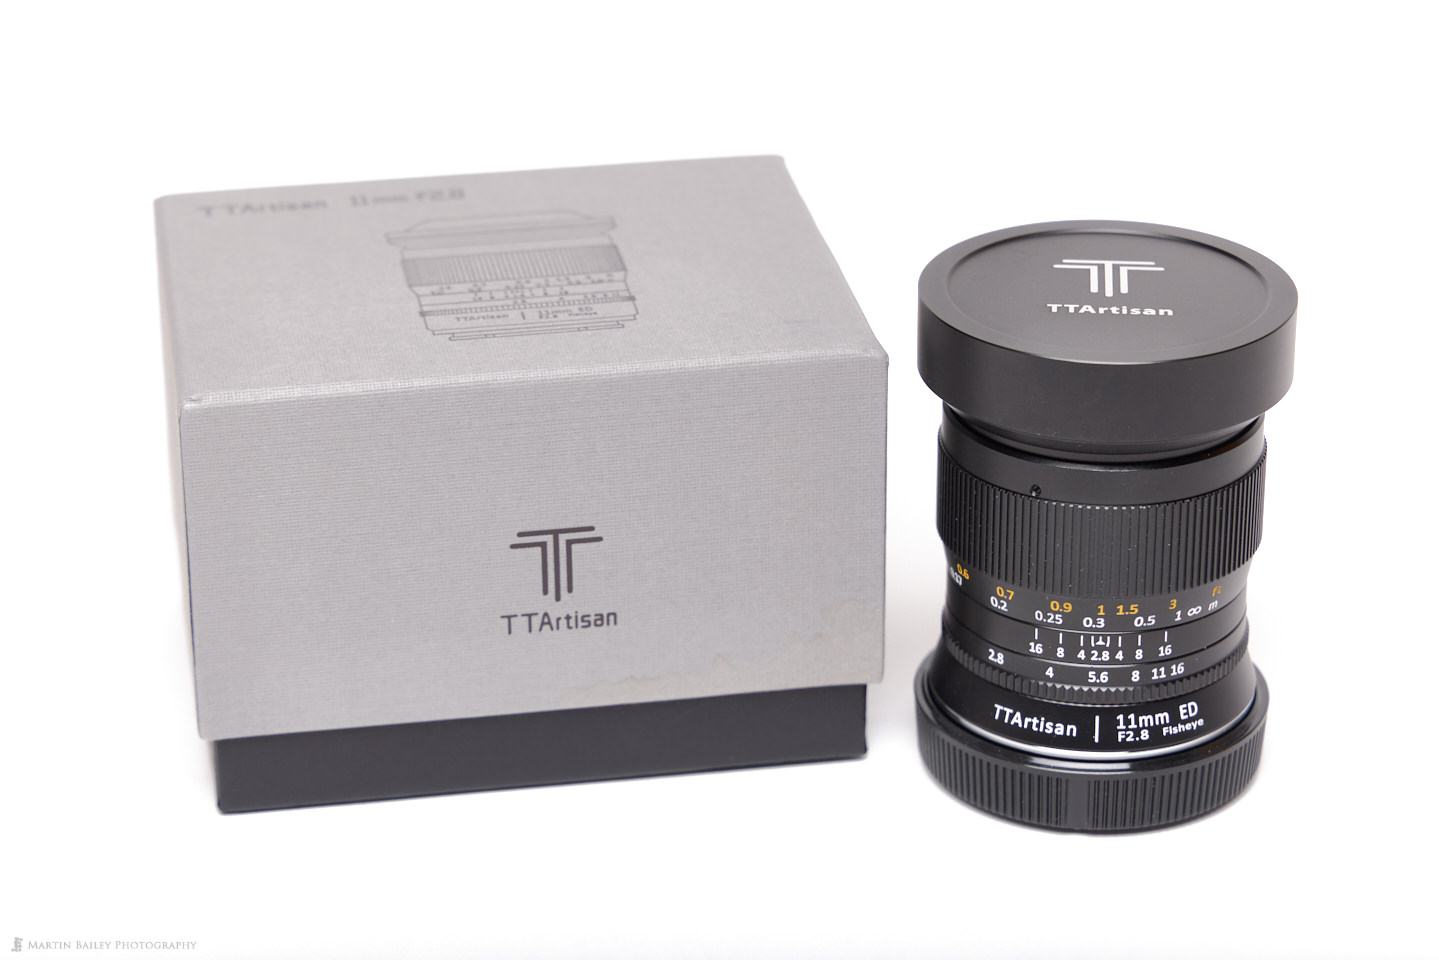
I bought the lens from Amazon Japan and saw that there was supposed to be some software available from TTArtisan to correct the fisheye distortion, essentially giving me a rectilinear image, which is what you often end up with out of the camera with some high-end fisheye or ultra-wide lenses. I figured that I’d use that sometimes, though not all the time, as the fisheye look is part of the appeal, but I was disappointed to find that TTArtisan currently do not have that Photoshop plugin available for their 11mm Fisheye. You can download what they say is it, but when you unpack the zip file the filename suggests it’s for a different lens, and a quick round-robin with their support team confirmed that they don’t currently have this software available. Hopefully it will become available in the future and if it does I’ll try to remember to change the text on this post to add a note about that.
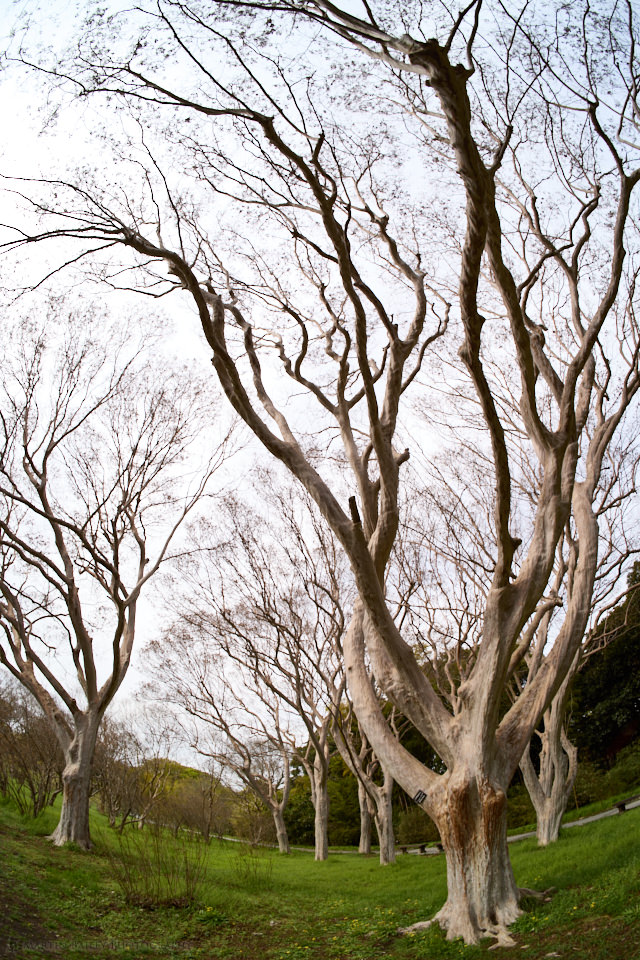
I did get a chance to do a few test shots with the lens though, during a walk in the park, and I was pleasantly surprised by the image quality. It’s not quite as sharp as a top of the line Canon RF L lens, but it’s pretty close. When you consider that this fisheye lens from TTArtisan cost me around 10% of the cost for a Canon L lens, I can live with the very slight softness that I can detect when inspecting images at 100%.
Here are two images, firstly the original image of some crape myrtle trees that really show the fisheye distortion, but alongside it, is a 100% crop from the first image, so that you can see how sharp the lens is. If I recall, I shot it with an aperture of between ƒ8 and ƒ11, which should be the sharpest aperture zone, but I’m pretty happy with these results. To view the images larger click on them and they will open in a light box.
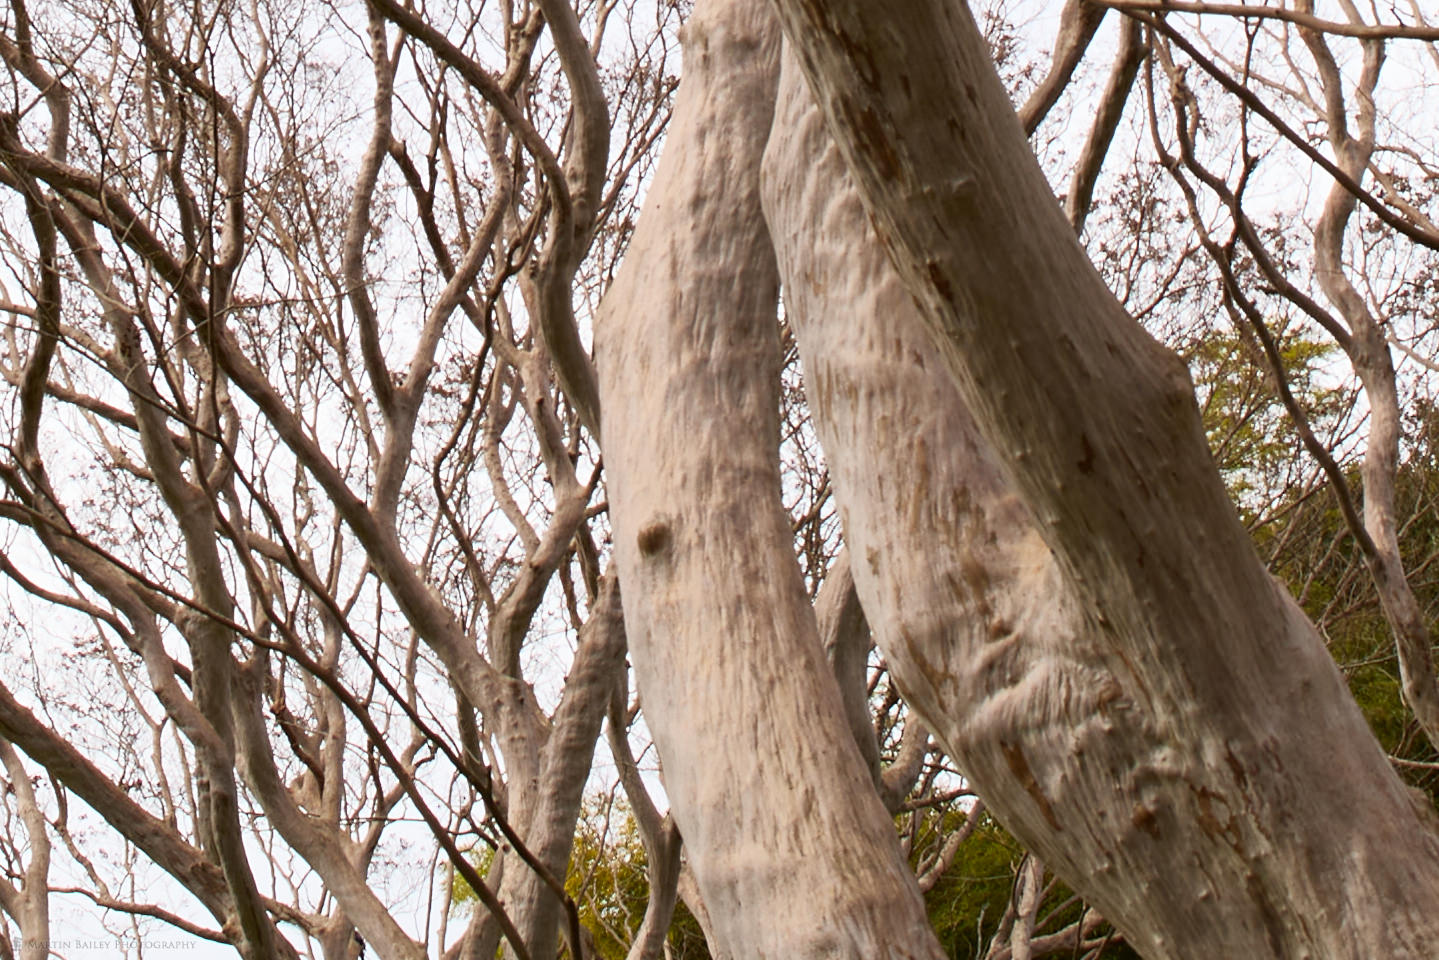
Here also is my obligatory tree shot with the camera pointing straight up. Everyone does this when they get a super wide lens, and I don’t like to disappoint. Besides, I actually really like this type of shot, being an avid and active treehugger. The cool thing with this sort of shot is that although the horizon is distorted, the trees all end up perfectly straight at the reach for the center of the frame.
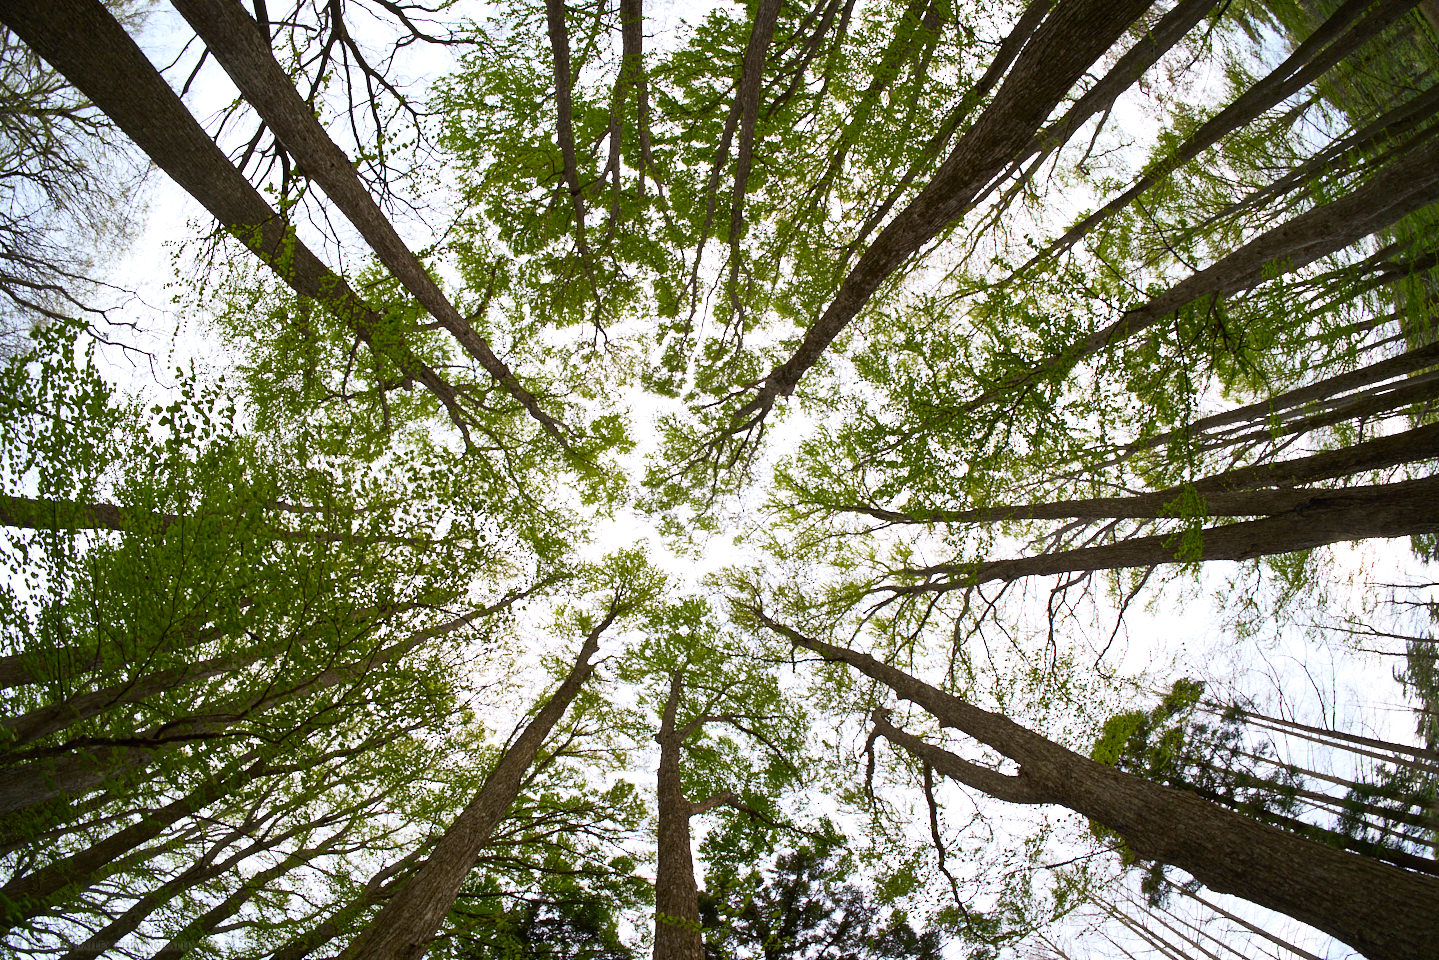
I’ll be putting this lens to the test again next week as I photograph the Milky Way from the Quiver Tree Forest near Keetmanshoop in Namibia as we get started on the first of two tours in April and May this year. I’m not sure how much I’ll miss the tools to fix the resulting images and remove the distortion, and I certainly feel that it would be a good idea to ensure that I also shoot some images with my Canon RF 15-35mm lens, but it should be fun to see what this offering from TTArtisan will provide me with.
Inexpensive Camera Bag
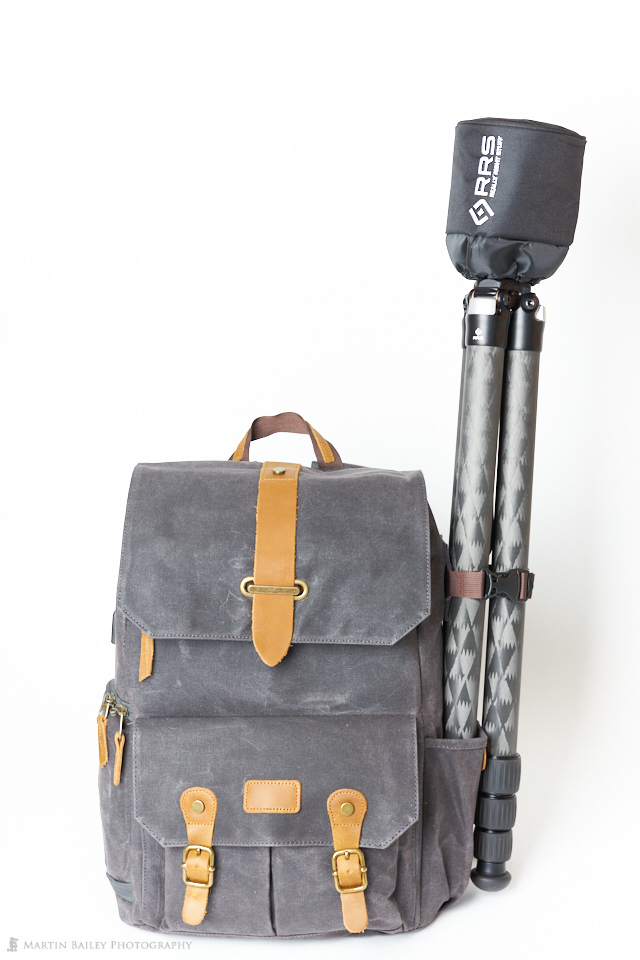
The second inexpensive but pretty good item I bought recently is a camera bag branded as being from a company called EnergyPower, but I cannot find this same brand on Amazon.com, so I can’t provide a link. I imagine there is a company in China making these and selling them to any company that wants to market them.
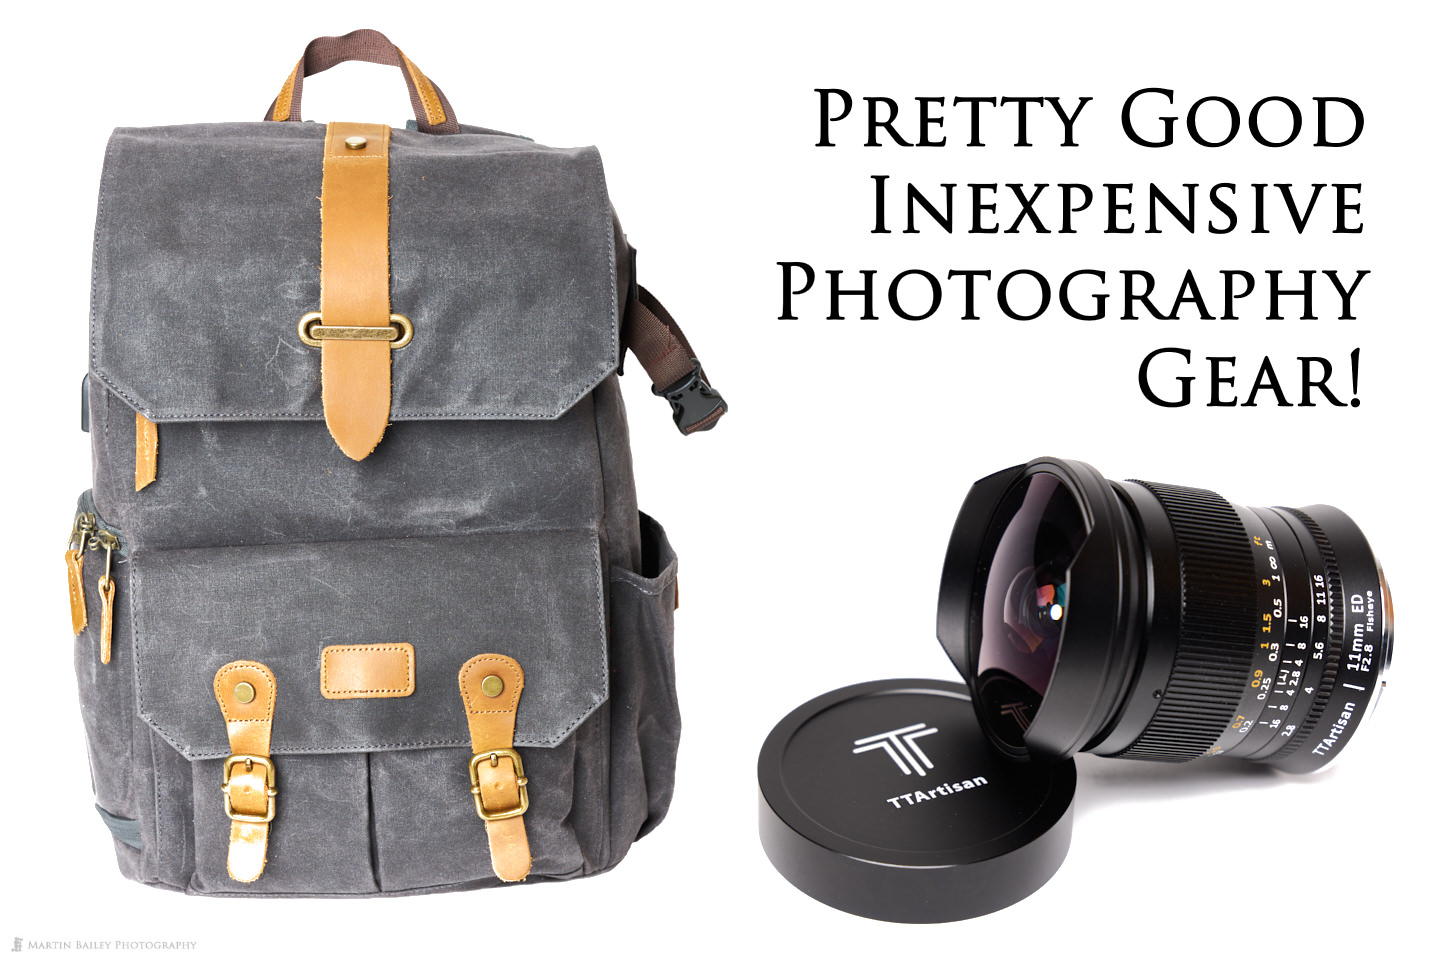
As you can see from the images, the one I got is a grey canvas, although they had green and beige as well. It’s marketed as a 25-liter bag, which seems a little ambitious. It’s more like an 18-liter bag, although it is well-designed with a few nice touches that I figured would be nice to have, especially while traveling to and within Namibia. You might also notice a new Really Right Stuff tripod, but that doesn’t class as inexpensive, so I’ll talk about that in a future episode.
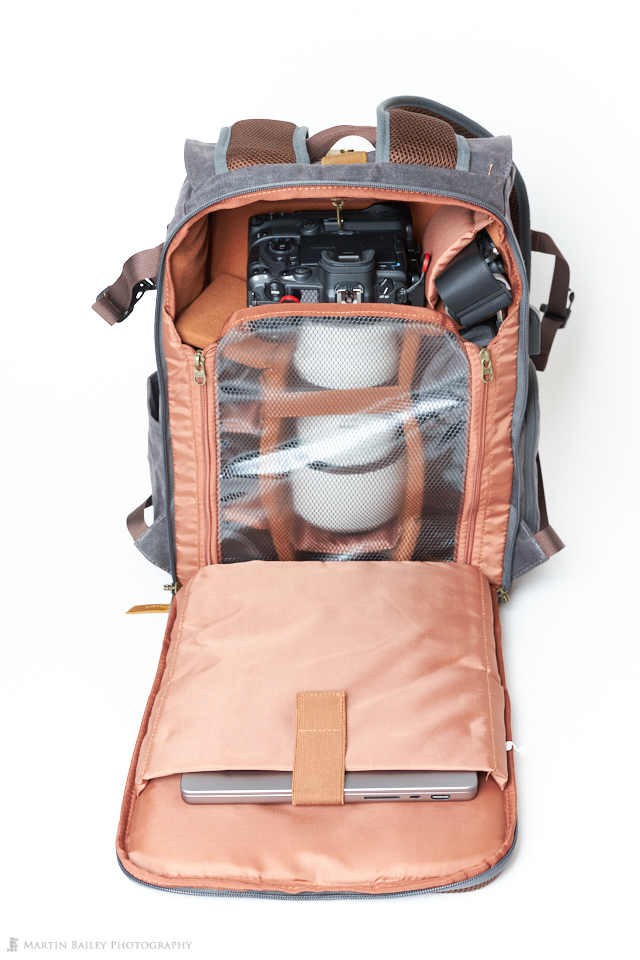
The first thing I need in a camera bag for international travel, is a laptop compartment, because pretty much all of the economy flights I buy only allow me to take one carry-on bag, and do not include an allowance for a personal effects bag, which used to make it possible to take a laptop bag as. a carry-on as well. Of course, I don’t want to carry my laptop around with me in the field, so I will take my laptop bag in my soft duffle bag that I use for Namibia, and transfer my computer related stuff to that when I get to our first lodge.
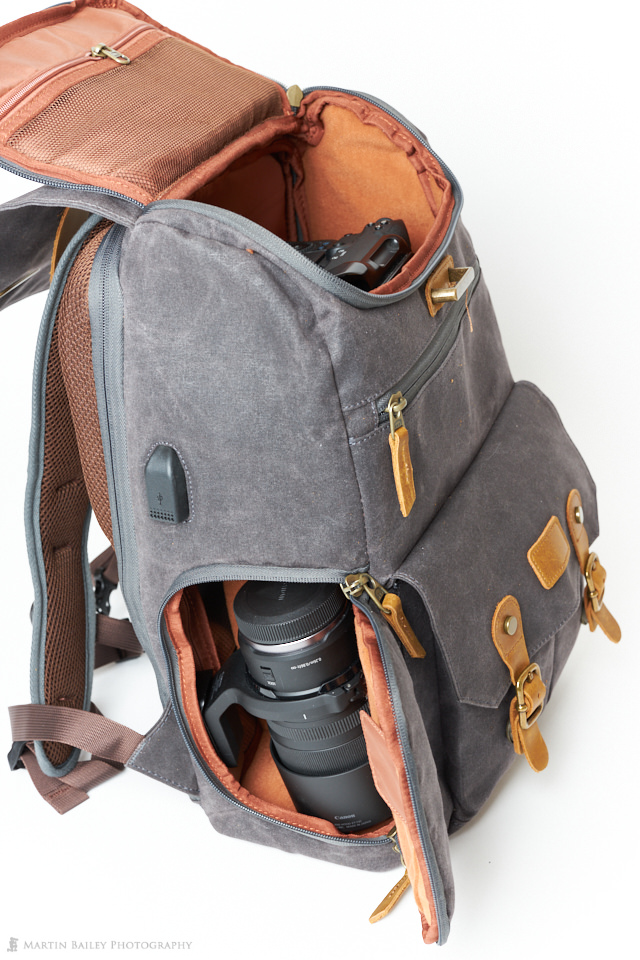
In addition to being able to strap a tripod to the side of the bag, there are also straps for the bottom of the bag, if you use a tripod small enough to carry sideways, but I’ve taken them off for now. I might put them back on for the trip, as I sometimes end up strapping a light down or fleece to my bag as it warms up during the day.
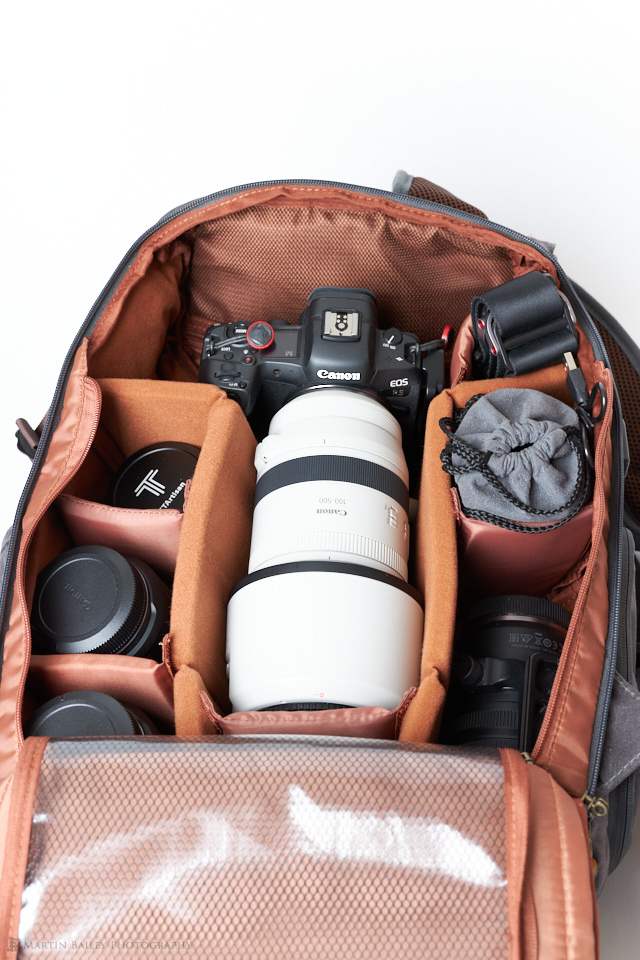
Another thing that I find essential for trips on which we shoot wildlife is the ability to put the camera in the bag with my 100-500mm lens attached, as you can see in the third image of this bag. I really like that I can open the top of the bag to pull out the camera and long lens, without opening the whole bag.
With there still being some room free above the camera and a little more below the bottom of the lens, I think I can probably even stow the camera with an Extender fitted. However, we can not fully shorten the lens with the RF Extenders on, so I am not sure I’d like to leave it attached in the bag for long.
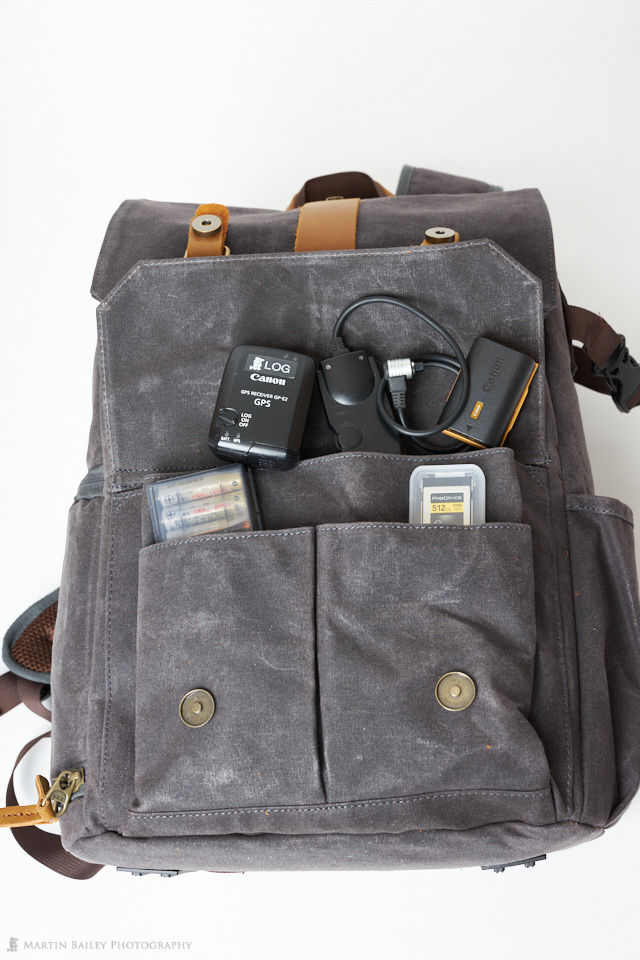
I’m also happy that this bag has a zipper on the side to gain access to an extra lens, such as my 100mm Macro lens in this shot. I don’t take the Macro to Namibia, so I’ve not decided what I’ll put there yet, but it’s nice to have the options.
If I need anything that is not accessible from the top or side flaps, I have to lay the bag down on it’s front and fully open the back to get at the contents, but I would have to do that with all of my other bags of a similar storage volume.
The other thing that I think is behind the brand name of EnergyPower, at least here in Japan, is that plastic thing that you can see on the side of the bag above the side pocket. Inside the bag there is a USB cable that you can attach to a rechargeable power pack, and then plugin USB accessories to the port located face down under that plastic cover.
I imagine it’s just wiring, with no electronics, so it wouldn’t surprise me if I couldn’t put a solar panel on the outside of my bag, and use that to charge the power pack as well.
There are two layers of pockets on the bottom half of the back of the bag, which I feel have too weak a magnet in their buckles to feel very secure. I wish they were buckles instead of snap-shut magnets if that’s all they could afford. One other thing that I’m slightly concerned about is that the nylon straps between the padded shoulder straps and the bottom left and right corners of the bag are not really wide enough for the weight that the bag is supposed to hold. I feel as though that could be the fail point of the bag, and hope that it doesn’t snap as I’m traveling overseas. If these straps make it through my upcoming Namibia trips I’ll be happier, and will of course let you know, especially if they fail.
So, the point of this podcast and post today is to let you know about these two pieces of kit that I’ve called inexpensive because they don’t feel cheap, but they are definitely not a lot of money for what they are. The lens cost me the equivalent of around $270 at the current exchange rate, and the bag was around $76, so really only a fraction of the cost I would usually pay for this kind of gear. I’m perhaps taking a bit of a risk, but it’s not a lot of money if things don’t work out.
As I mentioned, I couldn’t find the bag on Amazon.com, but I could find the TTArtisan lens, so if you are thinking of picking one of these up and want to support the Podcast and website, please use my Amazon Affiliate link (https://amzn.to/3Gm2UKv) and I get a little payment from Amazon as well, which all helps to keep the wheels on the wagon.
Show Notes
You can get the TTArtisan 11mm ƒ/2.8 Fisheye Lens for the R Mount with our Amazon Affiliate link here: https://amzn.to/3Gm2UKv
Subscribe in iTunes to get Podcasts delivered automatically to your computer.
Download this Podcast as an MP3 with Chapters.
Visit this page for help on how to view the images in MP3 files.


Martin – If you do a search on Endurax Camera Backpacks or BAGSMART Camera backpacks on Amazon you’ll find a bunch of similar bags varying sizes and feature. They are all clones of the one you show above. I suspect they are all made in the same factory. Many of them have the side access for the camera.
Aah, thanks Rich! I don’t see the exact bag, but I agree, they look like they are made by the same manufacturer.
Thanks for pointing them out!