Visit Library for MBP Pro eBooks |
Last Friday I spent a few hours in the Jindai Botanical Park, my local park, and the reason I moved to Chofu in Tokyo eleven years ago. I took a gimbal that I use to steady my Canon EOS R5 and a new 7″ monitor that I’ve bought for it, partly to test my setup, but I also have wanted to provide some video footage of the Autumn leaves for some time now, so I made my visit into a little project to make a video, basically taking you along with me for “A Stroll in the Park”. I edited the video relatively quickly after getting home on Friday, and then on Sunday, with a rough idea of what I wanted to do for music, I spent a few hours creating what I think is a relatively relaxing piano track that I timed to perfectly match the length of the video. I also set the tempo to a relatively steady pace, as I wanted it to complement just walking through the park.
Here is the resulting video, which I hope you enjoy, and we go on for the Podcast today to explain some of the things I did to make the video and I’ll talk about some of my favorite photographs as well.
So, let’s talk about the process and the photos, etc. as well. First up, here are two photos of the gear that I took with me, out on my table in the studio as I prepared, and packed it into my bag. I also attached my tripod to the bag before we left. As you can see, the gimbal doesn’t really fit into my current bag, so I’m thinking of options that will better suit this type of gear, but for the purposes of this little project, I was fine with just dropping the gimbal into my large vest pocket when not in use.
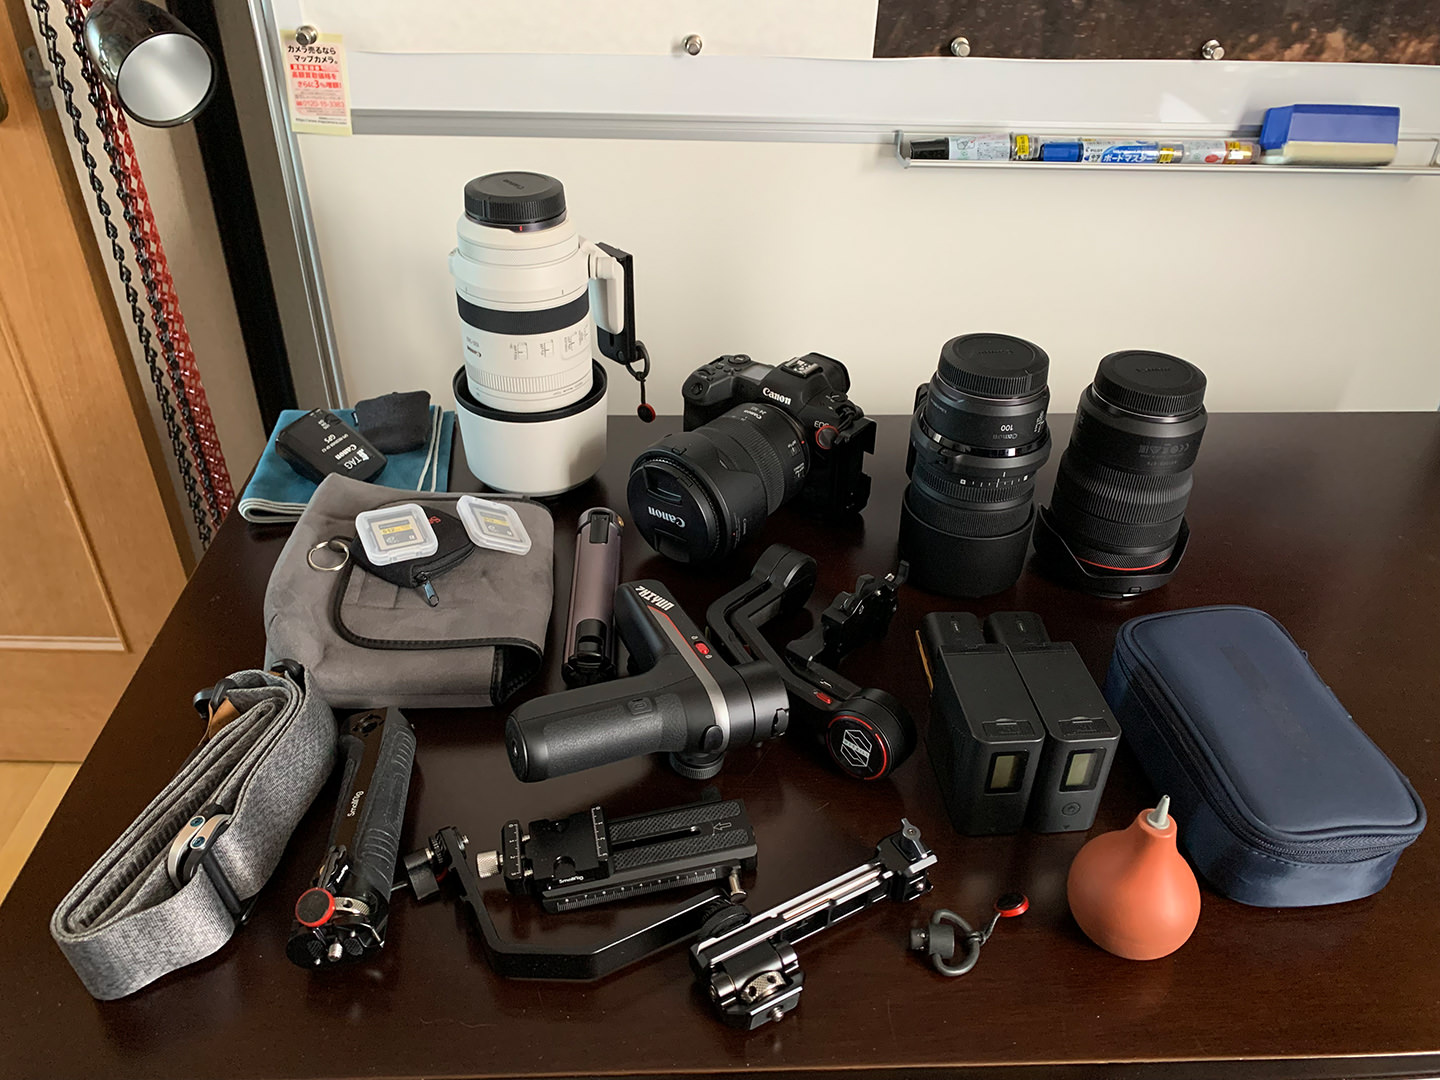
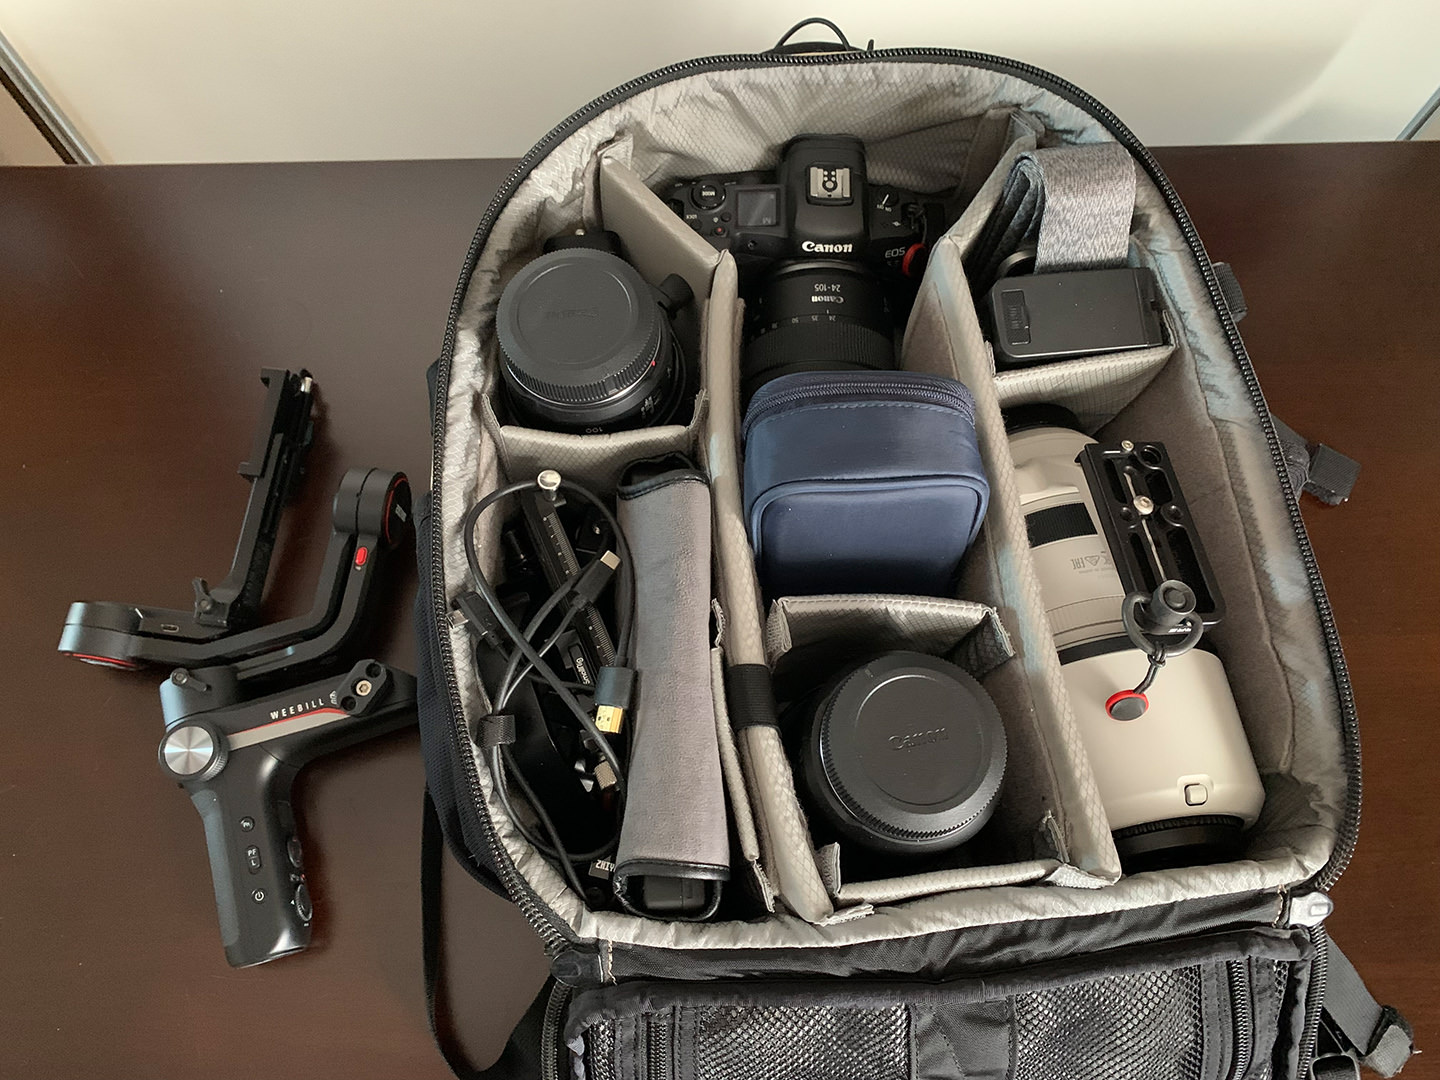
The Jindai Botanical Park has a number of car parks nearby, and I select which one I use based on what I want to do. The large car park near the main entrance is generally fine, but as you pay by the hour, it can turn out quite pricy. We were in the park for just under three hours, and the car park cost $8 or ¥800. If we want to have a walk through the little group of shops or visit the water garden at the other end of the park, there are some private car parks that charge ¥800 for a whole day, so if I know I’m going to be in the park for more than three hours, I generally park in a private car park near the Jindai Temple.
On this day though, we parked near the main entrance and walked through to the pond where there is a little pagoda that my wife and I generally visit first when we get to the park and enter through the main gate. I sat on one of the benches there and set up my gimbal, so that is where the video starts. I then shot some footage as we walked through the park, along the brook that fills the pond, and across the quaint little stepping stones that I included in the video, then on through one of the main rest areas to the area where the maple trees are that turn yellow and red at this time of year.
I didn’t use what I call the rolling legs technique to steady the video more than the gimbal would already do, for two reasons. The main one being I didn’t want to look like an idiot while on a walk in the park with my wife. If I was on a professional job, I would have bent my legs and walked as steadily as possible, but it wasn’t a professional job, it was a walk in the park. And that is the second reason. I really just wanted the video to feel like you were strolling along beside me, and as you’ll see, the gimbal does a great job of steadying the center of the frame, so you don’t feel nauseous, but the edges of the frame move with my footsteps, so you can see that we’re walking.
I edited the footage to a number of clips that lead us through the park then walk through the maple trees while filming, to give you a feel for the atmosphere. I love this area of the park and don’t think I’ve visited in any season without walking through there, and I think the video helps you to understand why. Once I get to the end of the path, I turn around and come back to the center, but then I packed away the gimbal, and spend another hour or so shooting stills and video with my 100-500mm lens, mostly zoomed all the way to 500mm. All of the footage while walking through the park was shot at around 35mm and I zoomed out to 24mm while walking through the maple trees to show a little more of the colorful canopy.
We’ll look through a number of stills that I shot now, and if you watch the video, you’ll notice that most of them are the same framing as the clips shot from various positions along the maple tree path. In this first shot, we see some of the yellow maple leaves but can also see some patches of orange, which I’ve not noticed in the past. I wondered if the conditions this year would give rise to some hybrid colors if that’s possible, so I’m going to try to go back in a week or so before these leaves fall if only to check.
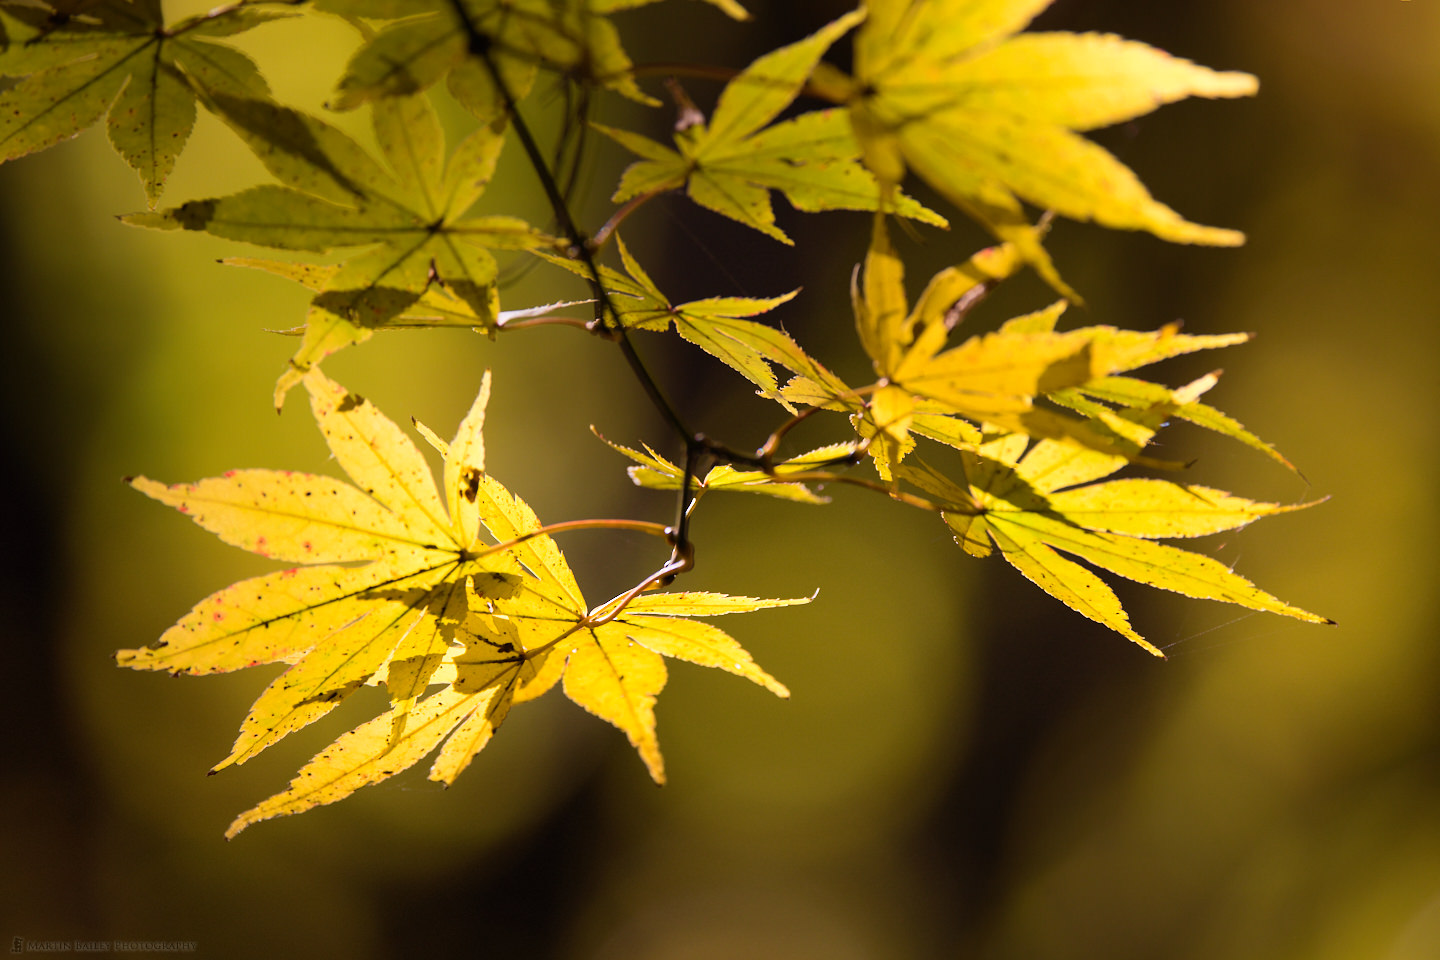
At 500mm with this lens, my widest aperture is ƒ/7.1, and that was what I shot all of today’s images at, so I won’t keep repeating this. There are also only two that were not shot at 500mm, so I won’t repeat that either. I did most of my exposure manipulation with the ISO and shutter speed, and this was shot at 1/400 of a second, at ISO 400. Once I’ve found some leaves that appeal to me, I start to look at their background and see if there is an angle that I can shoot from that gives me a pleasing background.
When Canon first announced the RF 100-500mm lens, there was the usual spate of complaints that you see online, and one of the main ones was that the aperture at 500mm was too small at ƒ/7.1, but as you can see from this and the rest of the images today, at 500mm ƒ/7.1 provides plenty of smooth bokeh, both in the background and foreground. Complaining about this aperture shows nothing more than a lack of understanding of depth of field.
This next image is a contrast from what I usually shoot. These leaves were in the shadows underneath some brightly lit leaves, but I really like how they fell into almost complete darkness and showed only as silhouettes against the patches of lighter bokeh in the background. This sort of shot is one of the few times that I don’t use my usual expose to the right technique. I could have exposed to the right then darkened this down, but it’s not necessary to get good image quality. I dropped my ISO to 160 for this at 1/200 of a second.
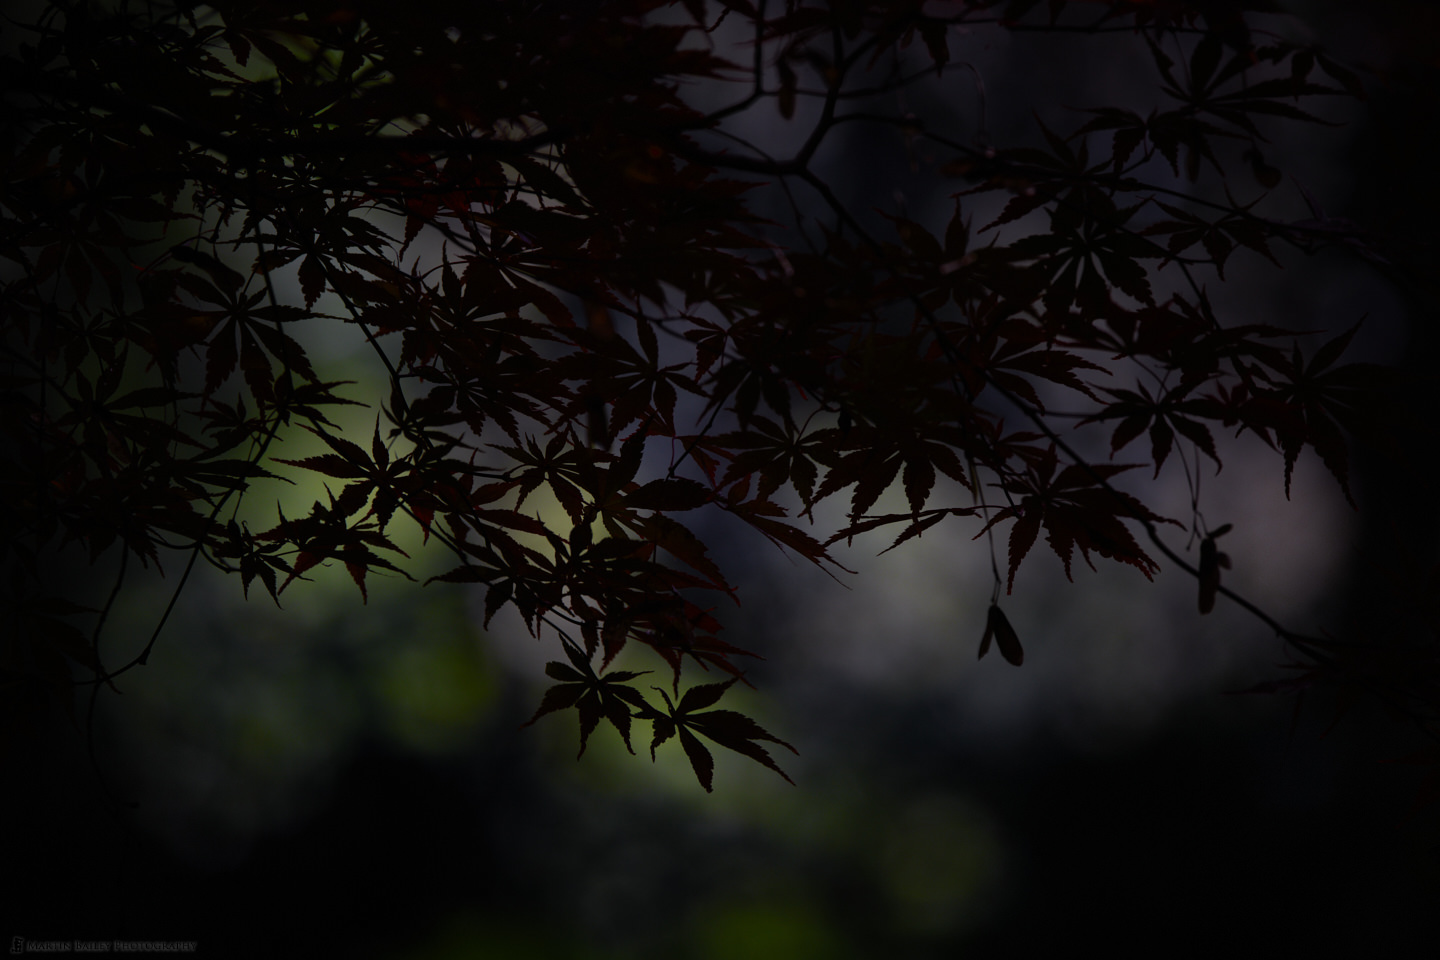
I used the same ISO and a shutter speed of 1/160 of a second for this next shot, where the orange leaves were getting a lick of light, and you can see the darker leaves from the previous shot just poking into the bottom of the frame here.
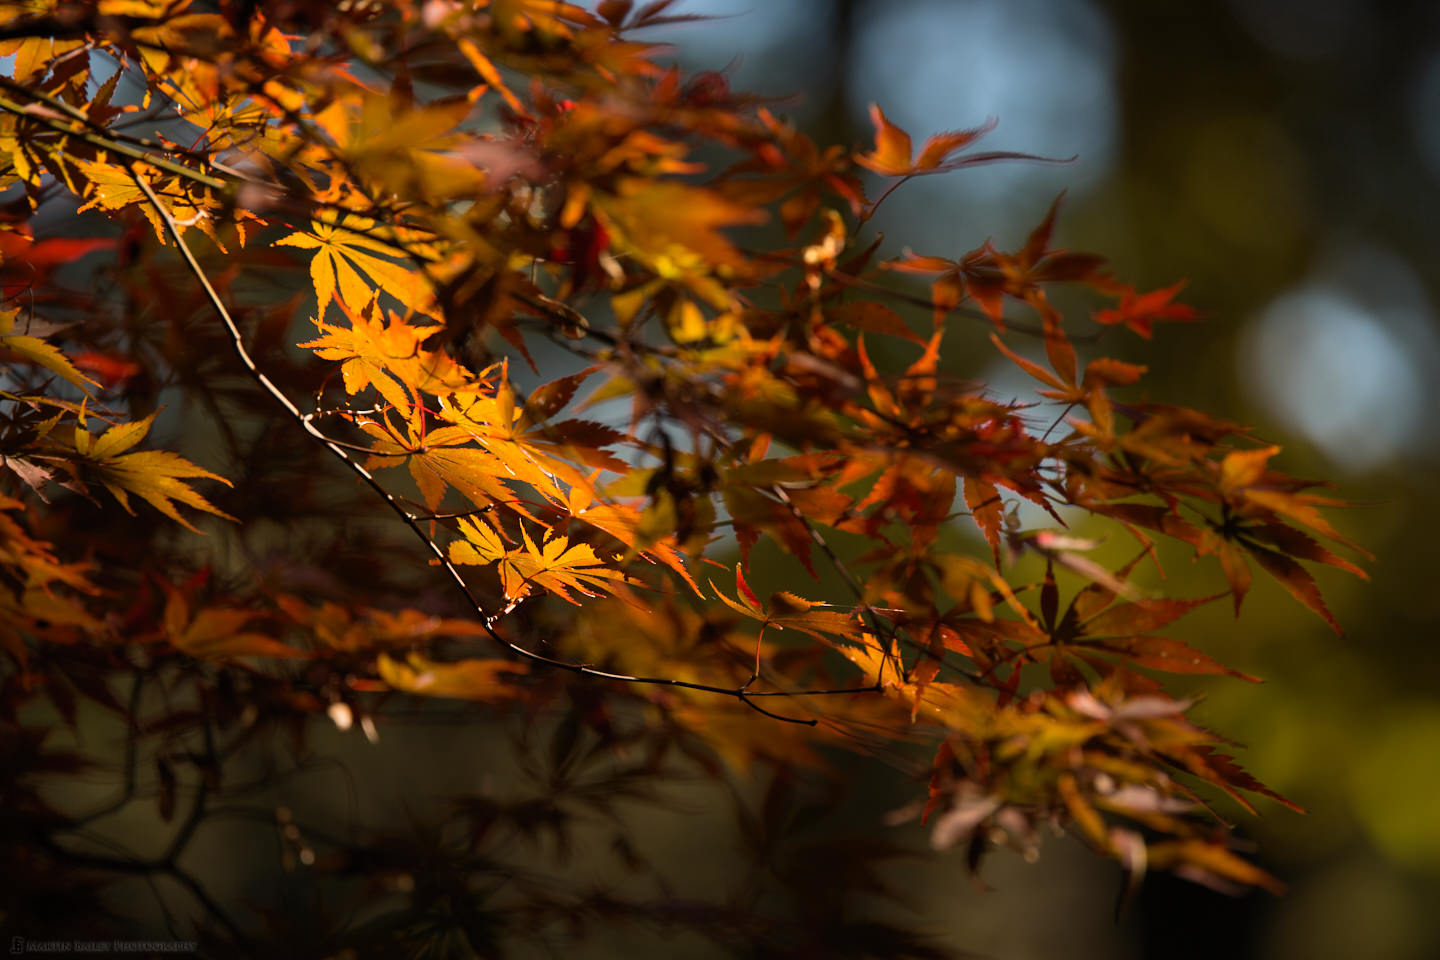
You’ll notice in the video that the contrast between the shadow areas and the spots that get lit through gaps in the canopy can be quite great, and this is one of the reasons that I like this spot. I like to work with extremes, as they provide creative opportunities. Without the shadows, the highlights wouldn’t work in many of these images.
The following image though is all about the contrast between the colors yellow and green.
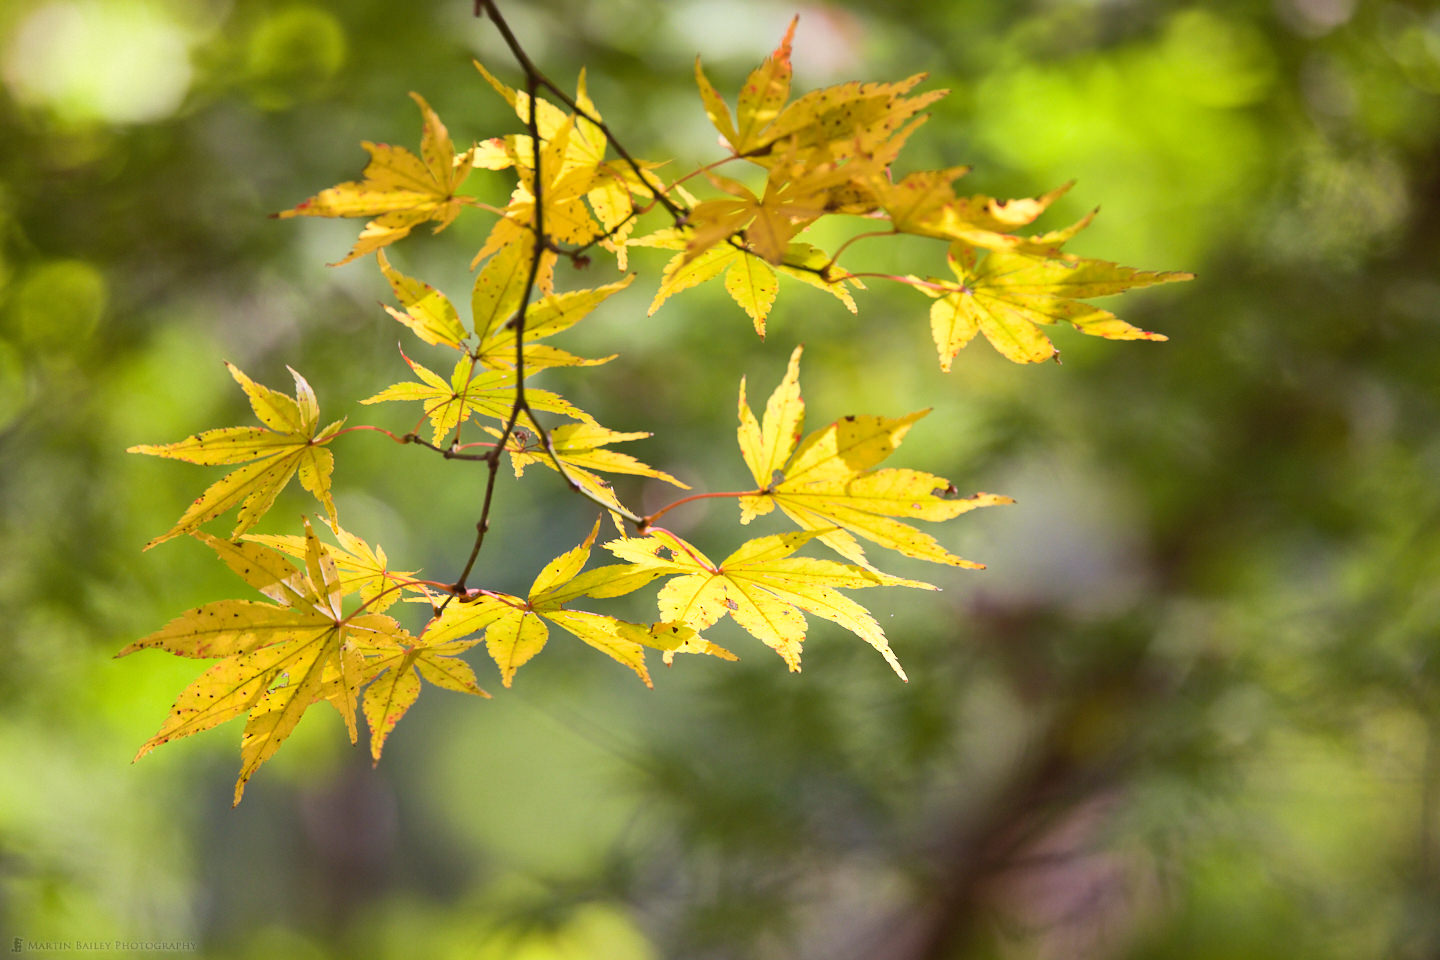
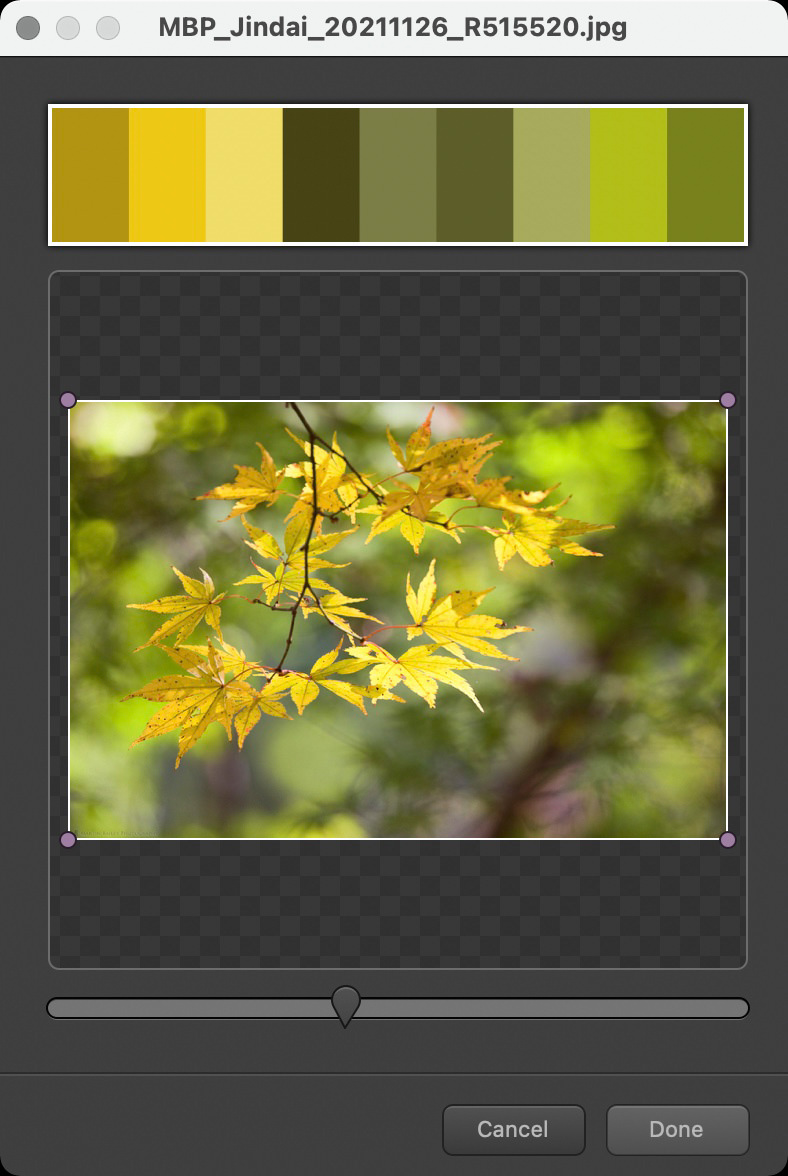
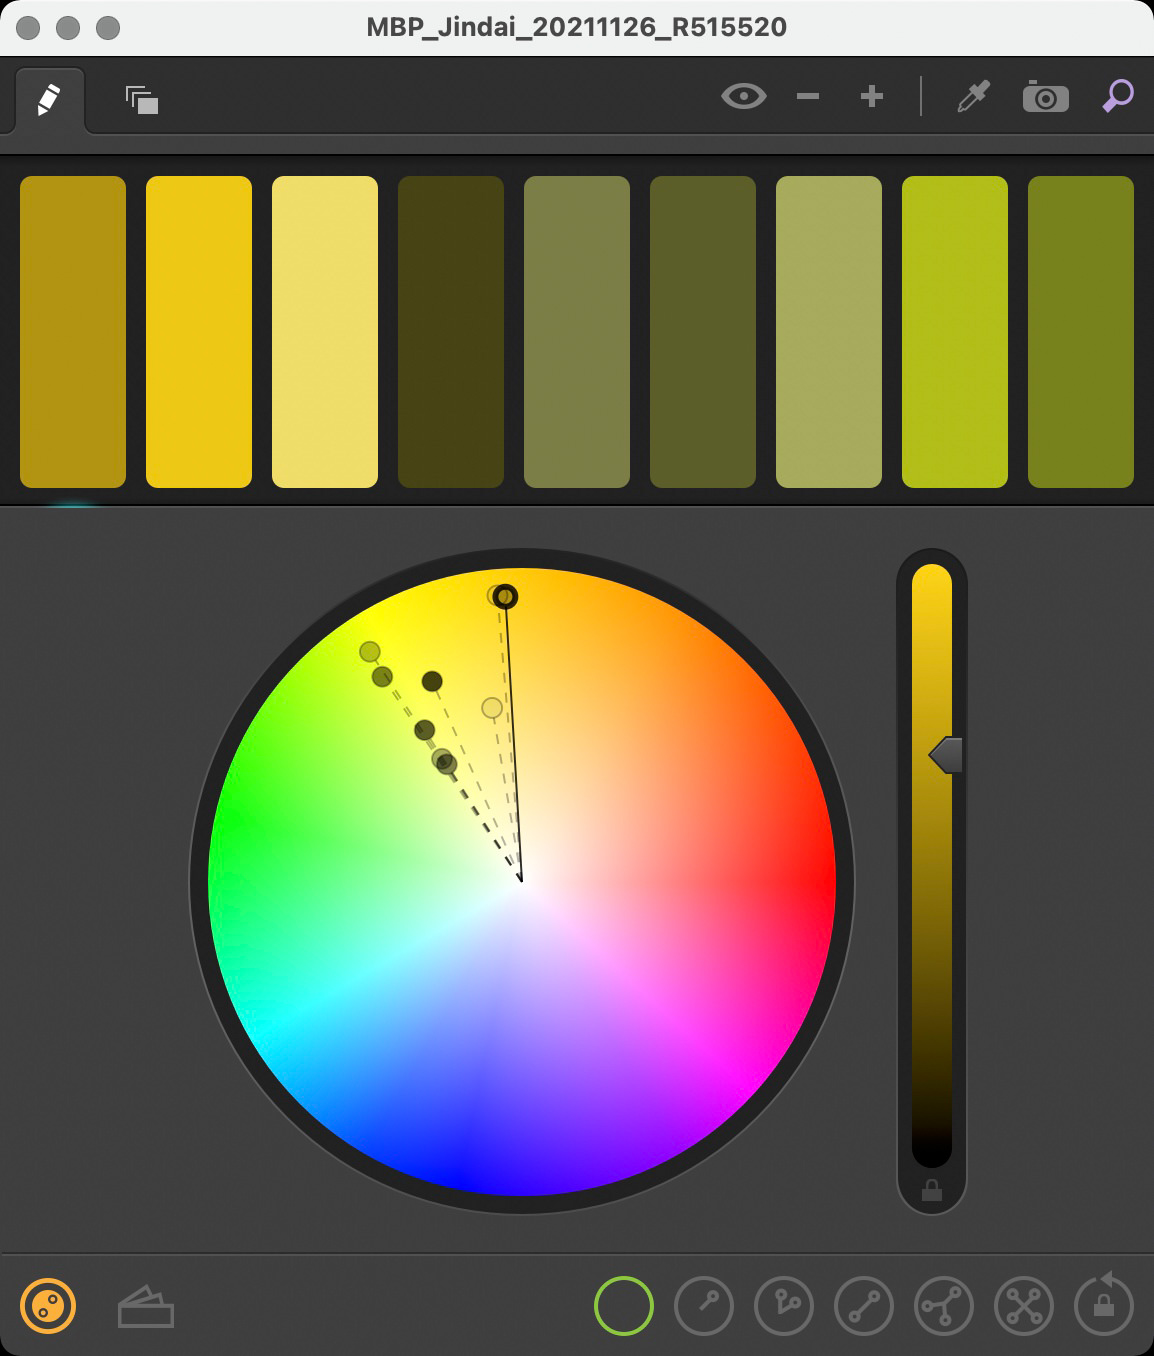
I sampled 10 of the key colors from this image automatically in an application called Spectrum that I use when I’m curious about the colors in an image, and really like the color palette from this image. We can also see in the second screenshot here that all of the colors are neighbors on the color wheel, and neighboring colors are generally complementary, but there is enough contrast in the colors to separate the elements out.
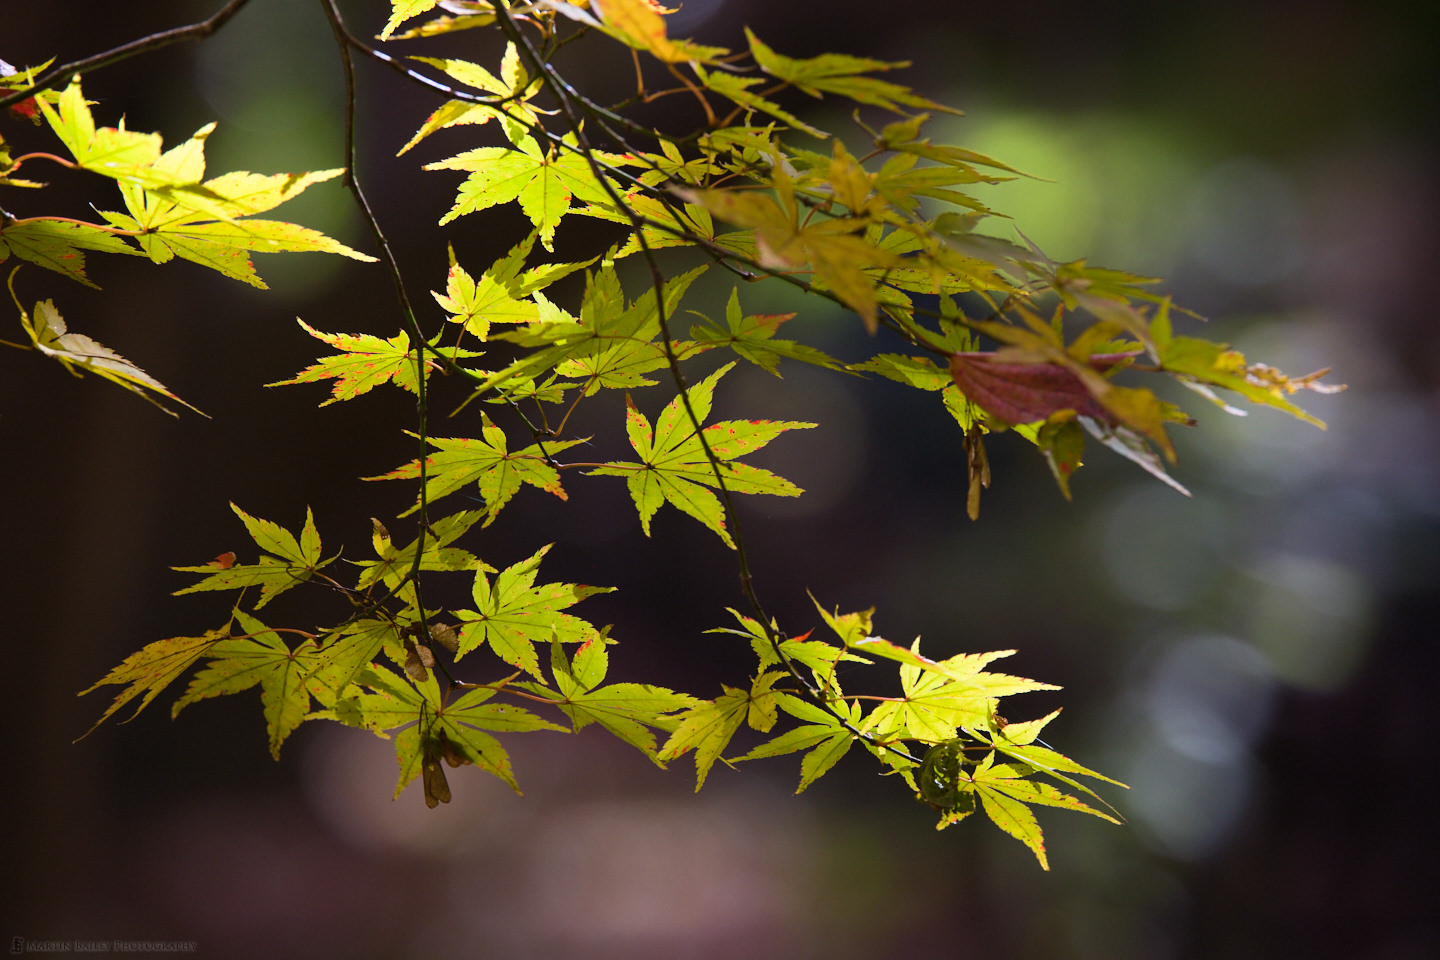
We’re back to more of a light and dark contrast in this next image though, as I once again play with the shadows and highlights in these beautiful leaves and their backgrounds. Notice too how I have positioned the batch of leaves just left of center over a darker area of the background, to give them the separate required to appreciate their form. This image was one of the two that I pulled back from 500 to 428 millimeters to get the framing that I wanted. With my shutter speed at 1/160 of a second, I also increased my ISO to 640 for this exposure.
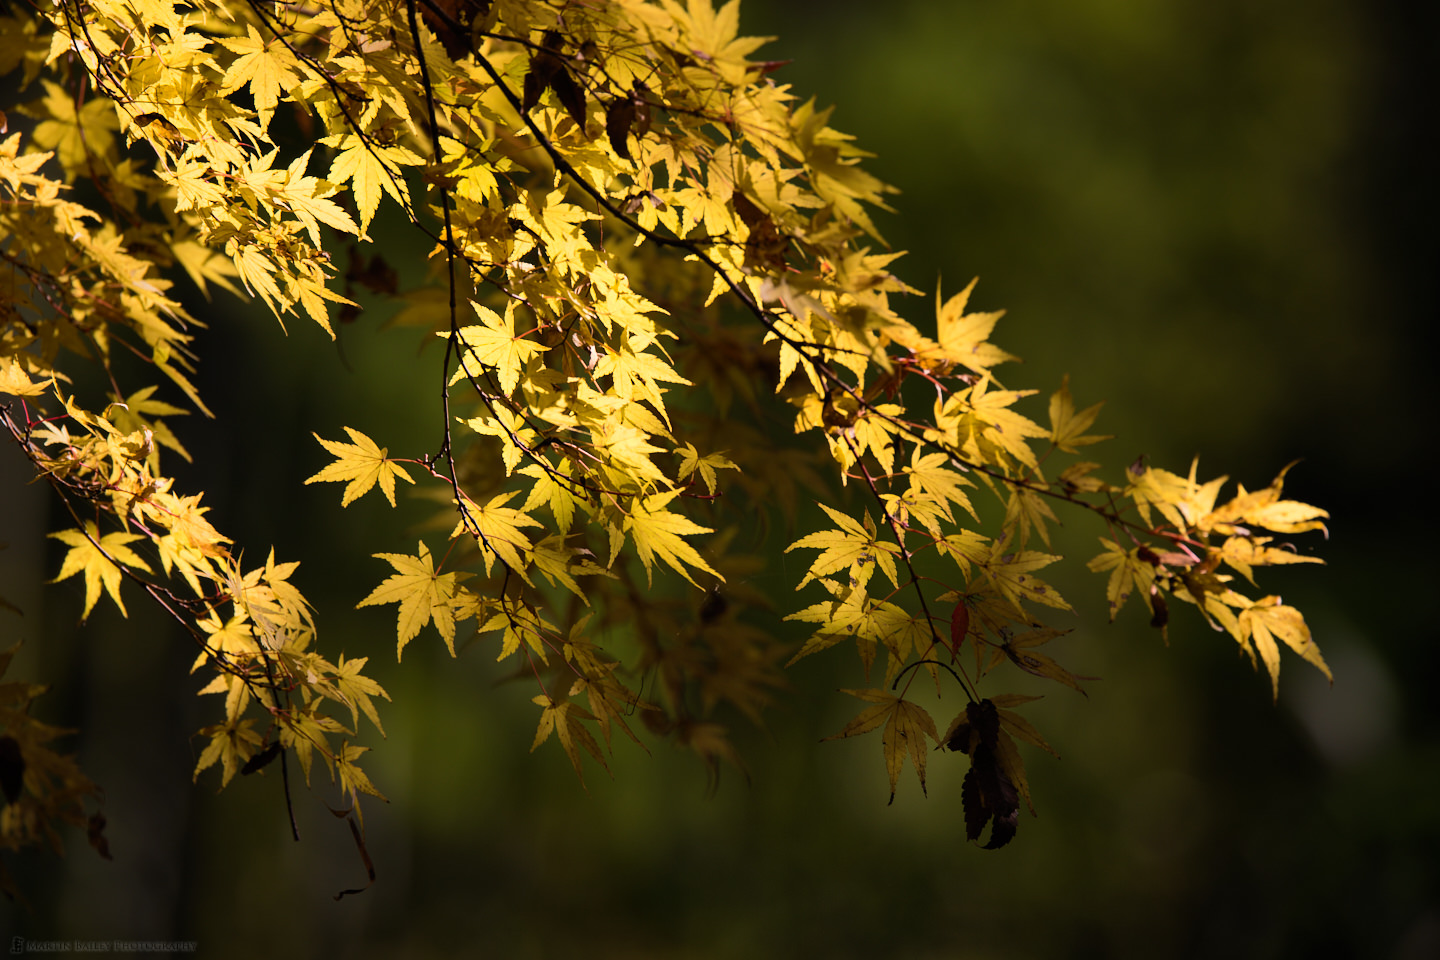
I have to admit though, and long-time listeners may also recall, that I do have a soft spot for the yellow leaves that we see in this following image. Especially with the dark background, I’ve enjoyed shooting this kind of image at this location for probably around fifteen years now, even when I lived in the center of Tokyo, and sometimes drove out here to Chofu to visit this park. I also pulled back a little for this photo to 451 millimeters. I dropped my ISO to 100 for this, with a shutter speed of 1/250 of a second.
Between all of these shots, I was, of course, switching into video mode, and I left my little RODE mic on top of the camera the whole time so that I could capture the ambient sounds. There is also one point in the video where you hear the large temple bell, which I believe rang out at noon. I always find the sound of these big bells very soothing, so I was happy to have included that in the video.
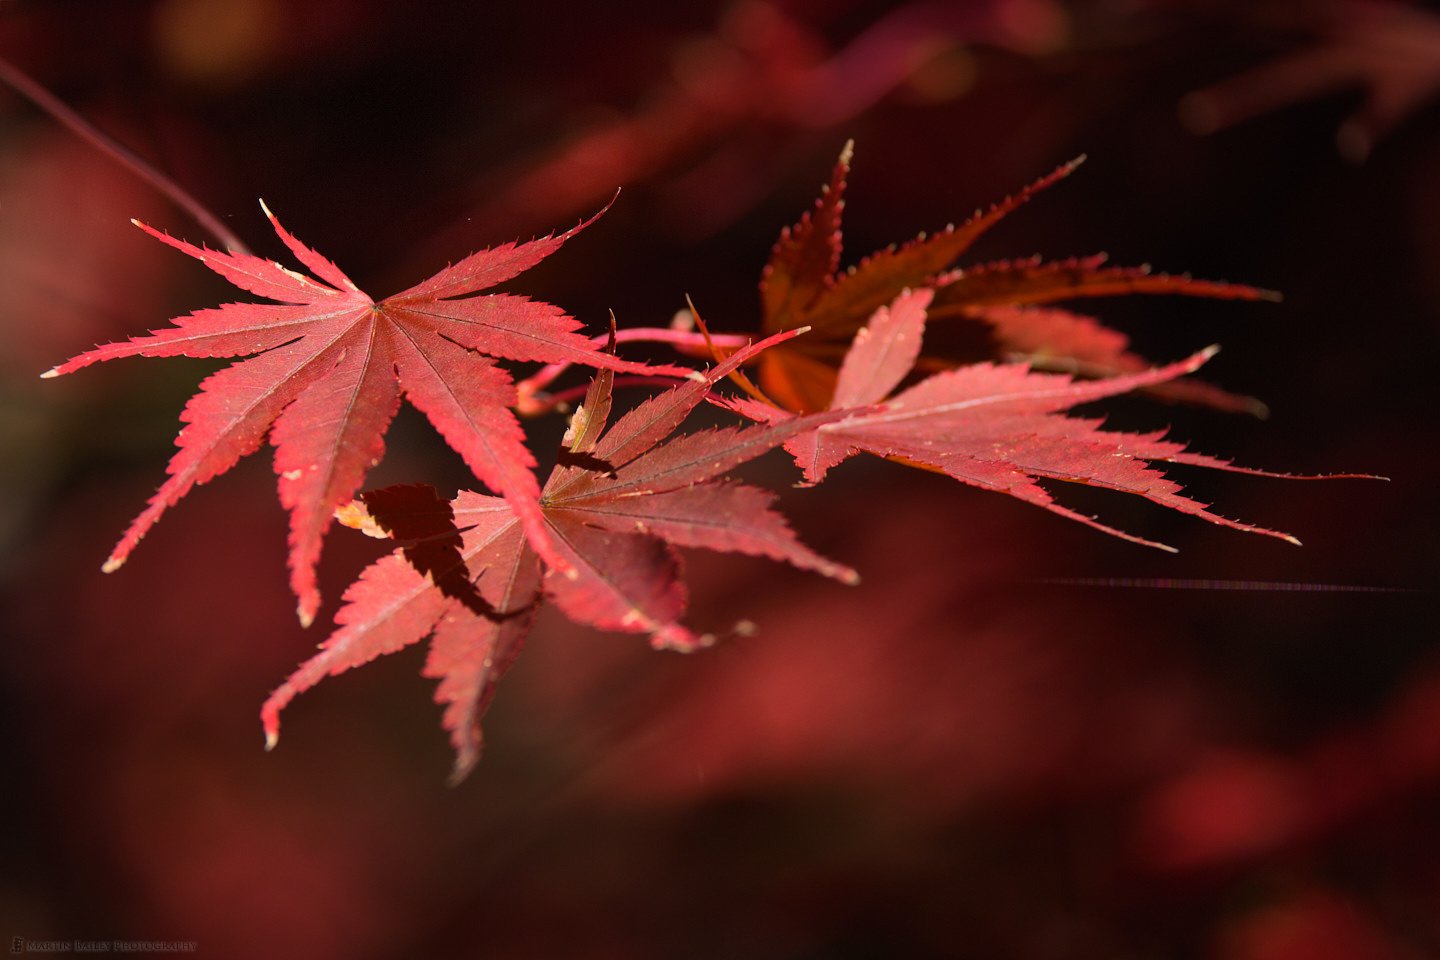
Next, we see some of the deep red leaves that are at the start of the path through the maple trees. Again, I enjoy the contrast between the dark patches in the background and the out-of-focus other red leaves. We’re back to 500mm for this and the rest of the images, and my ISO was at 250 and my shutter speed was also 250th of a second.
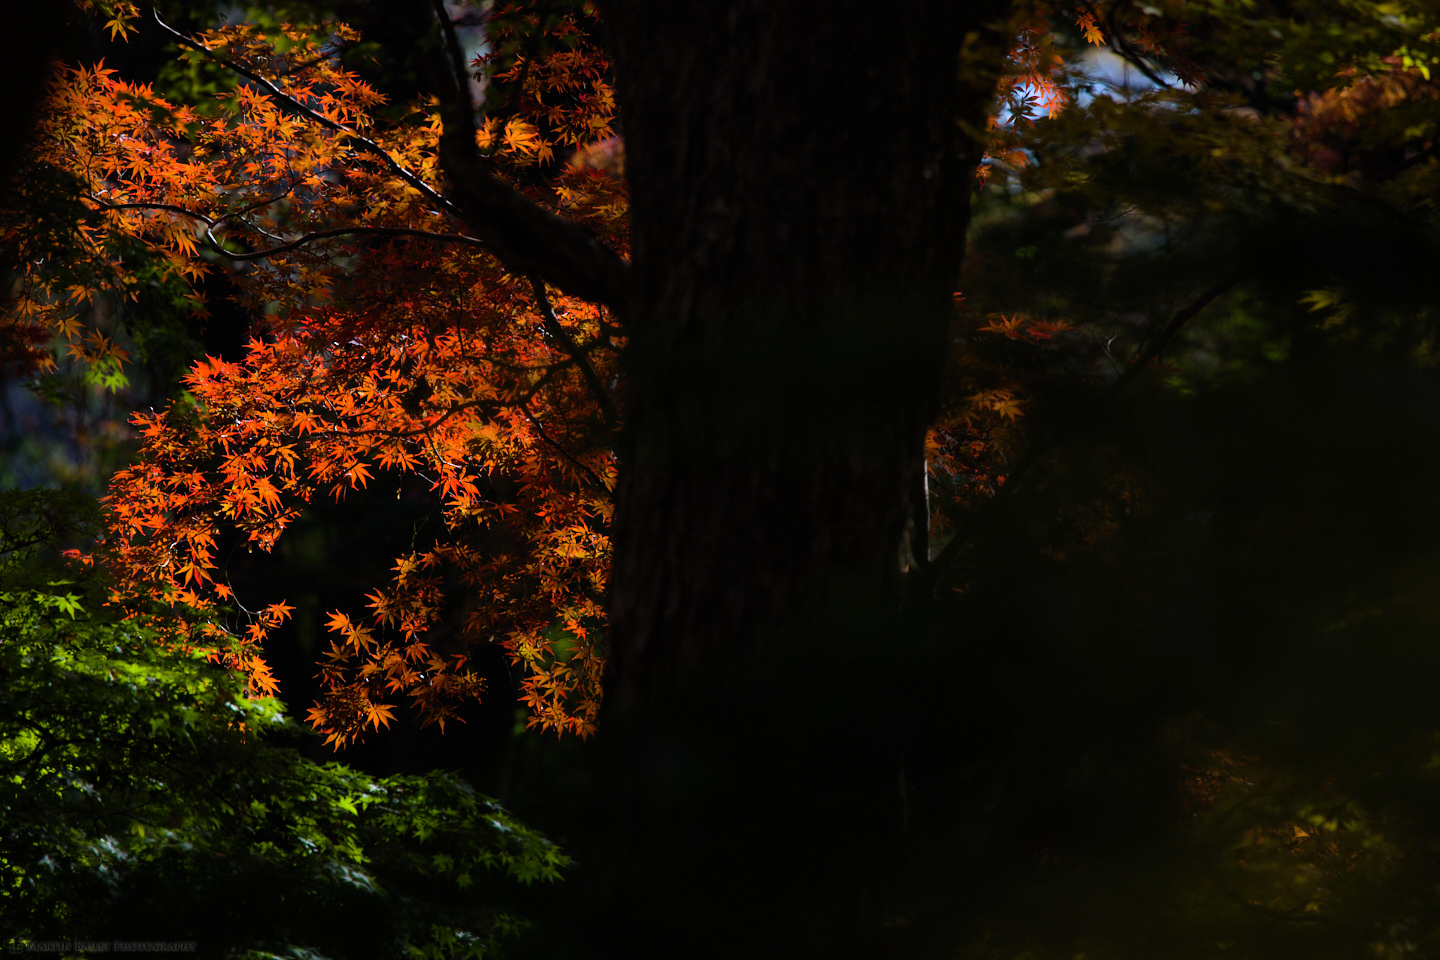
The following image may be worked better towards the end of the video, but I do like the light and dark areas of this image, with the dark tree trunk separating the two sides. You’ll notice how in the video, with this, and many of the cuts, I focussed on a patch of leaves in the foreground before moving the focus out to the red leaves. I enjoy the out-of-focus areas of images and like to play with that when shooting video as well. I’m still focusing with the focus ring on the lens mind. I haven’t invested in a focusing setup for the gimbal, as I’m generally doing OK with the lens, although you’ll probably notice that I did shake the camera a little a few times in the video.
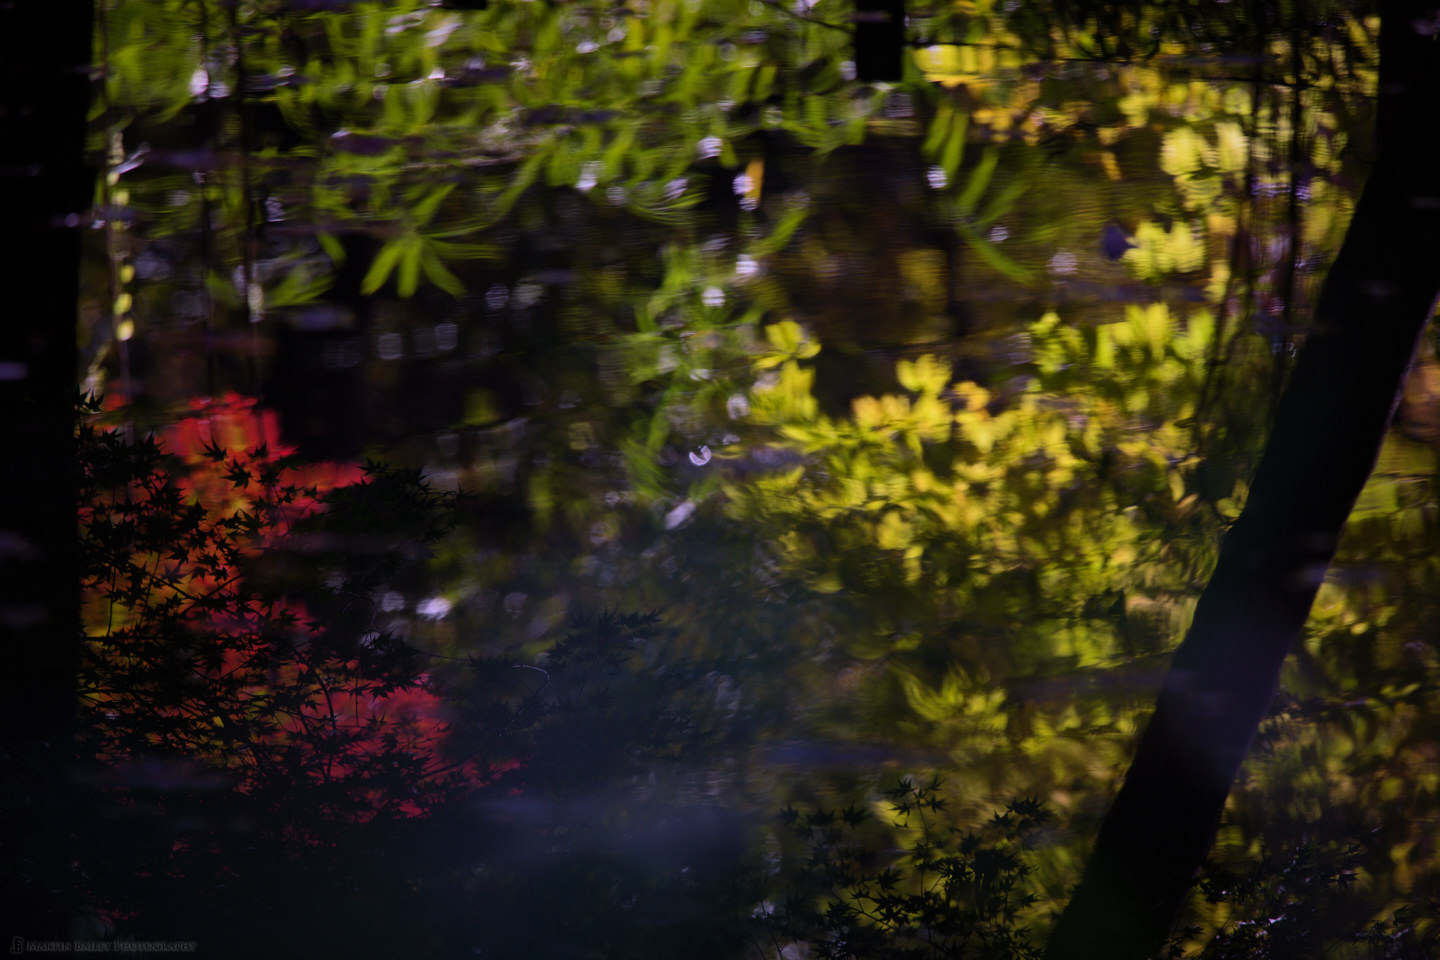
This final image is a reflection on the surface of the brook that runs through the park. For this, I focussed on the silhouetted maple leaves against the patch of red, but as you’ll see in the closing scene of the video, there were many layers to this image as I focussed through to eventually settle on the leaves sitting on top of the water, before fading to black for the ending credits.
Since DSLR cameras became video aware I’ve been shooting what I call moving stills, which are generally around 30-second clips framed like photos, but when you look closer they are moving. There is one section in the video where the leaves are so still, if it wasn’t for one leaf rotating on a thread of a spider’s web, you’d think it actually was a still photograph, but everything in the video is video, with no stills.
I’ll put B&H links to the main gear used in the show notes for this episode, and will follow up soon with an episode dedicated to talking more about the Weebill-S gimbal and supporting kit that I’m using with this. I also have a bit of information on what to avoid when buying a gimbal for the Canon EOS R5 and EOS R, so stay tuned for that if you are interested. All in all, it was a fun little project, and I enjoyed the entire process, and I hope you enjoyed joining me for a stroll in the park.
Show Notes
Canon EOS R5 Body: https://mbp.ac/EOSR5
Canon RF 24-105mm f/4L IS USM Lens: https://mbp.ac/rf24-105
Canon RF 100-500mm f/4.5-7.1L IS USM Lens: https://mbp.ac/100-500
Zhiyun-Tech WEEBILL-S Handheld Gimbal Stabilizer: https://mbp.ac/wbs
FeelWorld LUT7 7” 3D LUT 4K HDMI Monitor: https://mbp.ac/fw7
Rode VideoMicro Ultracompact Camera-Mount Shotgun: https://mbp.ac/rvm
Subscribe in iTunes to get Podcasts delivered automatically to your computer.
Download this Podcast as an MP3 with Chapters.
Visit this page for help on how to view the images in MP3 files.


Pix4Japan here! I love your latest podcast and just realized that I could follow along with the images on my iPhone. Truly inspirational shots. I appreciate the time you take to explain the lenses and camera settings used. I hope to visit the garden myself and test myself and my gear to see I I understood you enough to replicate similar shots and then apply those skills to my own compositions in the field at my favorite locations!
Hi Daisei (aka Robert),
That’s one cool Japanese name you have there. Are you nationalized or is it just for fun? When I became a Japanese citizen I chose to write my name as 平俐マーティン, but the 平俐 I read as Beiri, the same as my original name.
I’m pleased you found the images. Many people don’t realize that you can do that, even though I mention it once a month or so. It’s just not obvious. If you ever come over to Jindai try to let me know a day or so in advance and I’ll come and try to meet you there. It’s only a fifteen-minute drive from where I live.
Have fun!
Regards,
Martin.