Visit Library for MBP Pro eBooks |
Today I’m going to talk about five pieces of kit that I use that make my life as a photographer easier. These aren’t necessarily anything special, but occasionally I find things that I had not been aware of to that point, and after using them for a while, I can’t imagine going back to the time that I didn’t have that particular item. Everything I’m going to talk about today falls into that category. Some are video-centric rather than still photography related, but as a photographer in the broader sense, these items are no longer far from my camera or laptop bag as I work.
One other thing to mention before we start is that because I live in Japan, sometimes what’s available to me is different to what you’ll be able to get in your home country. I’ve tried to find something similar on B&H Photo or Amazon.com, but it wasn’t always possible. When that’s the case, if you like what you’ve seen, do a search for it yourself in your own market, and if you find anything worth sharing, please leave a comment on this post.
I’m going to start with two battery power related items that sometimes work in tandem for me, but both are incredibly useful. The first of them is a dual battery charger that I use to charge my LP-E6NH batteries for the Canon EOS R5, and was using it for the regular LP-E6N batteries before the R5 came along. The battery charger that comes with the EOS R5 is slightly smaller in area than my dual charger, but it’s almost twice the thickness and weighs more, and it’s only able to charge one battery.
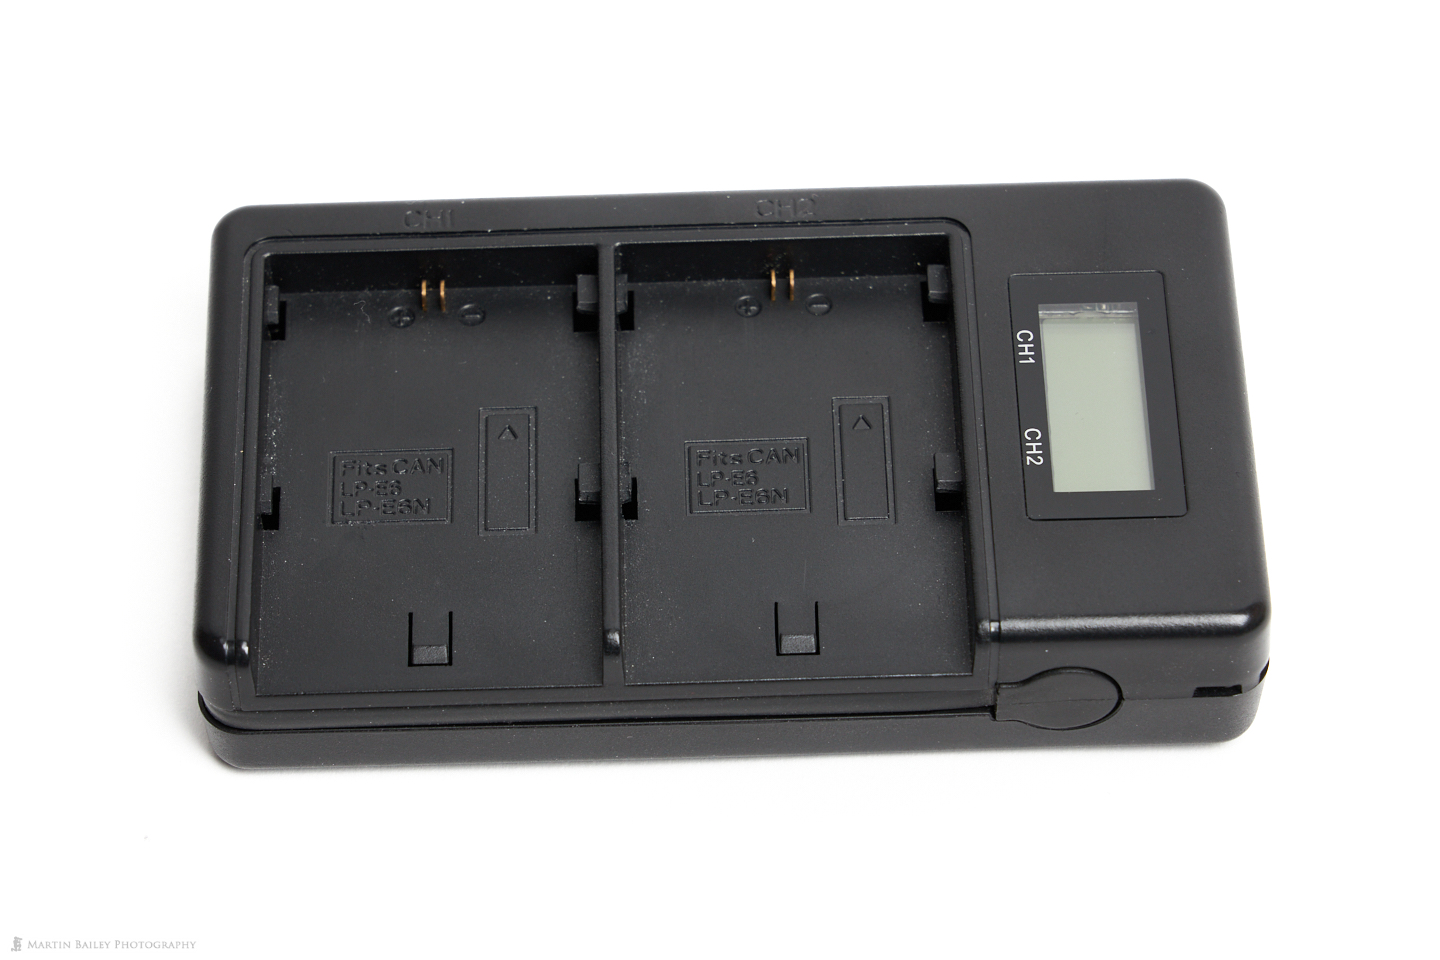
The dual charger enables me to charge two batteries at the same time, and although that seems like a no-brainer, the old dual battery charger for the Canon 1 Series camera batteries had two slots, but would only charge one battery at a time and that was with a regular electricity supply. The important thing to note here is my dual charger runs on USB power, and that is a huge benefit for the traveling photographer. At a push, I can charge my batteries with power from my laptop, although I generally use a small USB power block and charge from an electrical outlet, or use one of the USB ports on a rechargeable battery pack that we’ll also look at shortly.
Although it’s not the exact same model, I found something very similar to my dual battery charger on Amazon.com and it also states compatibility with the Canon EOS R5 LP-E6NH batteries, but it’s important to note that if you are considering buying something like this, you’ll need to check for support for your camera’s batteries. I’ve only checked for the EOS R5 at this point. Either way, you can see the model I found on Amazon.com.
The other big benefit is that with batteries set into the dual charger, I can actually plug in a USB cable and use those batteries to charge something else if I was in a fix. I’ve never had to do that, but I have used a rechargeable battery pack to charge my Canon batteries while on the bus during my tours, and that can be a lifesaver on long wildlife photography days. The rechargeable battery is the second item that I wanted to recommend, and it’s amazing because it not only enables me to charge multiple devices multiple times with a single charge, but it has a wireless charging port built-in.
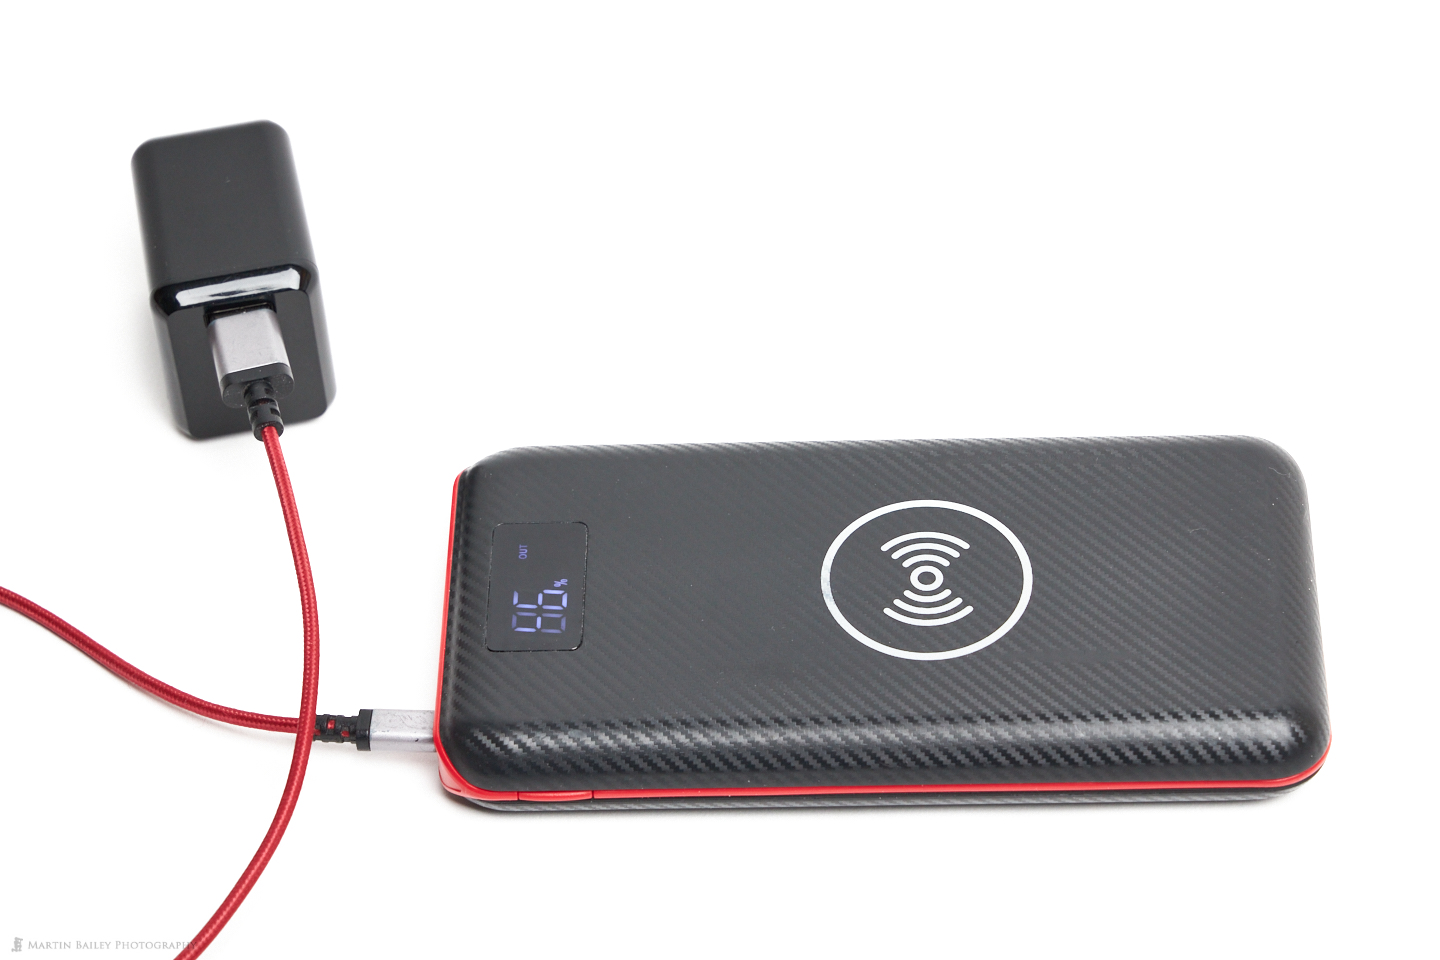
I can simply place my iPhone on top of it and get a wireless charger when I travel. Space is often at a premium when I travel, so I try to find items that give me the most bang for the buck as it were, and I’ve found myself relying on this battery pack more than I ever thought I would. I can plug it into a USB port or a small USB adapter, and charge its internal battery pack at the same time as charging my phone. When you are looking for one of these though if you intend to fly with it, ensure that the one you get is within the limits that you are allowed to carry on to a flight.
Generally when I arrive at a hotel, one of the first things I do after starting my image transfer is setting up a charging station using this battery pack. What’s more, because it is also charged by the time I leave my room again, if necessary I can use it to charge my phone while I’m away from electricity or even plug in a USB cable and charge other devices. As I mentioned, I can also charge my camera batteries using the first item that we looked at, so it can be a bit of a life-saver power-wise.
Unfortunately, I was not able to find anything with similar features to my rechargeable battery. There were lots of them that had good power batteries, and multiple USB charging ports, but no Wireless charging. There were also some with wireless charging but they weren’t very powerful, so I’m going to leave you with the idea, and hope that you’ll be able to find something similar in your own market.
Filter Wrench
The third item that I want to mention is a filter wrench, as these have saved the day for me and for my tour clients a number of times. I actually first got a pair of these made of relatively flimsy plastic as a freebie with a photography magazine around 20 years ago, but they flexed too much and were slightly on the small side, so last year I found this metal pair with full rubberized grip and they work very well.
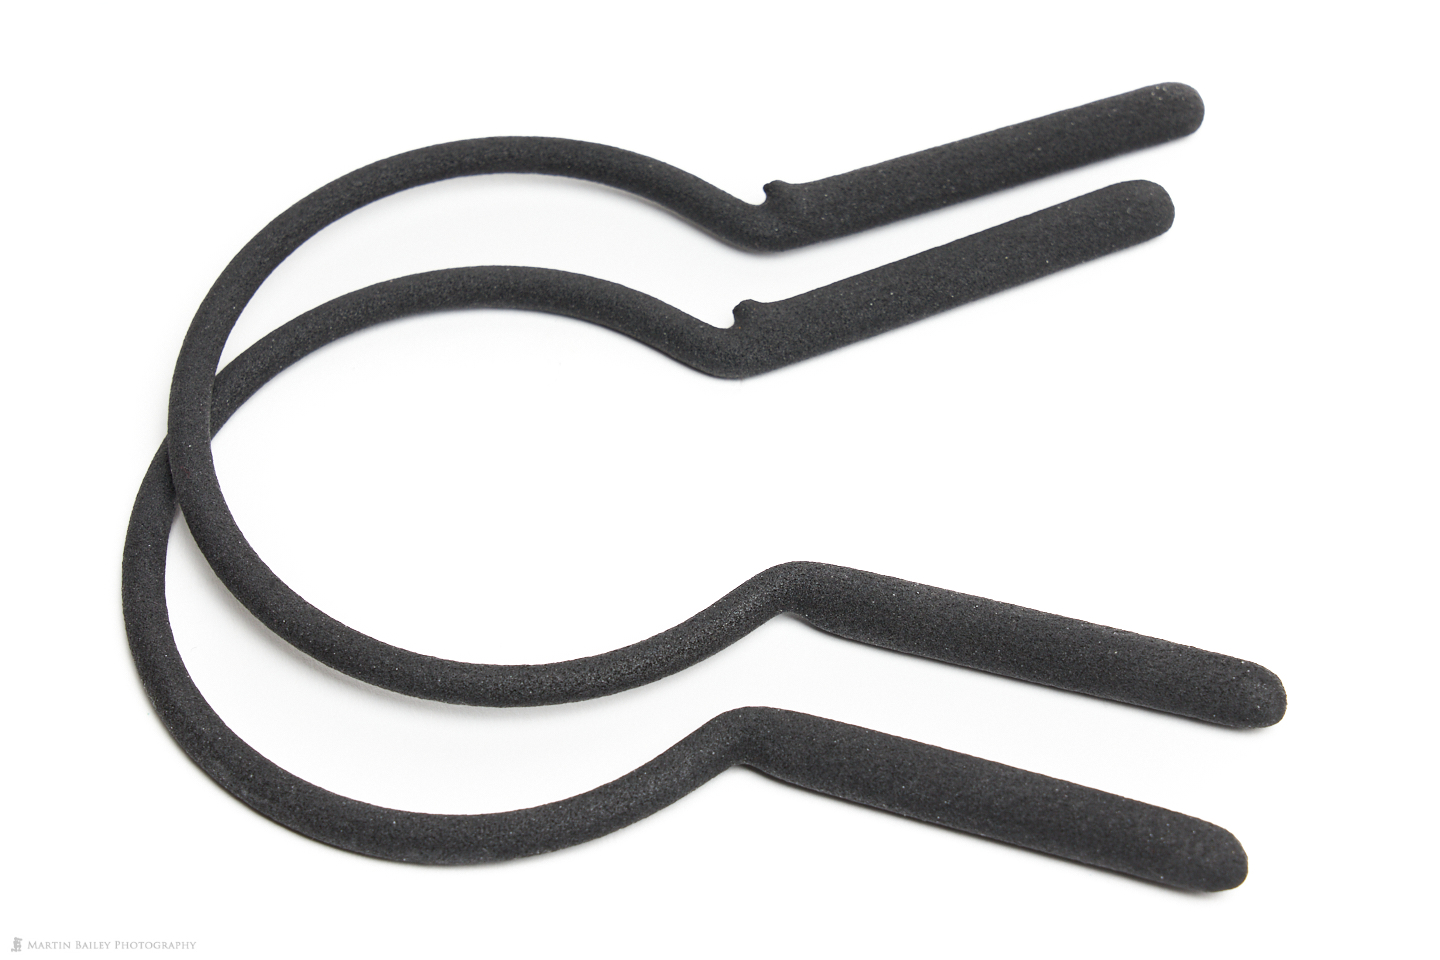
The idea is that occasionally, especially when going in and out of cold conditions, you can end up with a filter stuck to your lens, or if you nest filters, you can find that they cannot be parted. If that happens, you simply attach one of these clamps to the filter, and the second to the end of the lens or second filter, and then twist the clamps to loosen and then remove the stuck filter. I always keep these in my camera bag and have used them many times. I found something similar to the ones I have on B&H Photo here.
RØDE Wireless Go Mic
The next two items that I wanted to talk about are really for videographers rather than stills photographers but It thought these were worth a mention, as I know many photographers work with video as well as stills these days, and I have found these little mics to be invaluable. First, I wanted to show you the RØDE Wireless Go clip-on mic system. At just under $200 this isn’t the cheapest way to mic up a subject, but it’s not deal-breaker expensive either, and I personally think it’s worth every penny.
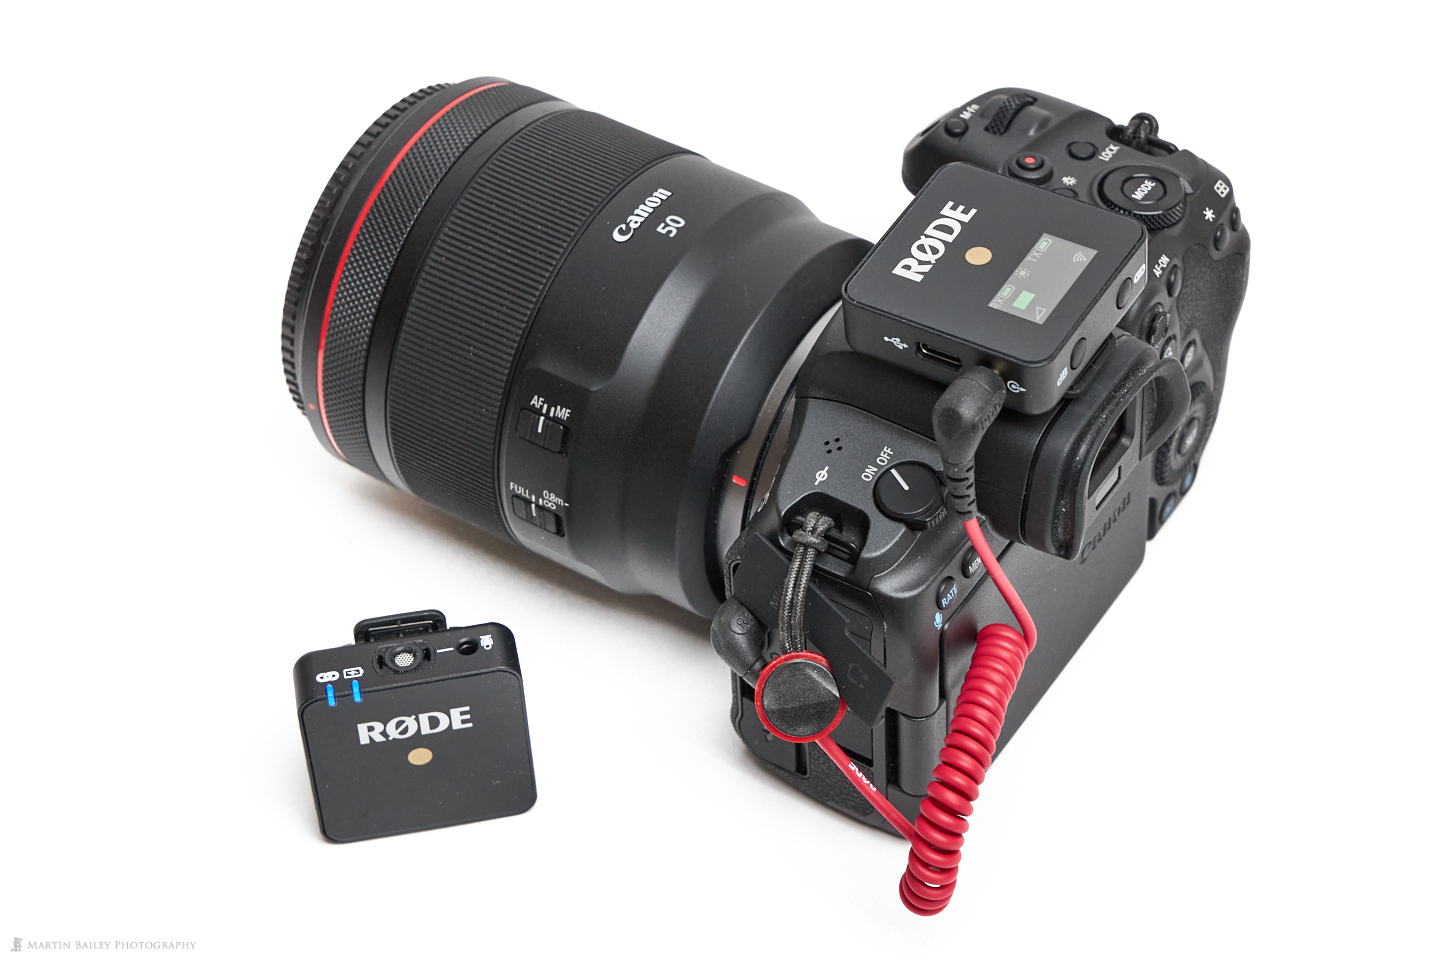
The reason this makes a photographer’s life easier is because your quality audio is embedded directly into your video, and that saves time later. Although I’ve used this method a lot, I have also captured audio separately to get the best quality, and the extra steps that it requires to synchronize the audio and then the extra care required to keep it in synch as you edit the video can all mount up time-wise.
As you can see in this next photo, the set includes a windshield for the mic. In fact, it comes with two, as they can fall off relatively easily because they just clip into the top of the Transmitter. This system is incredibly easy to use though. You just turn them on and they pair in a second or two. They are small, both around 45mm square, and weigh just 31 grams each. If you need a more concealable mic, you can buy a lavalier mic that plugs into the transmitter as well. Both the Transmitter and Reciever have clips on them so that they be attached to pretty much anything, and the clip fits snuggly into the flash shoe of a camera as well, so you can mount the Receiver to the top of the camera and then plug in the TRS cable to the mic input of the camera.
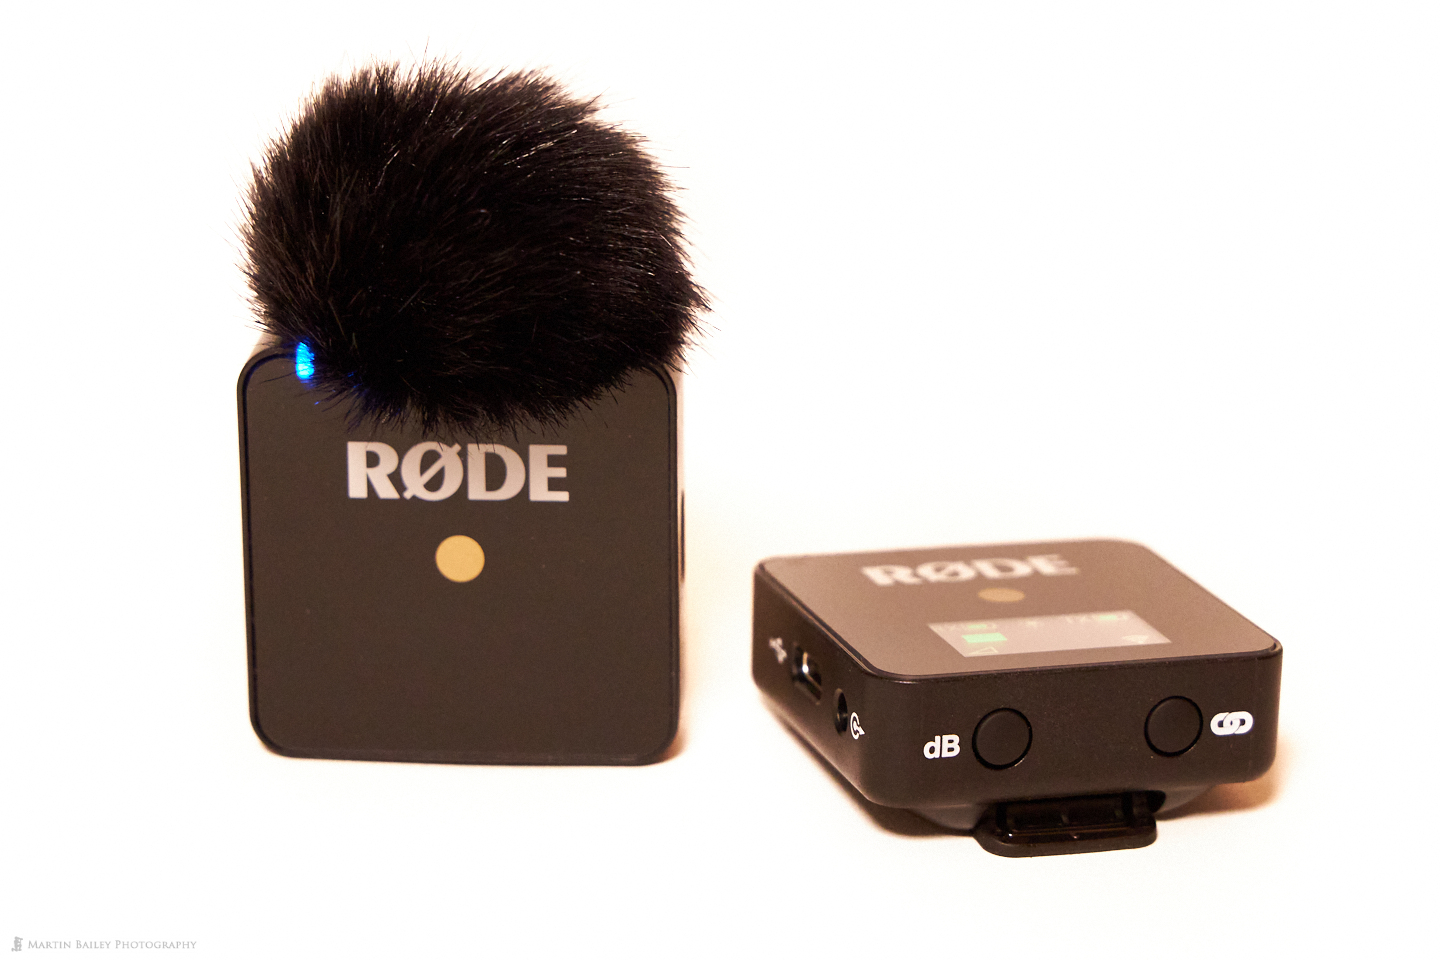
The kit comes with two USB-C cables as the units contain rechargeable batteries and can also be charged while in use if you need extended battery time, although they’ll run for up to 7 hours on a single charge, so I’ve never had to do that. As you can see from the above photo, there is a dB button that toggles the output pad between 0dB, -12dB, and -24dB to tailor the output levels to your needs. I’ve found that -12dB works about the best in most situations, but it really depends on the working environment. Apparently, you can use up to 8 kits in the same location, and they will automatically pair accurately to their partner unit, and they will work for up to 70 meters or 230 feet, but I’ve not tested that myself.
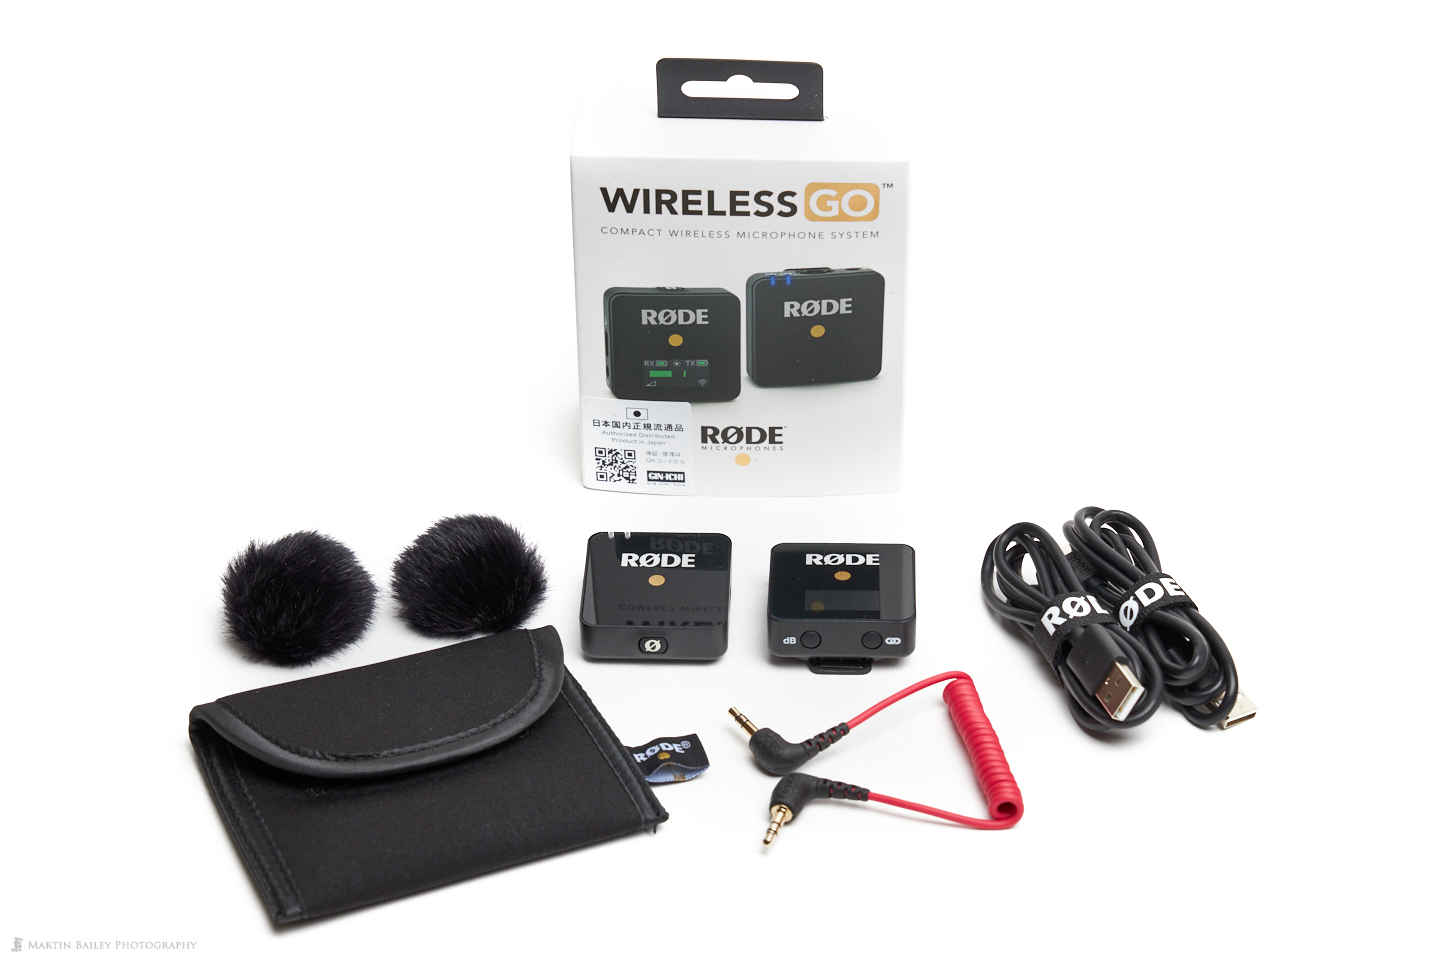
You can find the Wireless Go system on B&H Photo here, currently retailing for $199. Here’s a photo of the entire system with the box so that you can see everything that comes in the kit. There is also a warranty card so that you can register your purchase and get a two-year warranty. The same goes for the next item, which is a second mic from RØDE that I have also fallen in love with.
RØDE VideoMicro Mic
A close relative to the Wireless Go Mic is the VideoMicro, which is a tiny little shotgun mic that I’ve found to provide audio quality that you’d usually expect to hear from much larger and more expensive mics. It uses a cardioid polar pattern to focus on sound coming from the front while reducing sound coming from the rear. I’ve used three RØDE video mics over the years and found them all to be excellent, but for the size and price of the VideoMicro mic, at less than $60, you really can’t go wrong.
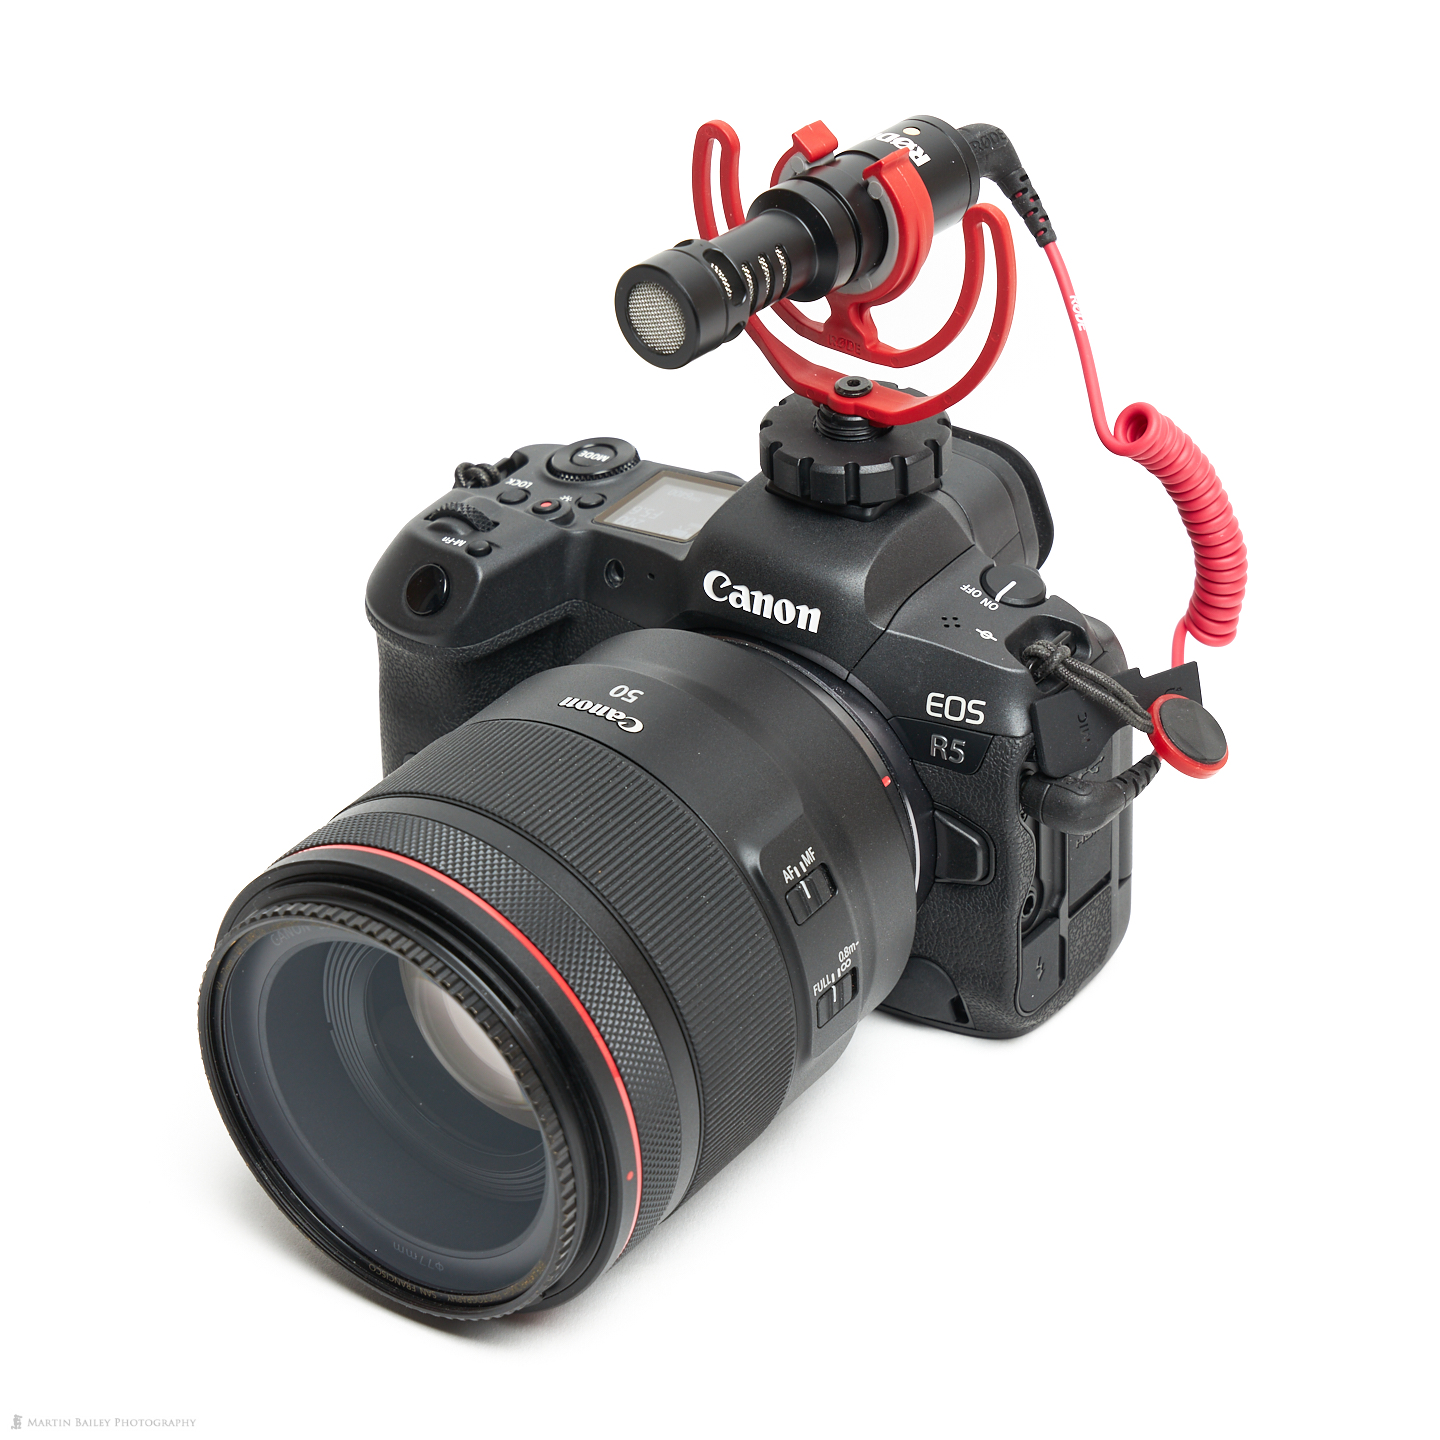
I have found that I simply don’t pack the larger video mics when I’m heading out unless I am heading out specifically to shoot video, which is rarely the case. I do enjoy shooting video occasionally though, and having the ability to drop such a high-quality mic into my bag without taking up any real room to speak of, makes this a very welcome addition to my kit bag.
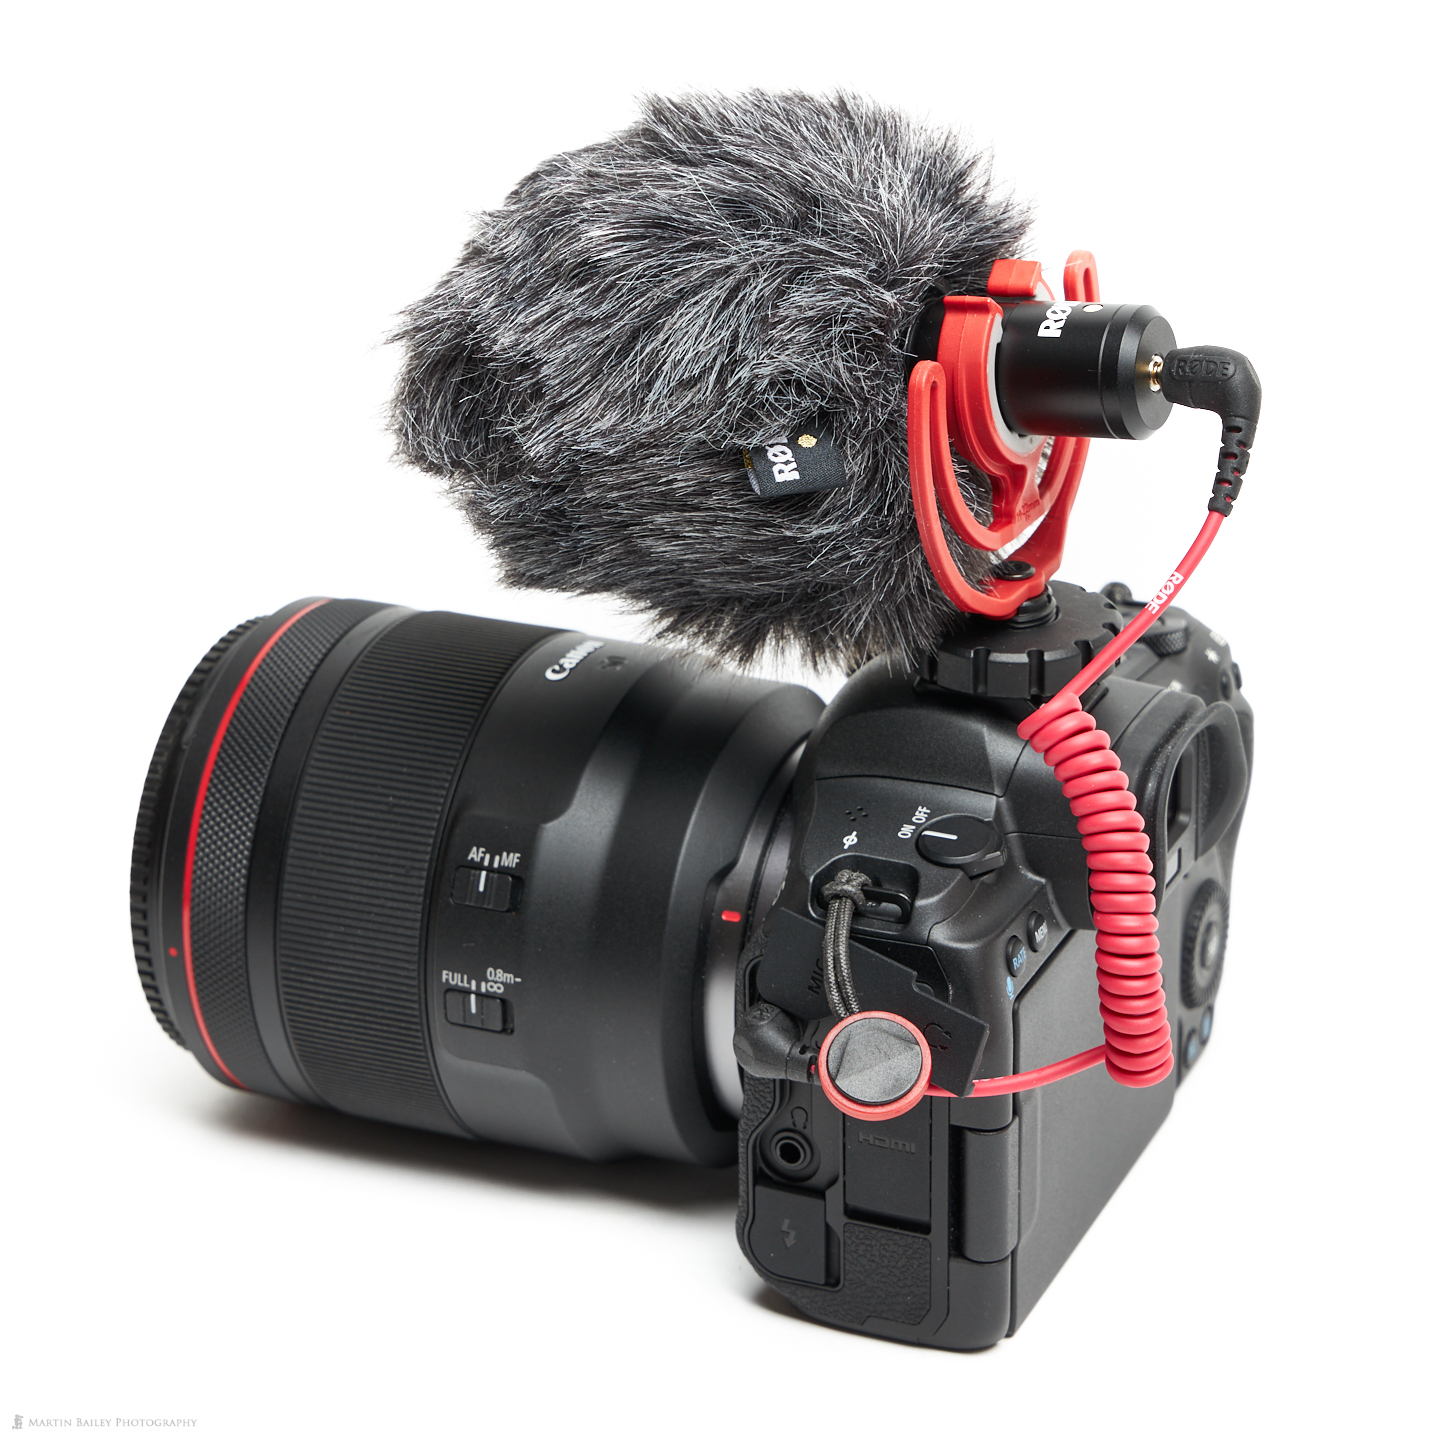
The VideoMicro comes with a good-sized windshield to reduce wind-noise when used outside, and a Rycote Lyre suspension-style shock mount that’s easy to clip-on and helps to minimize the transfer of vibration and operation sounds from the camera. If you turn dials that make a clicking sound, I’ve found that the mic does still pick them up, but I haven’t been able to detect any other operation sounds at this point. The shock mount has a built-in camera shoe mount with a 3/8″ thread, so it can be attached to your camera or a boom pole if necessary.
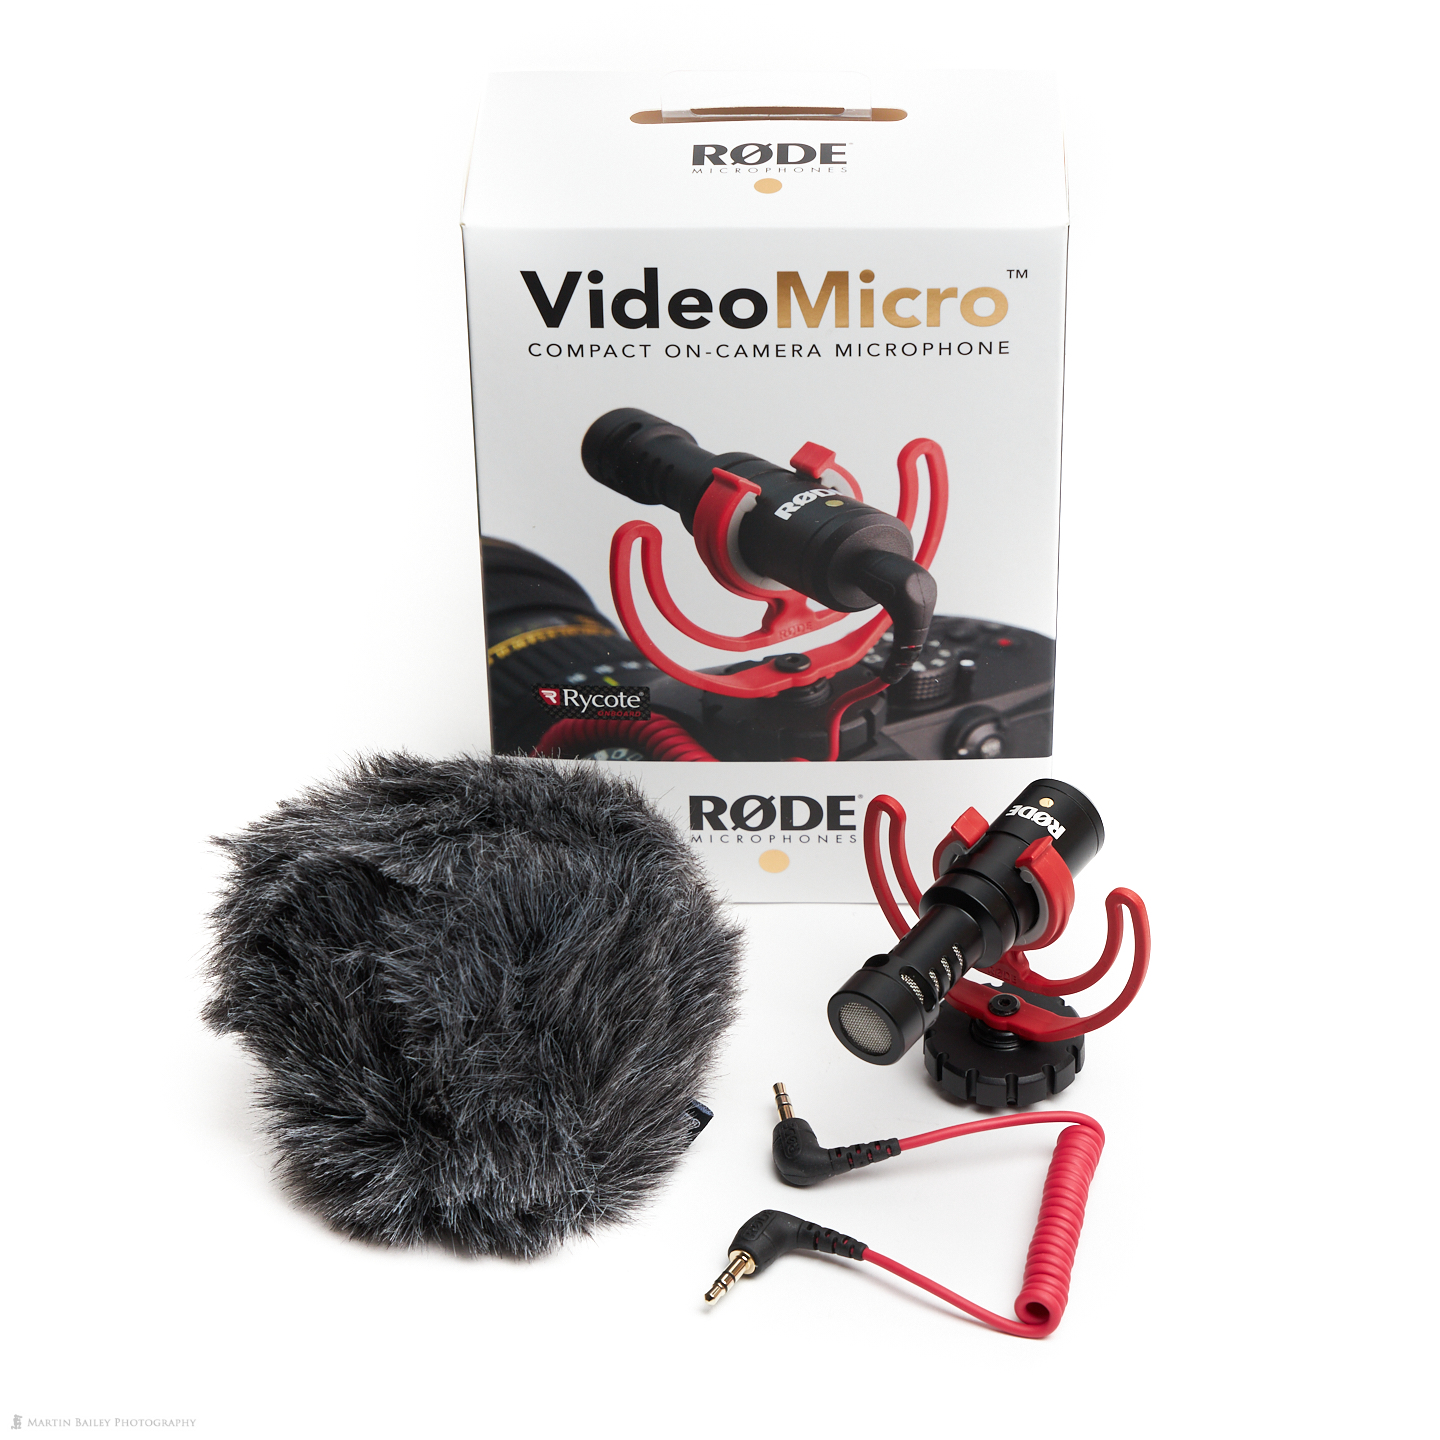
You can find the RØDE VideoMicro on B&H Here. As I mentioned it is currently listed at just under $60 which is a steal for a mic of this quality, and the size really matches how I want to work right now. Just so that you can picture the different use for these two systems, I am using the Wireless Go for the spoken word with me or a subject in front of the camera, and the VideoMicro is in my case more for collecting ambient audio. I tend to do a lot of what I call Moving Stills, where I’m shooting a scene and just want to capture the ambient sound along with the video. This system would work just as well for a subject relatively close to the camera though.
Comparison Test
I recorded a few seconds of audio with both of these mics and embedded it directly into a video by plugging the TRS cable into the Mic In port on the Canon EOS R5. I then extracted the audio and will play it for you now so that you can hear the difference. First, I’ll play the RØDE Wireless Go Mic, followed by the RØDE VideoMicro Mic.
<< PLEASE LISTEN TO THE AUDIO WITH THE PLAYER AT THE TOP OF THE POST >>
As you have heard, the WIreless Go is slightly richer, but with a little processing both mics really are stellar performers, so I wanted to include them in this round-up review of pieces of kit that I wouldn’t like to be without. We’ll wrap it up there for this week though. I hope you found that useful. If you decide to buy any of these products please use our links, as that helps to support the blog and podcast at no extra cost to you.
Show Notes
These are affiliate links. Although the price of these products to you is unchanged, you help to support the blog and podcast by using these links.
Dual Battery Charger on Amazon: https://amzn.to/3q3UWfl
Filter wrench: https://mbp.ac/fw
RØDE Wireless Go: https://mbp.ac/rwg
RØDE VideoMicro: https://mbp.ac/rvm
Audio
Subscribe in iTunes to get Podcasts delivered automatically to your computer.
Download this Podcast as an MP3 with Chapters.
Visit this page for help on how to view the images in MP3 files.


Thanks Martin. Great suggestions.
Great! Thanks Larry!