Visit Library for MBP Pro eBooks |
Things have been crazy recently, as I put the finishing touches on my Photographer’s Friend app trying to finally get the recent major update out of the door. I’ve spent way too much time at my desk or with my head stuck in my MacBook Pro downstairs during family time, and I’ve completely stressed-out my wife in the process. Photographer’s Friend 3.5 is finally out and I’ll talk more about that later, but last week, in a bid to bring some sanity to our lives, we jumped into our car and drove to the Jindai Botanical Gardens not far from where we live here in Chofu, Tokyo.
When we looked for somewhere to live outside the core Tokyo area in 2010, we decided to move here mainly because of the Jindai Park, as we often drove out here from our central Tokyo apartment during the first ten years that we lived here. We used to buy yearly season tickets as you only have to visit the park three or four times to cover the cost of the season ticket, but we, unfortunately, stopped getting into the park enough times to even cover that a few years ago, so we pay for each visit now, although I’m determined to get back to our former situation and enjoy the park much more in the near future.
The reason I’m talking about this today is two-fold. Firstly, I took my EOS R5 and the 100-500mm lens and 1.4X Extender, and although this was really just a walk in the park, my wife is understanding and patient enough to know that I needed to destress by making at least a few frames, and we both enjoyed the few hours in the park immensely, so that turned out good, and it gave me some more photographs that I can share with you from this new gear, so this is almost like an Extension of my EOS R5 and RF 100-500mm Lens reviews.
The second reason is that I want to share some of my everyday photos. I mostly share work from distant lands or my Japan Landscape and Wildlife tours, and it’s not every day that we get to visit that kind of location. The work I’ll share today isn’t as special, but it’s the sort of thing that I can do close to home and without much time investment, and I think that is probably closer to what we can all get up to without jumping on an airplane and traveling the globe.
When we got home, mentally refreshed but physically a little tired after my first decent walk in a few weeks, my wife asked if I thought I’d gotten any decent photos. My reply was that I probably had two or three, but it was a lot of fun, and that is more important. I was actually almost surprised to find that I had 14 frames that I was pretty happy with, and I’ll pick up to 12 of those to share today. Again, these aren’t really that special, but I think that will resonate with at least some of you with me doing photography as a stress-relieving hobby rather than as a profession.
This first image was a bit of a trip down memory lane, as it is pretty much a Flowerscape, a term that I coined years ago to describe my photos of flowers that are not macro, rather showing the flowers in a bit more context. To get as shallow a depth of field as possible with the RF 100-500 mm lens at full reach of 500mm I opened up the aperture to f/7.1 which is as wide as it will go at this focal length. As I’d expected it actually gives some pretty nice bokeh, with the flowers and green leaves in the foreground and background being suitably out of focus. It’s smooth bokeh, not crunchy, which is nice to see.

I added a subtle vignette to focus the eye slightly more in the middle of the frame, and that, of course, is where I’d focussed, on that flower just to the right of center. In an ideal world, I’d like to have been able to avoid that stalk sticking into the frame on the right, but this was about the best portion of this little clump of daisy-like flowers that I found, so I can live with that.
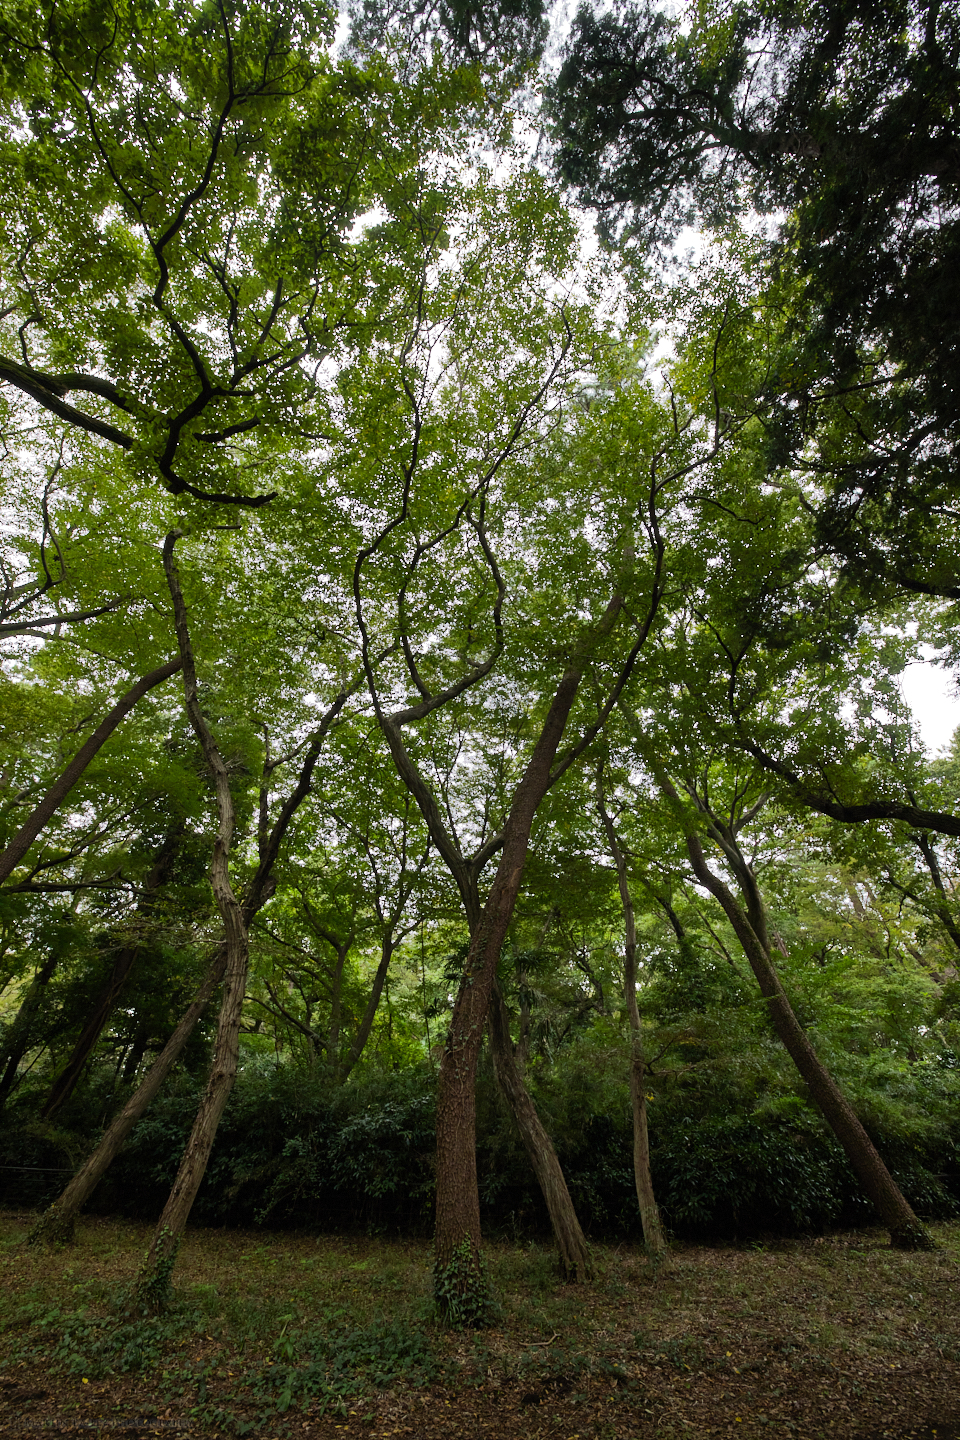
Thinking about it, I’d actually thrown my RF 15-35mm lens into my vest pocket, and switched it out just once during the walk to photograph these trees in a wooded area of the park that we enjoy walking through.
The curvature of the base of these trees on the right and left is mostly their natural shape, though perhaps accentuated by the wide-angle, although the 15-35mm lens displays very little distortion, even at 15mm which is the focal length I used for this shot.
I didn’t take a tripod, so I had to be extra careful to get the balance and positioning of the bases of those two trees close to the edges of the frame, but again, I was relatively happy with how this turned out. Having spent most of the last few months as an App Developer, it was really nice to be back in my photographer’s cap.
I stopped down to f/10 to get everything sharp, but at 15mm even using the traditional depth of field calculations, based on viewing an 8×10-inch print at arm’s length, this lens has a hyperlocal distance of just 79cm. Out of interest, I used RawDigger to check the raw EXIF data to see what Canon showed the hyperfocal distance as, and they have it down as 75cm, so that’s pretty close to the traditional calculation.
I’m actually kind of surprised that they are still using that calculation, but I’m kind of happy too because that is one of the biggest strengths of my app Photographer’s Friend. When I enable Pixel Peeper mode, I can see that the real hyperfocal distance for a 45-megapixel camera at 15mm focal length and an aperture of f/10 is actually just over two meters, almost three times more than the traditional calculation. That’s still much closer than I was focusing here, so it doesn’t really matter but these are the sort of things that pique my curiosity.
The next image is just something that caught my eye, and quite often on a walk like this, that’s all I need to get me framing up the subject. Sometimes I frame it up and then lower the camera without releasing the shutter, but this to me just sums up a lot about what I enjoy looking at in the park at this time of year.
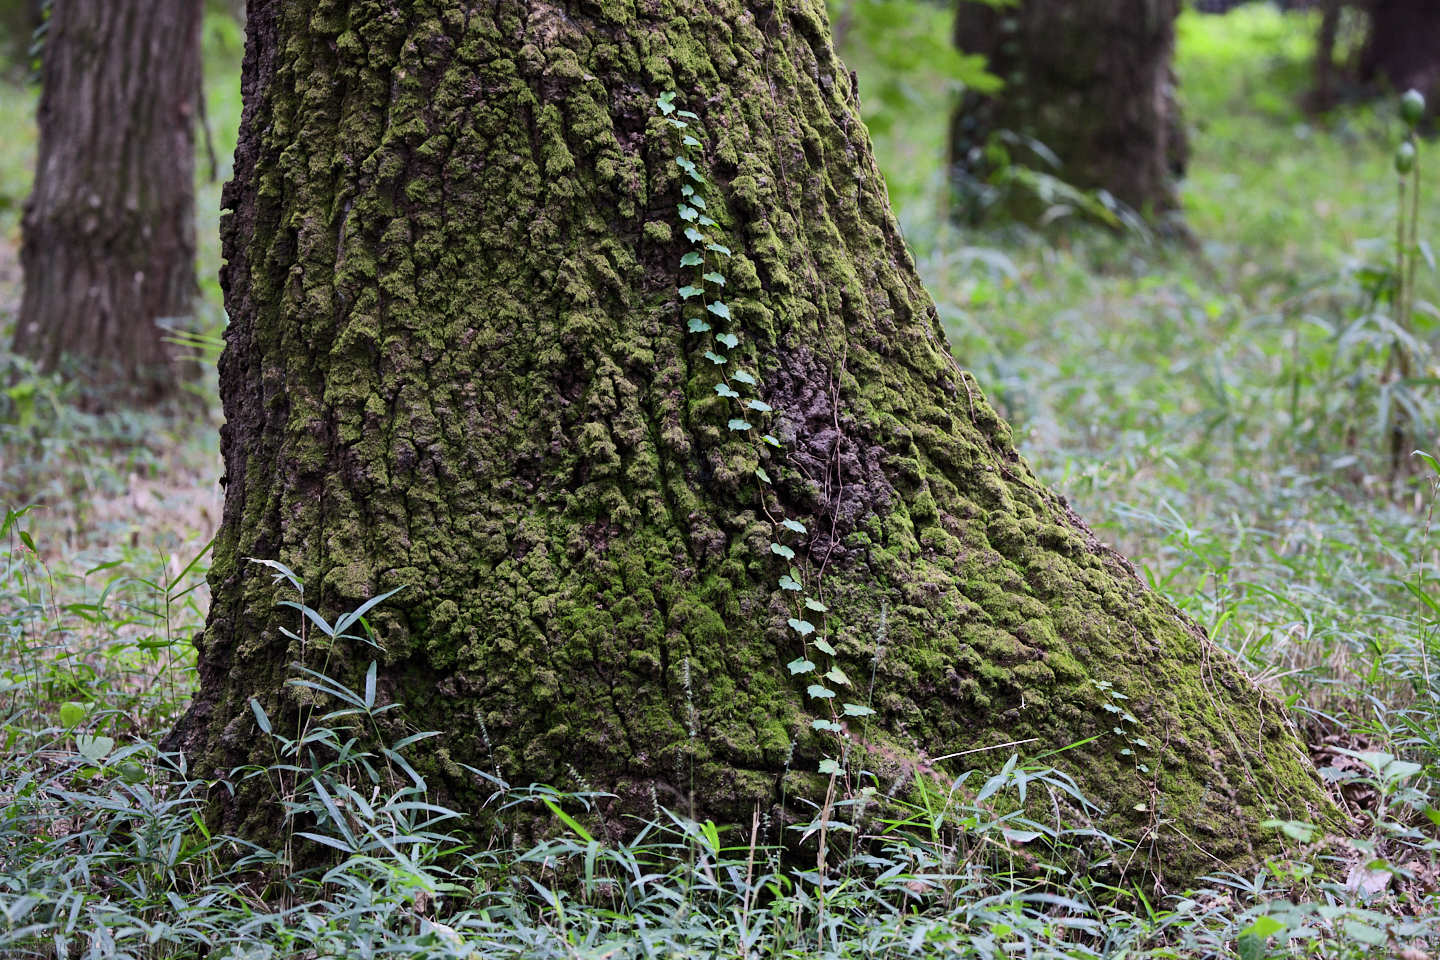
I find moss really relaxing, and the green foliage in the shade of the tree canopy is often closer to blue than green, and I always find that fascinating. The Japanese actually call this kind of green Aoi, which means blue, and Midori, which is green is used for true greens, such as the fresh green leaves of spring. Looking at my EXIF data I see that I shot this at 167mm, so closer to the wide end of the RF 100-500mm lens. I opened the aperture up to f/5.6 here as I wanted to blur the background as much as possible to keep us focussed on the base of this tree.
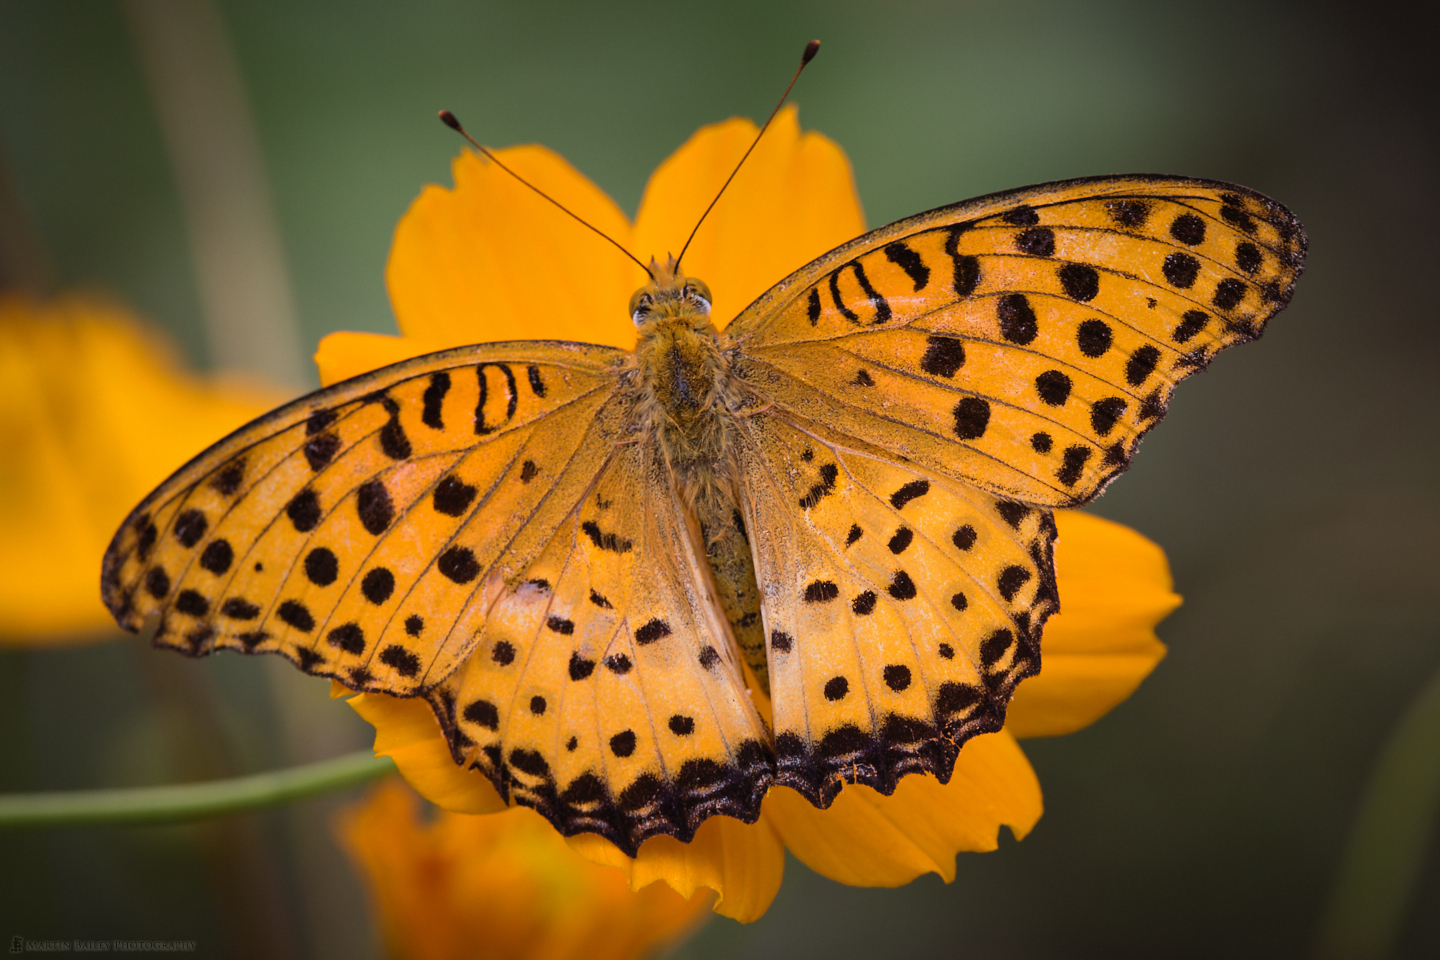
Next here are three photos of what I believe to be a Lesser Marbled Fritillary butterfly and a fourth shot of what I think is called a Painted Lady butterfly. I’ll embed these in a mini-album as they are all pretty similar and I don’t really have a lot to say specifically about each individual image. As with all of the images I share though, if you click on them, they will open up in the Lightbox and you can check out the details, and EXIF data etc. as well.
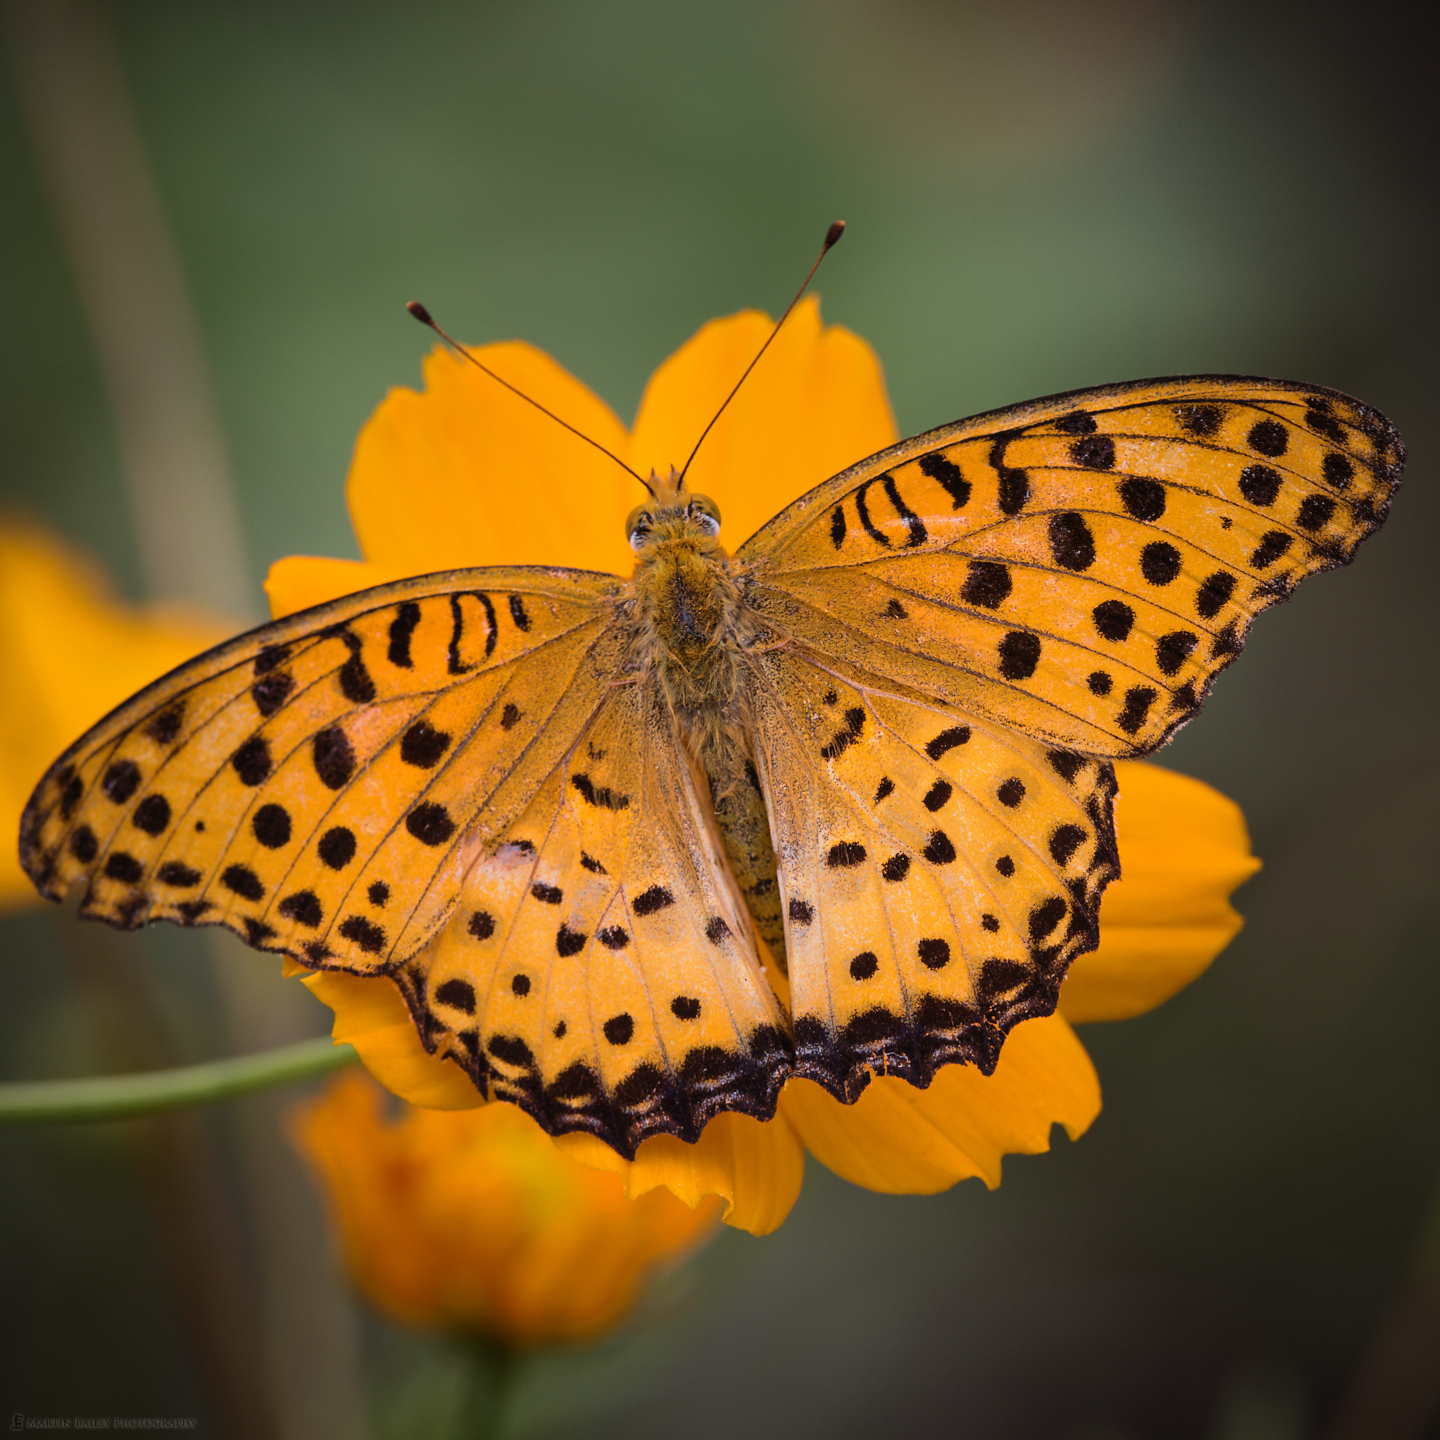
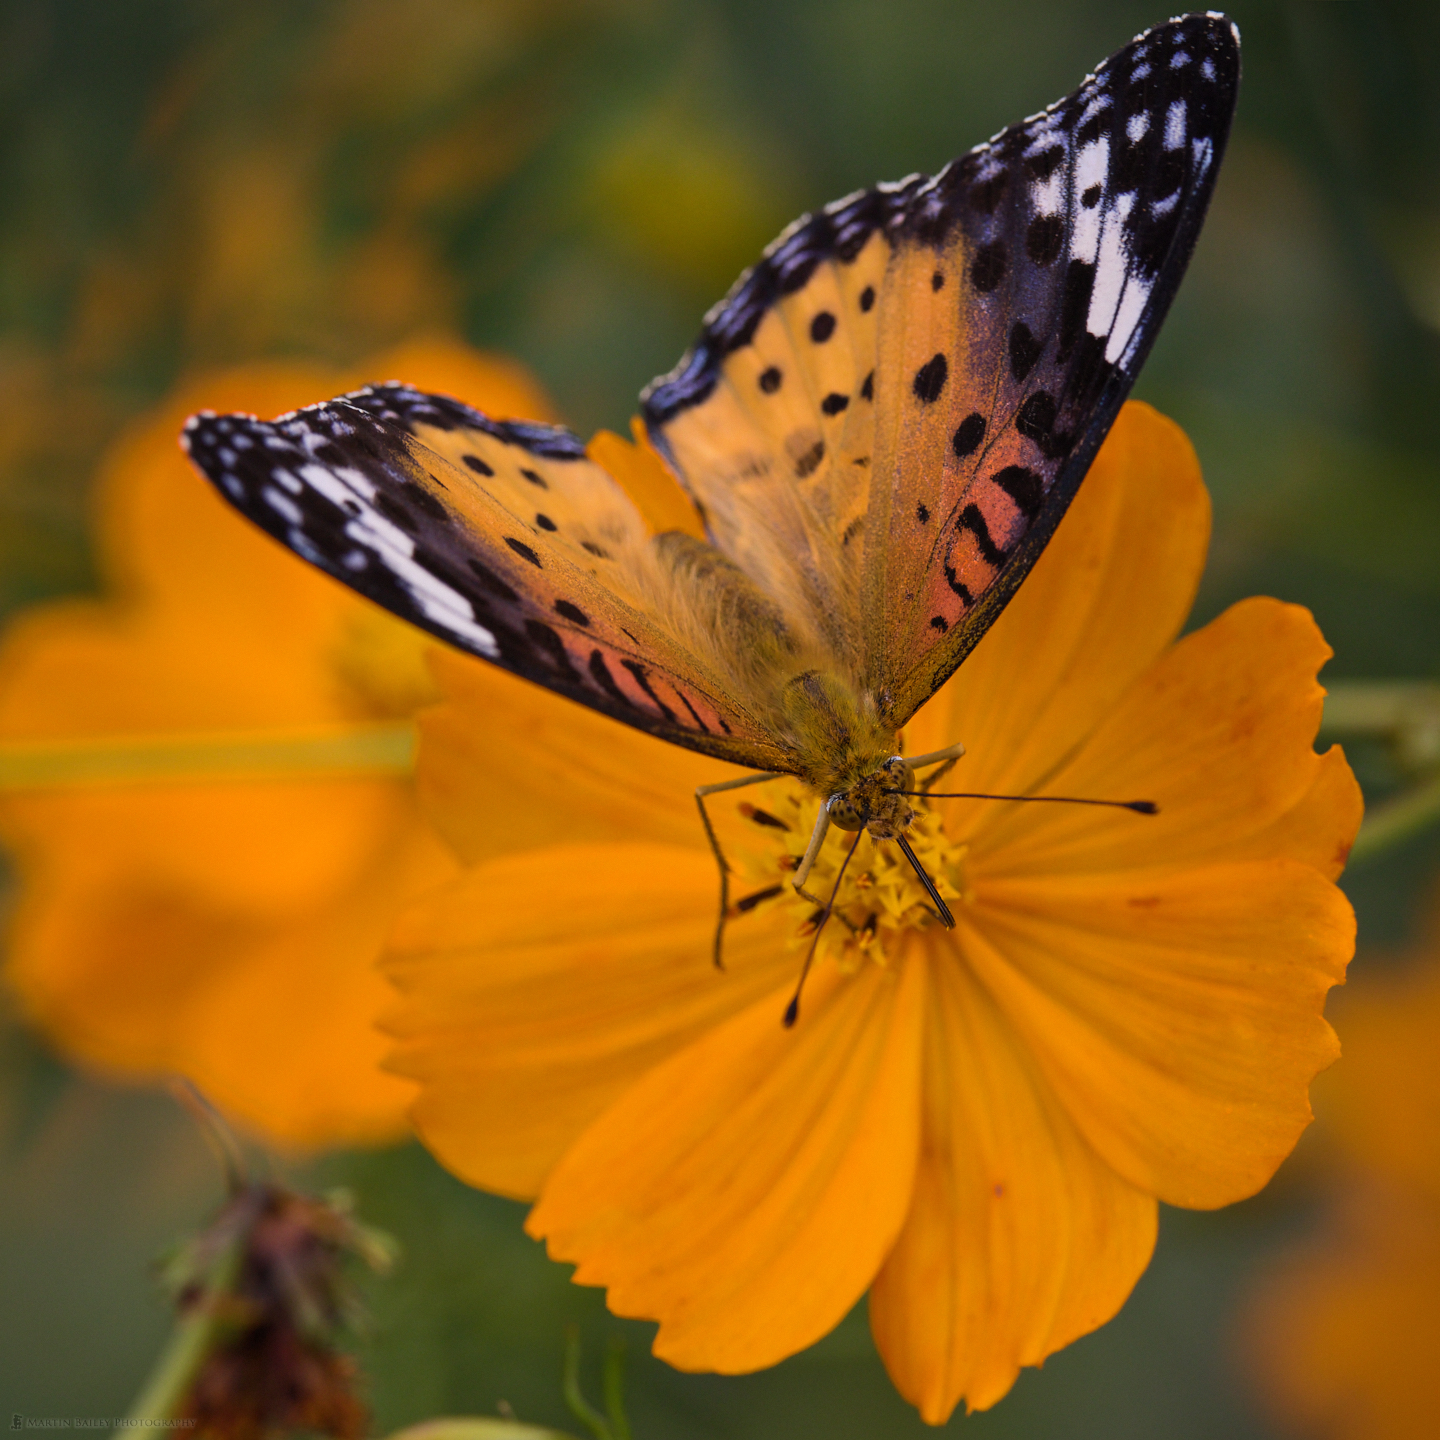
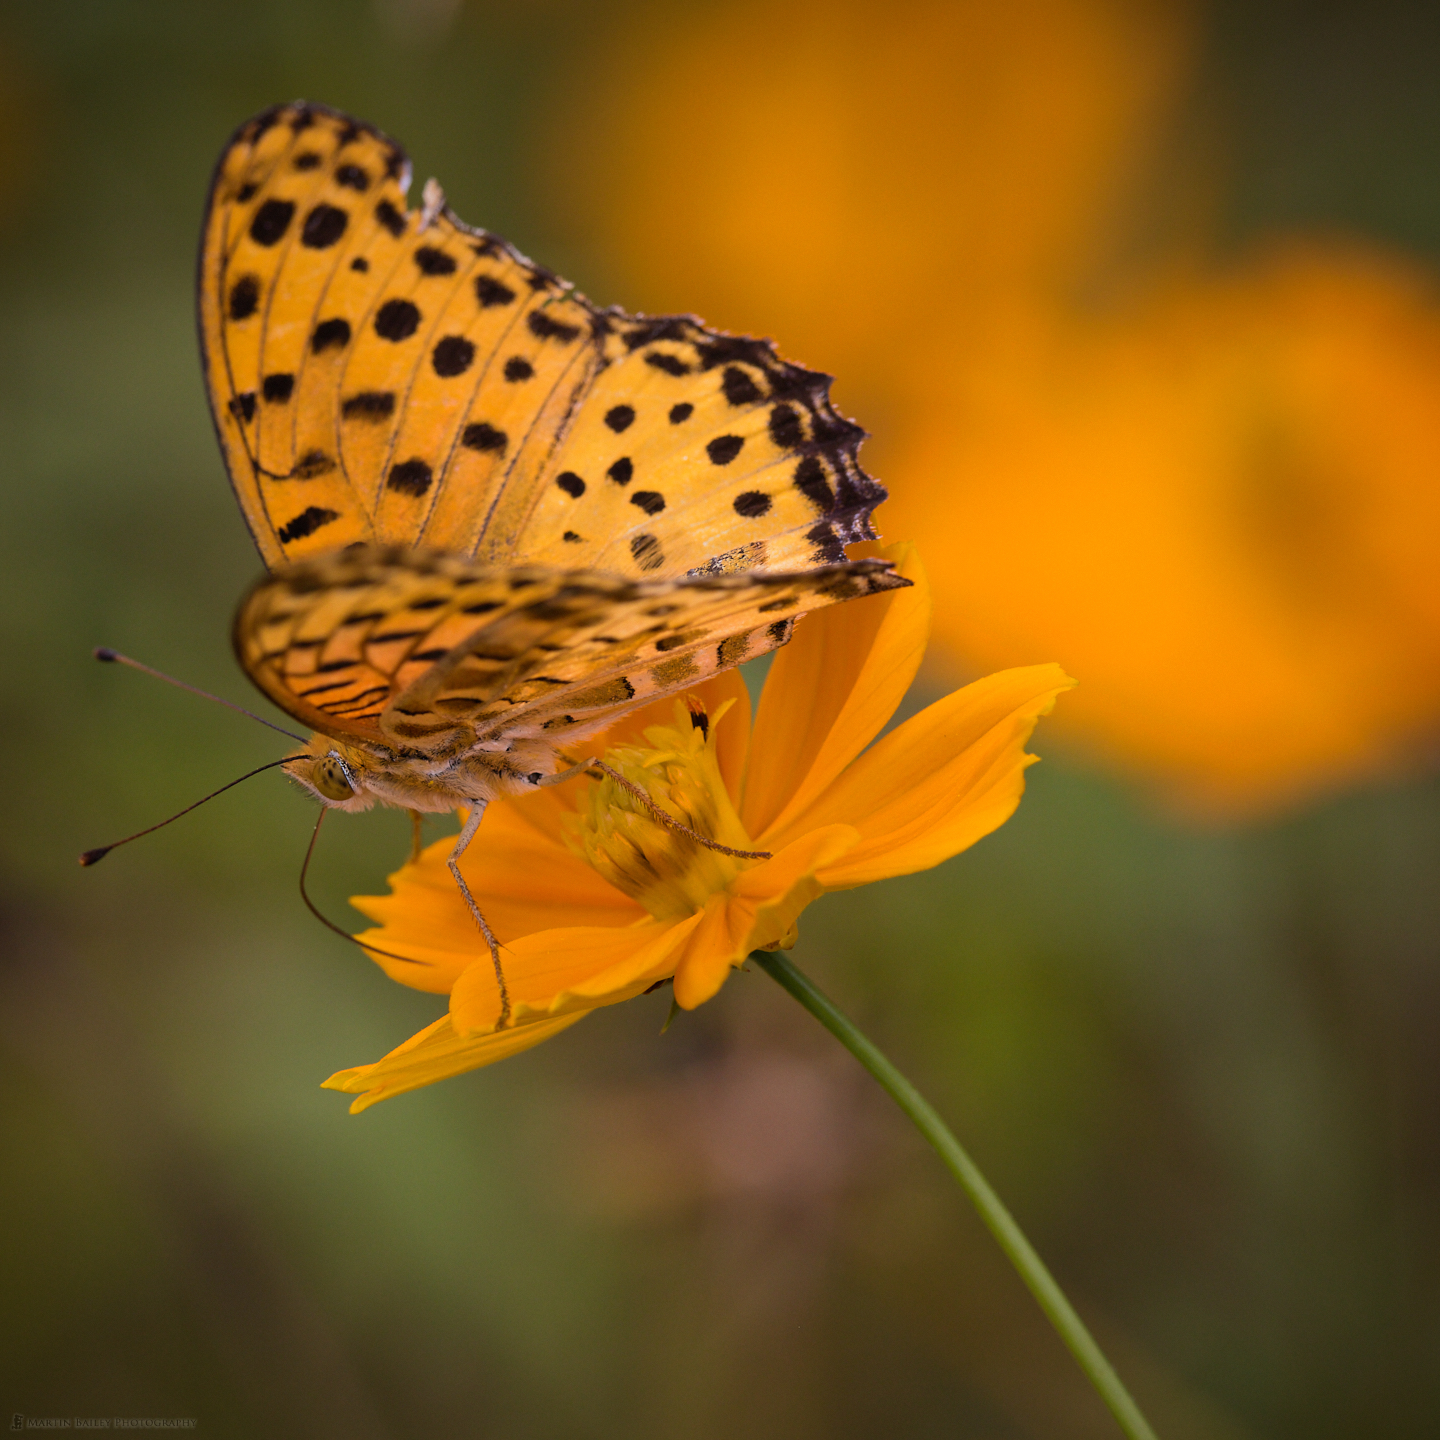
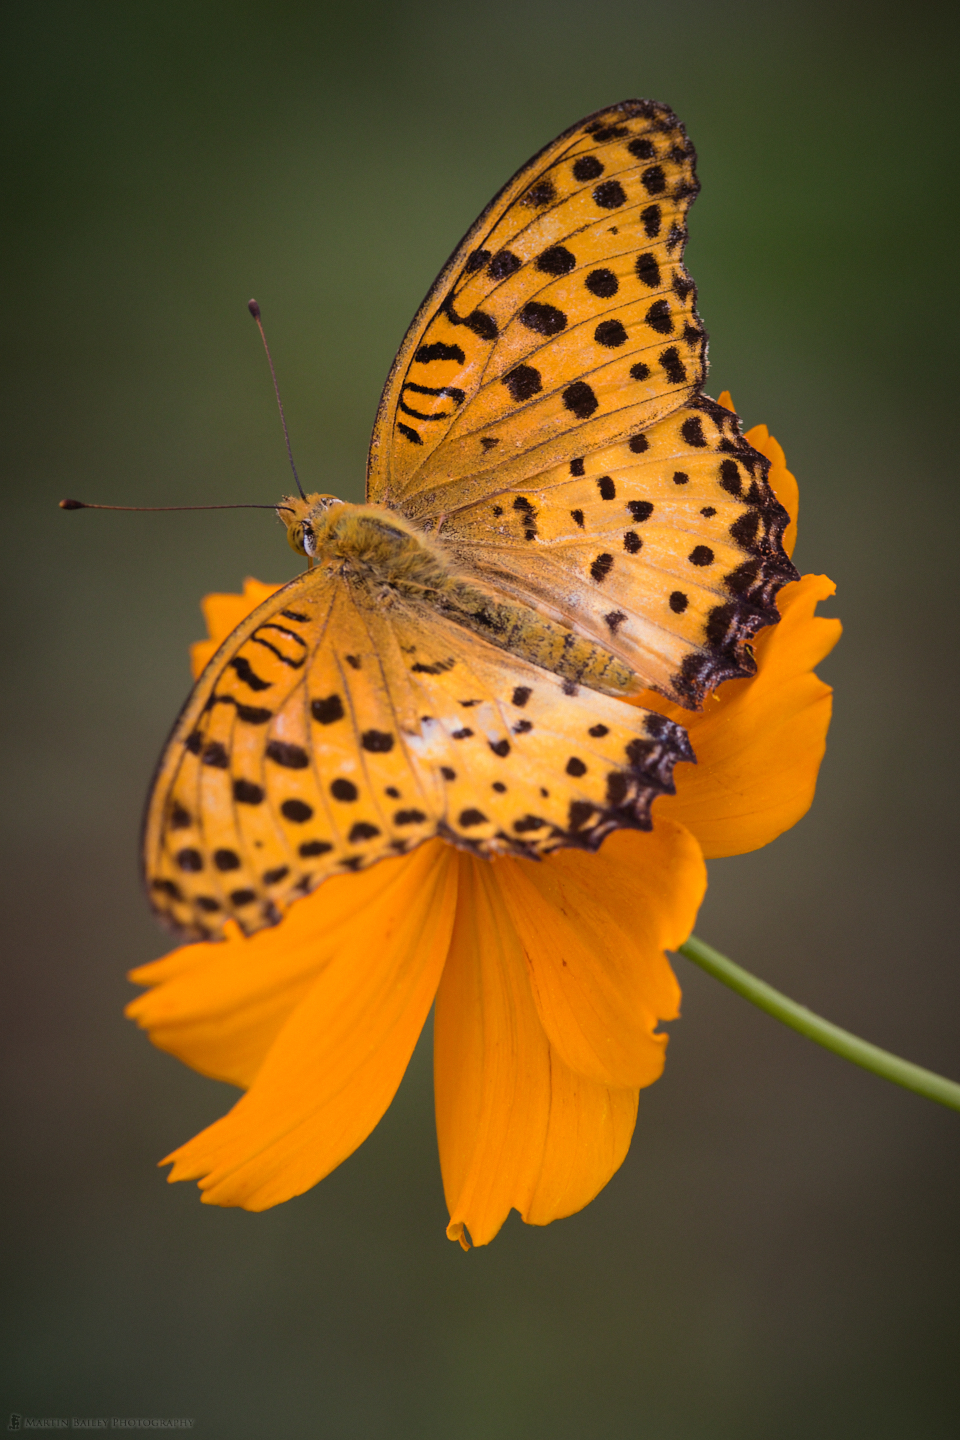
As you’ll see I cropped three of these four images down to a square format, as the backgrounds were a bit busy and I wanted to bring attention more to the butterfly. I left the fourth image in the native 3:2 ratio because it was less busy and also taller in the frame. As always, I’m very impressed with how well the RF 100-500mm lens handles, and this day was no exception. I shot all of these at the lenses full extent of 500mm. I’ve focussed on the head of the butterfly in each image and was very happy with the sharpness, especially in the first image, which blew me away as far as image quality is concerned.
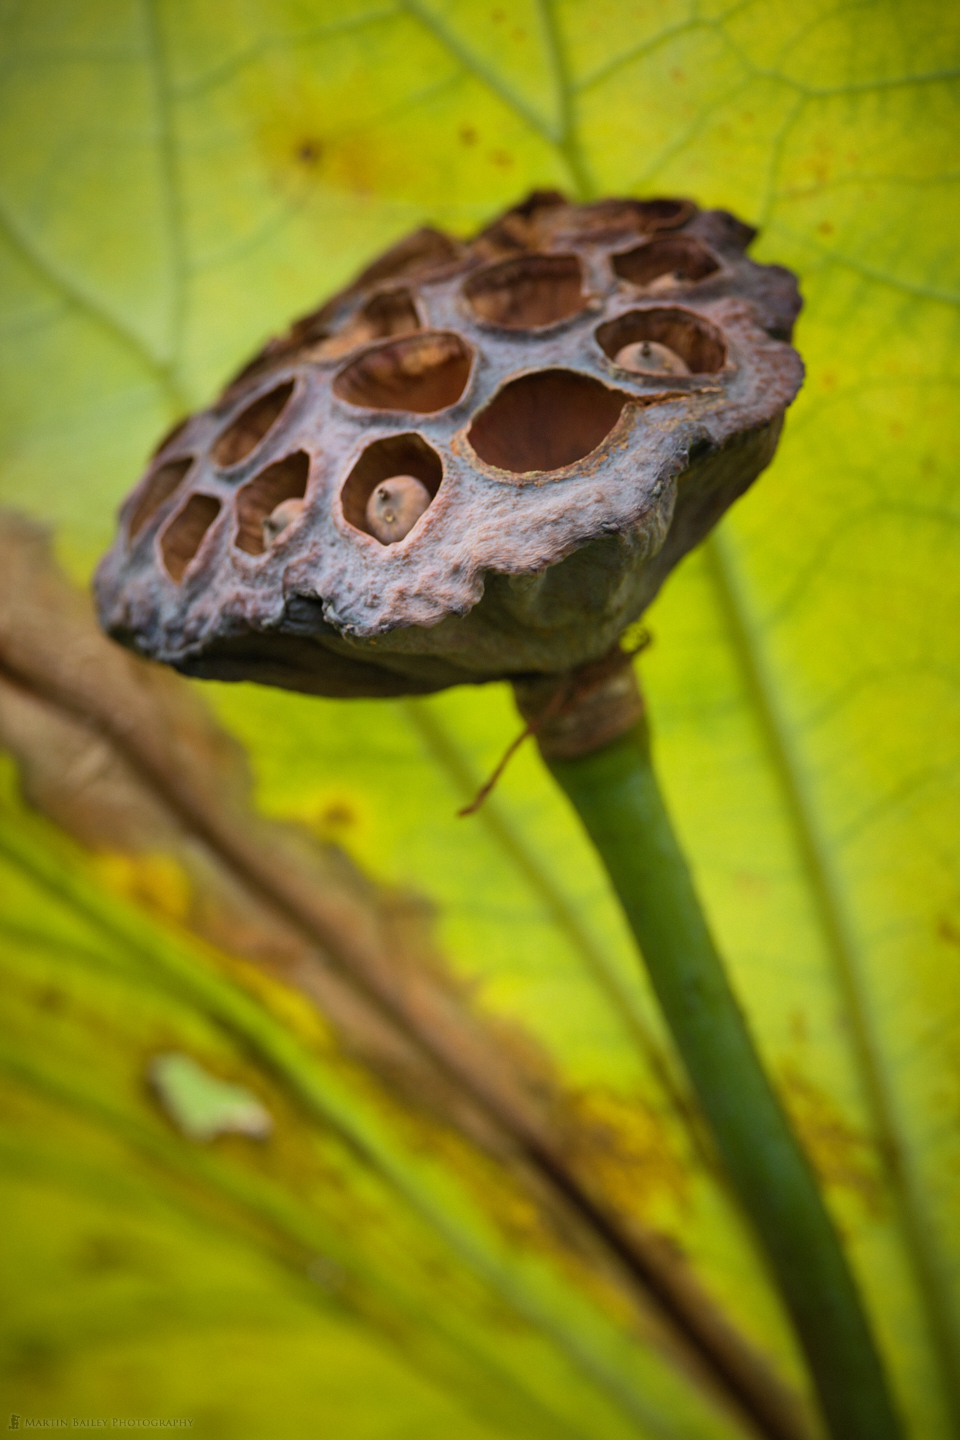
We sat down on a bench under some trees to eat an energy bar each, and were frightened off by three elderly Japanese ladies who decided to sit right next to us and continued to machine-gun talk their way into our peaceful moment, so after cutting our lunch break short, we walked through an area where there are various lotus plants in large plant pots full of water, and I shot this photo of one of the seed pods in the shade of it’s parent leaf.
Again, this is nothing special, but I like the mood of the shot and the way the leaf in the background is illuminated showing the veins inside it. I shot this at f/8 which gave me a bit of depth of field but quickly goes out of focus towards the back of the pod because I was close to the subject and using a focal length of 420mm. Remember the closer you are and the longer the focal length, the less depth of field you get, thankfully.
As I lowered my camera after shooting the Lotus seed pod, a Red Dragonfly buzzed down onto the tip of a broken flower stem, and I quickly grabbed a couple of frames, one of which you can see here (below). I’m actually happier with the little curl in the remnants of the broken stem. For some reason, I find that really pleasing.
In the Japanese culture though, the Red Dragonfly has a special place in most peoples’ hearts, probably due to them learning a song called Red Dragonfly or Akatombo as children. The song was written in the 1920s and still a very popular folk song or children’s song today. If you search for Akatombo on Youtube there are countless videos of people singing the song, often in somewhat over-dramatic classical voices.
Akatombo are also a sign that the autumn is drawing near as well, and the Japanese seasons are run like clockwork, with everything dropping into place right on time each year to give the people something to appreciate.
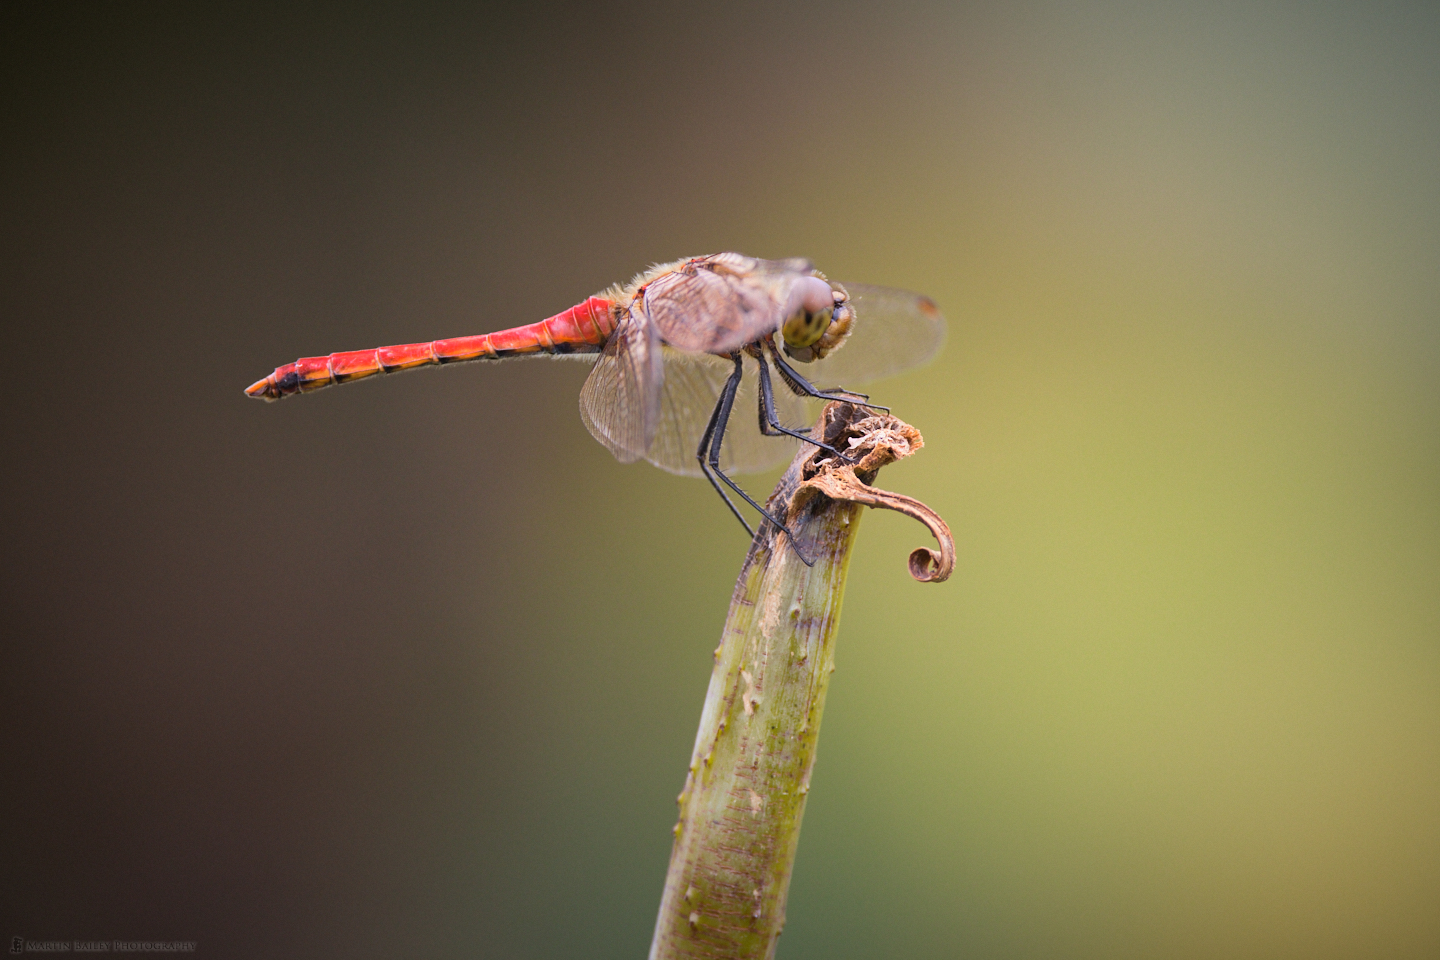
I literally got just three frames before the dragonfly flew away, but knowing that they often come back to the same spot, I waited for 30 seconds or so, and sure enough, he came back, literally just for another second or two. I had time to raise my camera, focus, and get one frame, and he was gone again. If you look closely at the photo though, you’ll see that his mouth is open slightly, and his head is titled towards me. I’d like to think that he came back just to say goodbye.
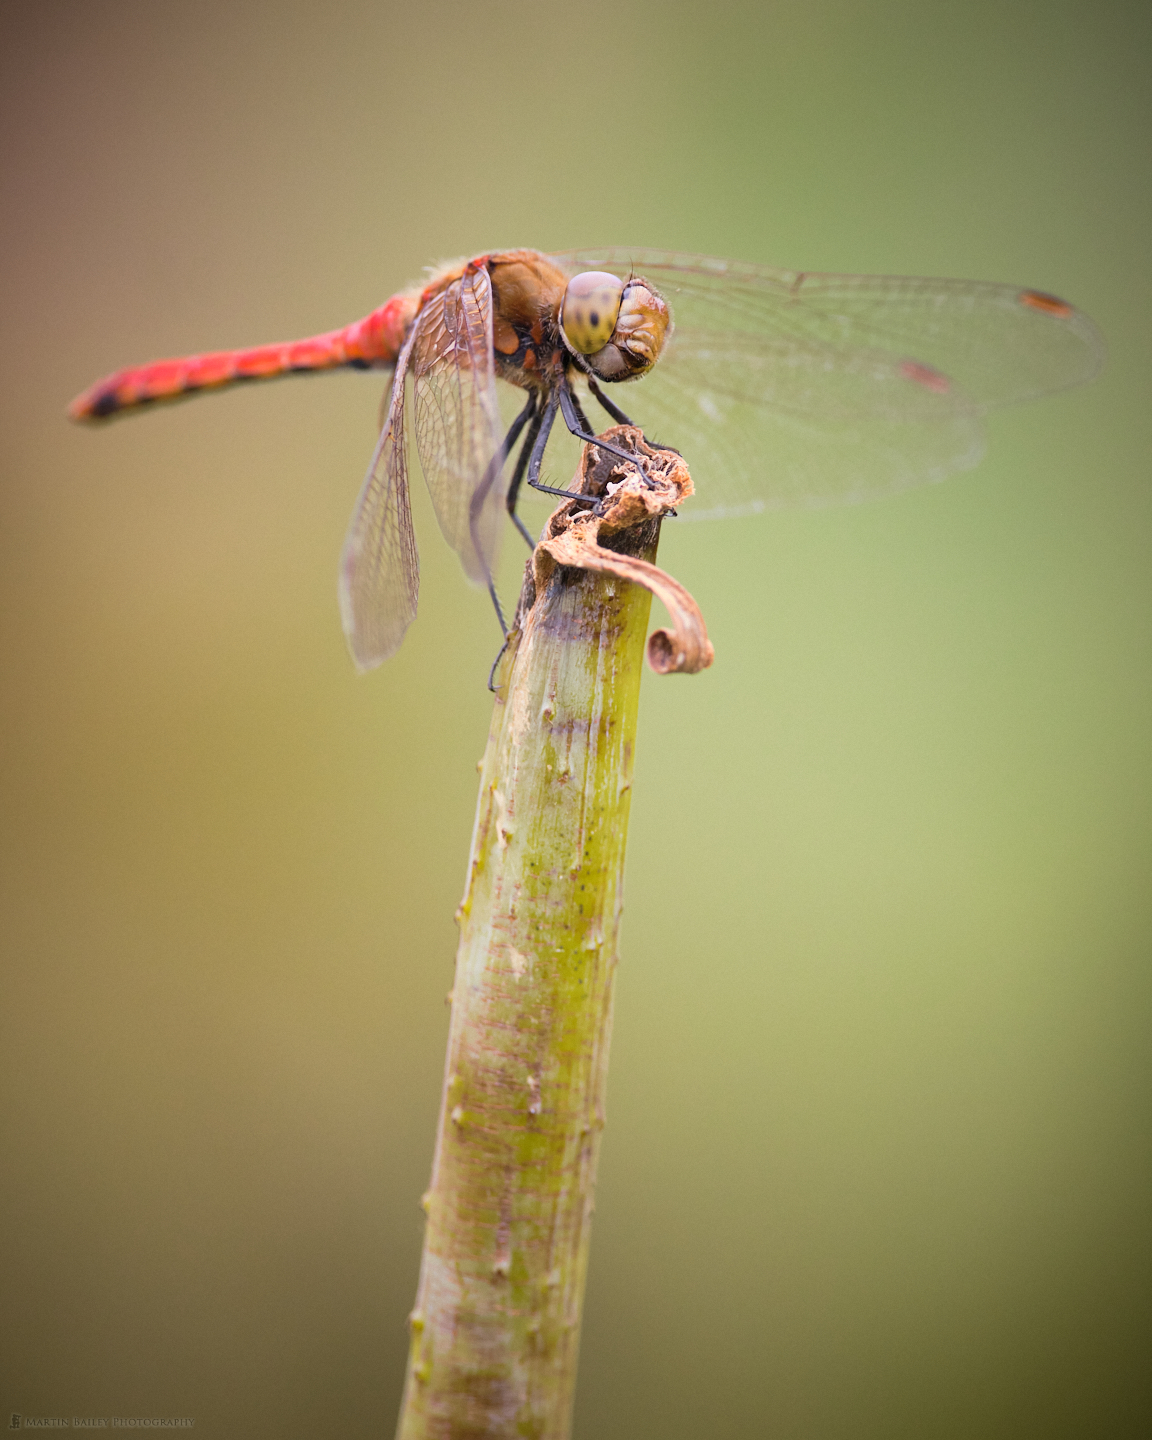
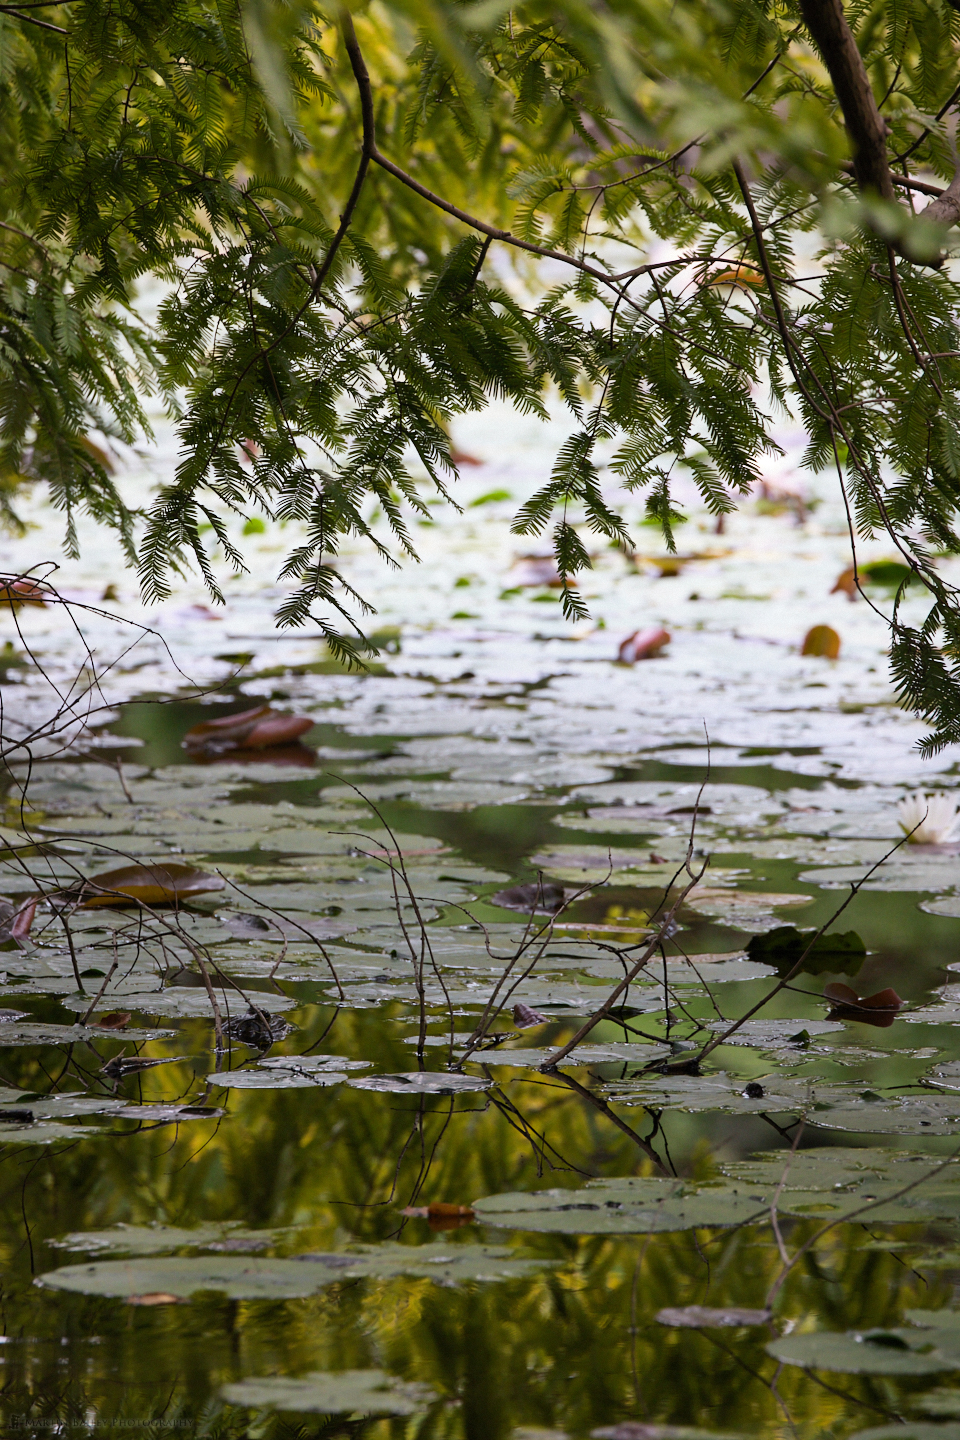
The background is uncluttered in these shots, with the objects in the distance being so far away, and I had actually slipped on the RF 1.4X Extender and shot this at 631mm, which gave me a very shallow depth of field at f/9. Some people like to get more in focus, but I personally enjoy shallow depth of field more when possible. This next shot is really just depicting the Japanese end of summer with the needles on the pine trees and distant foliage reflecting in the surface of the pond in the middle of the park. The colors are pleasing to me, and although cluttered, it’s a good reminder of the mood and feel of these few hours that we spent in the park.
The final image (above right) is completely out of place in this set, but I wanted to include it to relay a story. As we were finishing up in the park, with my wife off to the rest-room, I was framing up some roses that didn’t really work for me photographically, and I felt someone looking at me, and looked 90 degrees to my left and my eyes met the eyes of the man in this photo.
Not thinking much else of it initially, I smiled and looked through my viewfinder again at the roses, but the cogs in my head started turning, and I thought I’d recognized him from somewhere else. I looked up again and as he walked in front of where I was I saw his hat hanging from a large pack that he’d got hanging from his back. I recognized that from probably around 15 years ago when I met this man in another park in the city. Then I realized that I was pretty sure that this was the same man that left a beautiful comment in the visitors book of my solo exhibition in Aoyama at the end of 2010, when I quit my day job to start up my business full time.
I walked after him and asked if he thought that was him. He didn’t recall straight away, but I told him that he’d written something about feeling as though I’d asked God if it was OK to release the shutter when making the photographs in my exhibition, and was pretty sure that the answer had been “yes”. He said that this sounds like the sort of thing that he would write, and I told him that I had recalled his comment many times over the years and wanted to thank him again for such kind words. He told me his name and allowed me to photograph him as you see here. When I got home I checked my visitor’s book, and sure enough, it was the same person, and that made me very happy.
Photographer’s Friend 3.5
OK, so as I said at the start of this episode, I have finally over the weekend released a major update to my iOS app Photographer’s Friend. I’ve been working on this update, more on than off, for more than six months, and I’m very pleased to finally have it done and is available to buy. If you already own Photographer’s Friend, many of the new features and new look are a free upgrade. If you haven’t already updated, you can do so from the App Store application or search for Photographer’s Friend and there will be an update button.
So much work has gone into this though, I couldn’t make it all free, and as a large part of the upgrade is bringing extensions for Apple Watch to the app, it didn’t seem right charging everybody for the upgrade, as not everyone owns an Apple Watch. The Depth of Field Calculator and Neutral Density Filter Calculator now have counterparts for Apple Watch that get installed automatically if your iPhone is paired with a Watch.
To activate these two extensions though, you’ll need to go to the Settings tab, second from the right in the bottom tab bar, and select Configure Pro Add-Ons. From that screen, you’ll be able to see local pricing for the Apple Watch Extensions and buy them as an In-App Purchase. Before you do that though, consider buying the Complete Pro Bundle which also activates Smart Rotation, which enables all of the main screens to split themselves down the middle when you flip your iPhone over into Landscape orientation, and puts the important controls near to your fingers, as well as preventing the content of the screen from getting squished up.
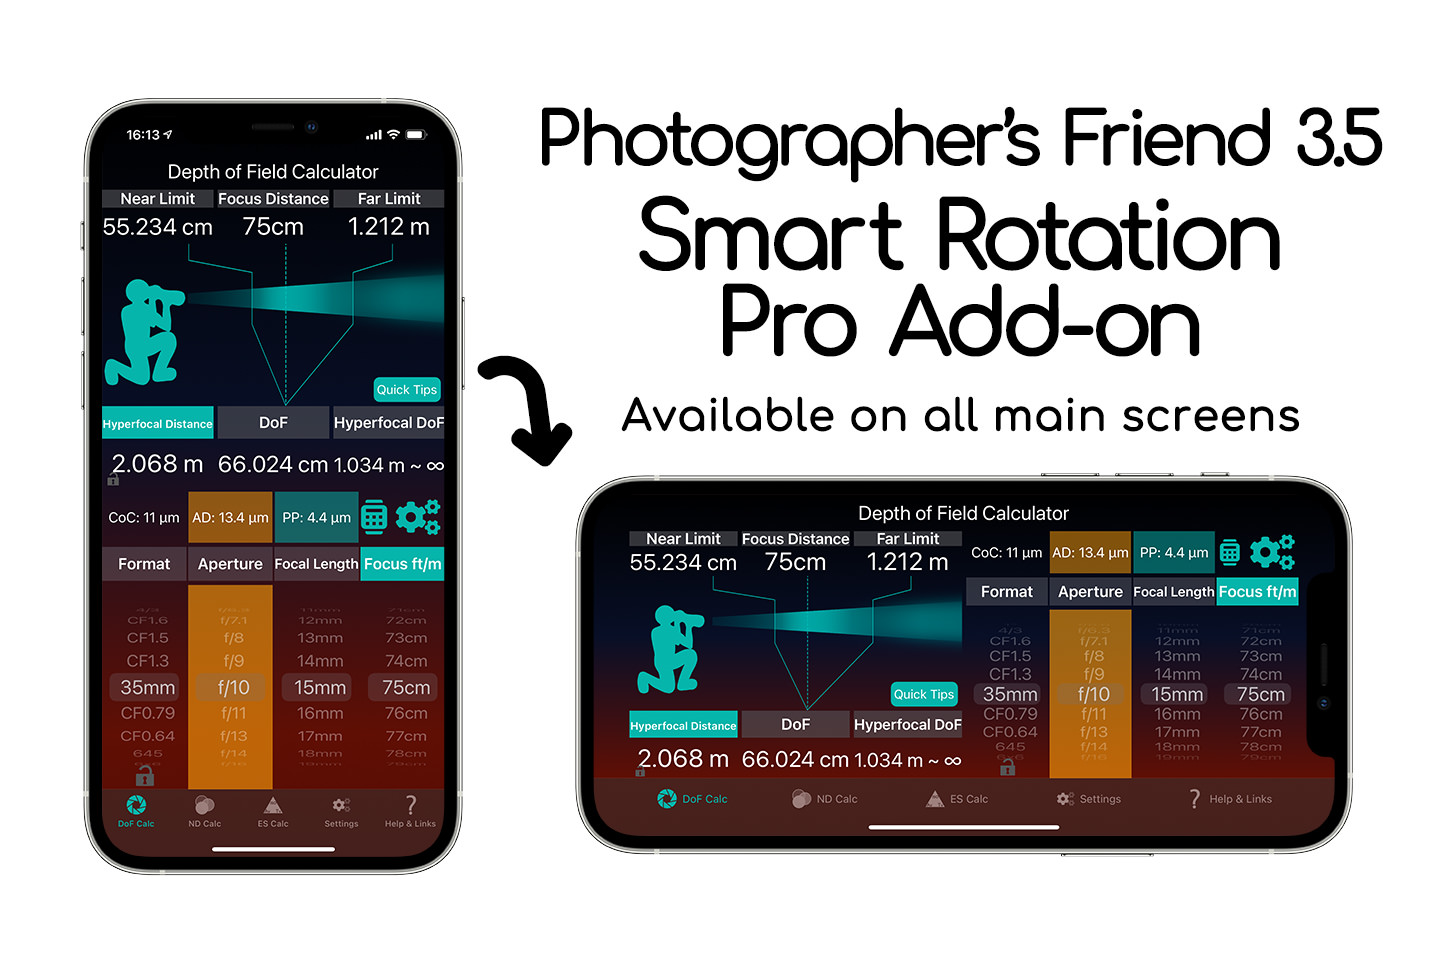
You can turn this on and off in the Appearance settings, and what’s more, you can flip the left and right sides if you’d prefer to have the more useful buttons on the other side, and that will be useful if you are left-handed, or you generally use the app with your left hand as you operate your camera. These are all paid Add-Ons, but I have updated the user interface throughout, and also on the Appearance tab I’ve now added a switch to turn on richer background colors, which adds a bit of warmth to the bottom half of the screens, and this is available for everyone. The standard backgrounds are also updated, so there is now a choice of two light and two dark backgrounds, and like before, you can easily switch between light and dark appearance simply by shaking your device.
The two Apple Watch Extensions are pretty cool too, even though I say so myself. The Depth of Field calculator, once activated, has pretty much full feature parity with the iOS version, and you can tap a button that will become available in iOS when an Apple Watch is detected that will synch all of your settings to your Watch, including options like the Pixel Peeper mode and the megapixels of your camera etc. The neutral density filter almost has feature parity, but to save space, you don’t apply multiple filters, rather just select the total stops of neutral density to apply from a dial.
So, for example, if you are nesting a 3 stop and a 10 stop filter, you would just select 13 stops on the dial, and select your base shutter speed on the other dial, and your filtered shutter speed is displayed for you. There is also a timer button so you can start a timer right there on your watch. You can also link the Watch to your iPhone and select filters on the iPhone, and the resulting timer will be automatically updated on the Watch, and you can start and stop the timer from either device. You can also set a custom timer on the watch and send that to your iPhone, and that wasn’t possible before, so we’ve actually extended the feature set there.
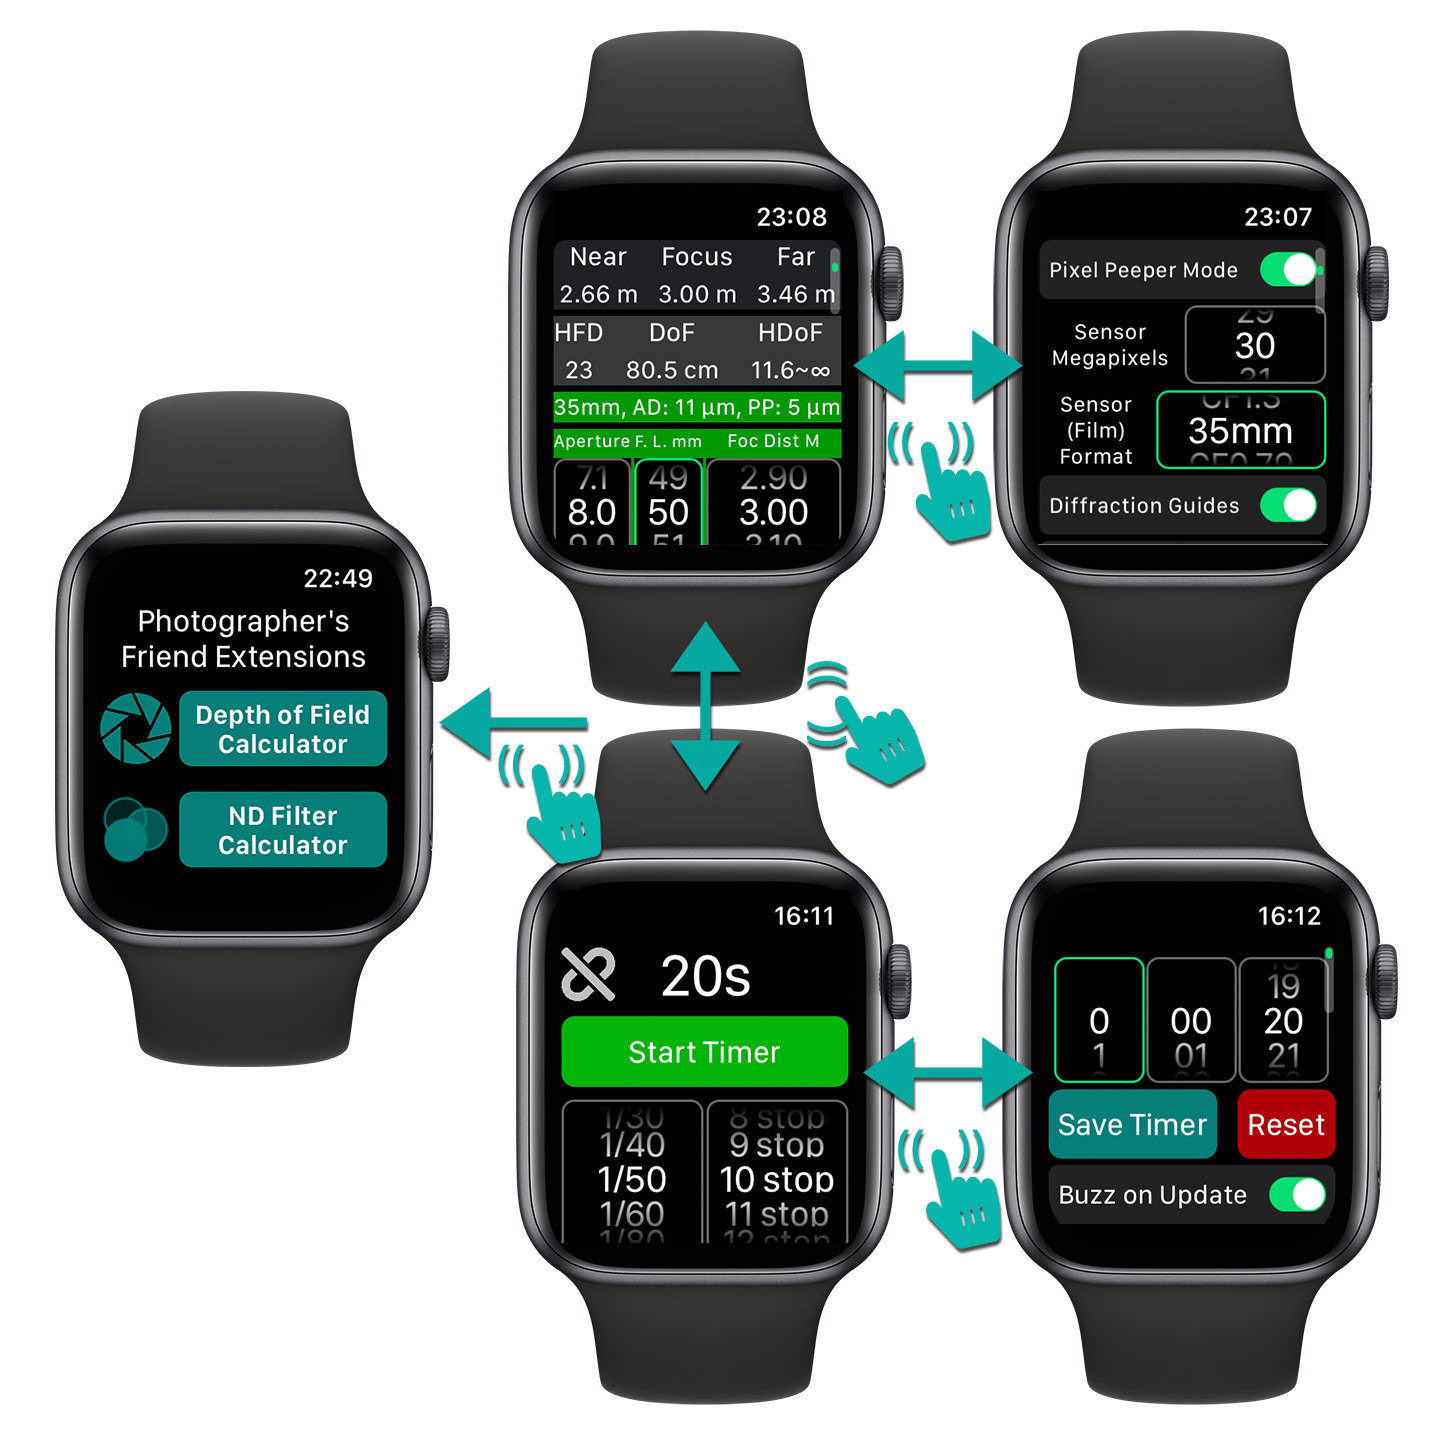
Here’s an image showing all five screens of the Photographer’s Friend Apple Watch Extension. To save adding multiple components, you open just one app, and then select which calculator you want to use from the Main Menu. After that, you can jump between the Depth of Field Calculator and the Neutral Density Filter Calculator by simply swiping up and down. You also access the settings for each calculator by swiping from right to left, so it’s pretty simple to use. I’m going to need a few more days to update the product page, but hopefully, within a few days of releasing this post, everything will be up to date (https://mbp.ac/app). You can jump straight to the product page in the App Store with the link https://mbp.ac/pf3. Also, remember if you already own Photographer’s Friend 3 some of this is a free update, but you’ll need to go to the Settings > Configure Pro Add-Ons screen to buy the extensions.
Show Notes
Get Photographer’s Friend 3.5 here https://mbp.ac/pf3 and tap Settings > Configure Pro Add-Ons to purchase the extensions!
Audio
Subscribe in iTunes to get Podcasts delivered automatically to your computer.
Download this Podcast as an MP3 with Chapters.
Visit this page for help on how to view the images in MP3 files.



Martin – What a wonderful story. We all need, or should have, a sanctuary we can go in an effort to reconnect with ourselves. I very much like the photos. I’m kind of partial to closeups of butterflies and dragonflies.
In your blog entry on style you mentioned shooting with love. I believe these photos reflect that emotion. The little episode with the gentleman whose photo yo closed the story with also reflect that emotion.
On a more practical side. Can you see the scales on the butterfly wings in the full resolution files? How big would you print these images? I find that small subjects printed too large seem wrong in some way. Impressive perhaps but somehow they don’t look right.
Finally, If Tokyo goes through a stage of autumn colors it would be fun to see your garden in its autumnal best. Maybe put a roll of Kodak Ektar or Portra 400 in your Rollieflex and show us some photos with it.
Hi Rich,
Thanks for the great comment! I’m really happy that you see the emotion behind some of this work.
Yes, if I zoom in past 100% I can see the scales on the butterfly’s wings. I’ve never really thought to look, but they are there. Technically, I’d be happy to print these as big as my printer would take them, which is 44 x 66 inches. I kind of know what you mean about seeing too much though. Maybe a 16 x 24-inch print would be enough to explore the details without going overboard. That’s my test print and storage size, so maybe I’ll fire up the printer in a few days and take a look. I’ll let you know how that goes.
I’m hoping to get back into the park as the autumnal colors set in in the coming weeks. I’m not really interested in shooting color film these days though. The attraction of the Rollei to me is being able to process my own photos, and I can’t do color here. There are too many limitations on color processing materials, unfortunately.
I’ll keep you posted either way though, probably via the blog. Thanks for staying tuned!
Regards,
Martin.
Hi Martin – I respect your decision to avoid color with the Rollieflex. Color Chemistry tends to be fussy and more expensive. I would suggest that after the leaves are off the trees taking the Rollie to the garden and photograph the “bones” of the garden.
Japanese Maples tend to be gnarly and full of interesting curves and shapes. Here in Seattle at Kubota Gardens I find winter be very interesting. I have yet to do anything I like with the maples but I keep trying. On a practical note the crowds are gone or at least significantly reduced.
All the best Rich
1/100 shutter speed on that first butterfly. What a gambler!
Haha! Well spotted Monica!
That was my transition shot. I’d been shooting the flowers when the butterfly came along, so I grabbed a few frames before changing my settings. 🙂
Hope all is well!
Martin.