From August 10 to 26, 2015, I joined my friend Jeremy Woodhouse in Namibia to co-host a tour with ten wonderful participants. We had a amazing time, and from today for the next few weeks, I’m going to walk you through the trip via a selection of photographs from each day.
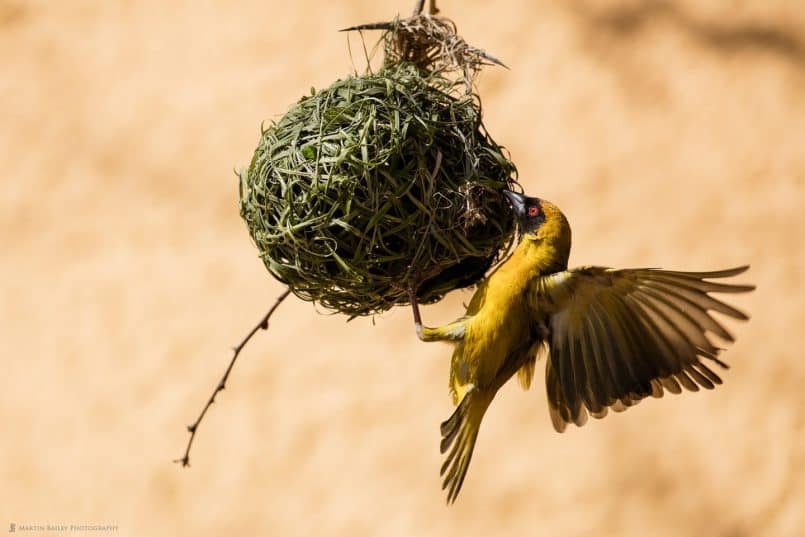
We start on August 11, as we were due to leave Windhoek, the capital of Namibia, for a long drive south to Keetmanshoop, where we’d photograph the Quiver Tree Forest, that we’ll look at shortly. We had some car troubles right off the bat, so ended up spending a little time at our travel partner’s office, but this gave me thirty minutes or so to capture some photos of a Weaver bird making its nest, as we can see in this first photograph (below).
This was my first time seeing a Weaver bird up close, and I think this is a species called the Village Weaver, with it’s black face and red eye. I managed to shoot him here with his wings spread, clinging on to his nest, and this is probably the best shot out of a hundred or so, as I tried to capture something worth keeping. These birds move pretty fast as they busily build their nests. To help me to capture that action, I increased the ISO to 800, with an aperture of f/7.1 for a shutter speed of 1/2000 of a second.
Keetmanshoop
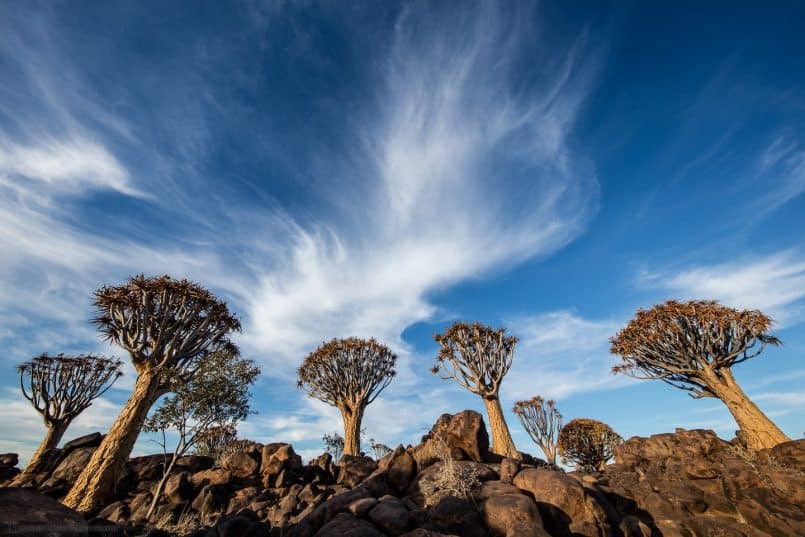
A little delayed from the car troubles, we set off shortly after this for our long drive to Keetmanshoop. We arrived late afternoon, but still in time for a few hours in the Quiver Forest, our main attraction for the day. I spend much of my time with the new Canon 11-24mm f/4 L lens, as I did for this image of the Quiver Trees with a lovely big sky (below).
The Quiver Trees are of course distorted slightly, but at 12mm on my full frame 5Ds R camera, I was able to capture this expanse of sky, with these lovely wispy clouds, which is really quite rare for August in Namibia. We had clouds most days, and even some days when it was just a white sky, which helped to reduce contrast in some situations, so this was not a problem. When you’re in the location of a lifetime, you work with what you have anyway. In this photo though, of course, the clouds were a definite benefit.
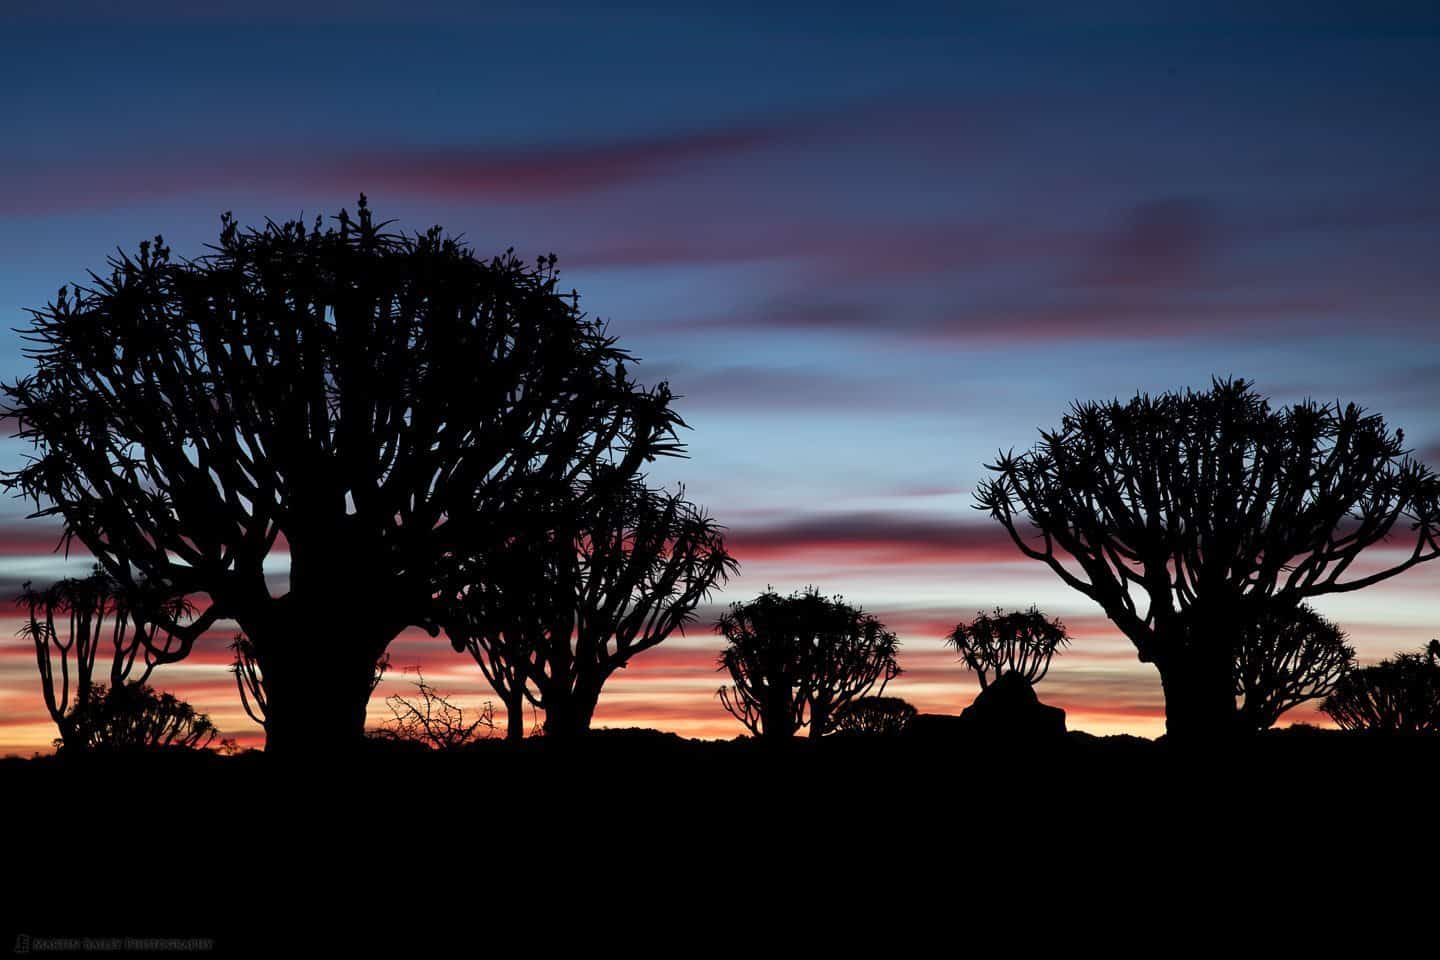
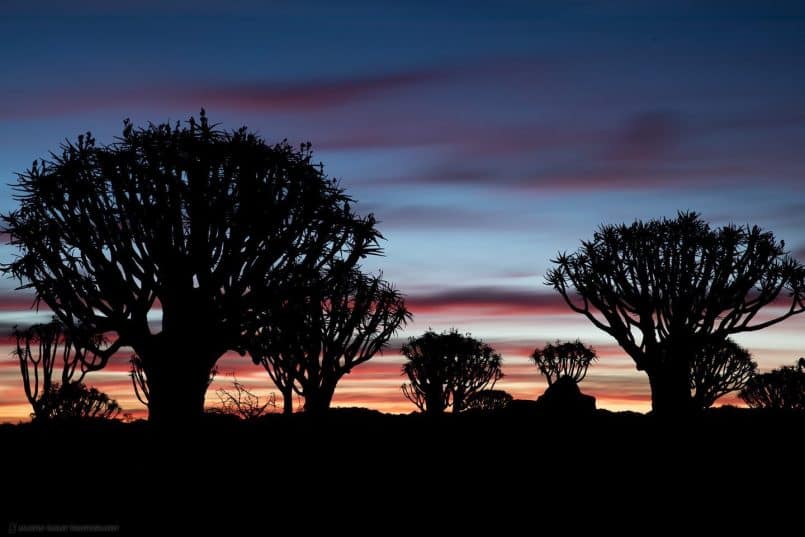
We continued to work this location until after the sun went below the horizon, and this next photo (below) is probably my favorite from this part of the day. I changed lenses, going now for the 24-70mm f/2.8L II lens and zoomed in to 61mm to compress the elements in the scene a little, and also get more of the band of color along the horizon into the frame. That would have been lost in an ultra wide angle shot.
Also note that the light was so low at this point, that I was able to get a 30 second shutter speed, without any neutral density filters, so the clouds have blurred a little, for that beautiful dreamy effect that we see in the sky.
As I caught up and started going through my images, I’ve actually made this photo the monthly wallpaper September, so if you’d like this in high-resolution for your desktop background, you can pick it up from our store with the below link, or subscribe for our monthly wallpaper, and get a new desktop background for $2.80 per month or just $2 a month with a yearly subscription.
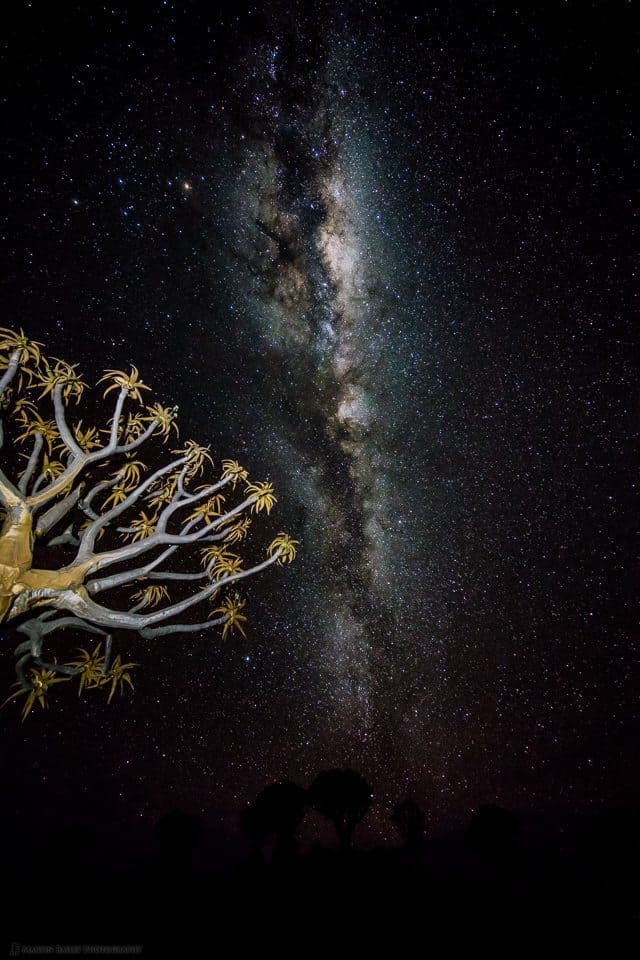
Shortly after shooting the last image, we left for the lodge for dinner, and then a few of us came back out to photograph the Milky Way in the Quiver Tree Forest for an hour. I wanted to include a quiver tree in my shots, as we can see in this first attempt (right).
I was back with the 11-24mm lens, wide open at 11mm to get as much of the Milky Way in as possible. I cranked the ISO up to 6400, and left the aperture wide open at f/4, with a shutter speed of 25 seconds. This is about as long as you can go before the stars start to elongate at this focal length, and I wanted to avoid that.
I lit the quiver tree with light from my head-lamp. At ISO 6400, I only need a couple of quick wafts of light to illuminate the quiver tree. You can also see a line of quiver trees in silhouette along the bottom of the frame as well.
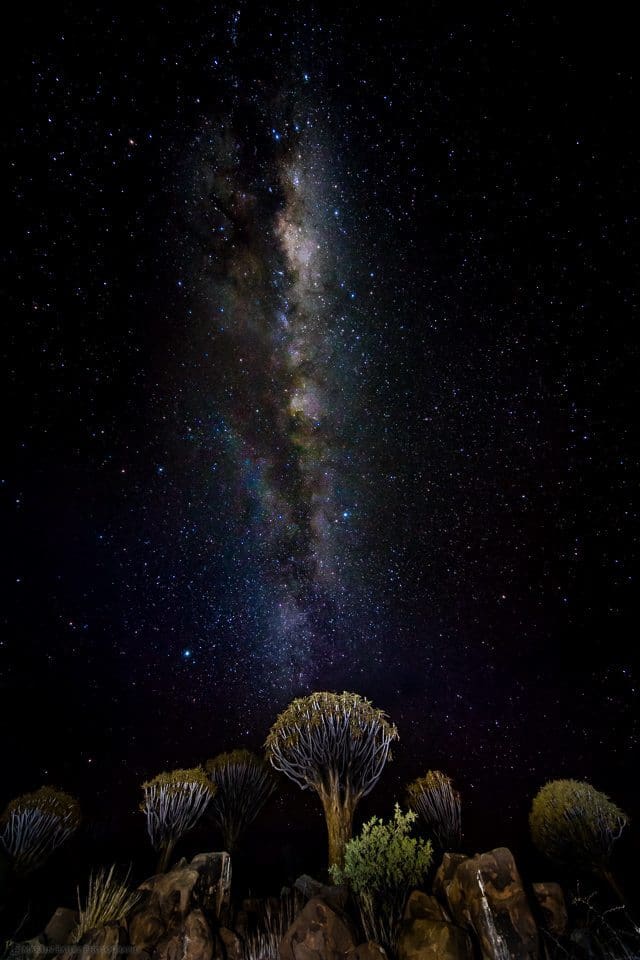
Another thing to bear in mind with night photography like this, is that it’s important not to over-expose the stars. It’s tempting, because you want a nice bright Milky Way, but if you go too far, all the stars go white, and we don’t want that. There are lots of different colored stars, so it’s important not to lose that colour.
Here’s one more photograph of the Milky Way, this time with the quiver trees lit along the bottom edge. Once again, this was shot at 11mm for 25 seconds at f/4, ISO 6400 (below). Click on the image to see it a little larger, and hopefully be able to make out some of the different colored stars.
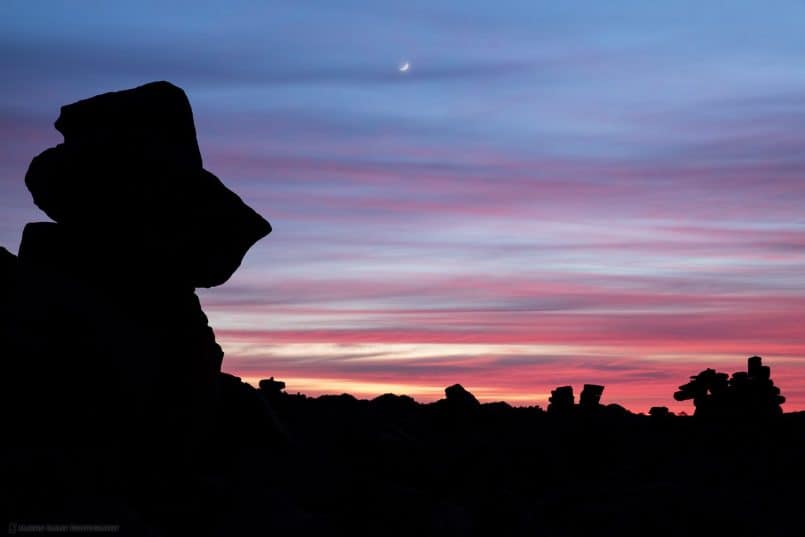
The following morning we rose early, and went down the road to the Devil’s Playground, where we were treated with some nice pre-sunrise color in the sky as you can see in this photograph (below). I shot this with the 24-70mm at 59mm, with a 10 second exposure at f/11, ISO 200. I chose ISO 200 to get a fast shutter speed, so as to avoid the moon moving much during the exposure. I like the rock formation on the left, which reminds me a little of the Moai Statues on Easter Island, and here, it seems to be looking up at that crescent moon.
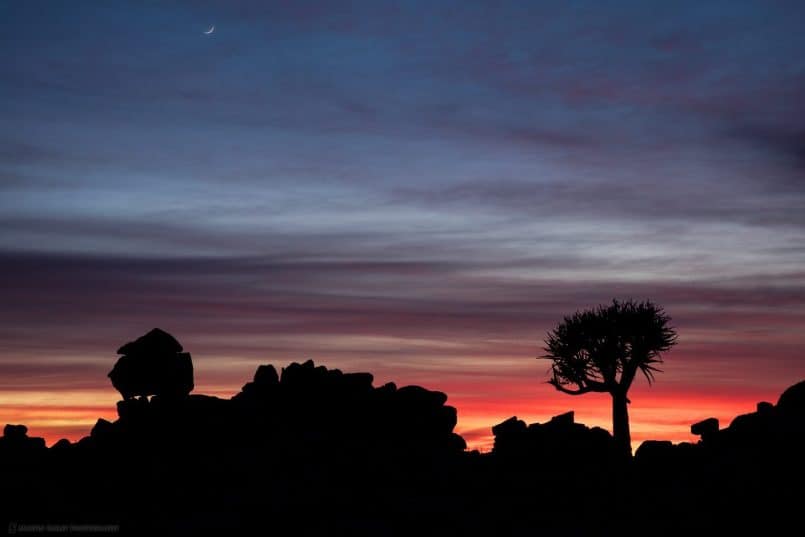
The red in the sky was fleeting though, and we rushed around frantically looking for a few different compositions before it was gone. Here is another that I captured with a quiver tree to the right, and some stone stacks in silhouette across the horizon (below). I couldn’t help including that crescent moon again either. The light was increasing now, enabling me decrease the shutter speed to 4 seconds at f/14, now with ISO 100.
Kolmanskop
After returning to the lodge for breakfast, we set off for another reasonably long drive West to the coast, and the abandoned diamond mine town of Kolmanskop. I’m sure you’ve seen photos of this place, where the desert is gradually reclaiming the houses built by German pioneers that worked at the mine.
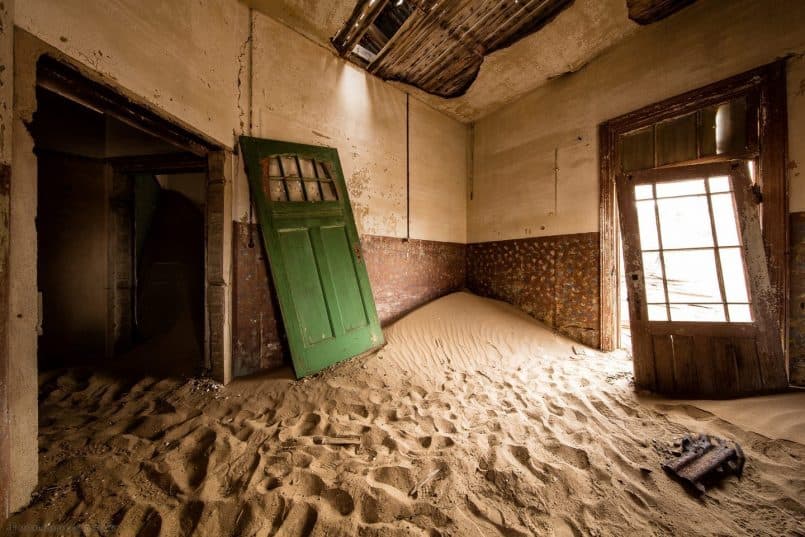
I lived pretty much in the 11-24mm for this afternoon that we’ll look at today, and the following morning, that we’ll look at next week. I shot plenty of images of doorways and windows with the sand in the rooms, which I like, but I’m going to share something a little wider here, as this kind of shot isn’t really possible without such a wide lens, and so these are slightly different views than you’d normally see.
Careful control of the exposure has enabled me to show a wide range of light from the bright doorway to the shadows through the broken doorway on the left. In fact, I’ve deepened the shadows slightly to increase the drama and somewhat eerie feel of the image (below).
This was a 1 second exposure at f/14, ISO 100 at 11mm. Note too that I was careful here to adjust the height of my tripod to a level that kept my vertical lines all straight. I don’t care about the horizontal lines becoming slanted; that’s what gives us the sense of depth, but when possible I find it more pleasing to have the vertical lines vertical. Only when it makes sense though. Sometimes it’s fun to just send everything askew.
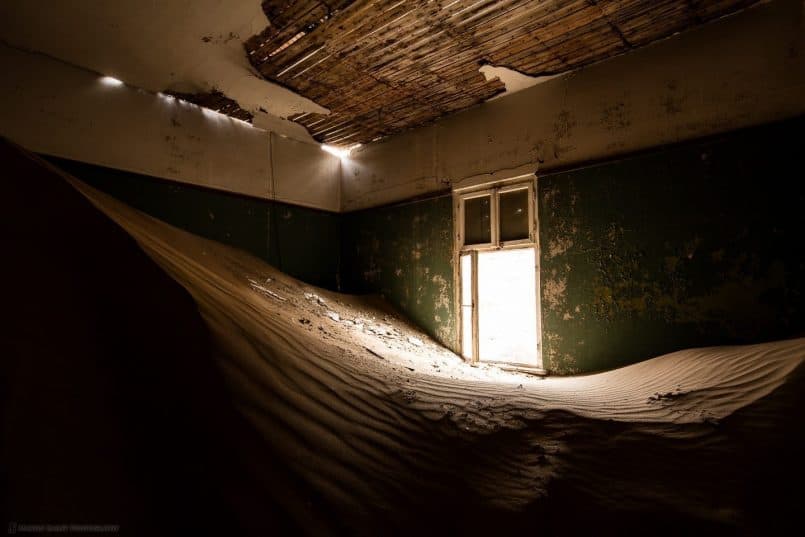
I actually zoomed in a little to 19mm for this next image; the idea being that I wanted to show the sweep of the sand, all the way up to the right side wall, but wanted to stop short of each wall to the right and left here (below). Once again, I was careful to set the exposure to a level that let’s us see the bright outside light flooding in, and illuminating a good part of the room, but also wanted to keep the shadow areas, and texture in the foreground sand.
Note too that I’m rarely concerned about blowing out the highlights in the window. I know that some people like to do multiple exposures, at least one for inside and another for outside the room, but this doesn’t appeal to me. It feels awkward and unnatural to me to be able to see outside in a scene like this. The window is the source of the light, and therefore I expect it to be the brightest part of the scene. This was a 1 second exposure at f/14, ISO 100 at 19mm.
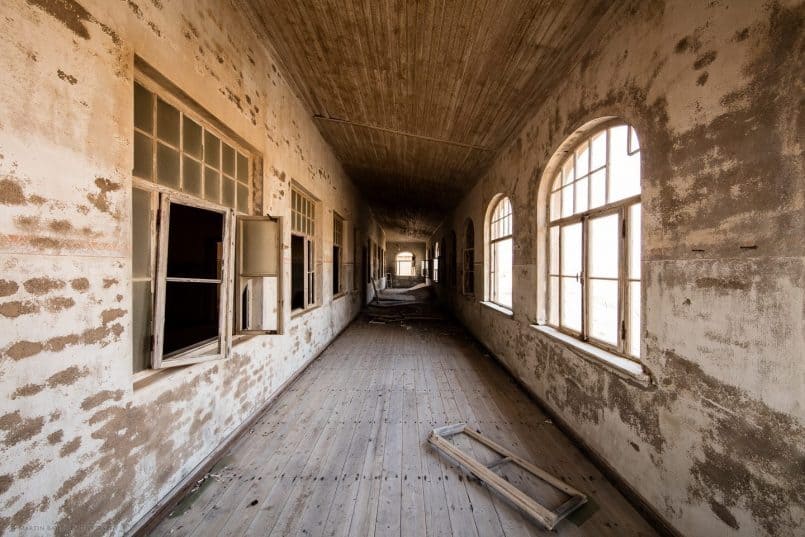
During this afternoon, and the following morning in Kolmanskop, I had a lot of fun with Stanley Kubrick style one-point perspective, as you can see in this shot (below). This is where all of the main lines in the scene lead to one distant point. I did this a lot on my last visit to Kolmanskop too, but the 11-24mm enables me to emphasize the lines leading towards the central vanishing point even more than my 14mm prime and 16-35mm lenses used to do.
The last time I stood in this spot, the wind was howling from the desert, and the windows rattling, with sand flying everywhere. That bought it’s own eeriness, especially as I was alone that time. I spend most of my time here this time with my buddy Ardwin, taking turns to stand exactly in the middle, and it was a calm day too, so this wasn’t quite as scary an experience as my first visit.
OK, so that takes us to the end of our first 10 images, so we’ll wrap it up there for today. I hope you’ve enjoyed this. We’ll pick up the trail next week on the following morning back here at Kolmanskop before spending the afternoon at another abandoned diamond mine town at Elizabeth Bay, and then we’ll drive up the Skeleton Coast and over to Sossusvlei, with its majestic red dunes and iconic Deadvlei with the dead camel thorn trees.
Show Notes
Music by the Staff of the Kulala Lodge in Sossusvlei – Thank you!
Subscribe in iTunes for Enhanced Podcasts delivered automatically to your computer.
Download this Podcast in MP3 format (Audio Only).
Download this Podcast in Enhanced Podcast M4A format. This requires Apple iTunes or Quicktime to view/listen.


Really enjoyed this. Thanks for sharing. Namibia is very high on my “to-do” list!
David
That’s great. I’m pleased you enjoyed this David. I hope you enjoy the next few episodes as well. There’s still quite a lot to share.
Hi Martin,
I really enjoyed this podcast and love the images. Looking forward to the rest of the podcasts and images from your trip.
Dipak
Thanks Dipak! I’m pleased you enjoyed this. There’s lots more to come.
Hi Martin,
Thanks for sharing your wonderful pictures. I’m sure I’m not the only podcast listener who would appreciate an update on your experiences with the EOS 5DSr now that you’ve owned it for a while. Please share your thoughts with us.
Thanks,
Tim.
Hi Tim,
Yes, I will insert a few comments to this series when appropriate, but also will probably do a dedicated post later, to update you on my findings.
For now, I will say that I’m as impressed with the 5Ds R now as I was when I bought it, if not more. I’m continuously successfully hand-holding the camera, getting sharp images, and it’s working well for wildlife too. The pigeon-holers that would like to justify their decisions not to buy this camera are going to have a really hard time doing that as more and more people use it and report their findings.
Of course, I miss the fast frame rate of the 1D X or 7D2 when shooting wildlife, but I’d rather have few images at this quality than more at 20mp. The 5Ds R is addictive. Once you’ve seen what it can do, it’s hard to go back to the other Canon bodies. 🙂
Cheers,
Martin.