On December 17th 2010, I did a portrait shoot at a Xmas party, where I set up my studio in a large room in a restaurant here in Tokyo, and ended up shooting nine groups of people. Last week we looked at the Studio setup and I talked about some of the other considerations and logistics of the shoot.
Today I’m going to take you quickly through the actual portrait sessions, looking at an image from each and anything that comes to mind that might be of use if you do similar shoots yourself.
The Portrait Sessions
Before the Christmas Party at which I was shooting, an email was sent out to all of my old colleagues with an offer to book their slot in advance, so that they knew exactly what time to turn up, making planning their evening easier. Three families took us up on this, so I knew that I would have at least some work during the evening. To be honest though, unless we got a minimum of another three groups, this was not going to pay a whole lot for the amount of work that we put into the shoot.
Now, any work of this kind is helpful in getting my name out there, and also building contacts, as any one of the people that were at the party is a potential future customer, so I don’t want it to sound as though I’m being totally mercenary about making money from this event, but we do also need to keep in mind that this is now my sole source of income, I am being conscious to put my energies into work that will help to forward my business, either right away, or in some way in the future.
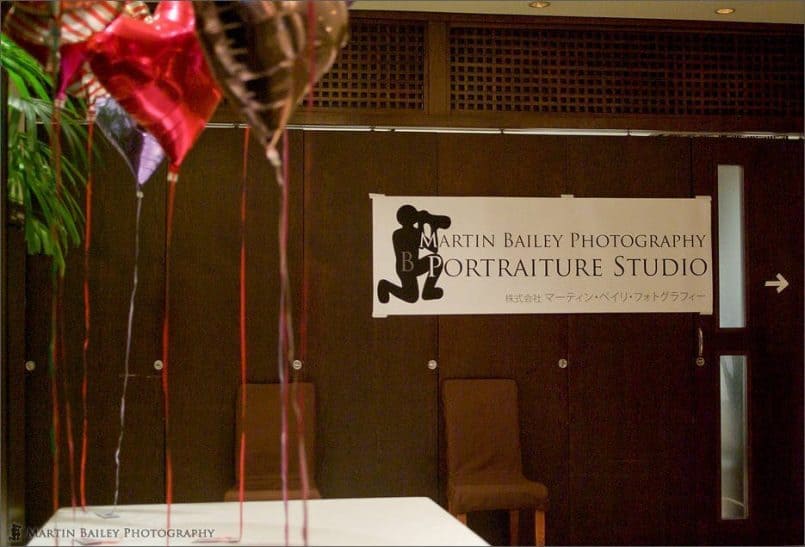
I did a little bit of canvasing, walking around the party, saying hello to old friends, and a few of them came to look at the studio we’d set up, and ended up having their portraits shot. I had also created a large banner using Canon’s Vinyl Scrim, which is a very durable poster paper, and that was visible from the main hall where the party was being held, so some people just stuck their heads in the door out of curiosity, and some of them ended up having their portraits shot as well.
Number Each Shoot
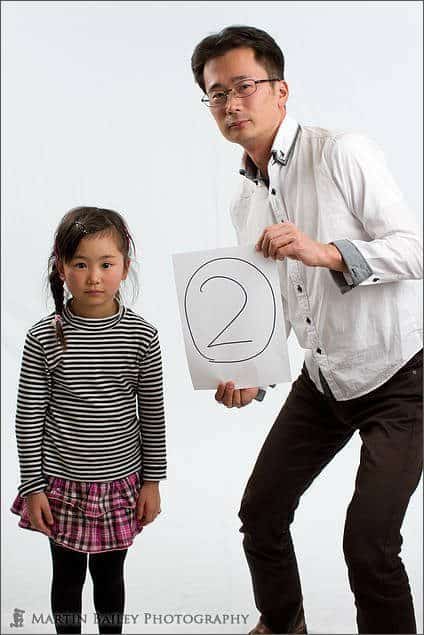
A quick logistics tip here is that so we could keep track of each group that had their portraits shot, we had each group hold up a piece of paper with their number on it. This was my place marker in Lightroom, and I used this number while fulfilling print orders etc. It would have been possible without the number, just using the family’s names, but there were order forms and other things to keep track of, so I thought it would be easier to assign a number to each group.
On the order forms for each session I had the clients indicate whether or not they minded me using the resulting photographs in my marketing activities and sign the form if they are OK with it. It’s not quite a model release, but it certainly gives me the ability to publish the photos here and on a new portraiture web site that I will put together very soon. Although we started off a little slow, we ended up doing nine sessions, and eight of the nine groups agreed for me to use their images, so let’s take a quick look at some of these now.
This shot (below, right) is of the first family, and is actually the image that I chose as my favorite from the batch, but was happy when the family also chose this out of a relatively large batch of images that I presented them with, as their A4 Baryta print that I would put into a mounting board for them.
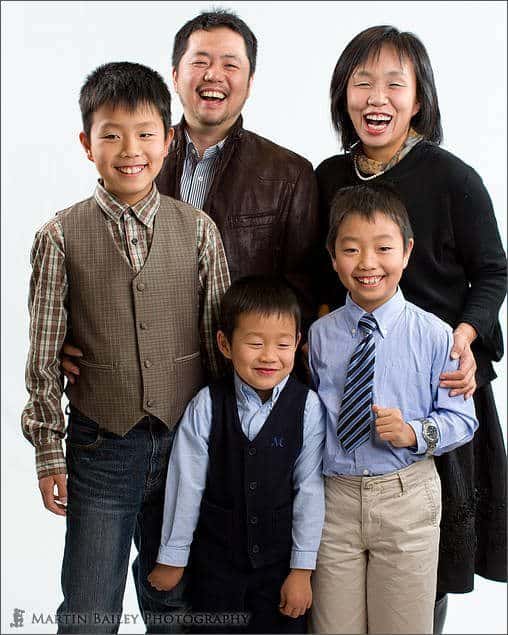
As I shot, there were times where I would have to raise or lower the Key light, or move it closer to the subjects etc. We also had to reposition the reflector a number of times, but generally apart from these adjustments the lighting is pretty much the same for seven of the eight groups. I would like to have gotten a little more experimental and tried a few more things, but with the subjects generally being at a party, we really only had 10 to 15 minutes with each group, so I just concentrated on getting a handful of nice shots for each group that they would be able to select a photo from that I would print and put into a matte mounting board. The largest challenges came with the larger groups, like this family of five.
It soon became obvious that we were going to need that large reflector, to pop some light into the front of the subjects, and we move that in a little to ensure that the light was nice and soft on everyone. You can see here though that everyone has a nice shadow along the left side of their faces as we view the photo. The Kicker light from the left is ensuring that the side of their faces is highlighted too, giving the look I wanted.
Why White?
By the way, I chose a white background for this shoot for a number of reasons. Firstly, most Japanese people have black hair, so I wanted to ensure that didn’t blend into a black background. Also, the images would likely be used on the Year End postcards that the families would send out, so white would probably give more options there too. Although I do like the dramatic look of a black background, I think in this case, the white background gave the images a light and airy feel to them. Black can be a little heavy sometimes, so all in all I was happy with the decision to go with white.
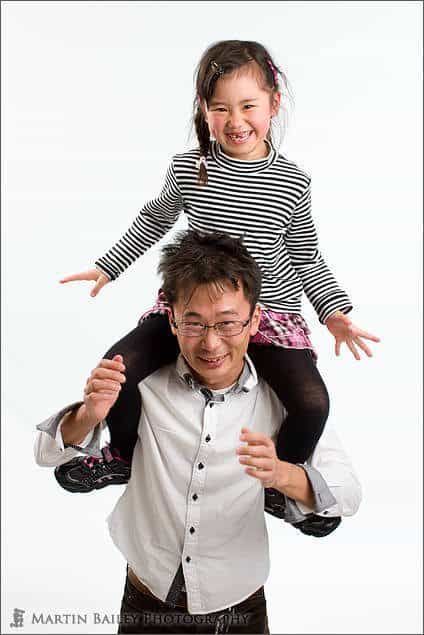
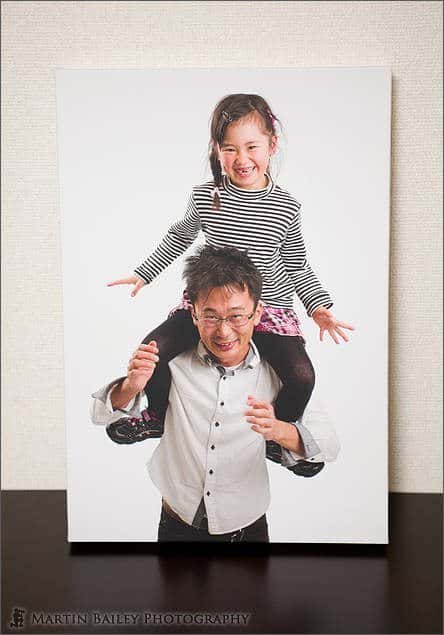
Next up we have a father and daughter shot. We had a lot of fun here too, and when I asked the dad to put his daughter on his shoulders, she promptly mussed his hair up, and having done so gave me this beautiful cheeky “look what I did” smile. This is actually the image that this guy chose for me to do a 13×19″ gallery wrap of, which looks great. We’ll look at that a bit later.
These first two sessions were ones that had been booked, and things had been a little slow between sessions up to that point, but then a bit of canvasing on my part brought in the first impromptu clients that we can see here.
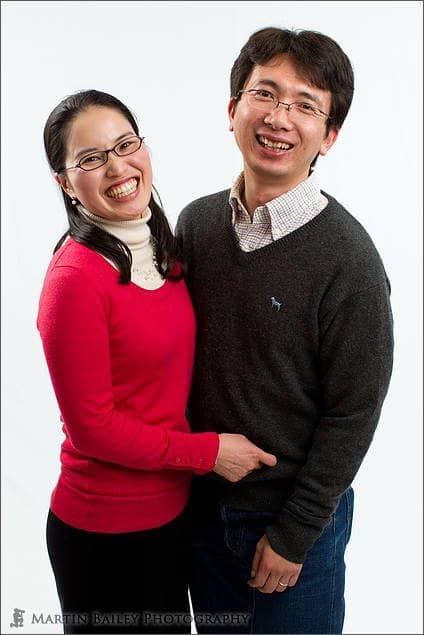
Now, I know this guy very well, and I have also met his wife before. I went to their wedding party actually. But many Japanese men put on a very serious face when having their photos taken. To get him to lighten up a little, I asked his wife to tickle him a little, and I personally ended up liking this shot the best out of the set, because of that human interaction, not just between the couple, but also between me and them.
On a technical side, also note that I raised the Key light up to about 10′ for this shot to remove the reflection of the light in their glasses. It’s totally important to keep your eye out for small details like this while shooting, because it can be very easy to miss something like light reflecting in spectacles. Keeping your wits about you and remaining flexible throughout the shoot is highly important.
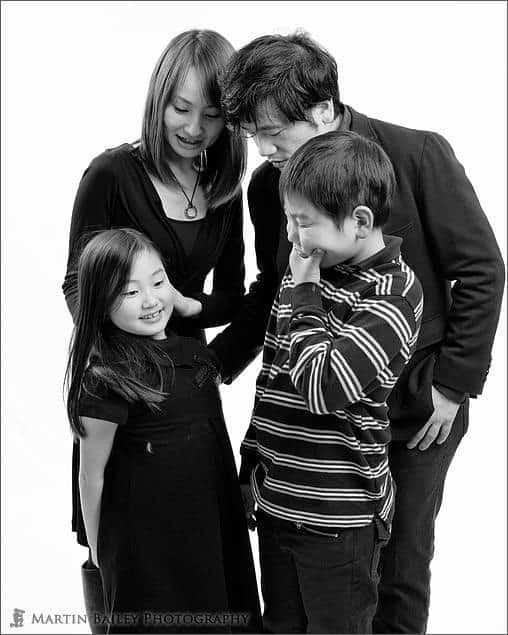
The next image (below, right) is of a family that I photographed in 2009 as I started to prepare for my portrait business. They’re a great looking family, and here I captured a quite personal moment as they got ready for the shoot. We went on to shoot a whole load of frames, but I really liked this image as I was going through the batch, and so I included it in their gallery. I was really pleased when they actually chose this for their mounted print.
This just goes to show that you need to shoot opportunities like this, not just for yourself, but for the family you’re working with. It also reinforces the theory that I have that people will quite often select the image that you least expect them too, and this helps to keep us, the photographer, open minded when editing the results of our shoots down.
Note too that only the daughter’s eyes are visible in this shot, which is also something that you would not expect of a portrait, but it works, again, because of the human connection element. You can almost sense the affection for the young daughter in the parents, and also the patience of the older brother who is used to his kid sister getting all the attention. 🙂
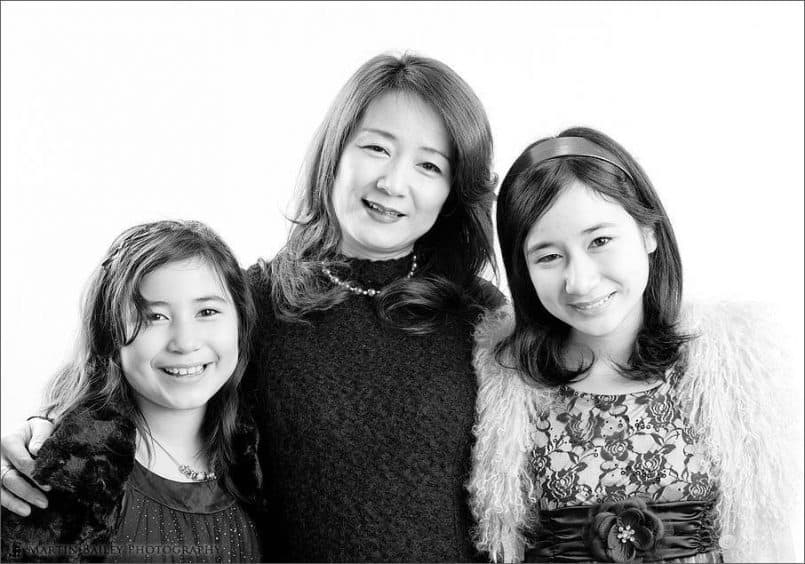
The next family (below) was great too. Note that before I created the galleries for people to select their images from, I created a Silver Efex Pro preset that worked well with the lighting and created a Photoshop Action that applied that preset to the images, then I ran that action in batch against all of the images I had selected to show the clients. This makes it easy to present them with both a color and black and white version of each shot. Around half of them selected the black and white version for their mounted print.
A hint on posing that I recalled from this shot is that exaggerated positions usually look better in the photo. I usually have to ask people to get closer together, and then closer still. The reason that I recalled this on this particular photo is because again there is so much motherly love in this family I didn’t have to direct them at all. The mum just pulled in her two daughters and we grabbed a whole bunch of images in which I think they all look great.
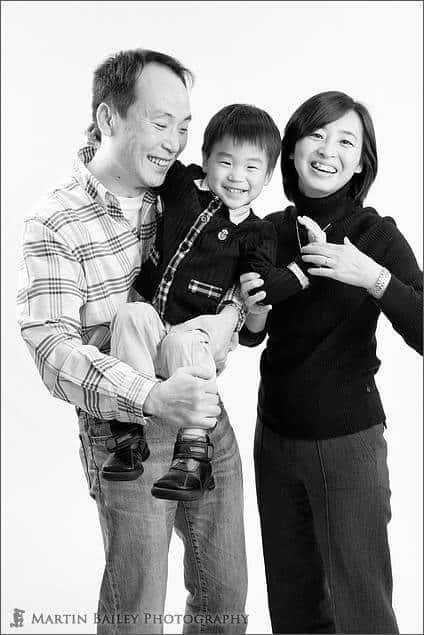
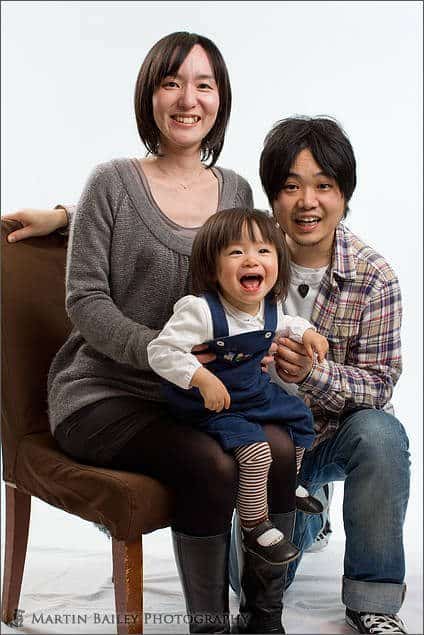
This next image was also a pleasure to shoot. The little boy has a great little smile, and he uses it a lot. He seems very happy and content, which is hardly surprising because again, I know his dad well, and he’s an amazing person. There are fewer people that can think through situations and do exactly the right thing every time, as well as this guy. I have known him since before he met his wife and of course before they had their little boy, so again, it was a pleasure to make their photographs. This was another couple that I brought in following a bit of a walk around the party, and I’m happy I did. I love this photo, and again, this is the one that they chose for their mounted print.
By the time I photographed this next group (below, right) it was after 9PM, and we’d been at it quite a while. This was probably the most challenging group to shoot though, just because of the number of subjects. Again we had eye glasses to watch out for reflection in, so the Key light went high again. Also though, there was not enough light making it into the center of the group, so I had Jesse hand-hold a third Canon Speedlite shooting it into a 45″ shoot through umbrella, and we popped that into the middle of the group at 1/8 power, just to fill in the shadows a little.
The other thing that was a problem now was keeping the white backdrop clean and uncreased under the subjects. In fact, as you can see it wasn’t really possible, but it’s going to stay that way. I removed most of the small black specs that had gathered in Lightroom, but apart from that it’s staying like this. There’s also a bit more room to the right of the group than the left, but I’ll shift the image over to the right a bit when I mount it, so that won’t be a problem, at least for now. I could have reduced the right side a little of course, but I figured I’d show you my mistakes as well as what I really like.
There was one couple that I have skipped because they didn’t want me to use their photos. Although we as the photographer own the copyright to our images, I think it’s still a common courtesy to at least ask your clients if they mind you using their images in your marketing. When possible, a signature somewhere, is nice too, or even a full blown model release when possible. Of course, if you intend to make images you shoot available for purchase from a stock site then a model release is essential, but that’s a whole other subject.
These next two photos are from the last session of the evening. It was 9:35 by this time, and we were certainly starting to flag, which is probably why I ended up standing on the USB cable tethering the camera to my laptop and pulling it out, but I made sure I didn’t panic in front of the client, and calmly worked around the problems.
The little boy here was really tired at this point, so it was a concerted effort from my wife and Jesse, my assistant for the evening, to keep him smiling, as of course I was trying to do as well. He’s a great little lad though, and we managed to get some nice shots.
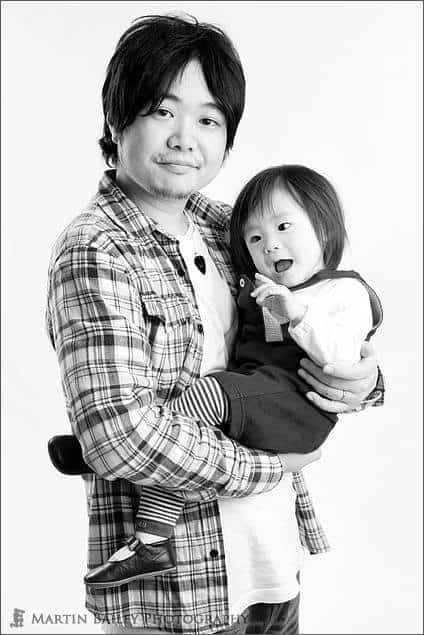
The shot to the right below of just the Dad and Son is one of my favorites too. This was something that I shot after we’d called it a wrap, but I couldn’t resist shooting just dad and son as we relaxed after the shoot.
|
|
I’m not sure if the families that were kind enough to have me photograph them will listen to this Podcast episode or look at this blog post, but I did just want to say publicly that it was a pleasure to photograph each of them, and I really hope that they enjoyed the experience even half as much as I did.
Mounted Prints
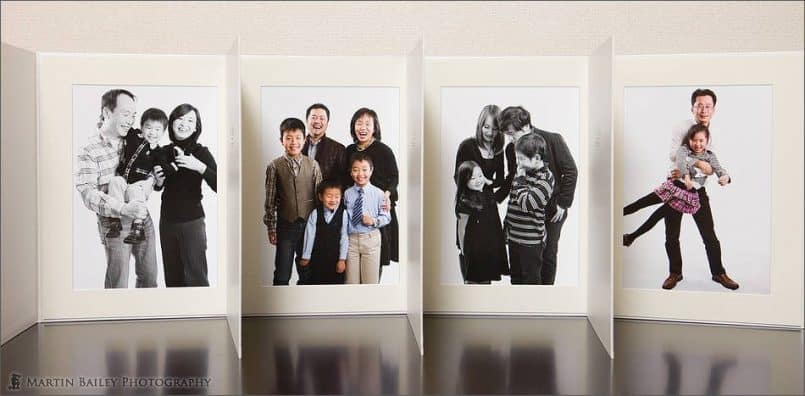
As I mentioned, eight of the nine families photographed opted for the package that included one A4 print created on Hahnemühle Fine Art Baryta paper. I snapped a few of the prints in the mounts that I used, as we can see here. For each family I created a Web gallery for them to look at and select the image that I would print for this.
No Full Resolution Images for Clients
As a general policy I do not provide my clients with full resolution images without adding a significant cost for that service. The reason for this is because I don’t want people making crappy prints of my work, and then showing them to other people. When someone sees a Martin Bailey portrait print I want them to say “wow!” and I have no control over that if I allow people to print their own images.
As a special service for this particular shoot though, I created a medium size image that could be printed at 300dpi on the New Year postcards that are customary to send in Japan. Now, the problem with this is that the client can, and probably will actually print these out pretty large, which of course will look worse than something they could have printed had I given them the full size data. This is a problem in and of itself, but still, in general I am going to try to stick to my policy of not giving full res images to my clients.
The Proof is in the Pudding
The only way I am going to be able to convince people though that my prints are beautiful and worth the additional cost, is by providing one, so usually, all portrait work that I do includes at least one A4 Hahnemühle Fine Art Baryta print in a mount like this. This way even if people don’t understand about the quality based on looking at samples or just my explanation, hopefully once they see a print of the quality that I produce, they will order more prints, which of course will increase the overall profitability of the shoot. I’m taking these mounted prints to my clients tomorrow, so I’ll see if my theory works, and I have only done a few other shoots other than the one we’re looking at today, so I’m still testing this strategy, but time will tell as I do more of this sort of work if my strategy is working or not.
Of course, I can’t pretend that my entire reason for not wanting to give the full resolution images up is based totally on quality. The other reason I don’t want people making their own prints is because I want to be paid for doing so. I enjoy printing and making gallery wraps now, and because of the equipment I now own, and my skill as a printer, which I believe is now pretty good, I know that I can provide a quality service, but I also want to charge as a quality service. If people want average prints of their precious new portraits, or they absolutely definitely require the full sized image data, but they aren’t prepared to pay extra for that, then they will have to find a different photographer. It’s my plan to continue to build my brand of quality to the point where people will come to me for their portraits, even if it costs a little more than the next guy. If they don’t understand my quality proposition, sure, I won’t win the job, but it’s their loss too. Plus, I’ll have more time to concentrate on working with the clients that get it.
Gallery Wraps
As I mentioned earlier, one of the clients ordered a 13×19″ Gallery Wrap of one of the photos from his session, in addition to the A4 mounted print. This is the first gallery wrap of a portrait that I’ve done for a client, and this was very satisfying for me too. It makes me incredibly proud to know that now that, in addition to my nature fine art work, my portrait work is also now being displayed on peoples’ walls. There have been people that have told me that I’m making a mistake trying to make a living from two totally different photographic genres, but in the coming years, I think I’ll be able to prove them wrong. It takes more than one revenue stream to make it these days, and I don’t know if I’ve mentioned this before, but I have no intension of becoming a poor photographer, complaining “how difficult it is to make a living these days”.
So, before I totally jump on my soap-box, let me finish there. I hope you’ve enjoyed this two part series, and found some of the tips that I interwove in here of use.
Podcast show-notes:
Studio Diagram: https://mbp.ac/studio
Product Links:
Profoto D1 Air 500 W/S 2 Monolight Studio Kit
Profoto Air Remote Transceiver
Westcott Illuminator Collapsible 52″ Reflector 4-in-1
Music created and produced by UniqueTracks.
Audio
Download the Enhanced Podcast M4A files directly.




Beautiful results from the portrait shoot !! Fantastic variety and really wonderful moments you captured !!
Thanks Marcus!
Looks like a great event. Any chance we could see an example of the (blank) order form you used? It sounds like it would be quite helpful as far as keeping everything organized, especially when shooting a group where you don’t know everybody by name.
Thanks again for the great blog and best of luck with your new career.
Thanks Ralph,
Actually the form was all in Japanese, so I couldn’t really post it without translating it first.
It wasn’t anything special. Just boxes for name, address, telephone number, then a sentence saying that the client should sign if they don’t mind me using the resulting images in my marketing materials. Eight out of the nine groups signed.
Then there were boxes below that with the various packages with their prices, and I ensured I had my company name, address and contact details on the form too. This helps to build confidence in me and my company.
I hope this helps some.
Cheers,
Martin.
Hi Martin! I just wanted to say thank you for a very wonderful photoshoot and podcast, full of insightful thoughts and ideas about photographing people. I hope this portrait sessions will become a nice habit for you!
I am quite new in the field of photography and I also did some small commercial work. I intend to do some portraits in the future as I am arranging a small studio in my apartment. Can you please tell me how you dealt with the technical aspects in the group images, especially how you have managed to keep everybody in focus?
I wish you the best,
Daniel
Hi Daniel,
Thanks for the comment and kind words.
These sessions already are a habit, though I don’t post details of every shoot.
On the group shots, I just ensure that I’m shooting at around F8 or more, and as long as the members of the group are not too far apart, that works well for me. The main point though is to get the background so far away from the group that even if you stop down to F11 or more, you still don’t get the background in focus. This works with larger groups. When shooting single subjects I do like to open up the aperture for a shallow depth of field though, and carry ND filters for my portrait sessions for this, in case I can’t reduce the studio lighting enough for a wide aperture and stay within the maximum sync-speed.
I hope that helps!
Martin.