
I’m often asked how I get so much done, so this week I’m going to share some information about some of the tools that I use daily to speed up my work.
We should preface this, by mentioning that I get a lot done because I work hard. I actually think I’m working a little too hard, as I hate to just sit around. Relaxing to me is not really very, well, relaxing. I don’t work every waking hour of course, and I do enjoy making time to practice playing the piano or learn new skills, but there is always something to be done to help me get ahead in my business, and I tend to go back to these tasks quickly, and perhaps a little too often.
That aside though, let’s talk about some of the apps I use to speed up the tasks that I do. My motivation to look for these apps generally starts with an action or task that I need to repeat. As I’ve mentioned in the past, in my photography workflow, if there is anything that needs to be done more than once, I create a preset for it. For example, Capture One Pro automatically creates the directory structure to drop my images into on import. There’s a preset to help me with renaming my files on import too. Whenever I lay out a new paper size to print on or different margin settings, I save a new preset.
Luckily our photography related software has the ability to create presets built in but there are many other tasks that we repeat daily on the computer that are not easily automated without some extra tools, and it’s some of these tools that I’d like to talk about today.
Depending on what you do for a living, you might find that you end up typing out similar text again and again. For example, I run around five photography tours each year, with between 10 and 14 participants on each tour. I’ve been running tours since 2008 and I quickly found myself writing out the Welcome email that I send to people when the book quite often. I initially used to just keep a draft of the email for each tour in the Drafts folder in my mail application, but at some point, I moved to a different app that didn’t allow me to copy these drafts, so I looked for an alternative and found TextExpander.
TextExpander has grown over the years and really is an integral part of much of what I do. Its minimal work case is to create simple shortcuts that expand out into longer text when you type them. The first snippet I created monitors my typing for the four letters “rgds” followed by a space, which it expands out to “Regards, Martin” with a carriage return between the two words. This, of course, is a simple footer that I use when sending an email.
Another snippet that I probably use hundreds of times a week, expands the four letter’s “mbpm” to my email address, and I have lots of others for static words and phrases that I use a lot.
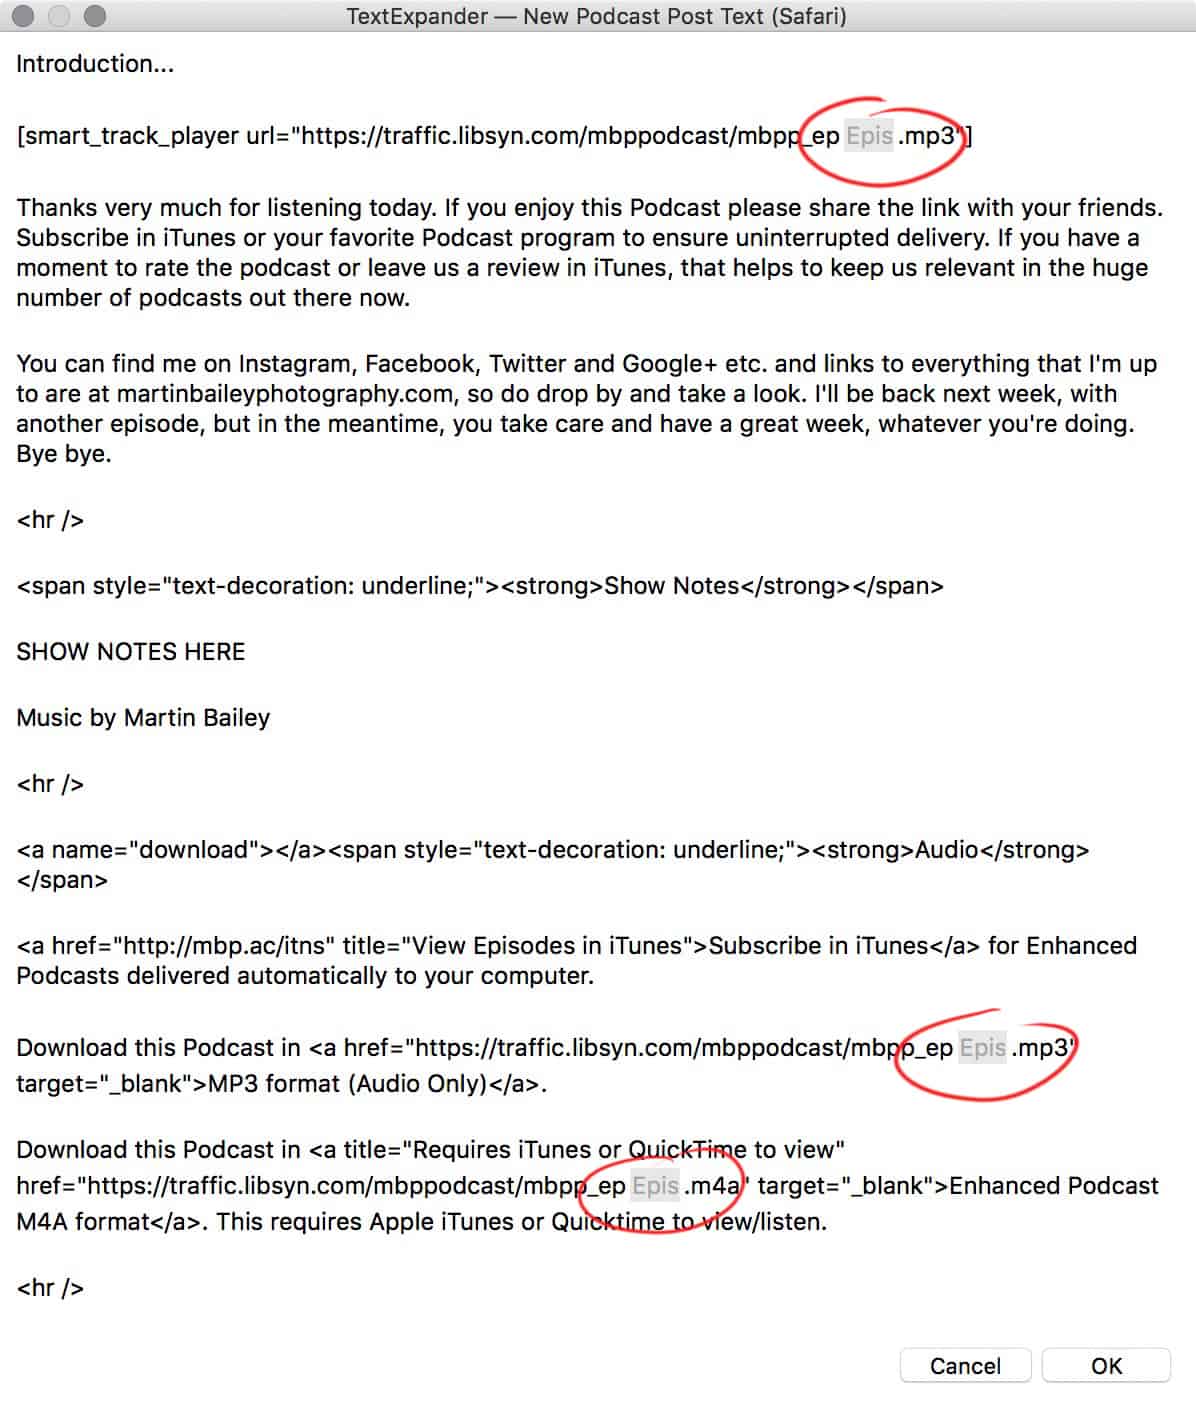
TextExpander really comes into its own when you start to create more complicated snippets. For example, when I need to start creating a new podcast post, there is a page of code that I always use as a base. I used to keep this in Evernote, which is a good step, but I realized that I can even save the time required to open Evernote and locate my blog post template by simply defining a shortcode in TextExpander that fills the post with my template code. For this, I use “newep” as this is not something that I’m likely to type by accident.
At first, I was just adding the static code, really just taking Evernote out of the loop. Then I realized that because TextExpander allows you to define what it calls Fill-ins, so I could create a snippet that would basically ask me what episode I was creating, and then use the number that I typed in once to populate all of the places in the text that I used this number. I’ve circled these three places in red in this screenshot (right) and sure, it’s only three places, but it saves me the time to locate each number to change and it’s three places that I could also potentially type wrongly.
If we go back to my original example though, with my need to send welcome emails to my tour participants, I initially had just text snippets for each tour. I would go to the TextExpander pulldown and select the email subject, and then move the cursor to the mail body, and select the snippet for the body. Each was different, and because I ran the same tour every year in most cases, I had anything up to twenty to thirty different snippets to cover the subject and body of all my tours.
Then, recently I realized that I could remove all of these, and have just one smart snippet that would take care of all of my tour welcome email. That not only saves me typing these out but also saves me the time required to manage all of these copies. Say if I want to change how I word something, I’d have to go in and copy and paste my change in lots of different snippets.

Here’s what I did. I created a snippet with the shortcode “twe” for “tour welcome email”. Keep in mind that according to my settings, I have to type a space after these three characters to expand the snippet, so typing the word “twelve” or “twenty” isn’t going to trigger the snippet.
I’m not going to go into detail on how to actually create these dynamic snippets, as the makers of TextExpander have a whole host of videos to help with that, but I did make a brief animated GIF image to show you how smoothly these dynamic snippets work (below). See how I just type my shortcut, then enter the year, select a tour name, and enter the participant’s name, and this information is used multiple times throughout the email. Also, when more than one person book at the same time, I have to ask for multiple copies of our tour participant form to be filled out.
I’ve also added the snippet %filltop% which is a special snippet that you can add to dynamic forms to place all the questions that you need to answer to the top of the form. This saves me from going through the form looking for dynamic fields. Note too that although I start the form in the email Subject line, I added the code %key:tab% which simulated me pressing the tab key, and that moves the cursor down to the body of the mail before expanding the rest of the text.
This is relatively simple stuff, but taking a few minutes to create these simple dynamic emails saves a whole lot of time that I would otherwise spend maintaining lots of templates and then locating them each time I want to use them. I mean, what could be easier than typing three letters?
TextExpander works on both Mac OS and Windows, and although I don’t use it a lot, they also have an iOS app that works really well. All snippets you create are synchronized across your devices and the iOS app adds a keyboard so that you can easily retrieve your snippets directly into whatever app you’re using.
If you find this interesting, you can find TextExpander at textexpander.com. It’s a subscription-based product costing just $3.33 per month billed annually, and I wouldn’t like to be without it. This post isn’t sponsored in any way either. I’m just telling you about products that I love and use daily.

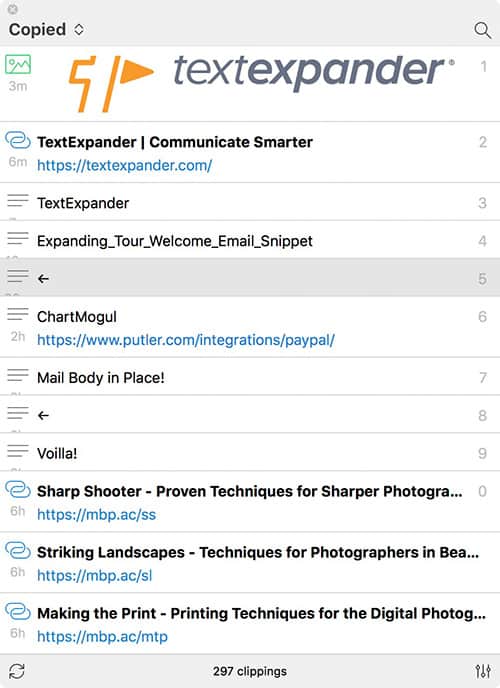
Copied
Moving on, sometimes, it’s not obvious that a piece of text that you copy to your clipboard is going to be needed again, but I used to get frustrated when I’d be working and find myself needing the text that I had on my clipboard a while ago, but since overwrote with a new clipping. Many years ago I tried an application that would assign numbers to clips so that you could retrieve them with multiple shortcuts but I found it complicated to use because it was never obvious which clip was under which shortcut.
Then a few years ago I found an application called Copied, and it changed the way I think about my computer’s clipboard. In its simplest form, Copied simply keeps the text that you copy to your clipboard in a long list. I forget what the default number is, maybe 100, but I have Clipboard set up to save my last 250 clippings, and I found that I reuse my clippings time and time again each day.
The beauty of Copied is that you don’t have to remember any numbers or shortcuts, you just go to the menu bar and click on the icon, and you get a list of your clippings, so you can visually look for what you need to reuse.
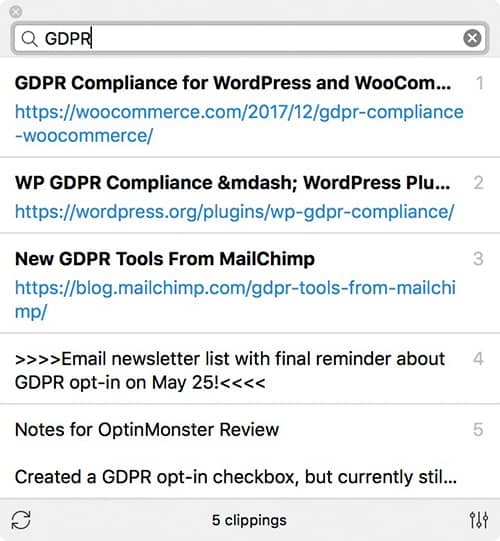
If you can remember one word in the clipping you need to retrieve, you can also just search for it. For example, if I search for the acronym “GDPR”, I can see a list of related clipping from the last few days as I’ve been finalizing our GDPR strategy.
Another great feature is Copied Lists. You can create a list and add clipping that will be stored permanently, for things that you know you’ll use again and again. I have a number of PHP code clippings in one list, and I have another list for my short-links, like to my various lenses on B&H for example, as I retrieve these links quite a lot.
Copied also has iCloud Sync, so I can view clippings from all of my computers and iOS devices from any device. This is great because I can for example just copy the address of a page I was looking at on my iPad, then jump to that page from copied moments later when I get on my iMac.
I sometimes also use Apple’s Handoff feature which offers me a browser with the page I was looking at on a device sometimes, but it doesn’t always pick up on what I was doing, so Copied is a great way of working between devices, both for links and for all of the clipping that make pretty much continuously through my working day.
Copied is available on the Mac App Store, currently for $7.99, and unfortunately, I don’t think it’s available for Windows, but there is an iOS version as I mentioned.
Unclutter
The third app that I’ve just started using, but finding very useful is a great little utility called Unclutter. I don’t like to have too many files on my computer Desktop. When I’m working on something like a new podcast episode, I might be capturing screenshots, or saving images that I will embed in the post, like today, and as I do this, I often find myself just dropping these onto the desktop, then saving them to a folder to stay organized, but once I’ve completed that episode, I like to file them away.
Another thing that I find myself doing is grabbing screenshots of things that I want to talk about in future episodes, and these also generally start off on my desktop, but as soon as I see more than a handful of these things, it starts to bother me. If I get to two or three columns of icons on my desktop, it starts to drive me positively crazy, but if I move things completely away from the desktop, they are easily forgotten about.
Unclutter is again a relatively simple idea, but it’s been designed and implemented really well. Once installed, all you need to do to access it is to move your mouse to the top of the screen and then scroll down. This reveals three columns each with different functionality, as I’ll explain. It’s kind of difficult to see how Unclutter reveals itself in a screenshot, so I created a quick thirty-second video to show you.
Having just discussed Copied, the leftmost column will seem a little redundant, as it’s essentially the same idea. It’s a list of saved clipboard clippings that you can scroll through and click on to retrieve at any time. A nice feature is that when you mouse-over a clipping the icon changes to a star which favorites the clipping when you click it. Then if you click the star at the top right of the clippings column, you get a list just of your favorited clippings.
Right now I’m using Copied more than Unclutter for this feature, but I’m leaving it turned on, for now, to see if I start to gravitate towards Unclutter for at least some of the clippings it holds for me. One limiting factor would be that the most clippings you can save in Unclutter is 50, and believe it or not, you can set Copied to save up to 1,000 clippings. I sometimes have Copied set to save the last 500 clippings, and have never set it lower than 250, and I do sometimes look through the entire list for something.
The right column in Unclutter is a simple memo pad. You can create text memos and recall them easily from a list. You just type them in right there in the app, and it’s a very simple interface, so good for some things. I find myself making short-term notes to myself up here, although my long-term notes are still going into Evernote, which I love and probably won’t give up easily.
Finally, though, the main reason I have started using Unclutter is that center column. I love being able to just drag a file or folder to the top of my screen, causing Unclutter to open up, and then just dropping that file straight into that collapsing space. You can create folders to further organize this area, and I’m finding this really helps me to keep my desktop, well, Uncluttered!
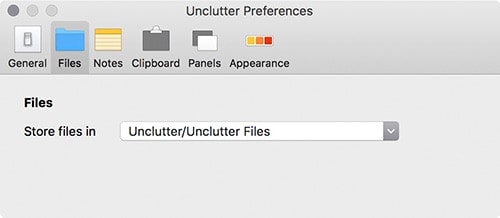
In the Preferences, we can configure the actual folder that is used to be inside Dropbox, so whatever I put into this folder or the subfolders that I have created will automatically be synchronized to my other computers and available via Dropbox on my iOS devices.
I’m finding myself dropping in screenshots for future podcasts, apps that I want to install on my other Macs, and even things like backups of databases, which are only relevant for a few days, before they become old. If I file these away completely they just get forgotten until a major cleanout, but I’m reorganizing this area every few days at the moment, so I can easily remove stale data quickly.
Being able to get at working files quickly, without having to search through scores of icons on a cluttered desktop certainly helps to improve efficiency, and I really just don’t like to work on a messy computer, so I’m really pleased that I received an email about Unclutter last weekend. I learned a thing or two about marketing from the email too, with a photo of the developer and his brother somehow making we want to throw money at them before I’d even finished my breakfast.
You can drag any of these three spaces in Unclutter out to un-dock them, and leave them on your desktop, or drag them around to reorder them. Ultimately I think I’ll probably end up just using the collapsable Files section, but it’s still worth it to me. It feels like I have a big drawer under my physical desk surface that I can just slide open and drop stuff in to get it off of my work surface. You can buy Unclutter either directly from the Unclutter website or from the Mac App Store.
Anyway, we’ll wrap it up there for today. As I mentioned earlier, none of these recommendations are sponsored. I’m just sharing information about three applications that save me time and help me to get a lot done. There are others of course, and I’ll follow up about them in due course. For now, if you haven’t heard of these apps and find them useful, that’s great. Also, if you have any apps that help to make your work more efficient, do share a link in the comments below. I’d love to hear what you’re using.
With me leaving to start this year’s Namibia Tour & Workshop in a few days, I’m not sure if I’m going to be able to create any more episodes before I leave, so you may not hear from me for the next couple of weeks, but I’ll be back in the middle of June to share our antics as we roam around that beautiful south-western corner of Africa.
Show Notes
TextExpander: https://textexpander.com
Get Copied on the Mac App Store: https://itunes.apple.com/app/copied/id1026349850?mt=12
You can find Unclutter here: https://unclutterapp.com/ and https://itunes.apple.com/app/unclutter/id577085396?mt=12
Subscribe in iTunes for Enhanced Podcasts delivered automatically to your computer.
Download this Podcast in MP3 format (Audio Only).
Download this Podcast in Enhanced Podcast M4A format. This requires Apple iTunes or Quicktime to view/listen.

0 Comments